DIY Tablet Holder
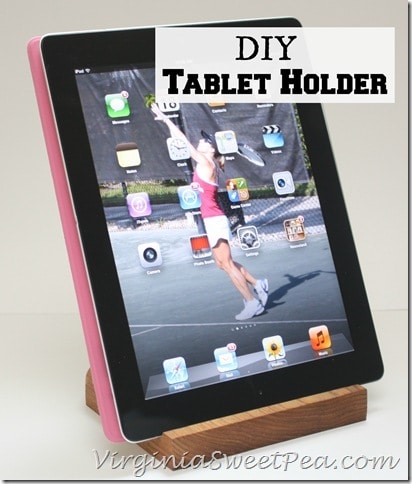
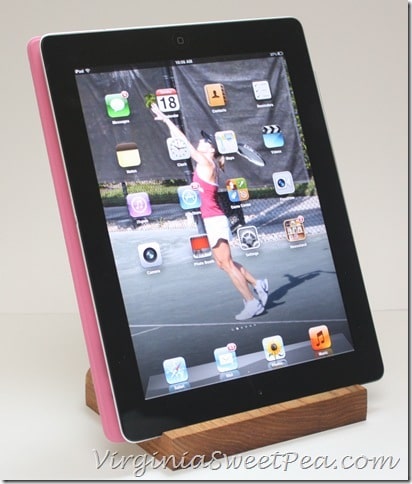
A project that I’ve had in mind for a good while is a tablet holder for my iPad. For the most part, I use my iPad while reclining on the sofa or in the car, but every once in a while, I use it to make a recipe and found it awkward to continuously look down at the screen to read the recipe.
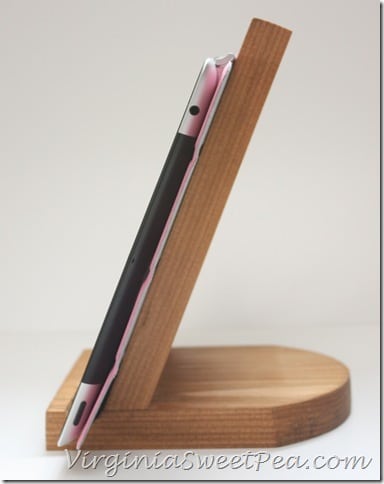
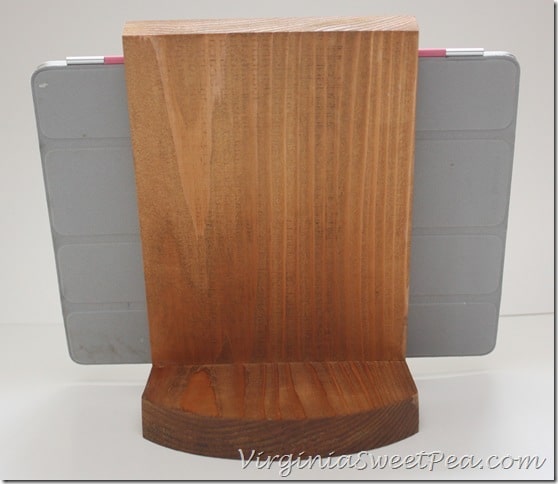
I saw a few ideas online for tablet holders and after talking about it with Mr. SP, he came up with a very easy-to-make tablet holder that only requires two pieces.
Making the tablet holder wasn’t at all difficult or time consuming. Here’s how we did it:
How To:
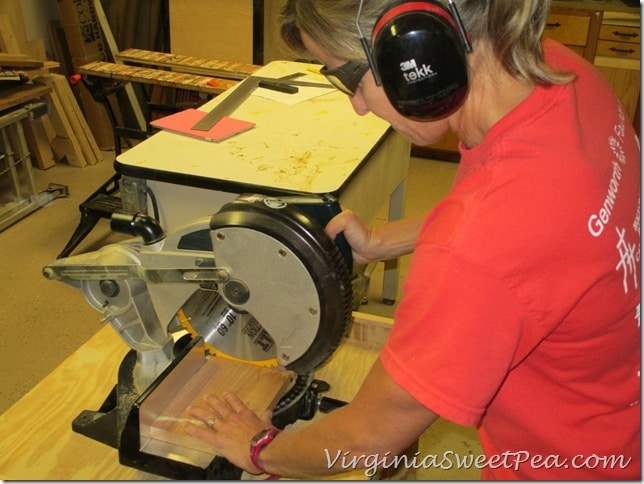
Cut 6” x 6” and 6” x 8” pieces from a 6” plank of wood using a compound miter saw. We used cedar leftover from making our Chippendale Door but pine or poplar would be a more economical choice.
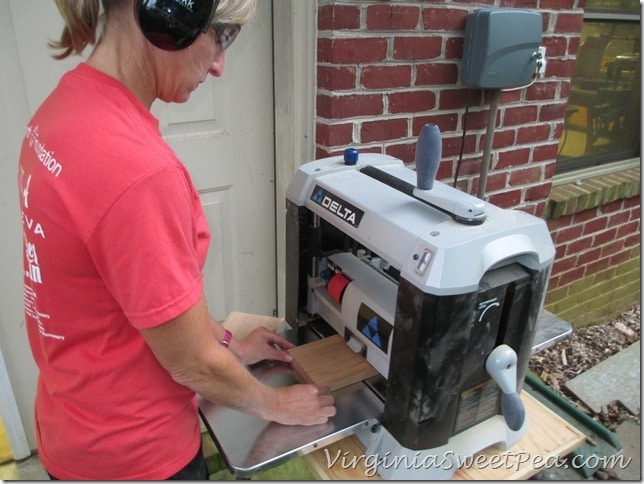
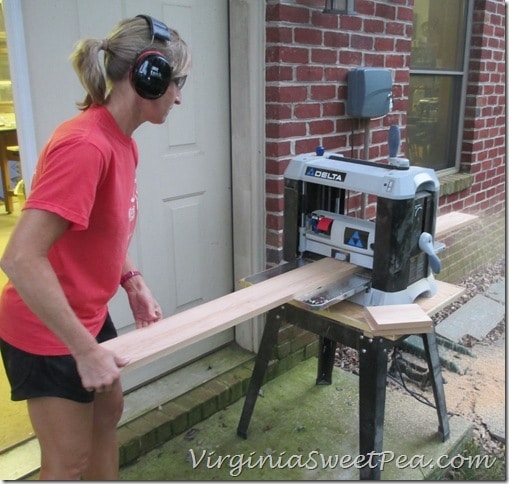
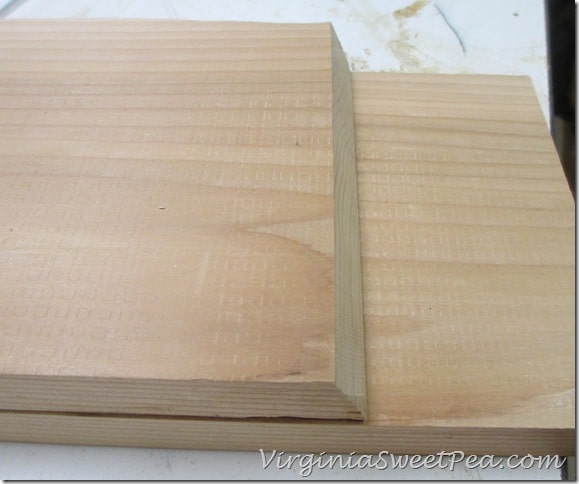
Our cedar was a bit rough, so we ran it through the planer to smooth it down.
Since I knew that I planned to make multiple holders for gifts, I ran the rest of the cedar plank through the planer to smooth both sides.
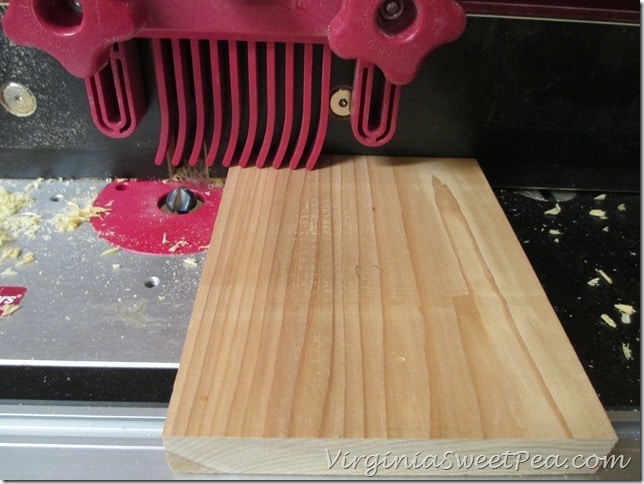
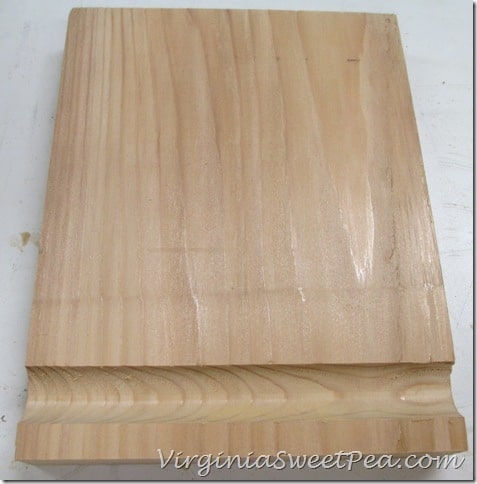
A groove was routed in the 6”x”6 piece. This piece is the base of the tablet holder.
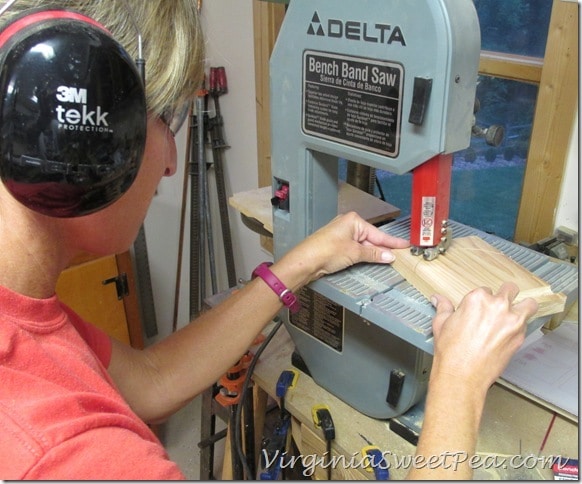
I originally cut the bottom piece at 6”x7” and realized it was too long. I used the bottom of a nut can to draw an oval 1” in and cut it out using a band saw.
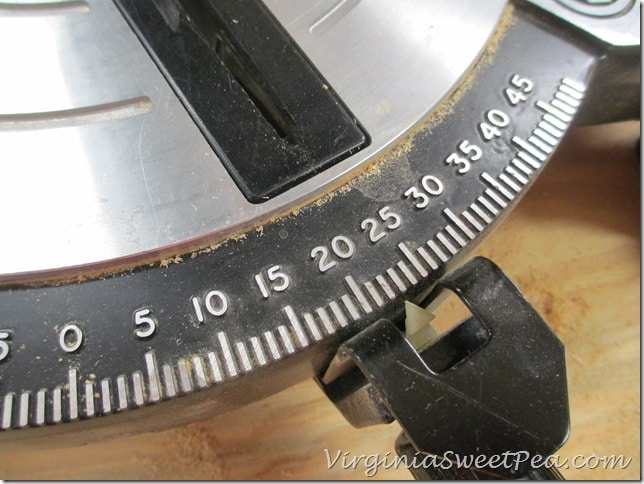
The miter saw was then set to 22 1/2 to cut an angle on one end of the 6”x8” piece.
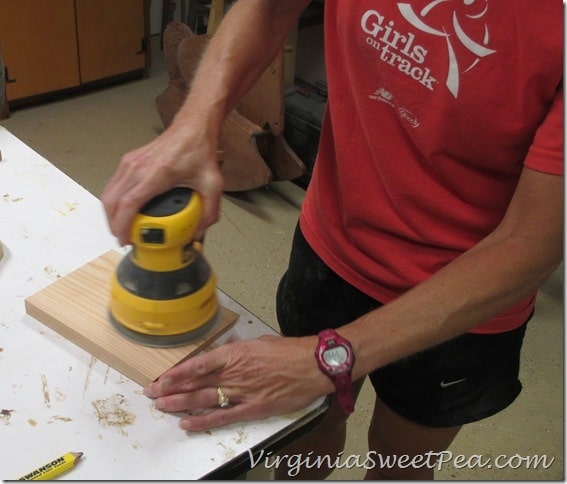
Both pieces were sanded with a palm sander until smooth.
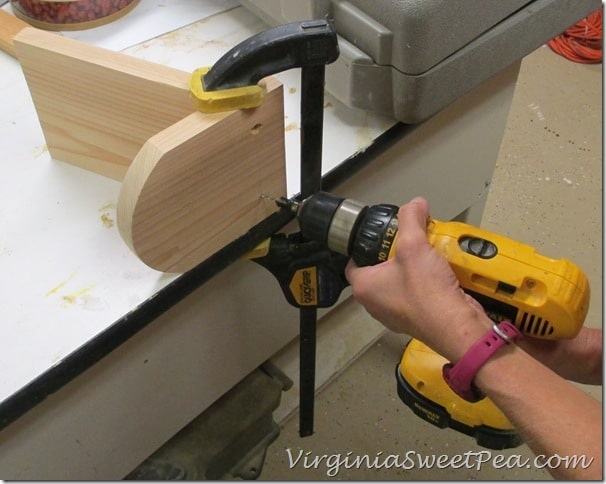
The top and bottom pieces were set in place and held by a clamp while holes were drilled for the screws.
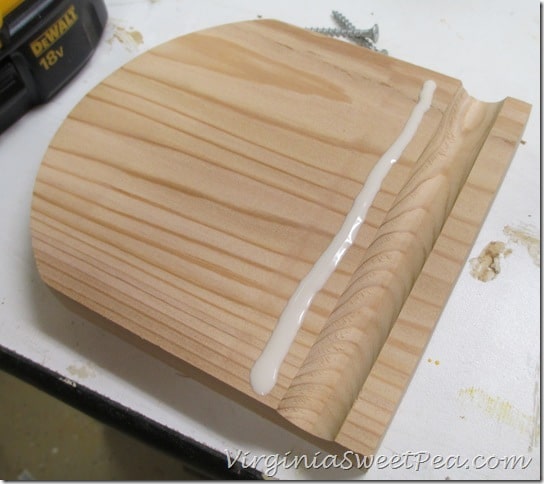
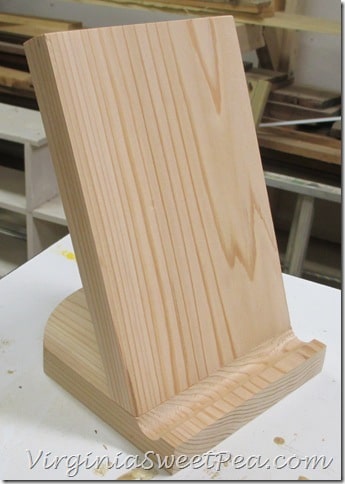
After the holes were drilled, the clamp was released a bead of glue was added to the bottom piece. The two pieces were joined back together, clamped, and then screws were drilled into place.
At this point the piece can be stained or painted.
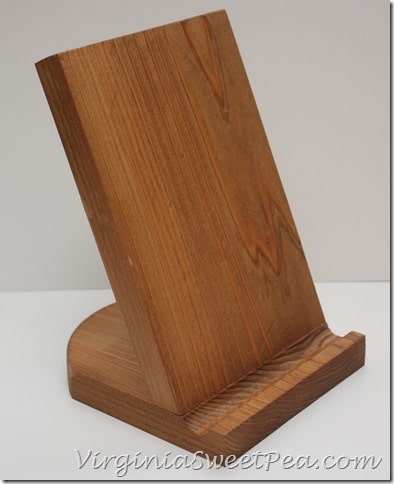
I stained the tablet holder with Minwax Golden Oak stain that we had leftover from another project.
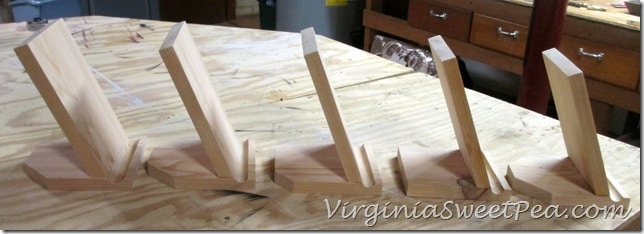
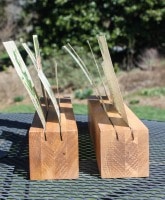
After the first holder was made, the next day five more were completed using the rest of the cedar plank. Note that I did not round the bottom piece on any of these, instead I cut the bottom corners off at varying angles.
I used my woodworker’s branding iron to mark each piece with my logo.
Now when I cook, my tablet will be easy to see using my handy new tablet holder.



Girl! You certainly are industrious!! 🙂
Very. Very creative. Our daughter gave us a manufactured one that I use all the time but I don’t think it was made with TLC. These will make great gifts and I adore your personal branding iron. How cute is that!!
Good grief, look at you and all the heavy duty tools!! I dream of having those to play with…
Great job, I love this. I’ll have to tackle this project using the small guns cause I really want one of these!!!
Wow! I’m so impressed! You’re so handy!
Thanks, Megan. I wouldn’t be handy without my husband’s help. I’m lucky that he doesn’t mind helping me with projects for my blog.
I love this! What a great gift and perfect in the kitchen to hold the Ipad. You have inspired me to make something like this and have my husband teach me more about all the power tools and saws etc in our basement. Just love it! Cheers!
Thanks, Jordan. We enjoy working together in the woodshop. I’m a slow learner, but I’m getting there.
Paula….love the tablet holder! =) It was great meeting you at Haven a few weeks ago. I hope you are having a wonderful summer….. Blessings!
Great idea! I need this. I use my iPad in the kitchen daily. I love that you did all the cutting yourself. So impressed!
Thanks, Kathleen. I was well supervised by my husband!
Amazing tutorial and end result!
Thanks, Ann. I am really happy with it!
I need this for in my kitchen! If only I were handy at all when it comes to tools and building things…
I am very impressed by your skills!
Thank you!
May I have your tools, please? 🙂
In all seriousness, those are great! I’m going to have to figure out how to make one with my very limited tool selection (like a hand saw, a weak drill, and some screw drivers…)
Have a great weekend!
My husband is sweet to share his tools with me. His collection has slowly grown over the years.
Virginia, this is so cute! Can I just say that your power tools prowess is awesome?! I have a few tools (thanks to Ryobi!) and I plan to acquire more. What a cool first project! 🙂
That’s awesome, I love to see a lady with a saw!!
Such a great idea – and look at you making it yourself!! I let the Hubster handle the power tools…Ha! I’m hosting a Wall Decal giveaway that you should enter! http://homecomingmn.blogspot.com/2013/08/wall-decal-giveaway.html
Great idea, I love it. Super hand and wow, you really rock. Thanks so much for linking to Inspire Me. Hugs, Marty
Such a clever idea, Paula!! You rocked that miter saw nicely…lol
I’m lusting after your tools! And I’m so impressed with your skills. Love the tablet holder!