DIY Christmas Outdoor Planters
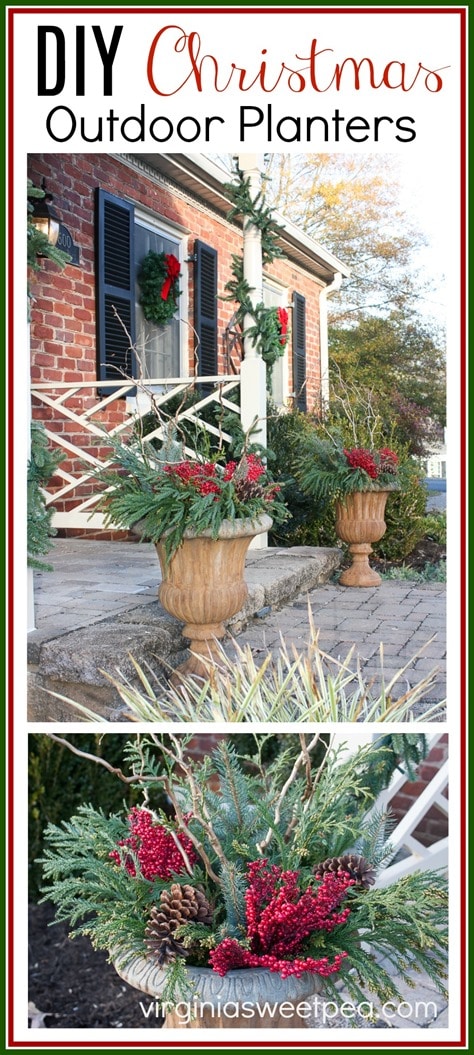
I’ve been a busy bee decking my halls for the Christmas season. My latest Christmas project was making DIY Christmas outdoor planters.
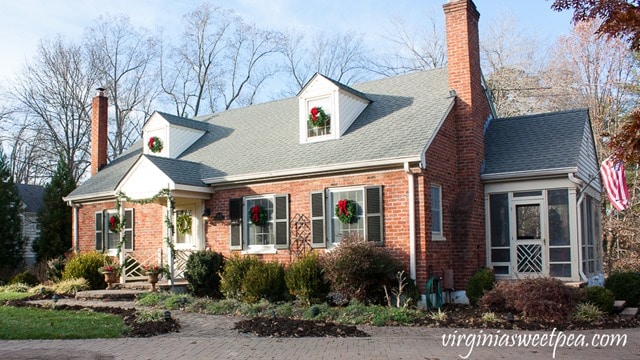
Our house is on a corner street and gets a lot of both foot and vehicle traffic and I like for it to look festive for the season. Our neighbors love the lighted tree on the porch on the side of our home and I’ve tried to make the front of the house just as festive.
There are wreaths on and candles in the windows; a wreath on the door; lighted garland around the entryway; and outdoor planters decorated for Christmas.
Last year I had lighted trees in my outdoor planters and I loved how they looked, but the lights stopped working on one tree mid-way through December and I never fixed them.
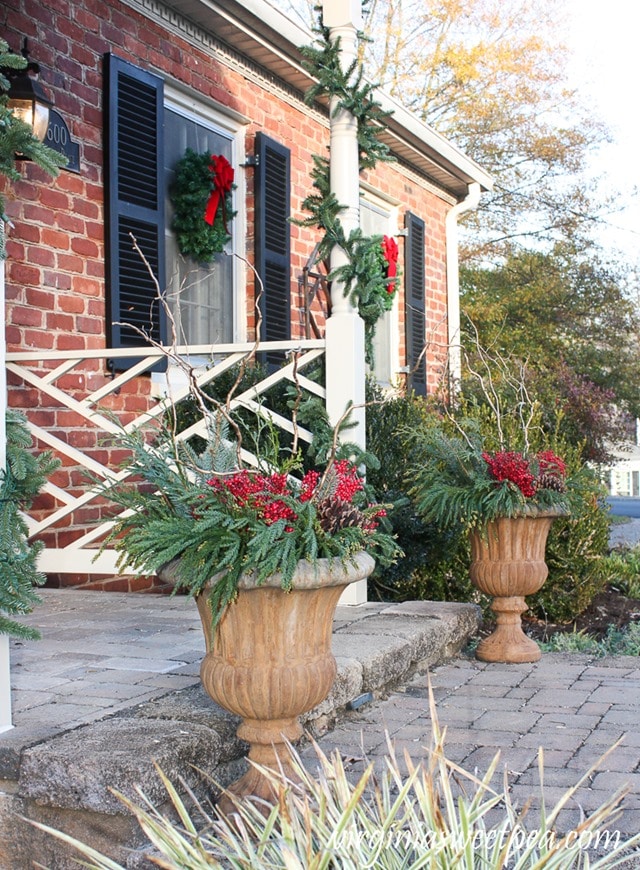
This year I decided to decorate the planters with natural elements that should stay pretty well past Christmas Day. Today I want to share how I how decorated these urns for the Christmas season.
How to Decorate Outdoor Planters for Christmas
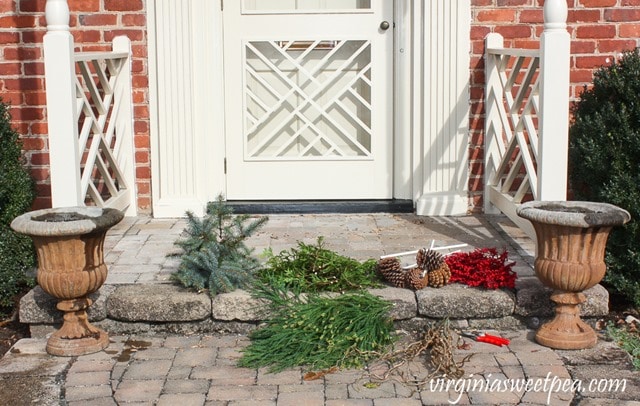
Step One: Gather Supplies
Affiliate links are included in this post.
- Clippers – I love my Felco pruners.
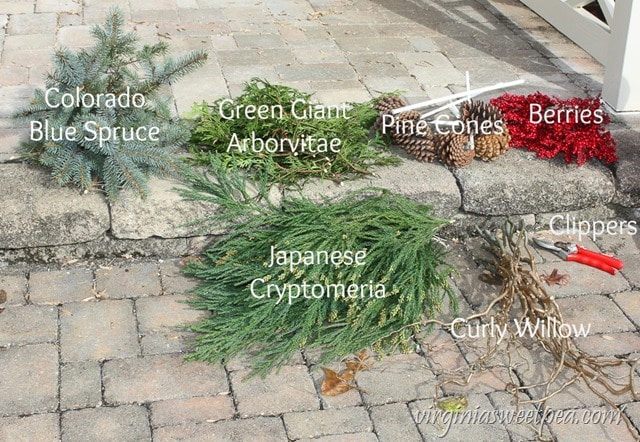
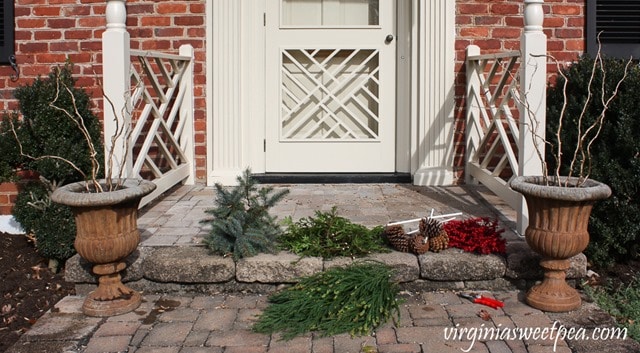
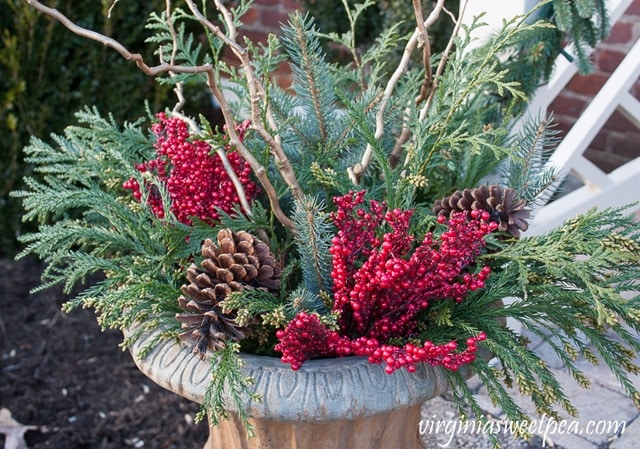
- Greenery – I clipped various evergreens from my yard: Colorado Blue Spruce, Japanese Cryptomeria and Green Giant Arborvitae.
- Sticks – I clipped Curly Willow from my yard and spray painted it gold. You can buy sticks if you don’t have a Curly Willow tree. Red Twigged Dogwood would be another gorgeous option.
- Pinecones – I wired mine to dowels.
- Berries – Winterberry Holly would be especially pretty but the birds ate all of the berries on the tree in my yard. I used faux berries that I purchased at a local garden center but if I was ordering, I’d choose these.
- Garden Planters filled with Potting Soil
I watered the soil in my planters before I got started on this project. I’m hoping that by keeping the soil moist, my greens will stay pretty all of December.
Here’s a closer look at the supplies:
Just about any evergreen can be used. Look around your yard or in your neighbor’s yard to see what is available. If fresh greenery isn’t available, you could go to your local Christmas tree lot and see if they have any for sale or you could purchase faux greenery to use.
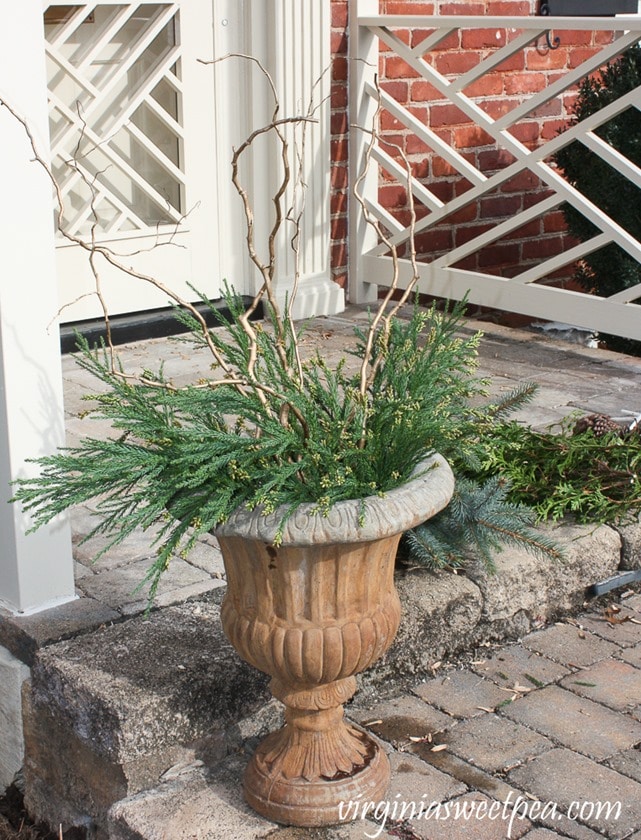
Step Two: Arrange the Sticks in the Center of the Planters
I spray painted my sticks gold but silver or red would also look pretty.
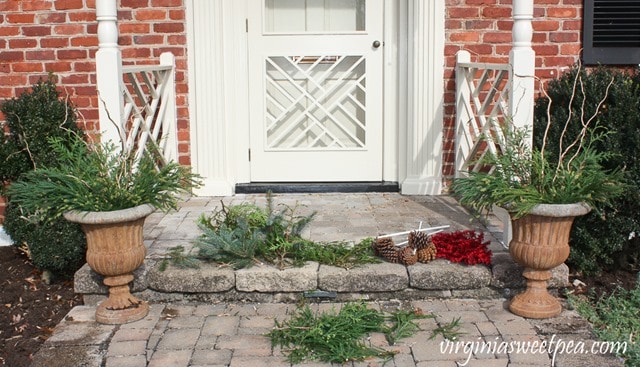
Step Three: Arrange Greens Around the Sticks
I started with a layer of Japanese Cryptomeria. This time of year it has tiny cones on it which I like.
I then added a layer of Green Giant Arborvitae.
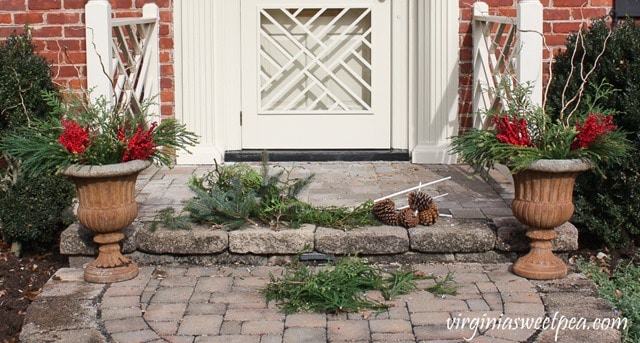
Step Four: Add Berries and Pine Cones
My preference would have been Winterberry Holly. If I find some at the Farmer’s Market, I may remove the faux berries that I used and switch them out to Winterberry Holly.
You could nestle pine cones amongst the branches, but I worried that the wind would blow the cones away, so I wired my cones to dowels and inserted them into the soil.
Enjoy the Planters
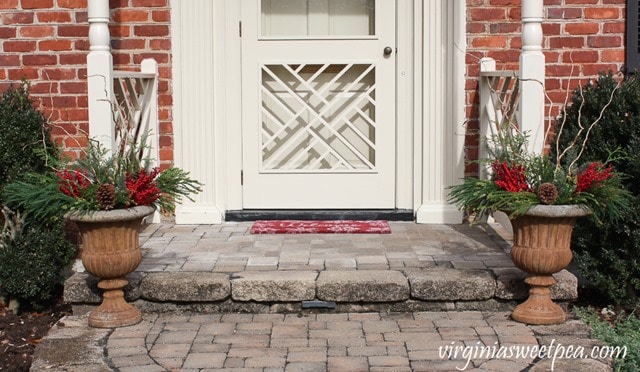
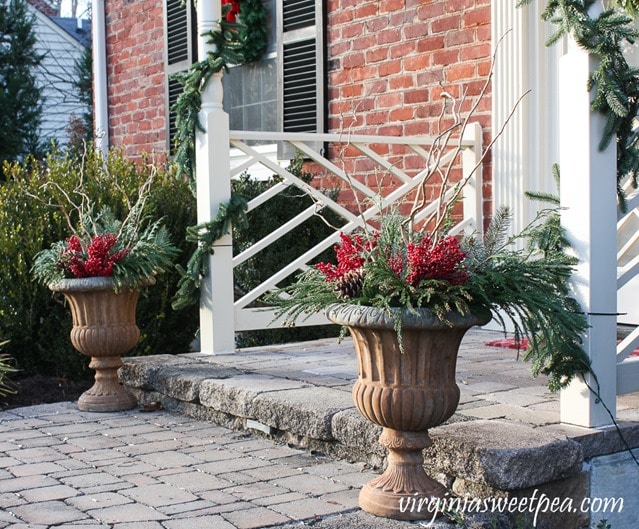
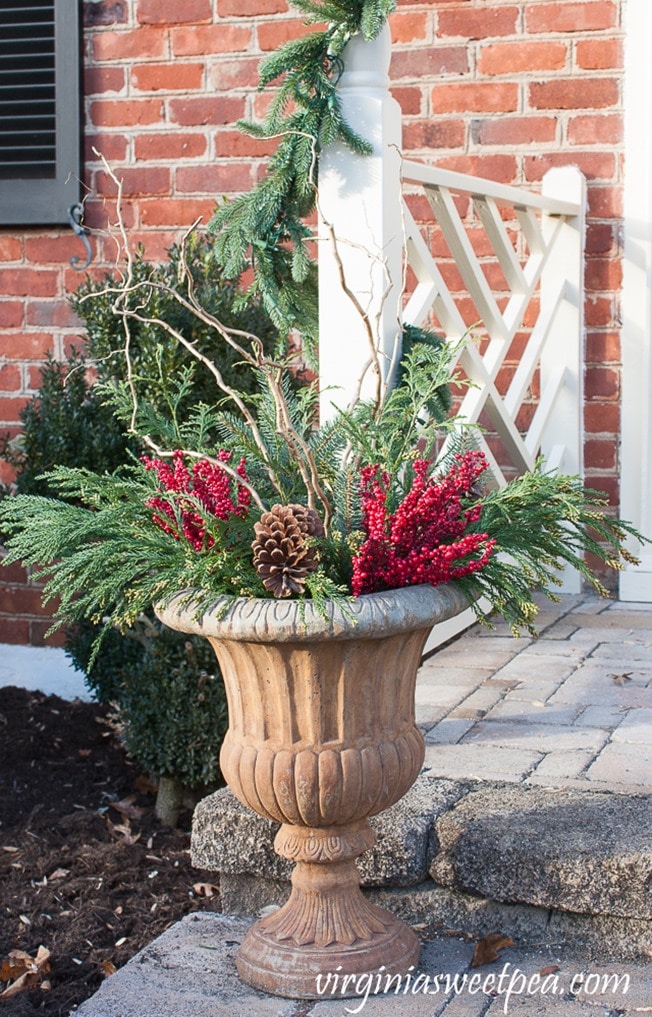
I love how these look on my front porch.
This truly was an easy project. The most time-consuming step was shopping for berries since I didn’t have any in my yard.
If the foliage stays fresh, I just may leave these planters like this throughout the winter. I could change the red berries for white ones for a winter look.
I would love it if you would pin this post for others to discover!
More Christmas Posts to Enjoy!
You might also enjoy these Christmas posts.
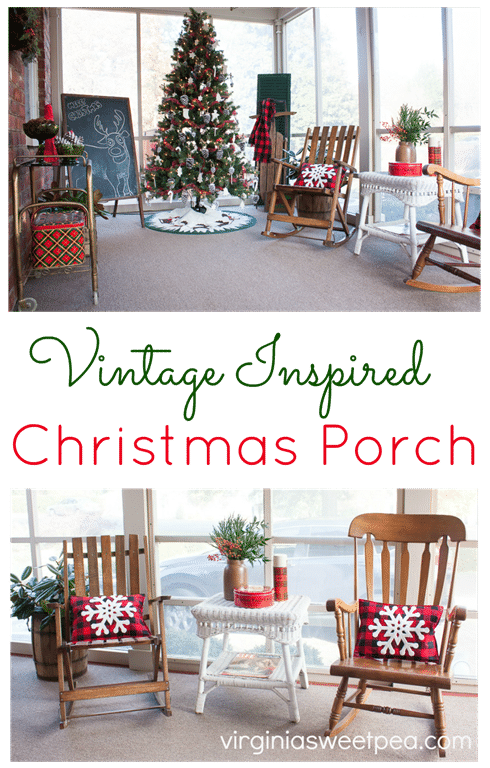
Vintage Inspired Christmas Porch





So pretty! I love the urns and their aged look too. Are your urns metal or concrete? I’ve been looking for some that don’t cost a small fortune! ? Your house is so charming!
Very pretty. I’ve got two lonely looking pots that would benefit from a similar makeover. Pinned!
Paula, your timing is perfect! Making entryway greenery is on my list at the North House before I leave on Friday. I love the mixed greens that you used. I’ll have to look for some variations style the pots like yours. Pinned!
Your porch looks wonderful. I bet it looks amazing at night.
I love this idea! I have been doing something similar with smaller pots in front of our railing on the front porch and for the past several years I have used “trees” that I made from tomato ages in 2 larger urns that are on a wall at the end of a flower bed. Storage of those are an issue and I wanted to do something similar to what you shared. Thanks so much for the inspiration! Pinned!!
Hugs
Deb
Your planters are gorgeous for the holidays.
Merry Christmas,
Kippi
Thank you so much, Kippi!
Your urns are gorgeous, Paula! Thanks for sharing at Vintage Charm–pinned!
Thank you so much, Cecilia.