Easy Pine Cone Christmas Ornaments
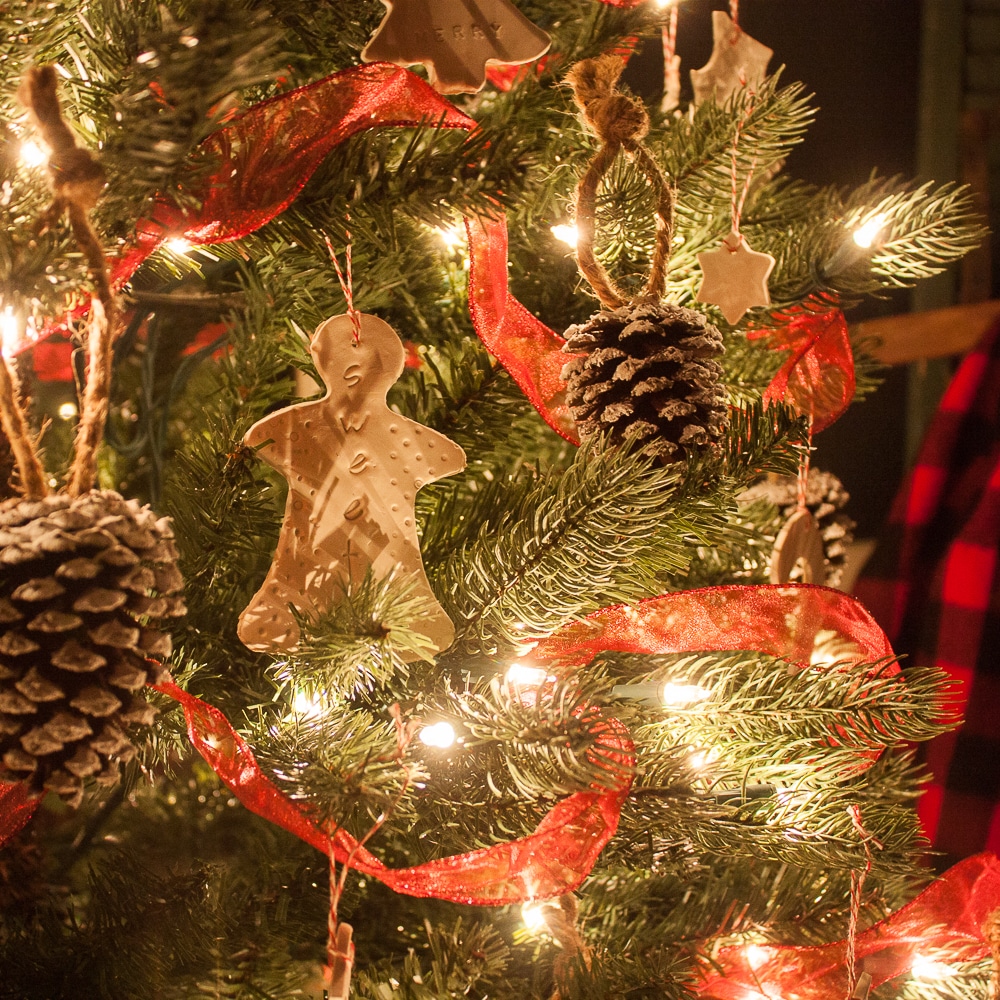
I’ve got an easy Christmas ornament idea to share with you, ornaments made from pine cones. When I put our tree on our porch this year, I decided that I wanted to decorate it with handmade ornaments and I wanted it to have a rustic look. The pine cone Christmas ornaments that I created ended up being perfect for this tree and best of all, they were nearly free to make.
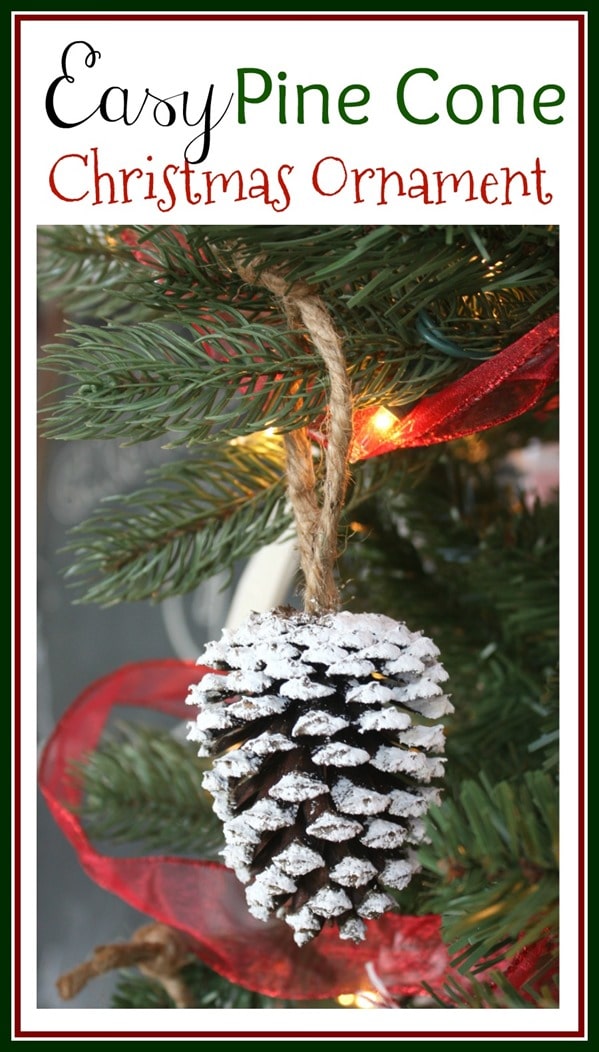
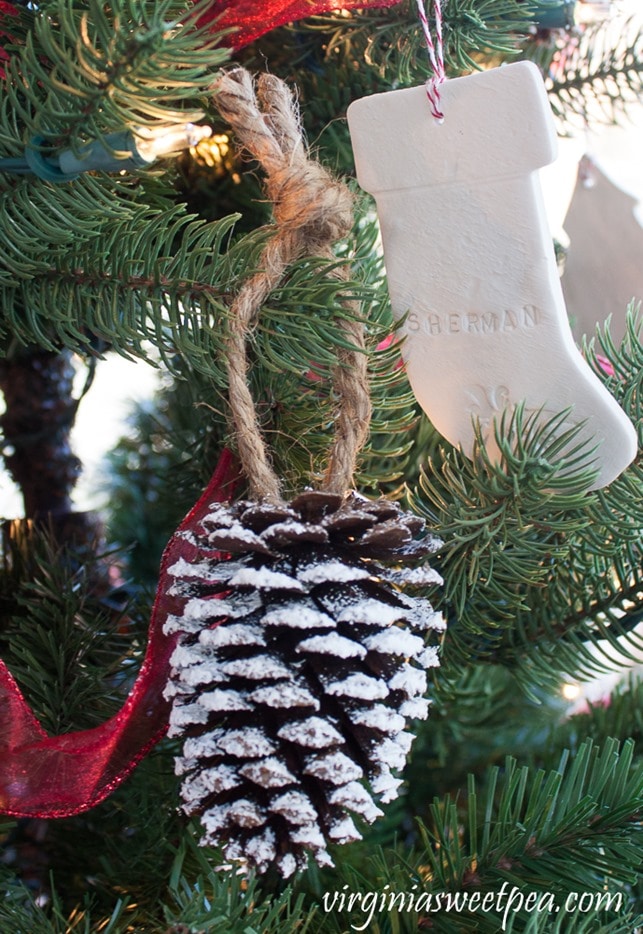
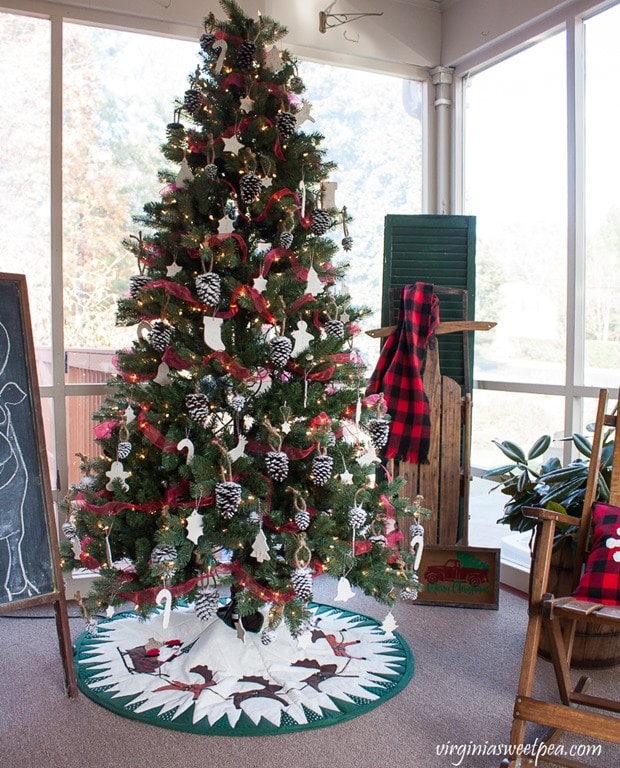
Here you can see how these pine cone ornaments look on our porch tree. I’ll soon share a tutorial for the other ornaments on this tree that I made. You can see more of our porch’s mostly vintage Christmas decor here.
How to Make Pine Cone Christmas Ornaments
Affiliate links are included in this post.
Supplies
Pine Cones – I gathered mine locally but if you don’t have a source, you could always buy pine cones at the craft store.
Scissors
Glue Gun and Glue Sticks
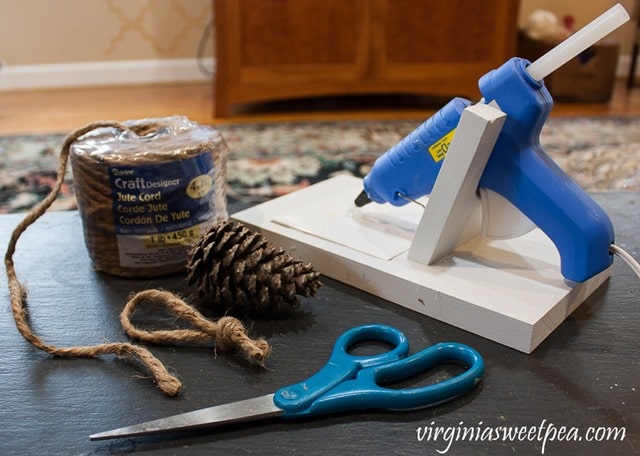
Procedure
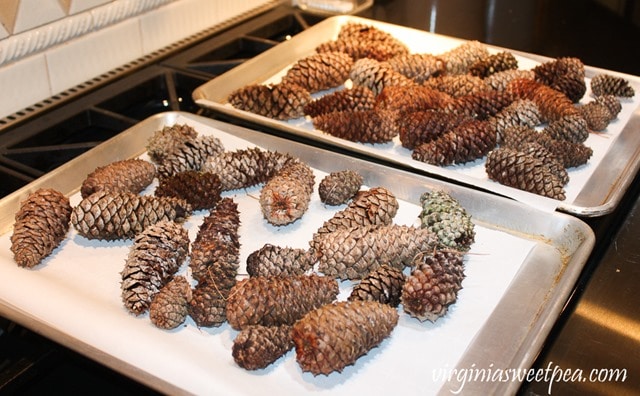
Step One – Bake the Pinecones
After gathering the pine cones, bake them at 200 degrees for at least 30 minutes to kill any insects that they might harbor. I baked mine for 45 minutes just to be safe.
Step Two – Add Twine to the Pine Cones
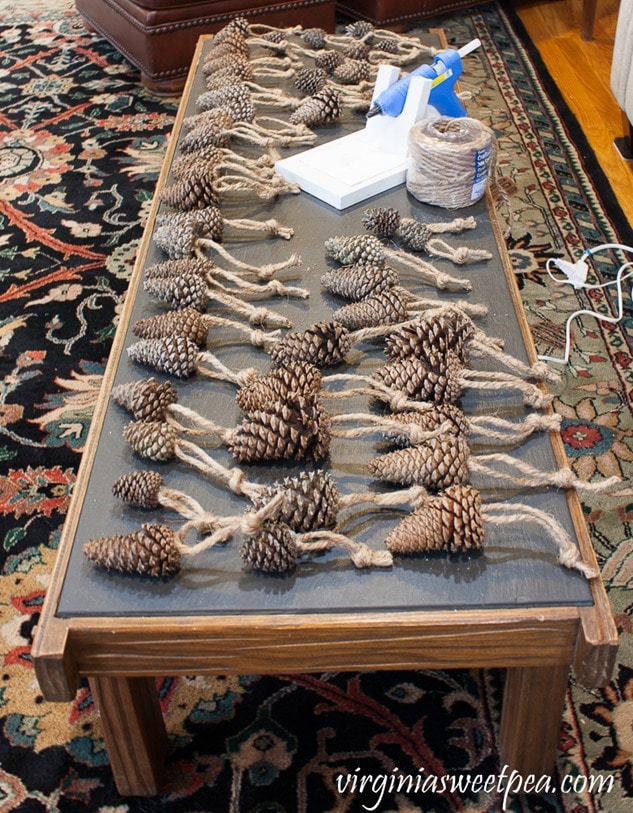
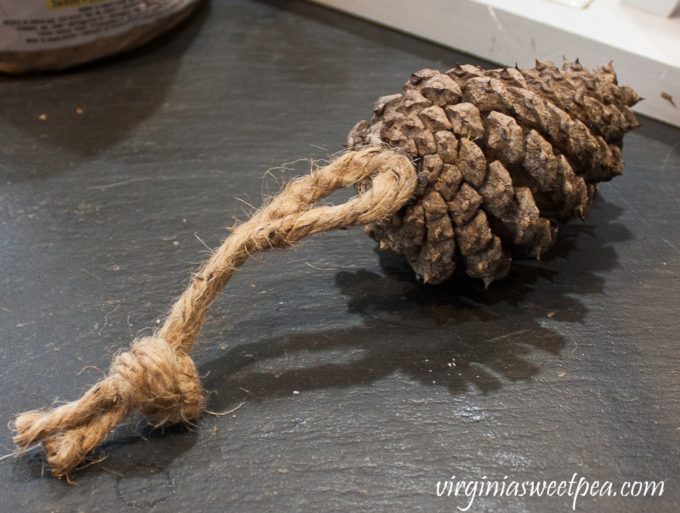
Cut twine for hanger and knot. I did not measure this, I just eyeballed a pleasing to the eye length and went with it. Glue a twine hanger to the top of each pine cone.
Here are all of the pine cones that I picked up with twine hangers attached. I worked on this in our family room so that I could watch tv while I worked.
Step Three – Add Snow to the Pine Cones
Spray each pine cone with spray snow. Be sure to cover your work surface. I used a piece of parchment paper,
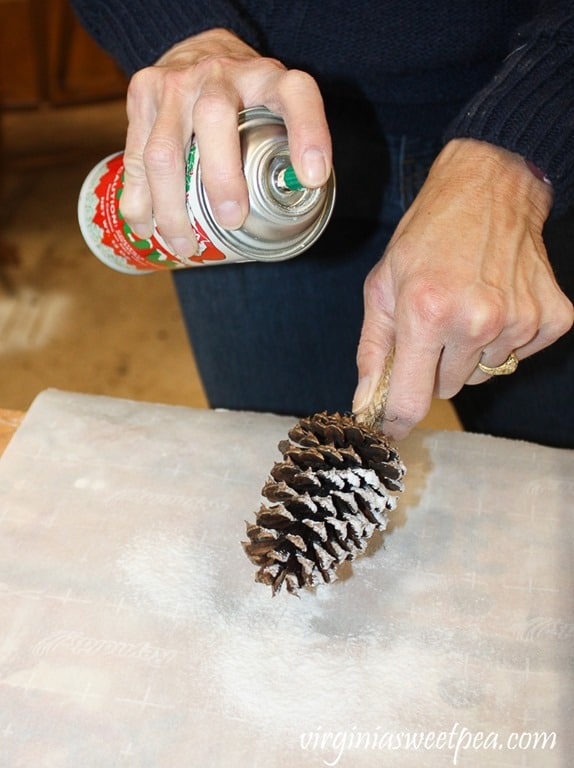
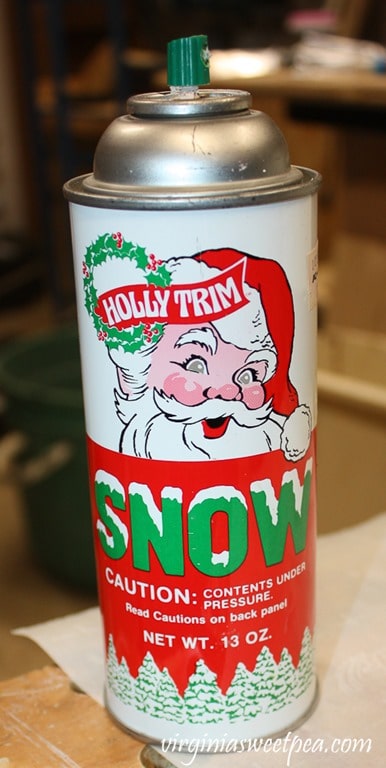
I bought this can of snow in 1991 and finally used up the last bit of it for this project. I guess I can say that I got my money’s worth from it!
Step Four – Hang the Pine Cones to Dry
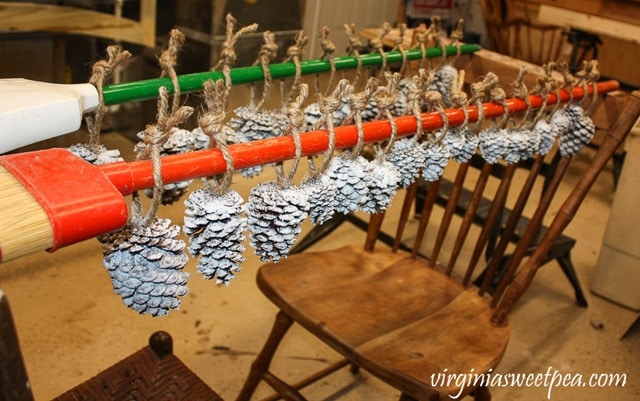
Hang the pine cone ornaments so that the spray snow can dry. I used two broomsticks to hold my pine cone ornaments.
Hang and Enjoy!
After the spray snow dries, hang the pine cone ornaments on your tree and enjoy!
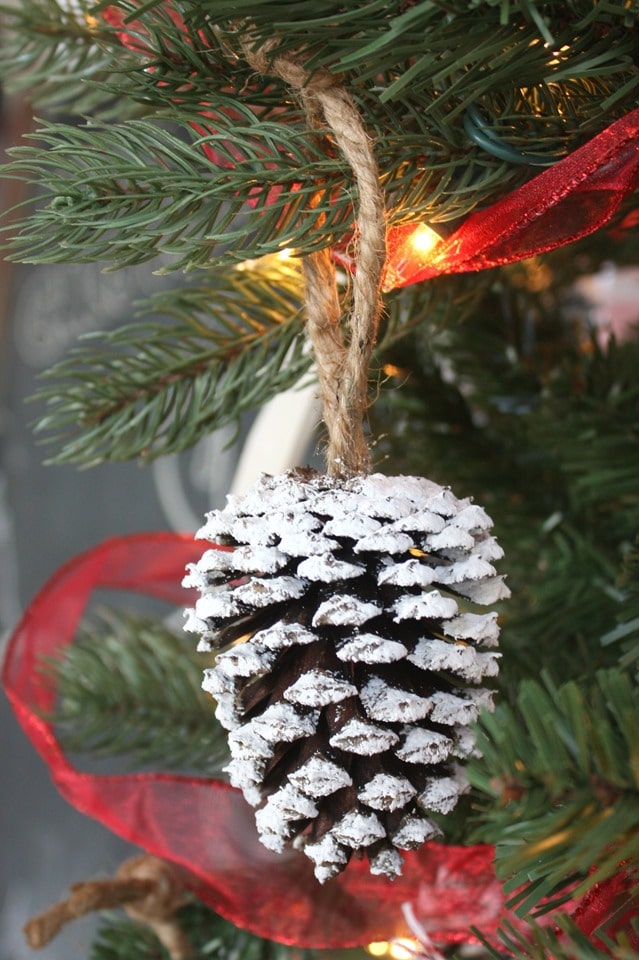
Sherman has a new ornament for this year. I’ll soon share how I made it.
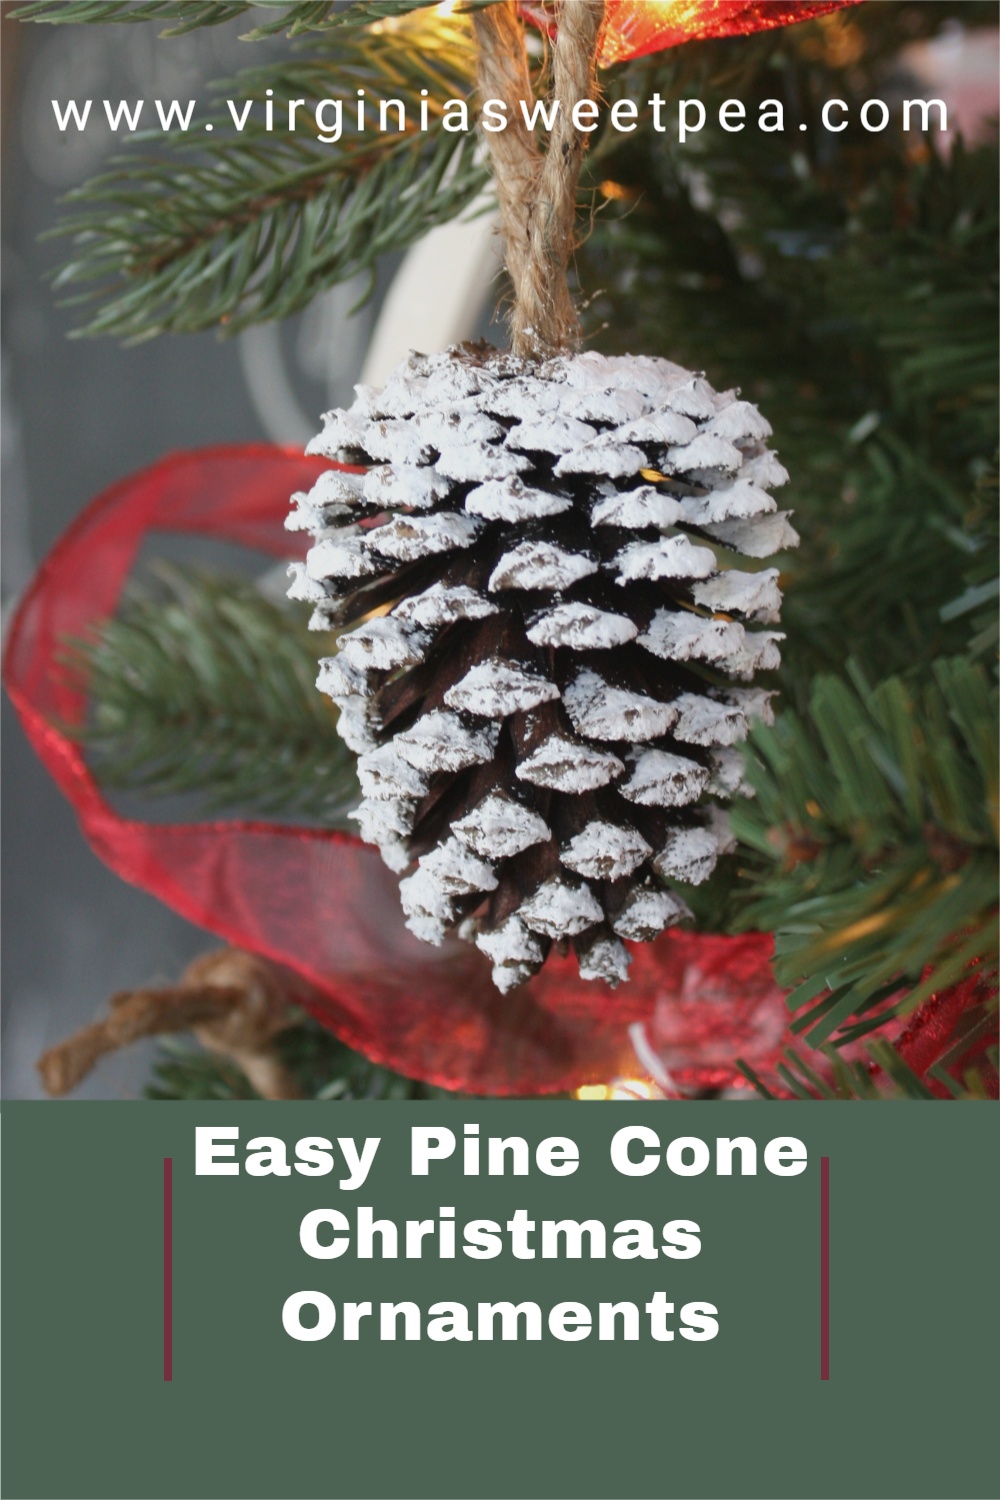
I would love it if you would pin this post for others to discover!

This looks so lovely and definitely something the kids will enjoy doing. Thanks for sharing this. Awesome!!
http://www.missymayification.co.uk
I love this and it is so simple. I have a whole box of pinecones sitting on a shelf somewhere. Time to go find them!
What a lovely addition to your tree and so easy to make. Thanks for sharing with us at #BloggersPitStop.
Las piñas son siempre un acierto en la decoración.
Saludos
Those are really cute! That is an excellent tip to bake pine cones before crafting with them. I’d never thought of that before, but I will be sure to from now on! 🙂 Lisa
You can also freeze them to kill any insects that are in them. I love crafting with pine cones because they are free!
Paula
So pretty and so simple! Thanks so much for sharing with us at the Happy Holidays link party. Pinned.