Easy Clay Christmas Ornaments
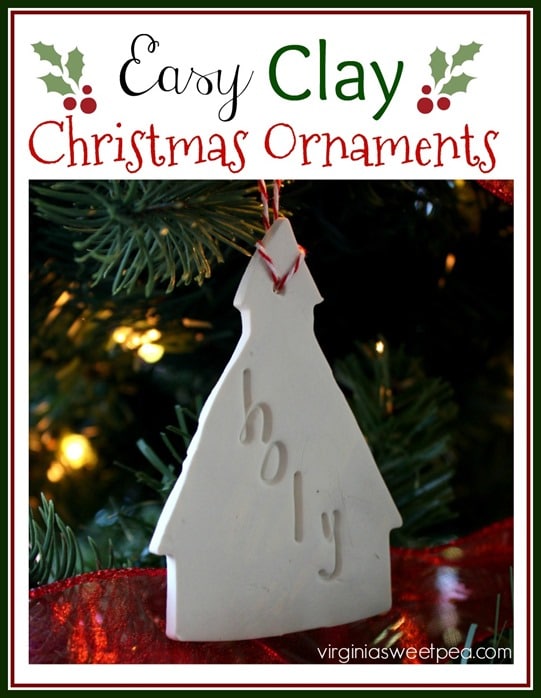
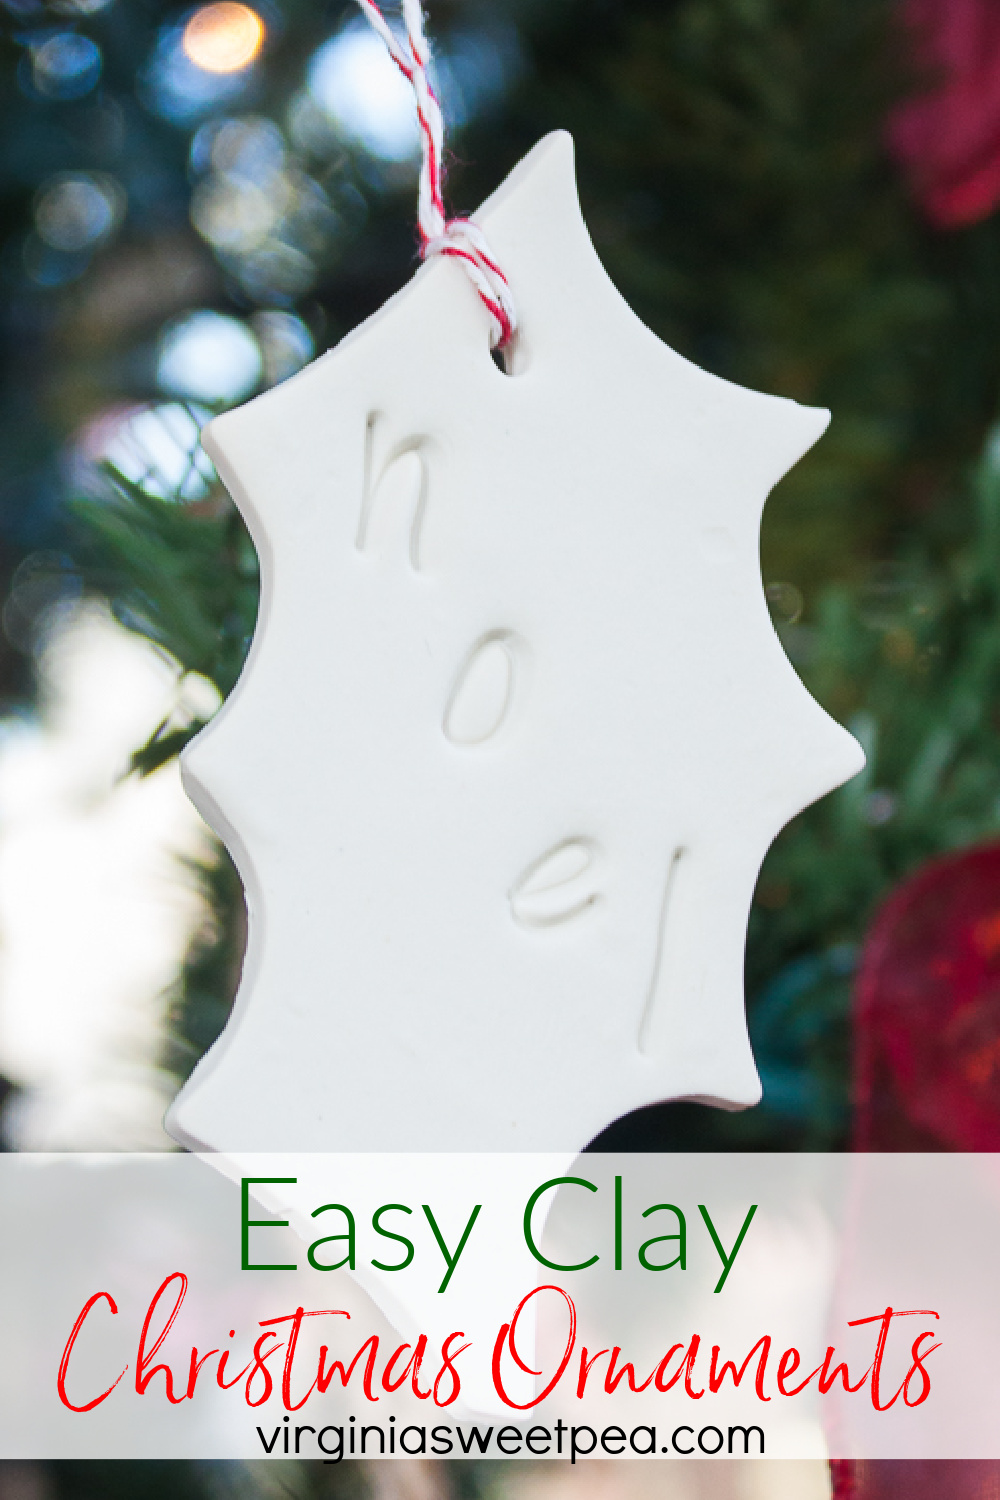
I’m back with another easy Christmas ornament idea that you can customize to suit your own decor style, DIY Clay Christmas Ornaments that are so easy to make. These ornaments are made with clay, cookie cutters, and stamps.
I love how these look on our porch tree combined with the Easy Pine Cone Ornaments that I shared earlier this week. For the cost of a package of clay and twine for hangers, I filled our porch tree with handmade ornaments.
DIY Clay Christmas Ornaments
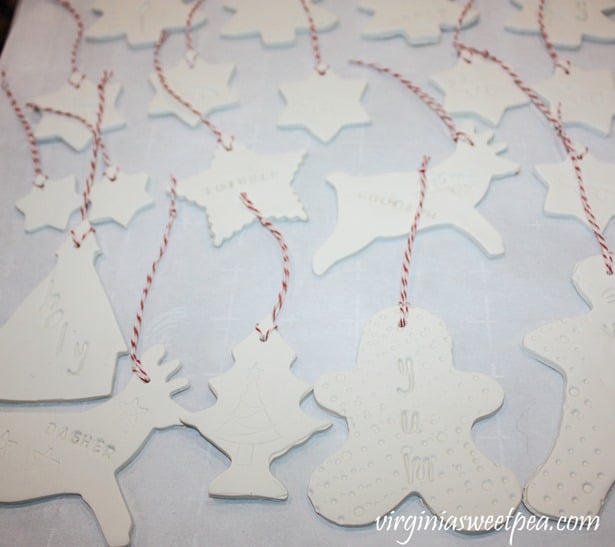
Let’s start by seeing a few of the DIY clay Christmas ornaments that I made.
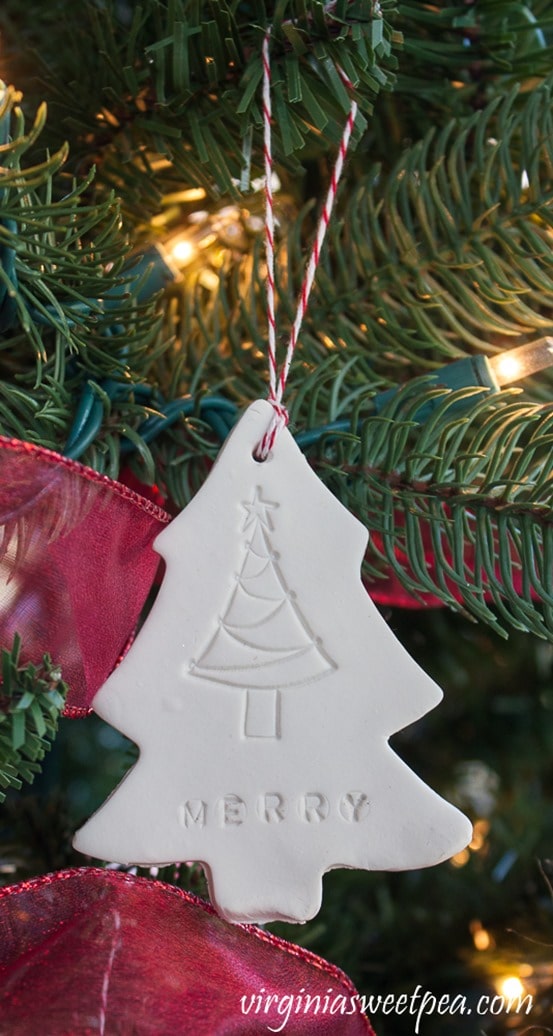
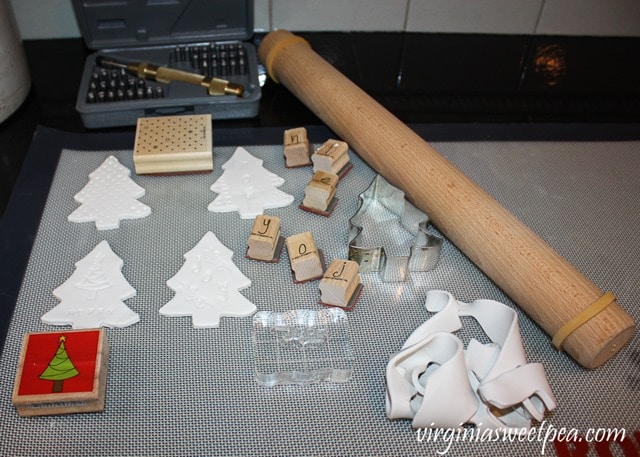
To make my ornaments, I used my favorite cookie cutters and then decorated the ornaments with either stamps made for paper or my metal stamp kit from Harbor Freight.
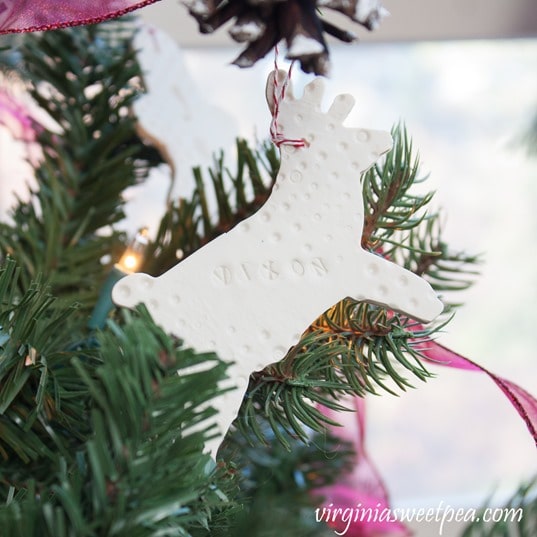
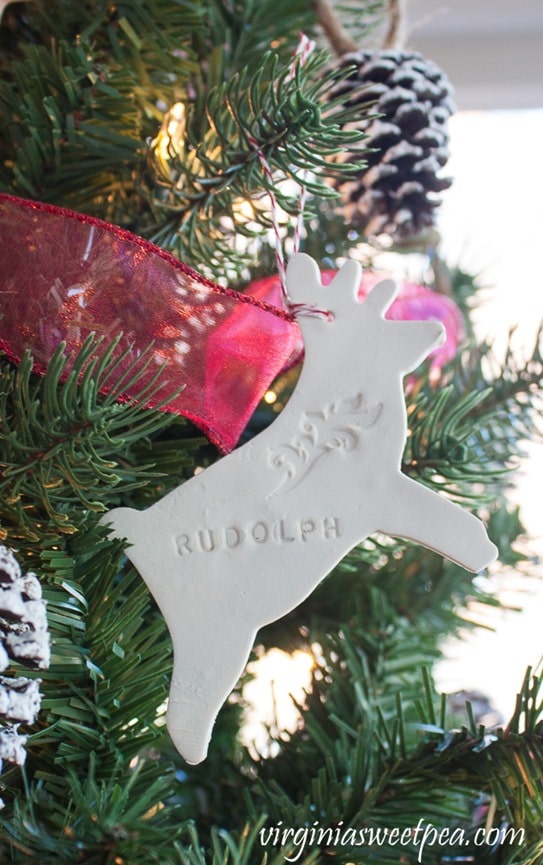
I didn’t make all of Santa’s reindeer but I did make Vixon and Rudolph.
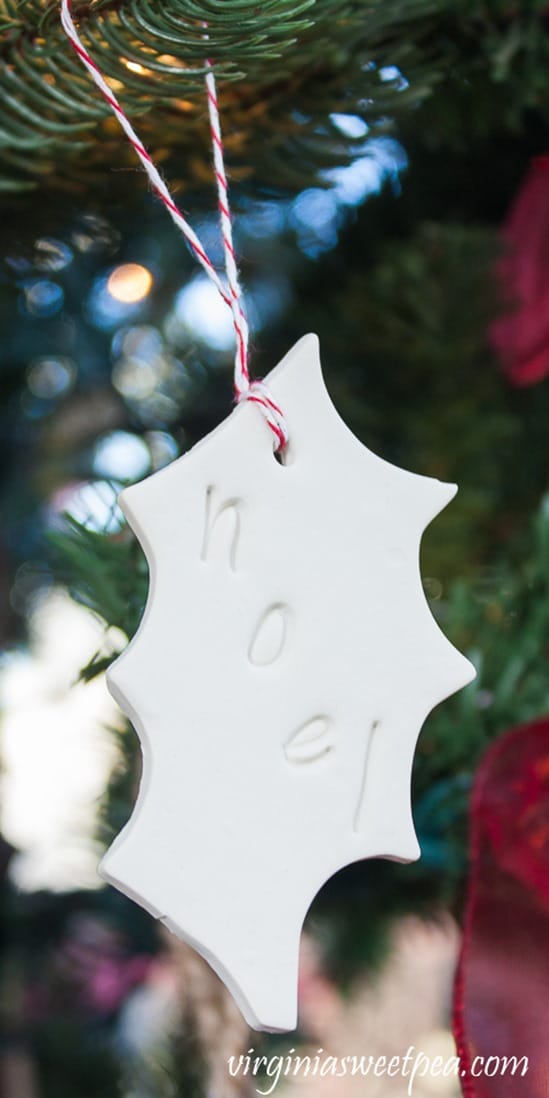
I did holly leaves.
And Christmas trees…
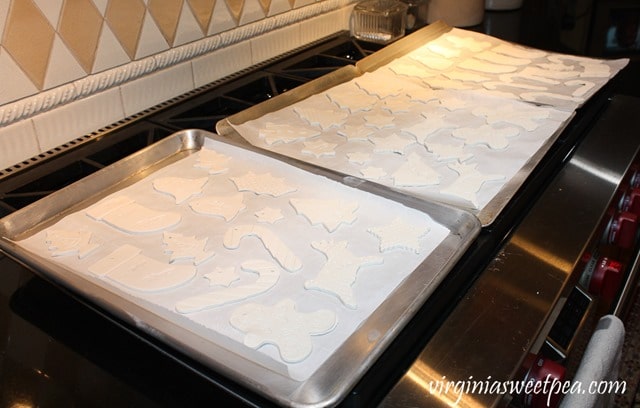
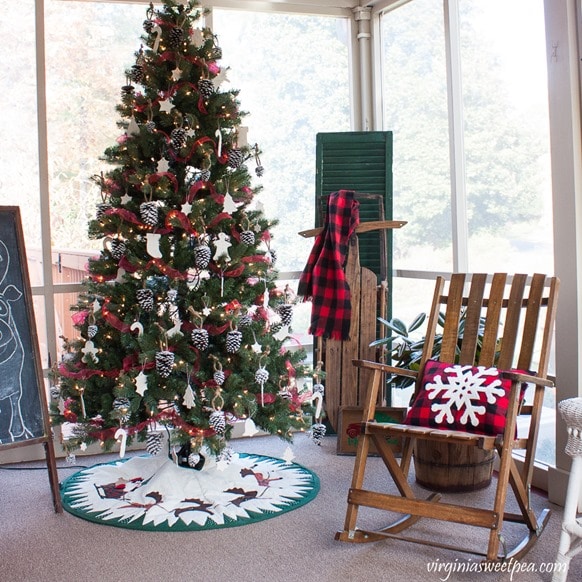
Looking at the entire tree you can also see candy canes, stockings, stars, bells, and gingerbread men.
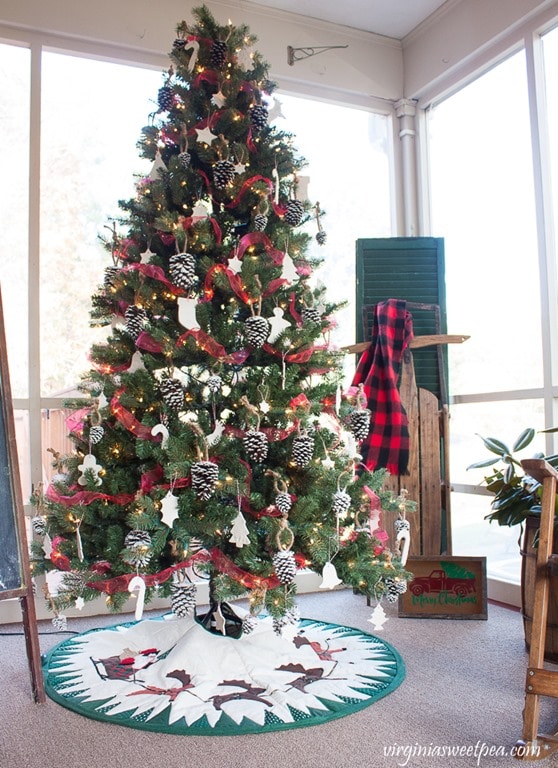
Making these ornaments was fun and easy. This is a craft that kids would love to help make.
How to Make Easy Clay Ornaments
Supplies:
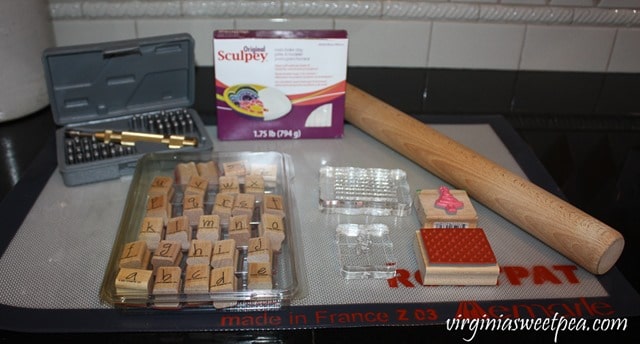
- Sculpey Polymer Clay – This clay is very easy to work with and stays soft until you bake it.
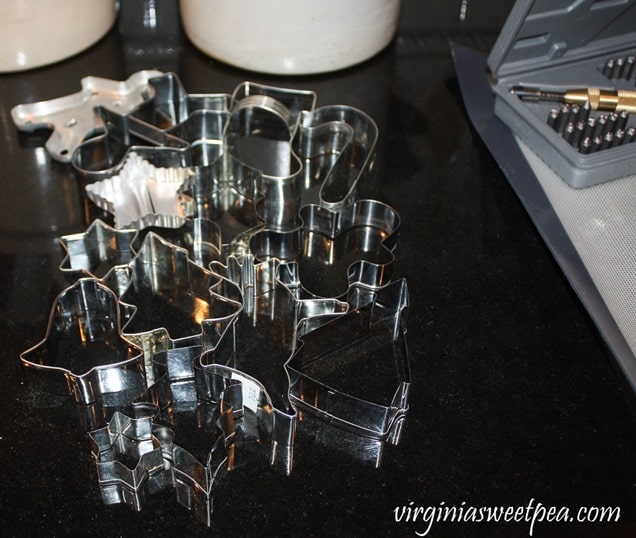
- Cookie Cutters
- Paper Stamps – Mine are old sets that I’ve had for years.
- Metal Stamping Set – Mine is from Harbor Freight (similar one here). This one is very similar to mine and reasonably priced.
- Rolling Pin
- Rolling Pin Dough Thickness Guides – This set is similar to mine.
- Rolling Mat
- Baker’s Twine – Mine is from King Arthur Flour but this is very similar and less expensive.
- Toothpick
- Wood Skewer
- Scissors
I love cookie cutters and have collected them since my college days. I selected these from my collection to use for the clay ornaments.
Roll the Clay
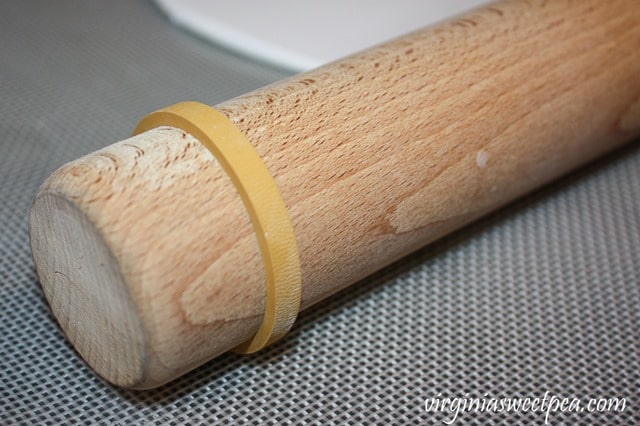
I decided that I wanted to roll the clay to 1/8” thick with a rolling pin and used dough guides to help. Yellow is 1/8” thick, so I put a yellow guide on each end of my rolling pin.
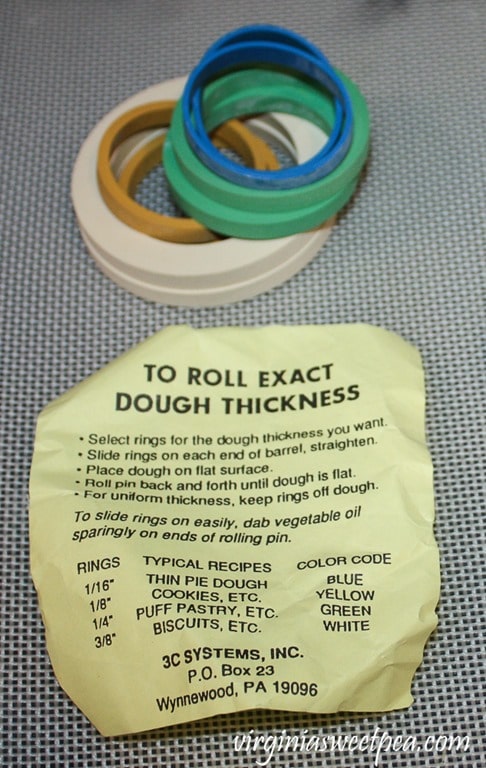
Dough guides are helpful when making rolled cookies or pie crust.
Break off a small amount of clay and work it with your hands to warm and soften it. Do this before you try to roll it out with your rolling pin.
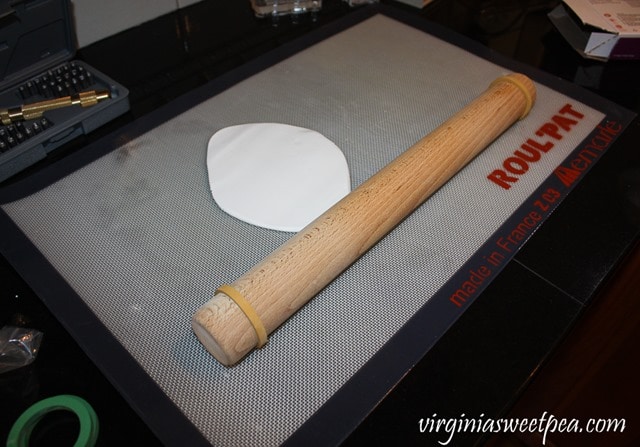
Cut Out Ornaments Using Cookie Cutters
Roll the dough out and then cut shapes with cookie cutters, just like if you are making cookies.
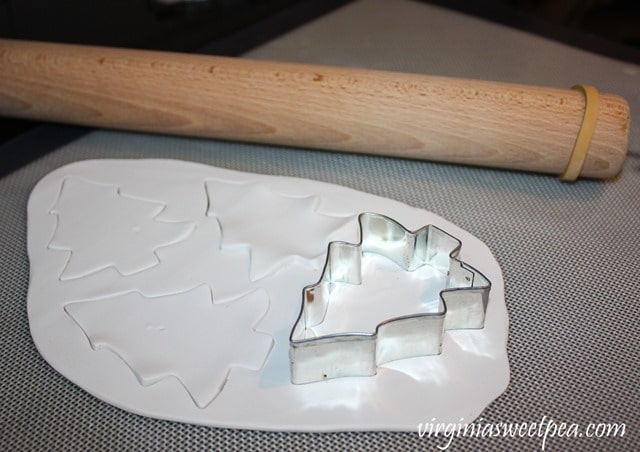
Decorate the cookies with stamps. I used stamps made for stamping paper and also a metal stamping kit.
This Christmas tree stamp would work perfectly for this project.
Use a wood skewer to make a hole in the top of each ornament for a hanger.
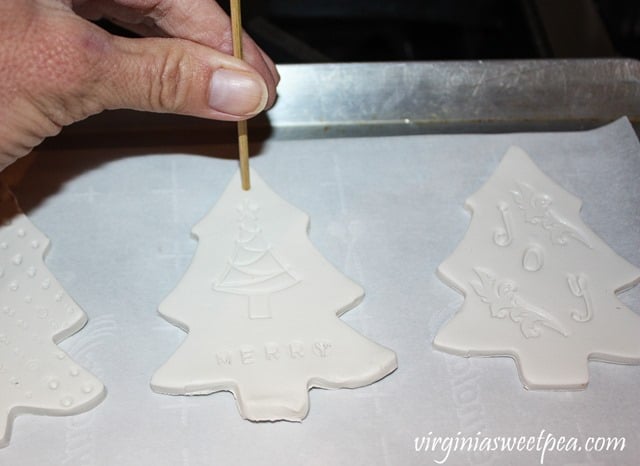
Place the ornaments on parchment lined baking sheets as you make them. Bake according to the directions on the Sculpey package and allow to cool.
Add the Hanger
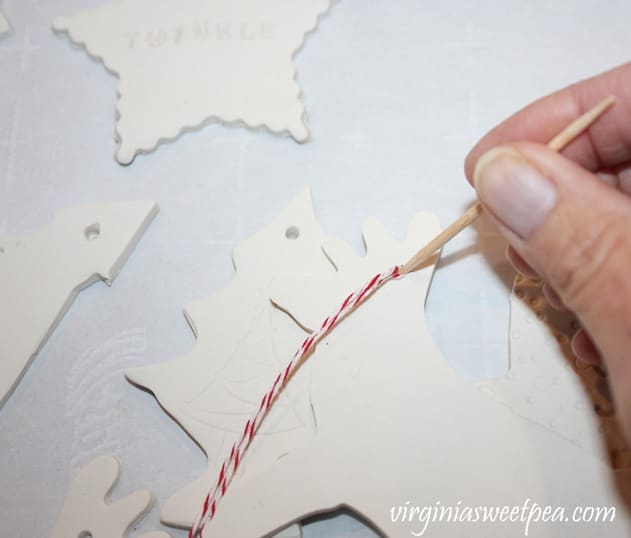
Make a hanger for each ornament with a piece of baker’s twine.
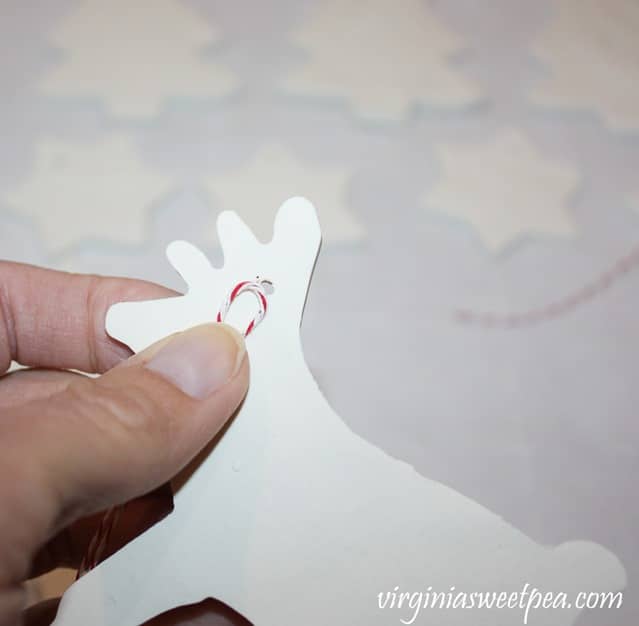
Use a toothpick to push the twine through the hole.
Tie the twine in a knot and trim with scissors.
Hang on the Tree and Enjoy!
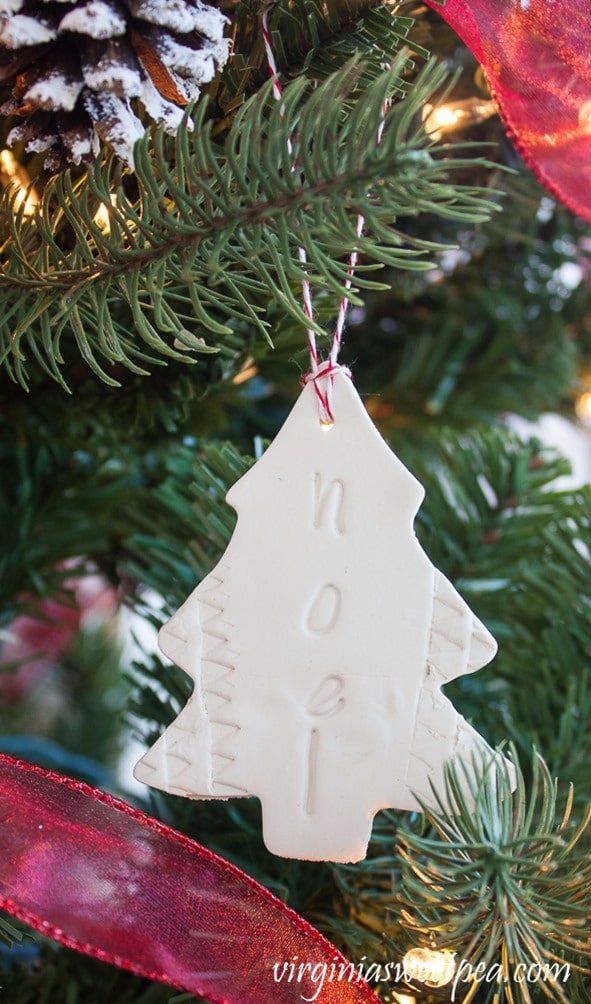
I love how these DIY clay Christmas ornaments look on our tree. Don’t miss seeing all of the vintage that I used to decorate our porch for the season.
If you like this project, please pin it for others to discover!
Before you go, check out these easy to make Christmas ornaments
- Clothespin Santa Ornament
- Easy Clay Christmas Ornaments
- Snowflake Wine Cork Ornament
- Easy Pine Cone Christmas Ornaments
- Popsicle Stick Ski Ornament
- Snowflake Ornament from Clothespins
- Personalized Stamped Washer Christmas Ornament
- Handmade Winter Wonderland Ornament
- Button and Felt Snowman Ornament
- Sparkling Snowflake Christmas Ornament
- Woodland Elf Christmas Ornament
- Sparkly Snowflake Christmas Ornament
- Cocktail Christmas Ornaments





They are lovely, I have a little air dry clay left over from another project, these look easy to try and I have loads of cutters too!
I love the reindeer with the names
These are really really pretty and I got all excited seeing how you decorated them. I’m definitely making some of these to send overseas. Thank you for giving me such a great idea for my international penpal friend’s gifts this year!
Thank you so much, Lisa!