DIY Adjustable Wood Display Stand for Plates or Art
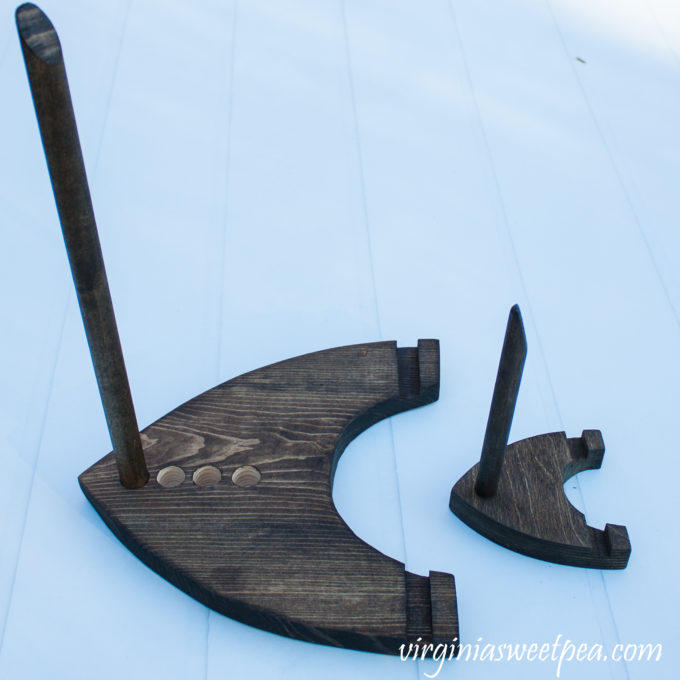
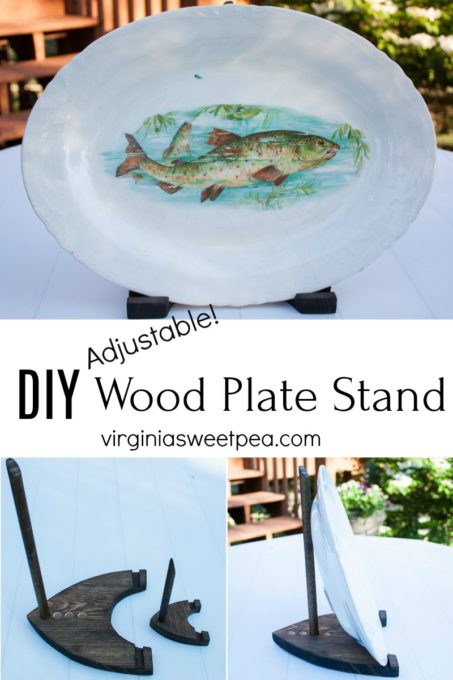
It’s been a few months since I’ve shared a woodworking project and today I’m excited to share how to make a DIY Adjustable Wood Display Stand.
This project is part of the latest Power Tool Challenge. We haven’t had a challenge since November when we made gifts for each other and today our challenge is $20 and under projects. The plate stand that I made for this challenge cost just $2 since all I had to buy to make it was a dowel rod.
DIY Adjustable Wood Display Stand
A long time ago, at Manchester Woodcraft in Manchester, VT, I purchased a small display stand that I’ve enjoyed using for displaying small plates, postcards, or small pieces of art. The display stand was purchased unstained and I stained it so that it would blend in better with my decor. The display stand that I purchased isn’t listed on the Manchester Woodcraft website but they might have them in stock if you were to visit their store.
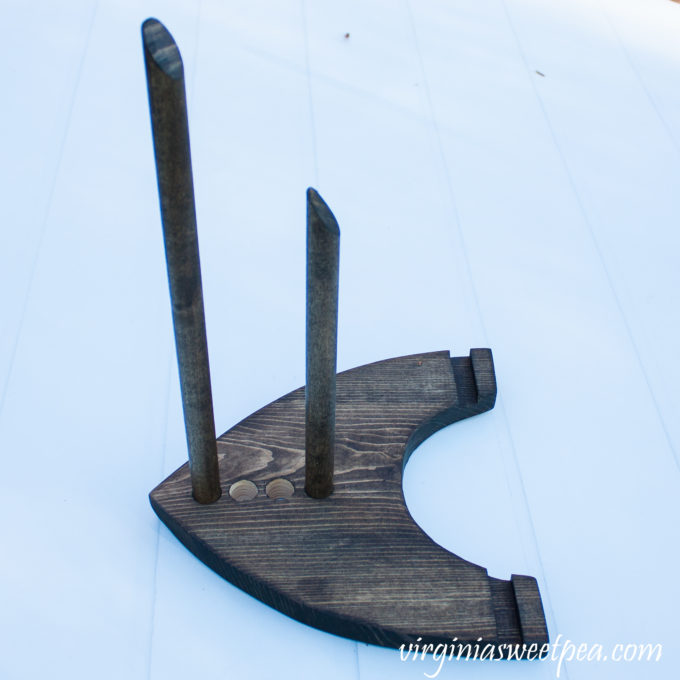
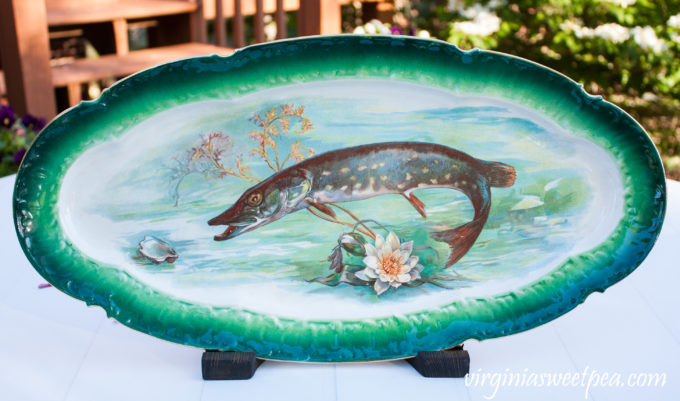
I have a collection of antique fish platters that I used to have hanging in my kitchen. When I painted our kitchen last fall, I removed the platters and didn’t hang them back up. Since they are fish themed, I thought it would be fun to take a few to our lake house to display. The fish platters are large and since I like the small display stand that I purchased in Vermont so much, I decided to copy its design and make a larger version. My larger version is adjustable to use with different sizes of plates, platters, or art.
Since some of my fish platters are larger than others, I made two sizes of back supports. The taller one is used for my taller platters and the shorter one for my long and narrow platters.
DIY Adjustable Wood Plate Stand in Use
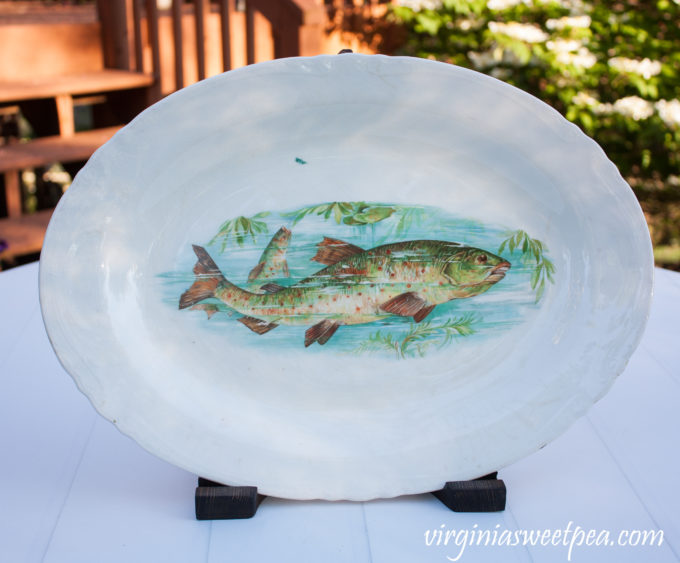
I plan to display this platter on the counter in our lake house kitchen. I used the longer dowel to display this platter.
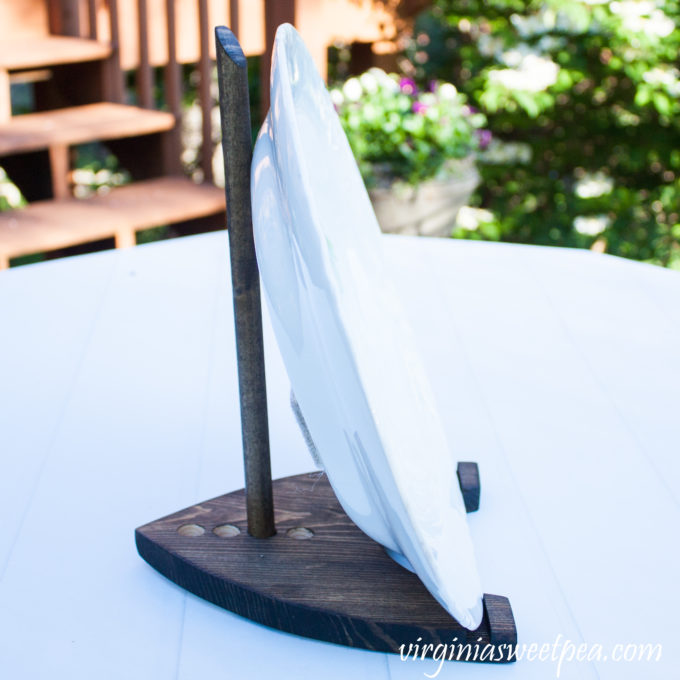
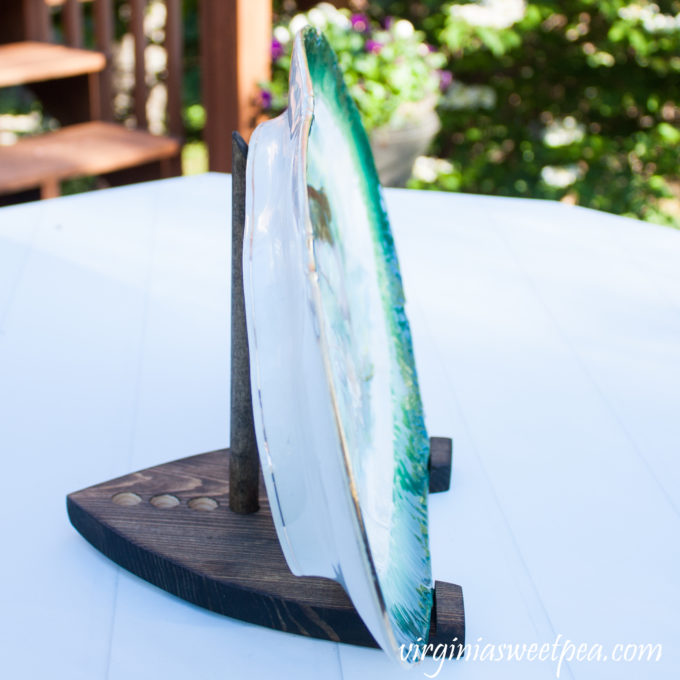
Here is a side view. The felt pads on the back of the platter are leftover from when I had it hanging on our kitchen wall.
Here is another platter, this one wide and not very tall.
This side view shows that I used the shorter dowel and the last hole for displaying this platter.
Now that you’ve seen pictures of my wood plate stand in action, let me show you how I made it.
How to Make a DIY Adjustable Wood Plate Stand
Step One – Make a Template
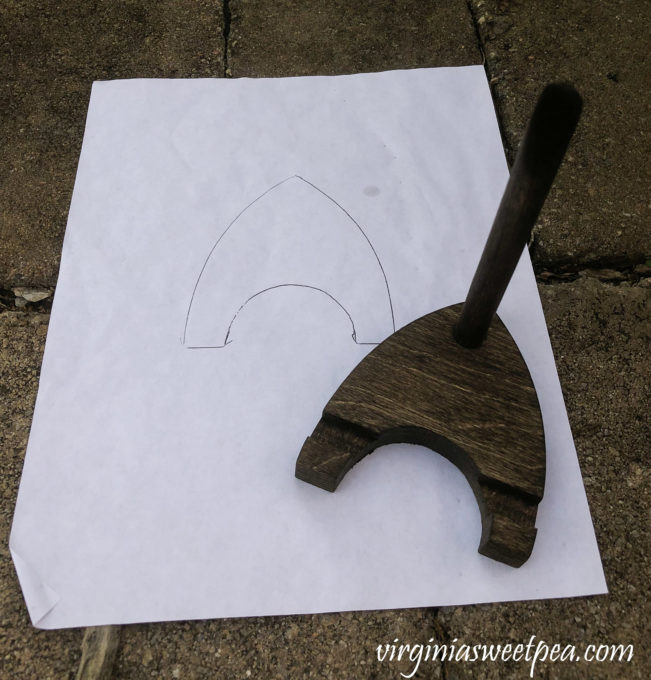
I traced the plate stand that I purchased in Vermont and then had my husband enlarge it at work.
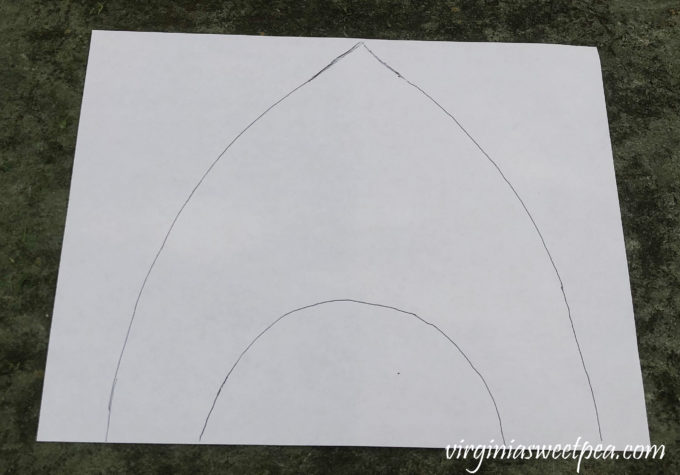
The enlarged template went off the paper, so I traced it onto another sheet. You can print my template here.
Step Two – Cut out the Base
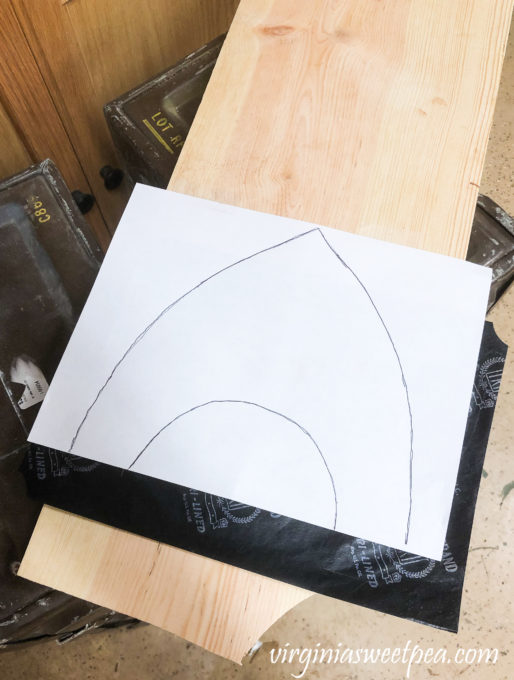
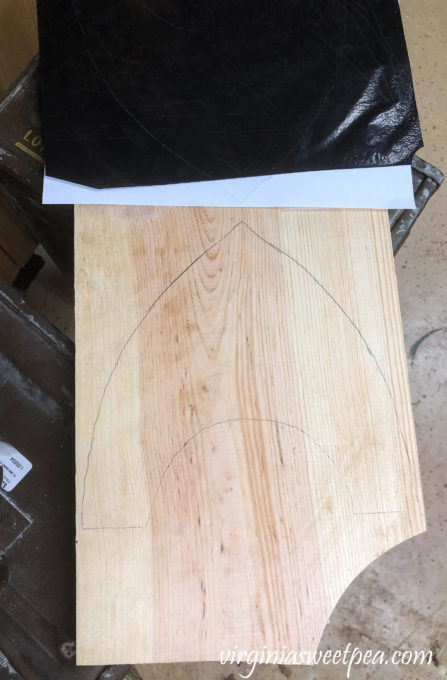
Use carbon paper to trace the template (get it here) onto the wood that you want to use for the base. I used a scrap piece of 1 x 10 (3/4″ thick).
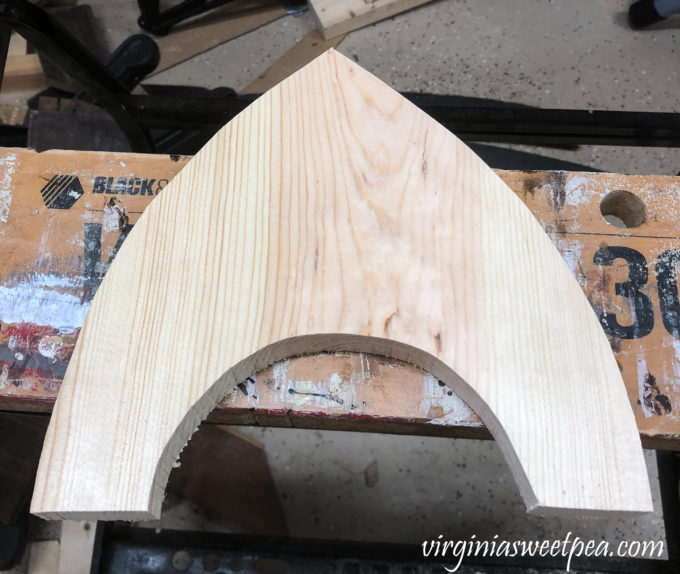
Use a jigsaw to cut out the base. I also sanded it after I took the picture below.
Step Three – Route a Groove for the Plate
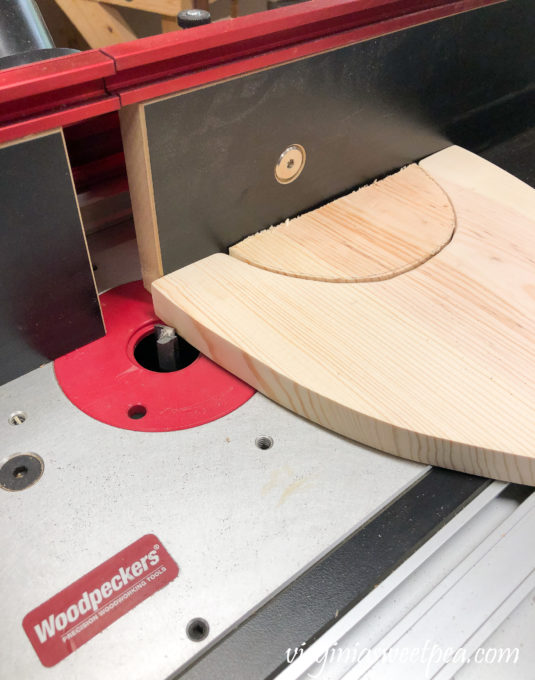
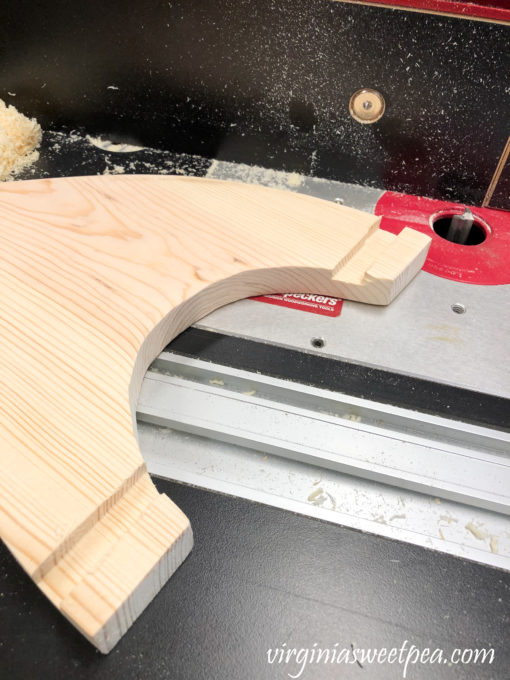
Using a 1/2″ rabbet bit, route a groove approximately 1/2″ from the edge. Use of the scrap piece was to prevent tear-out while routing this groove (see below).
Step Four – Drill Holes
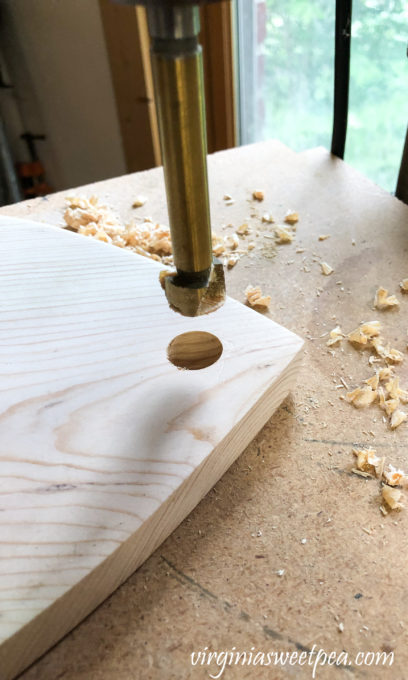
Use a drill press with a 1/2″ drill bit to drill holes following the placement on the template. Multiple holes were drilled in line to accommodate various plate sizes.
 Step Five – Prepare the Dowels
Cut a 1/2″ diameter dowel rod into two sections, one 12″ and the other 9″. Use a miter saw to cut one end of each dowel at an angle (nice, but not truly necessary). Use either dowel in any of the holes to suit your intended display.
Step Six – Stain and Enjoy!
Stain the display stand or enjoy using it unstained.
Pin It!
I would love it if you would pin this for others to discover on Pinterest.
$20 and Under Woodworking Projects
Visit my friends to see their $20 and under woodworking projects!
H2OBungalow – DIY Solar Hanging Lanterns
My Repurposed Life – Flower Pot Cover
Designed Decor – DIY Hanging Air Plant Holder


Hi, Paula!
I love how you made these to have adjustable dowels. That’s a nice feature to have depending on the different sizes or shapes of the items you might want to display. Thanks for the tutorial! I’d love for you to share at Homestyle Gathering via Serving Up Southern.
>>> Kim
Thank you, Kim! I am excited to get this to the lake to use to display one of my fish platters. I’ll definitely share at your party this week!
Your such a loyal party goer! 😉
This is a good idea Paula! I’ve needed plate or other type stands before for projects and didn’t have one. I always have scrap wood though and love the cut-out notch at the bottom 🙂 . Pinned!
This project is perfect for scrap wood. If I had a 1/2″ dowel in my stash, it would have been free for me.
Paula
What a smart idea! There are many times when larger plates need to lean back farther and your idea is perfect!
Thank you, DeDe! I also like that the platter sits lower than it would with a folding easel.
Paula
You are a genius!! An adjustable plate/picture rack is a great idea. I’m going to show it to my significant other and see if he can cut me up a few!! Thank you so much for sharing and have a great Spring!!
This is an easy DIY. I am planning to make a few more.
Paula
You ARE a genius! This is a fabulous way to display plates. I’m so impressed with your design skills!
gail
pinned!
Thank you, Gail!
Paula
What a great DIY! Thanks for sharing at Vintage Charm!
This is fabulous. We will be making some of these. I love this.
I need to make a few more!
Paula
Great idea to custom make my own plate stand. I am pinning this.
Happy weekend, Kippi
These are great, Paula. Plate stands have gotten rather expensive. These would be great for small artworks, too.
Sweet pea, this looks easy but it’s not. You have done a very good job.