Ammunition Crate Table
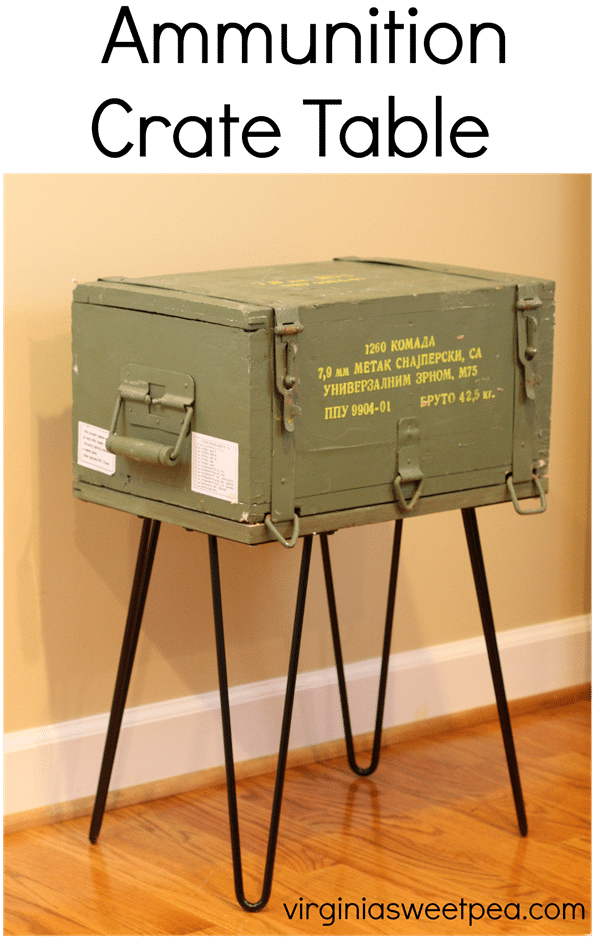
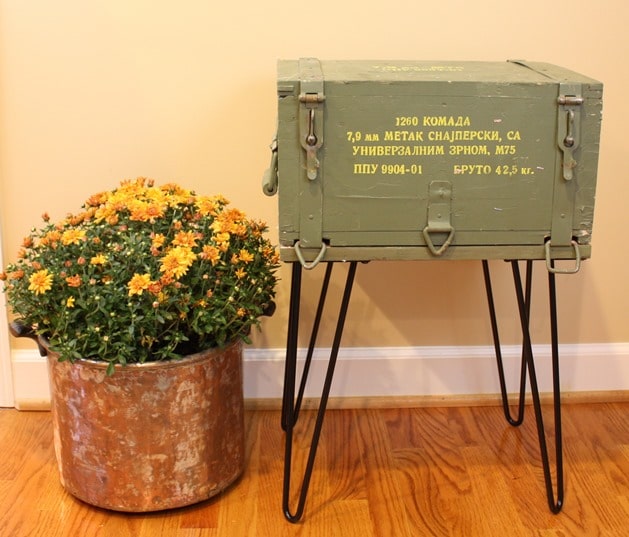
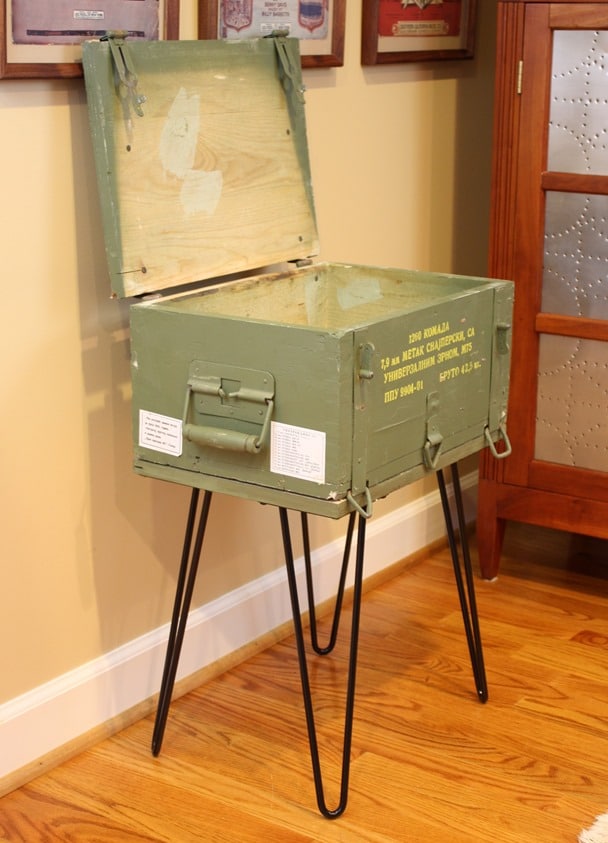
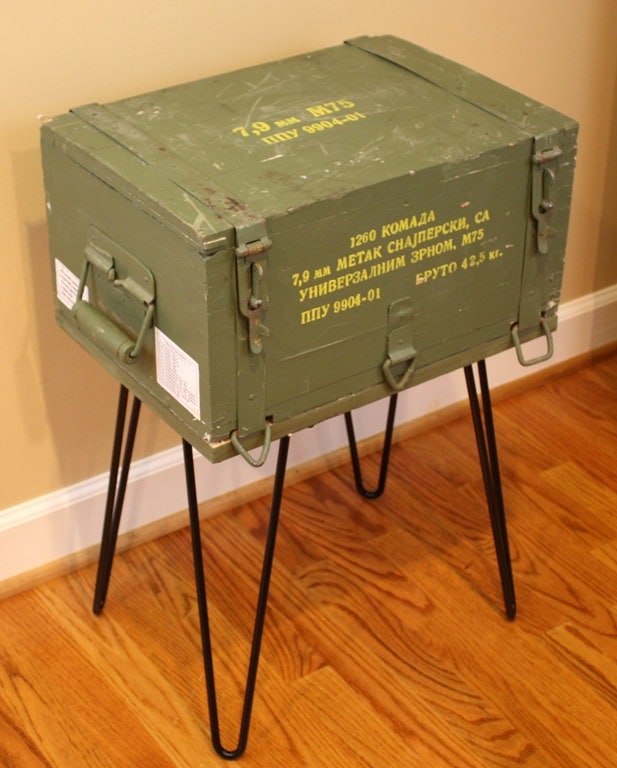
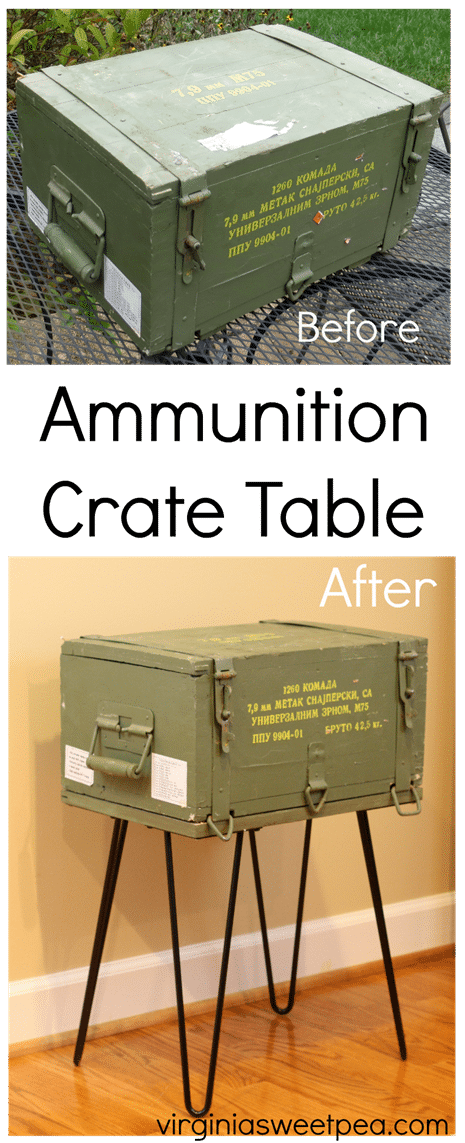
I’m joining my Power Tool Challenge Team gals for another fun challenge. This month our theme is modify and I turned a cold war era ammunition crate into a side table.
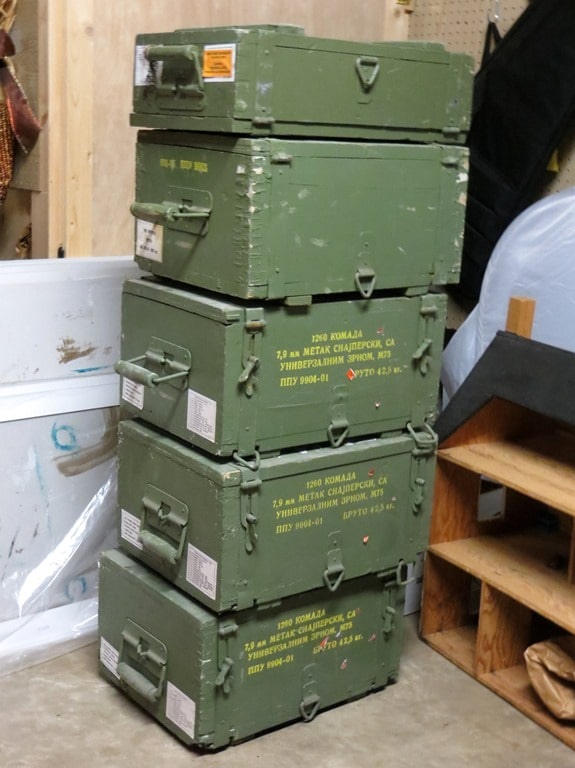
Why did I choose this project? Well, there happened to be a stack of these ammunition crates in our basement and I thought it would be fun to come up with a creative use for one of them.
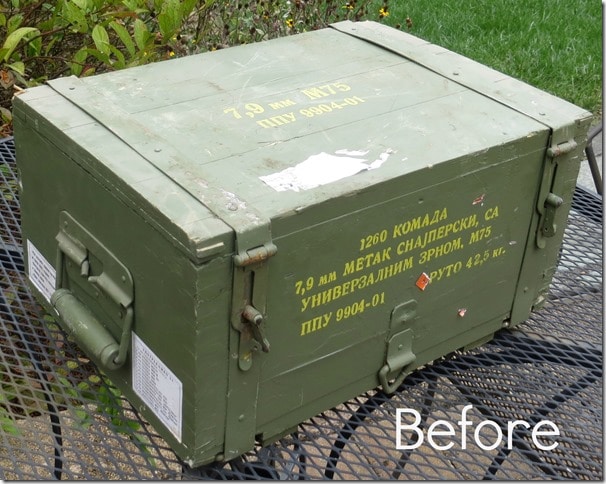
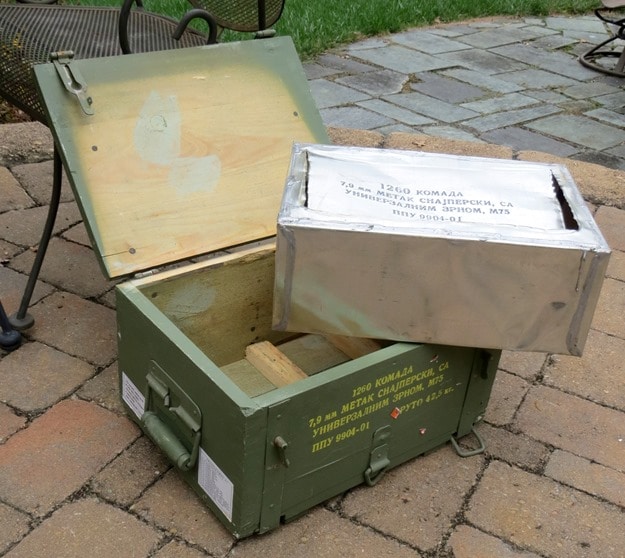
This crate was used to ship ammunition for a collectible WWII gun, a Mauser 98K.
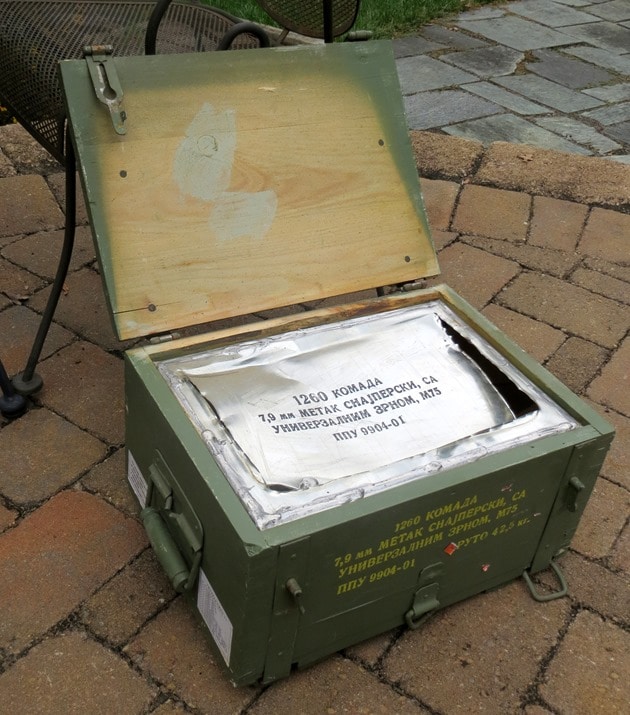
The interior looks like this. A wire hooked to a ring is pulled to open the “sardine can.”
I’m still trying to think of a use for the “sardine can” because it’s too cool to get rid of.
We love history and I think that this table will be a real conversation starter when guests see it.
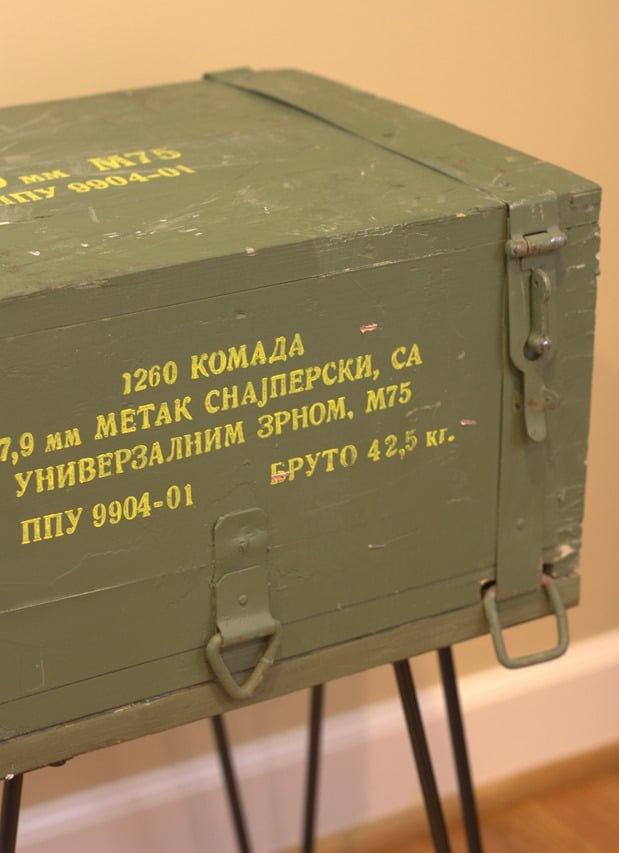
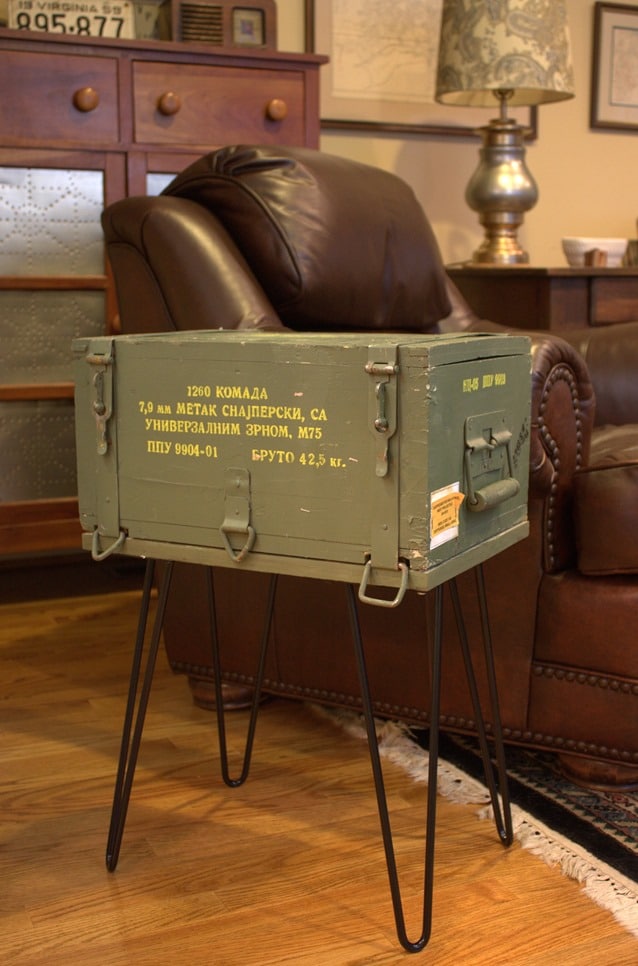
I love the army green color and the cool Yugoslavian writing on the sides. The latch is also interesting.
This crate is very sturdy and will be great for extra storage.
I really like how the look of the hairpin legs.
I’m not sure where we’ll use this table. For now it is in our family room beside Mr. SP’s chair. He encouraged me to fill it with snacks for football game watching.
Now let me explain how I made my ammunition crate table.
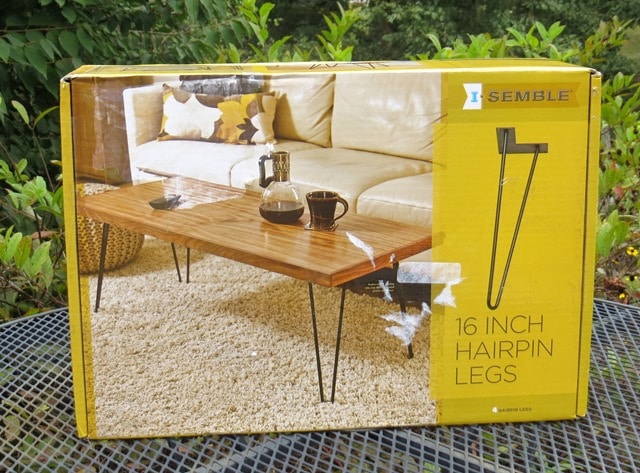
The hairpin legs were ordered from Rockler and were the most expensive part of this project. With shipping, they cost $47.98.
The ammunition crates were purchased here but are currently out of stock. The price for just a crate is around $20.
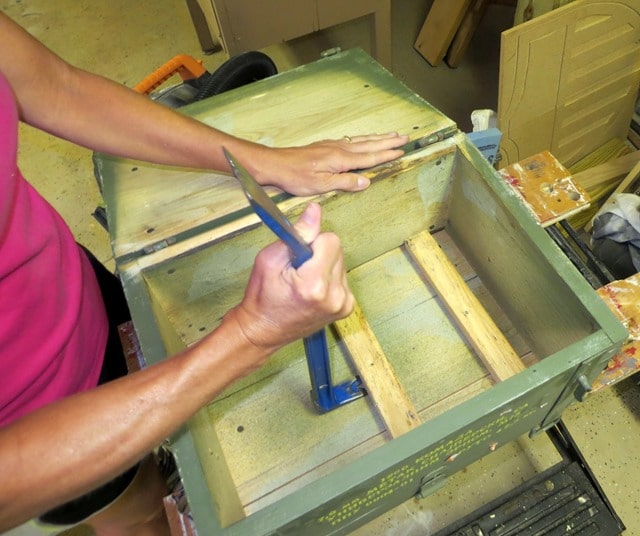
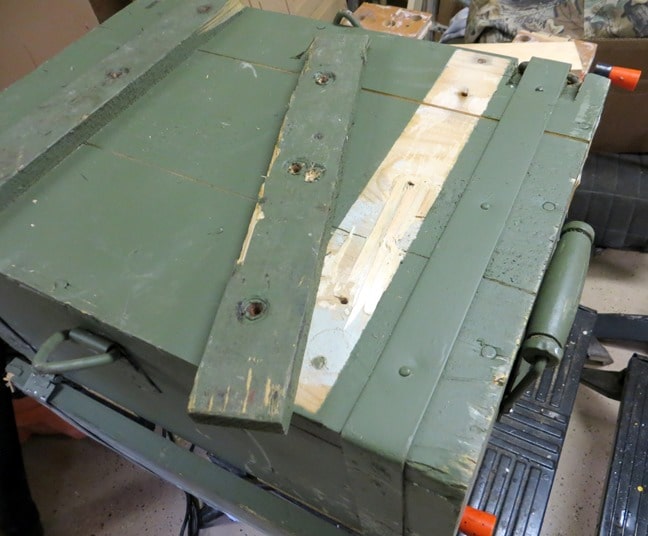
The first step in making the ammunition table was to use a crow bar to remove the wood pieces that supported the “sardine can”.
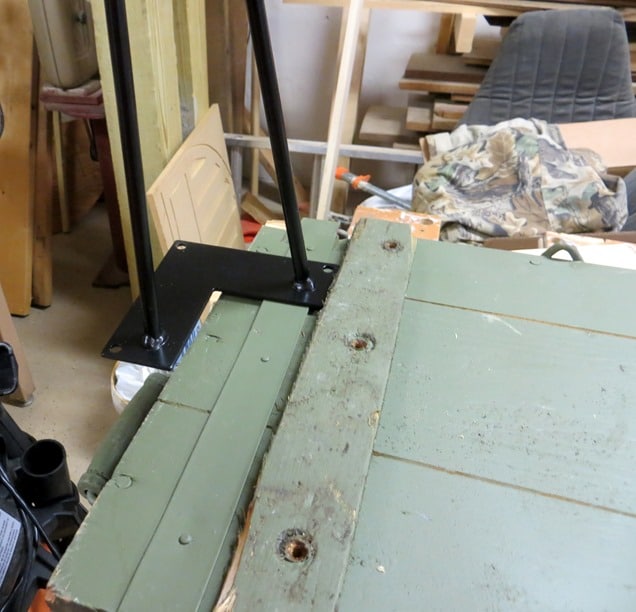
My hope was that I could screw the hairpin legs to the bottom of the crate and be finished but two pieces of wood on the bottom of the crate were in the way.
They were removed but the metal strap was still in the way. Time for Plan B!
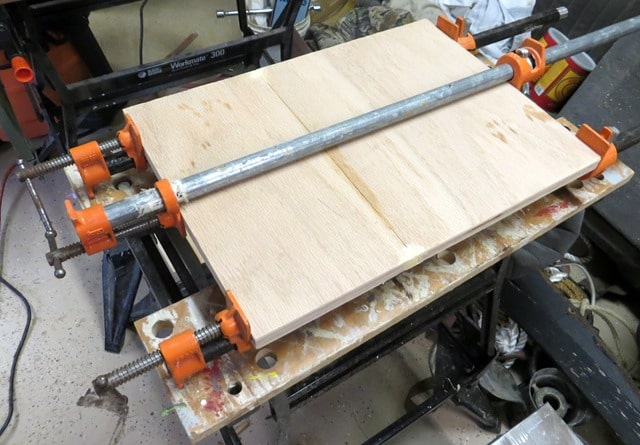
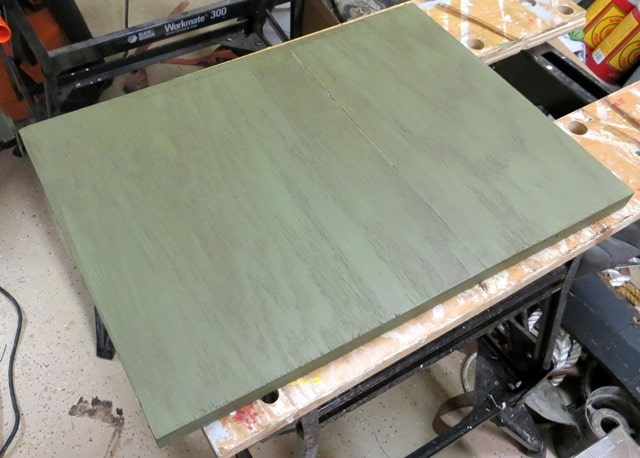
Plan B was to add a new bottom to the crate. The oak ply board that I had in the shop wasn’t big enough, so I cut two pieces to fit the bottom of the box and glued them together. Pipe clamps kept the pieces flat and square until the glue dried.
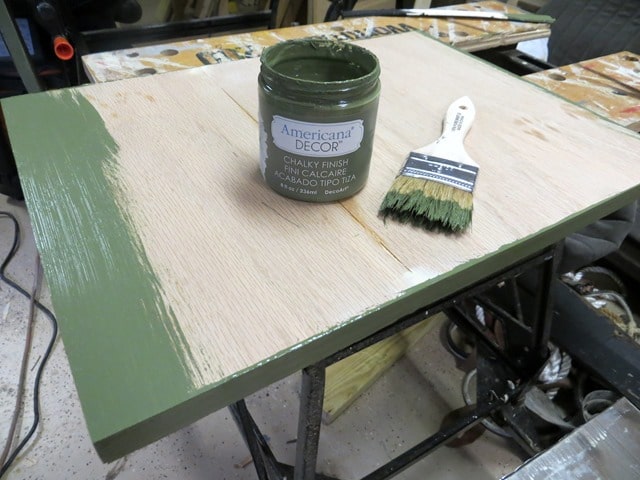
I used Deco Art Chalky Finish Paint in Enchanting on the new bottom piece after the glue dried and I’d sanded the piece thoroughly.
The paint didn’t match the crate perfectly but after I gave it a coat of Voodoo Gel Stain in Tobacco Road by Dixie Belle Paint, it was a close match.
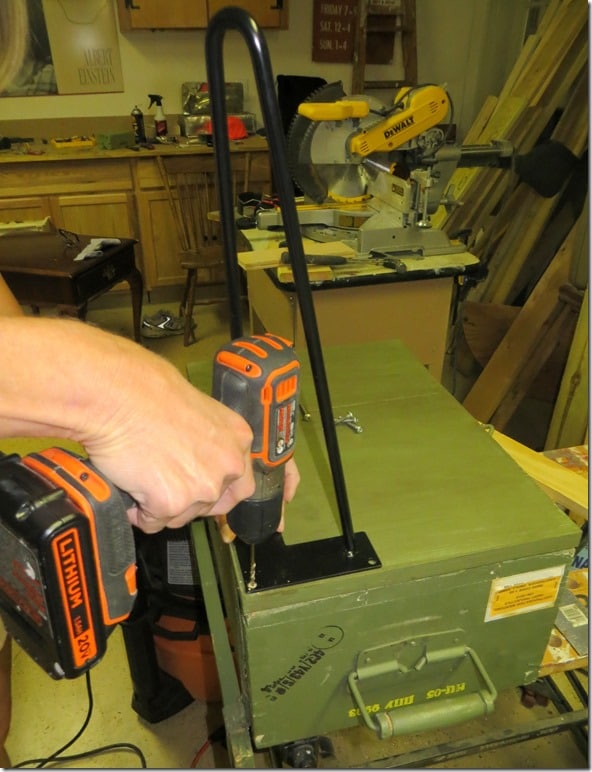
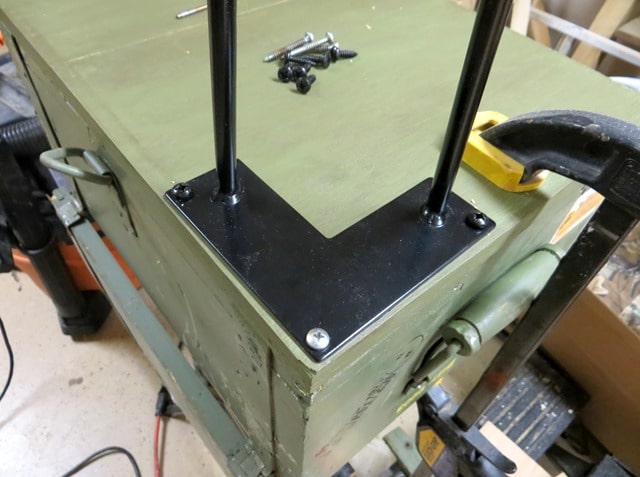
The new bottom and legs were then attached to the bottom of the crate.
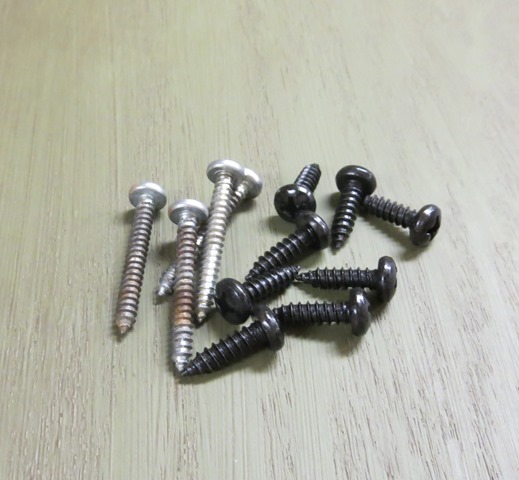
I used an 1 1/2” wood screw in each corner to make sure that the new base was attached to the crate and the screws that came with the hairpin legs in the other holes.
Clamps were essential to make sure that the new base stayed in place as the screws were added.
This project isn’t for just anyone but I’ll bet if you show it to the men in your life that they’ll think that it’s pretty awesome.
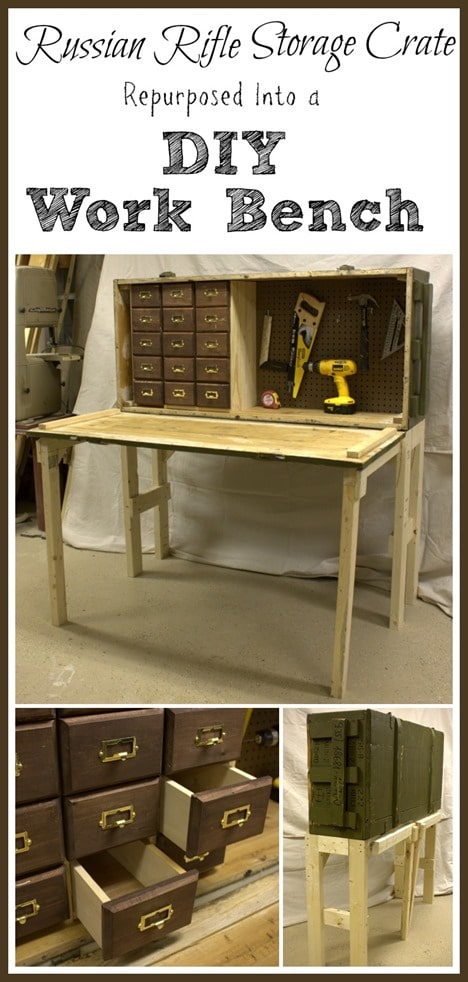
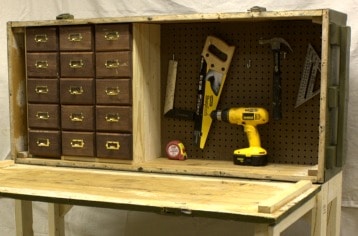
This isn’t my first miliary crate project. A Russian Rifle Crate was repurposed into a workbench that we now use at the lake. This workbench is so handy and it’s always a conversation piece when our guests see it.
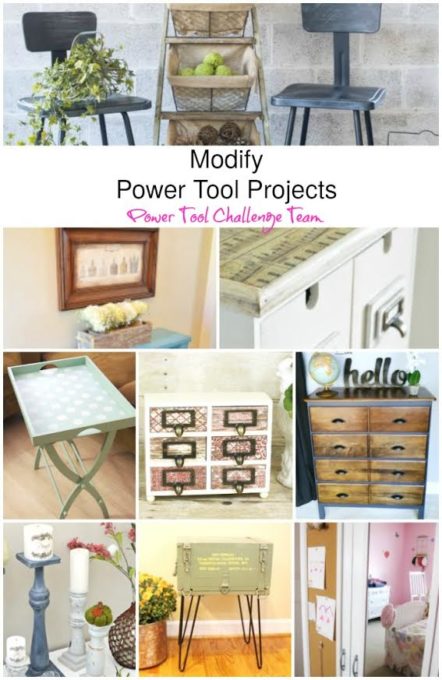
Now it’s time to visit the other projects shared for this month’s Power Tool Team Challenge. Click on the links below to visit each project.
Modified Leaning Ladder Storage By Designed Decor
How To Resize A Wood Picture Frame By Her Tool Belt
Ikea Moppe Hack Apothecary Cabinet by Interior Frugalista
Portable Craft Table By Create and Babble
Grown Up Jewelry Box By Kim Six
Modified Dresser By My Repurposed Life
Bed Spindle Candle Holders By H2OBungalow
Ammunition Crate Table by Virginia Sweet Pea
Ikea Wardrobe Update By Domestically Speaking
How to Piece Scraps to Make a Sign by My Love to Create


The hairpin legs are perfect for this little box. Loving the extra storage and even more the history. I’m sure this will be a big conversation piece when friends come over…btw- I’d have to find a good use for the sardine can insert too! Pinned!
Thanks, Wendi! I’m thinking on the sardine can. There’s got to be a good use for it!
Those hairpin legs are perfect! Awesome job!
Thanks, Mindi!
Paula,
We’re all loving those hairpin legs! 🙂 You have a lot of those crates left for more great projects, lucky you!
Perfect project for this month’s modify theme. Very clever and functional.
gail
Thanks, Gail! Those crates are too cool to just let them sit in a pile in the basement. I need to work on the rest of the pile!
This turned out awesome! I love that you used hairpin legs. What a fun use for that crate!
Thanks, Megan! It will certainly be a conversation piece when people see it in the family room.
This is a super cool conversation piece – love those hairpin legs! I couldn’t agree more with your husband, it needs to be filled with football watching snacks. Pinning and sharing 🙂
Thanks, Marie!
This is such a cool table now, and I love Mr. P’s suggestion to fill it with snacks for game time! XO
Thanks, Christy! I need to go to the store for football watching snacks. Mr. SP would be so happy if I actually did fill it with snacks. I’d also have to add some for Sherman.
What a clever makeover!
Thanks, Maryann! We love antiques and vintage, so this table fits in with our decor.
Your crate table is such a cool project! And you’re right, my husband loves it too. Now to watch for an ammo crate for the man cave 🙂
Thanks, Amy. My husband informed me this morning that he wants to use one of the other crates to make a second table but this time he wants to add a drawer. We’ll see what happens!
Love this piece of furniture, it’s really unusual. I love making furniture with hairpin legs. Well done.
Thanks, Claire. We are enjoying it!
Paula, I would on never noticed the add-on of the bottom had you not mentioned it. What a great blending you did. It is perfect the way you left it and those legs are great!
That is a unique piece and creative idea.Thanks for sharing on Family Joy Blog Link-up. Please come back and join us again!
I absolutely love it! I love anything “army”. Thank you for the hairpin legs resource! Very, very cool. I love it!
Thank you for sharing your fascinating Ammunition Crate table at Snickerdoodle Create~Bake~Make link party and I am featuring it today.
This is so creative and it goes perfectly in that room! Thanks for sharing with us at Share The Wealth Sunday!
This is so amazing! Great work on it!! pinned and shared
Jess
Absolutely love this! Such a creative project! Thank you for sharing with #OMHGWW so happy to have you as my feature this week!! http://fromevijawithlove.com/2016/10/12/halloween-decor-wonderful-wednesday/
You are right – I did show it to my history buff husband and he loved it! Such a wonderful conversation piece. And I love those legs. Pinned!
Thanks, Jeanie. So far since making this any guest who has come into our home has been attracted to it. We are working on a second one now with a drawer.