Burlap Pillow
The words burlap and pillow should never be used together. Especially if you use the kind of burlap that I used. Talk about scratchy! This pillow will definitely be a “look at me” only pillow.
I’ve been “itching” to do another burlap project since I made my table runner. I had just enough burlap in my 1989 stash to make a cute pillow.
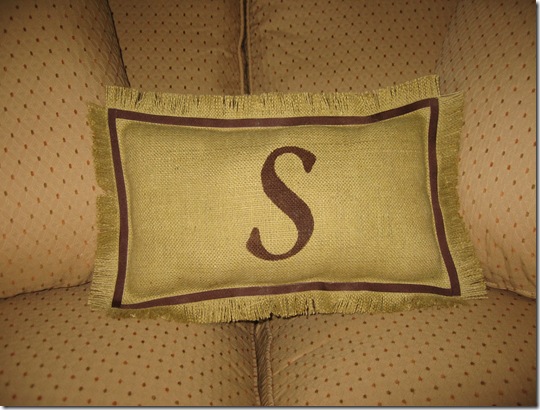
My pillow doesn’t yet have a permanent home. Here it is in my living room.
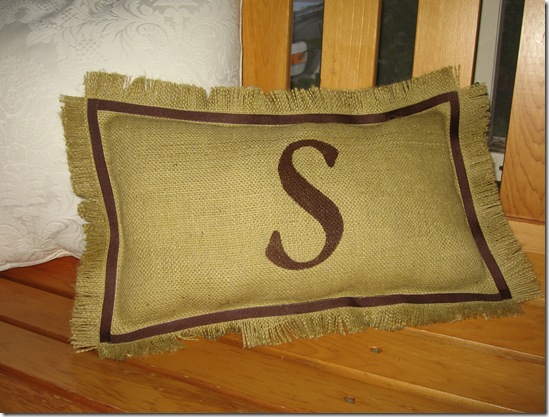
It may find a home on my screened porch bench.
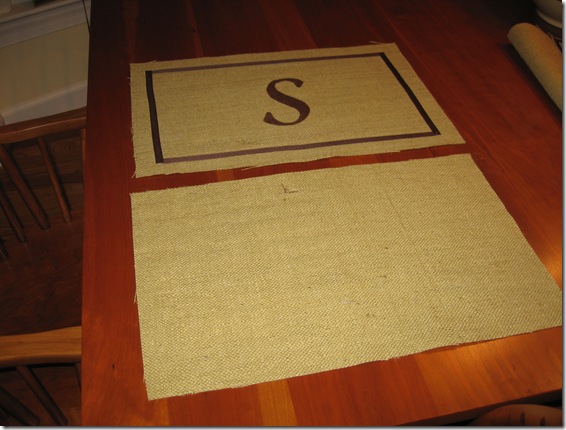
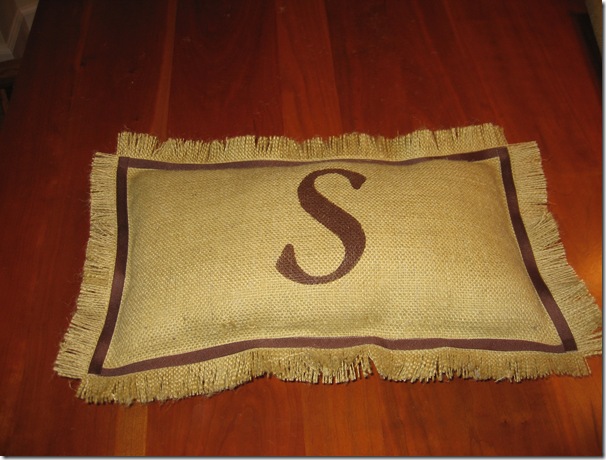
This pillow was super easy to make. I cut two pieces of burlap the same size. I stenciled a monogram on one piece and after the paint was dry used fusible webbing to iron on ribbon.
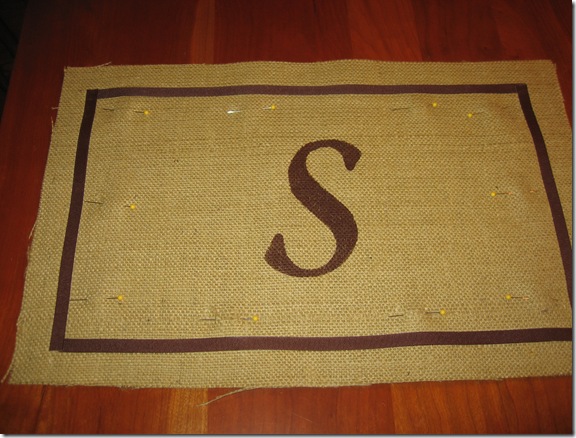
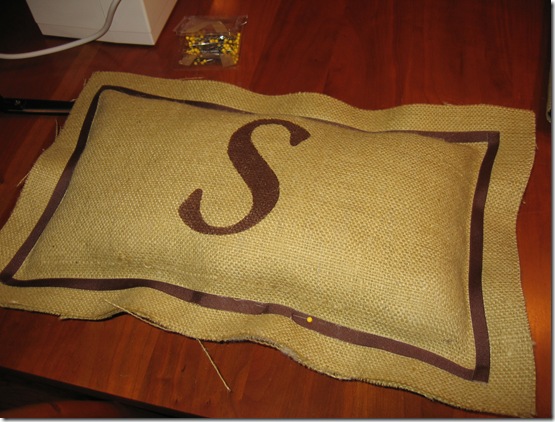
Then I pinned the two pieces together making sure that the edges were lined up evenly.
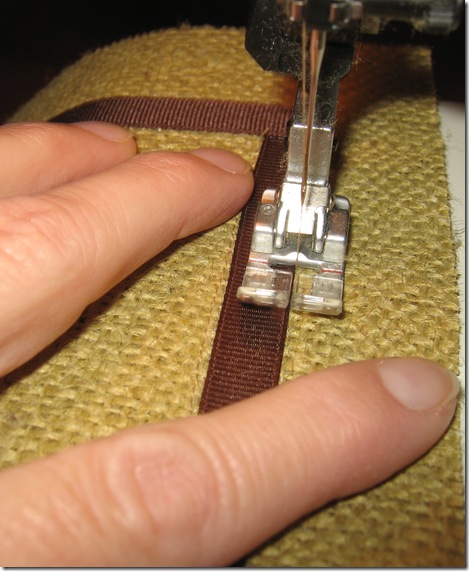
I sewed around the left side of the ribbon. Be sure to leave an opening for stuffing the pillow!
Then I sewed around the right side of the ribbon.
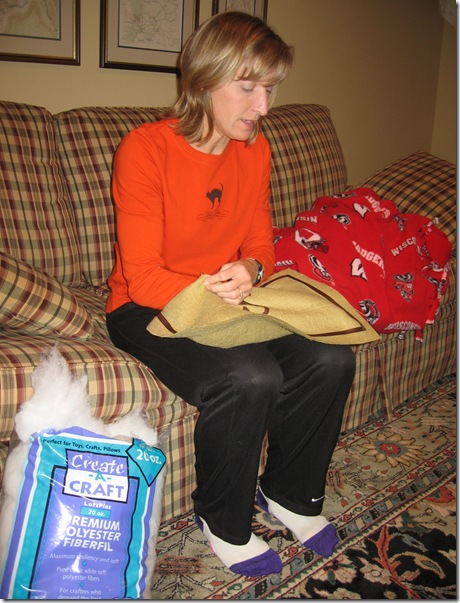
Stuffing time! I stuffed the corners on one side and then continued to stuff and fluff until that side seemed full. Then I repeated the process on the other side.
I pinned the opening closed and stitched it shut on either side of the ribbon.
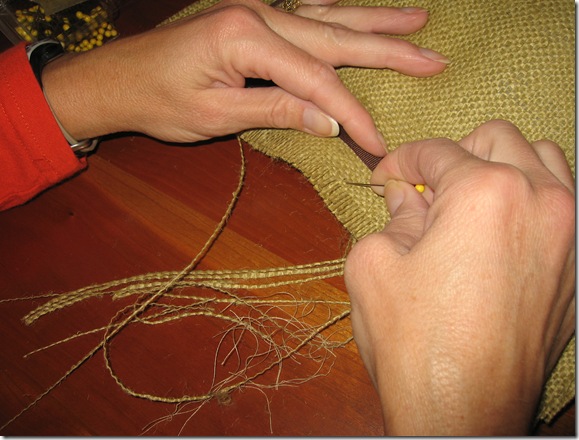
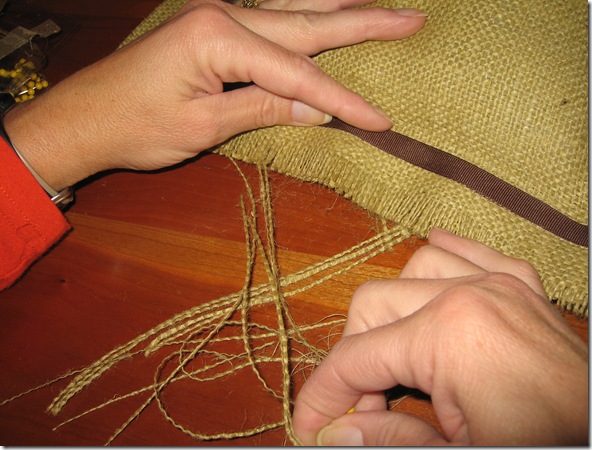
The last step is to fray the edges. I used a sewing pin to catch threads of the burlap and pull them out.
Finished!
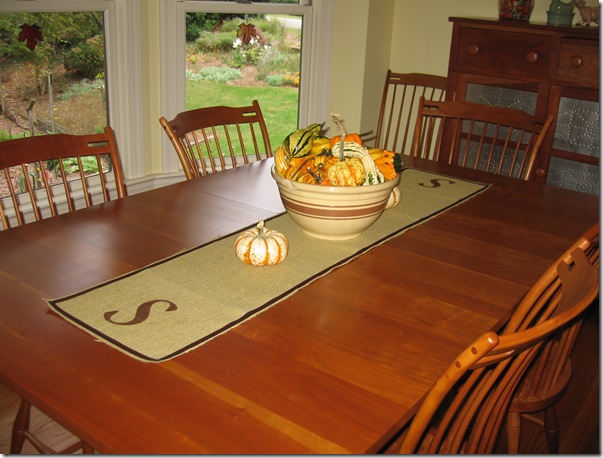
It matches my table runner perfectly!
Be sure to visit Kimba at A Soft Place to Land for “Do It Yourself” Tuesday.



I love your burlap pillow, you did a beautiful job!
Your pillow is quite lovely with the stenciling, and I enjoyed your urkey post. I am glad that young people still collect. So you know about Staunton-that’s where I live! (well almost) Anxious to see what is up your sleeve for the holidays. Have a nice day!
I really like the look of the pillow but agree with you about the scratchy part. I did a monogrammed runner too and don’t like all the lint that seems to show up all over. But I still love the look of burlap. Great job on the pillow!
AWESOME project, Paula!!! I could try this one. 🙂 Thank you so much for showing HOW you did it. I love seeing people’s projects, but I also love it when they show us HOW. 🙂
Great projects, Paula. I love both the runner and the pillow. I also like the “S” 😉 Thanks for showing us step by step. The pictures were great.
You always have a project, don’t you? Love seeing what you do.
Donna
Love it! The frayed edges are too fun 🙂 I’ll have to try this out!
Thanks for the DIY. I was out shopping yesterday and saw so many cute pillows that I want to copy! Just what I needed to get started.
Great project Paula! Even though it’s scratchy it sure is pretty!!
Love burlap! It looks really nice with the ribbon!
It is darling! I love the ribbon and the stencil. I love the frayed edges. So cute!
I love burlap too. Your runner is also beautiful!
XOOX
Jen
Super cute!
I love it Paula!! Something burlap will be one of my first sewing projects!
xoxo
Jane
Your just always doing some crafty proect Martha… oops, I meant Paula.
Very cute!
Love your pillow!!!! That’s just such an awesome idea.
Thanks for sharing it.
Adorable! Burlap is one of my favorite fabrics to use…I even had burlap table clothes at my wedding!
I am feeling so much LOVE for this pillow. I am going to buy my burlap and my grosgrain ribbon tomorrow! Fabulous project & a great tutorial!!! Thanks so much! Deborah
Hi Paula- just found your blog and I love your burlap pillow and runner. I’ve been very busy with burlap lately as well (pillows, runners, even curtain trim). Your blog is fabulous!