DIY Chalkboard Painted Pots
A recent spring herb purchase inspired my latest crafty project, DIY chalkboard painted pots.
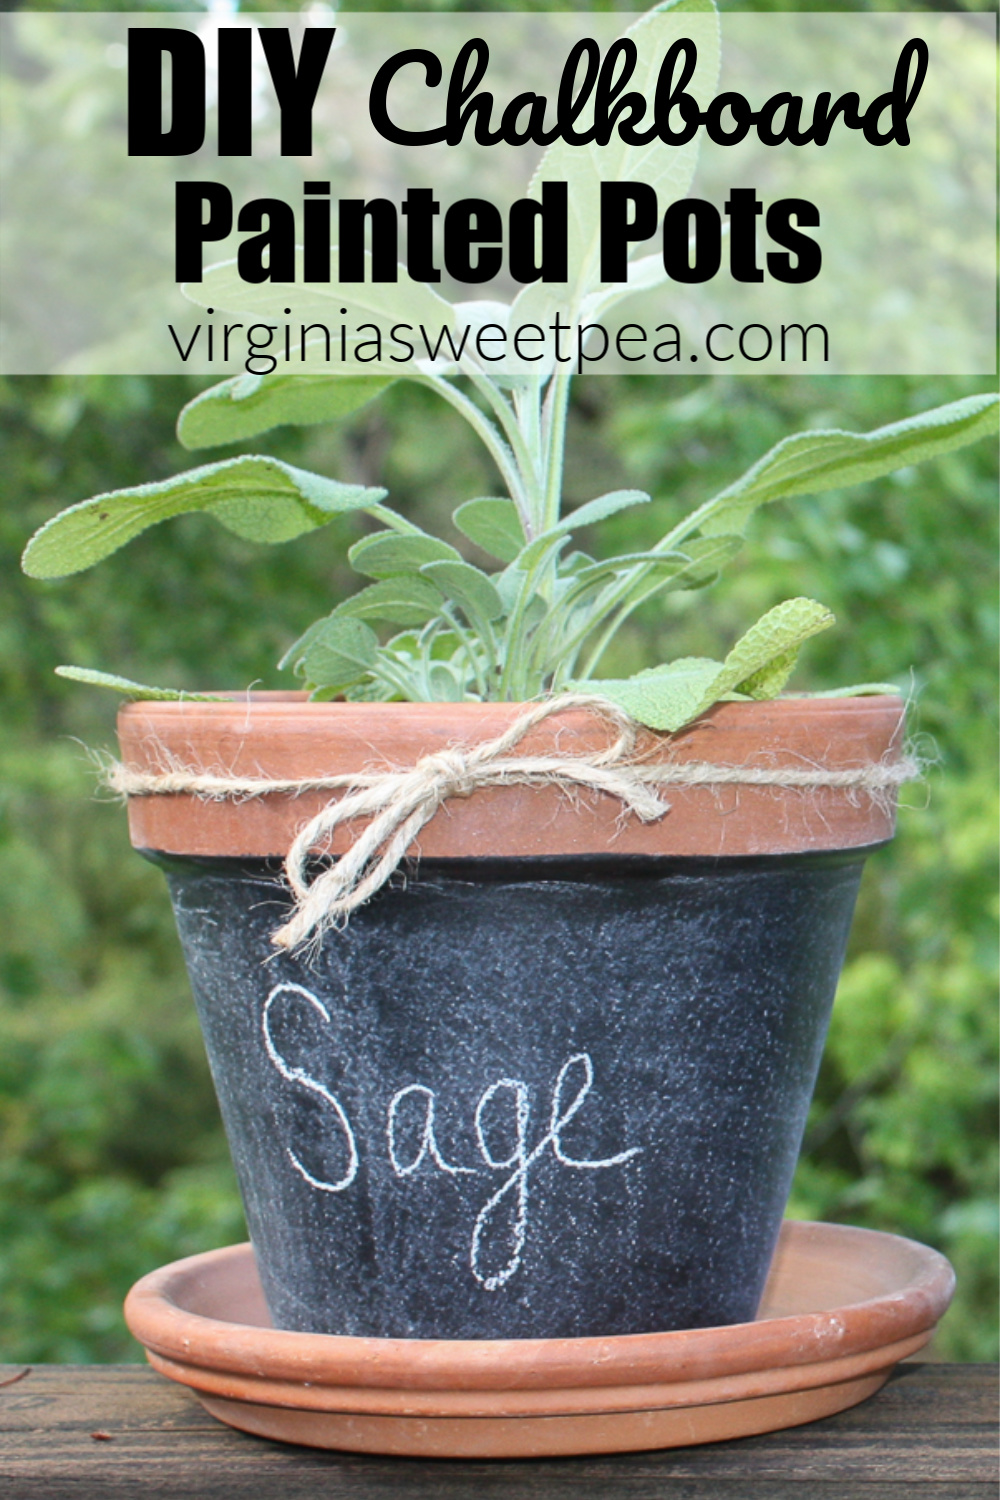
This project was very easy and complete in under an hour.
How to Make Chalkboard Painted Pots
Supplies
To make chalkboard painted pots, you’ll need terracotta pots and chalkboard paint.
I used spray chalkboard paint but the kind found in a paint can would also work.
I used pots from my storage shed and started by washing the pots and letting them dry.
Paint the Pots
After the pots were dry, I covered the top of each with painter’s tape.
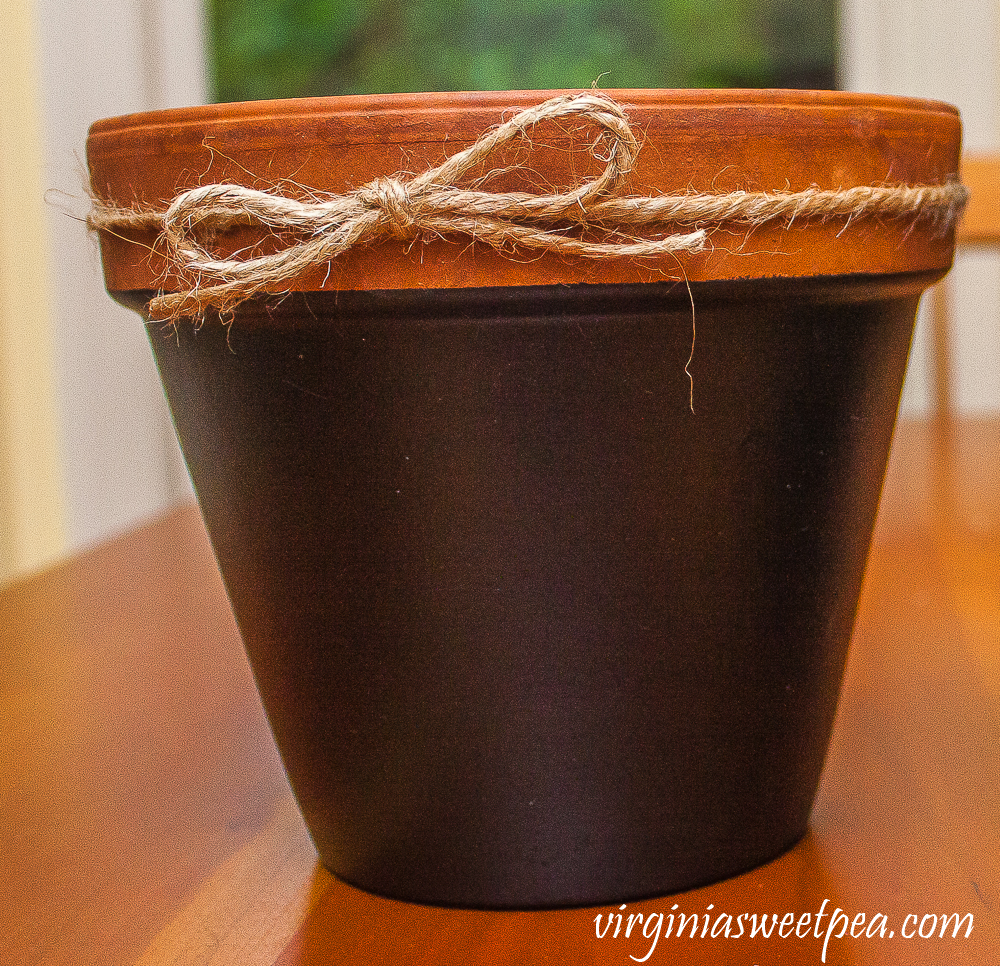
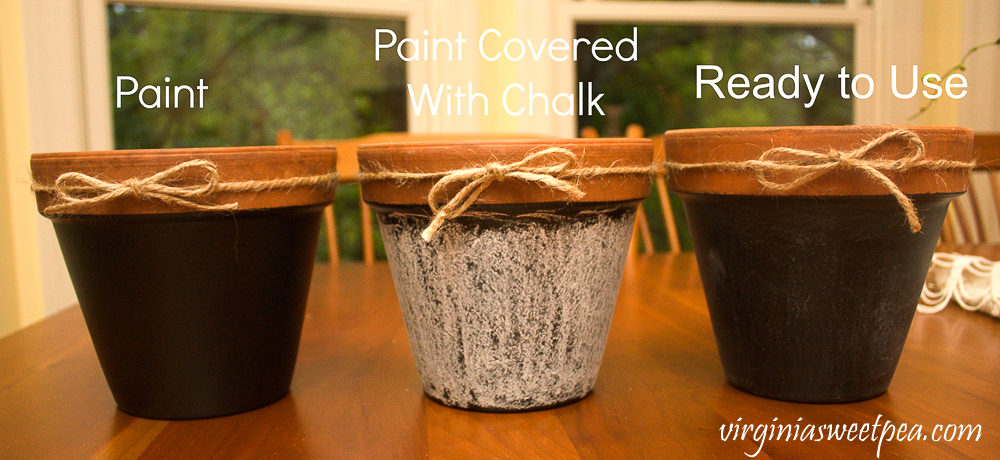
I feared that since clay is porous it would take many coats of paint to cover the surface of my pots, but after three coats the pots were ready for plants.
Add Twine
After the pots were painted, I tied twine with a bow around each pot.
To make sure that it stays in place, secure the twine with a few dots of hot glue.
Season the Chalkboard Paint
To prevent writing from being permanently etched in the chalkboard paint, rub chalk over the surface to completely cover the paint.
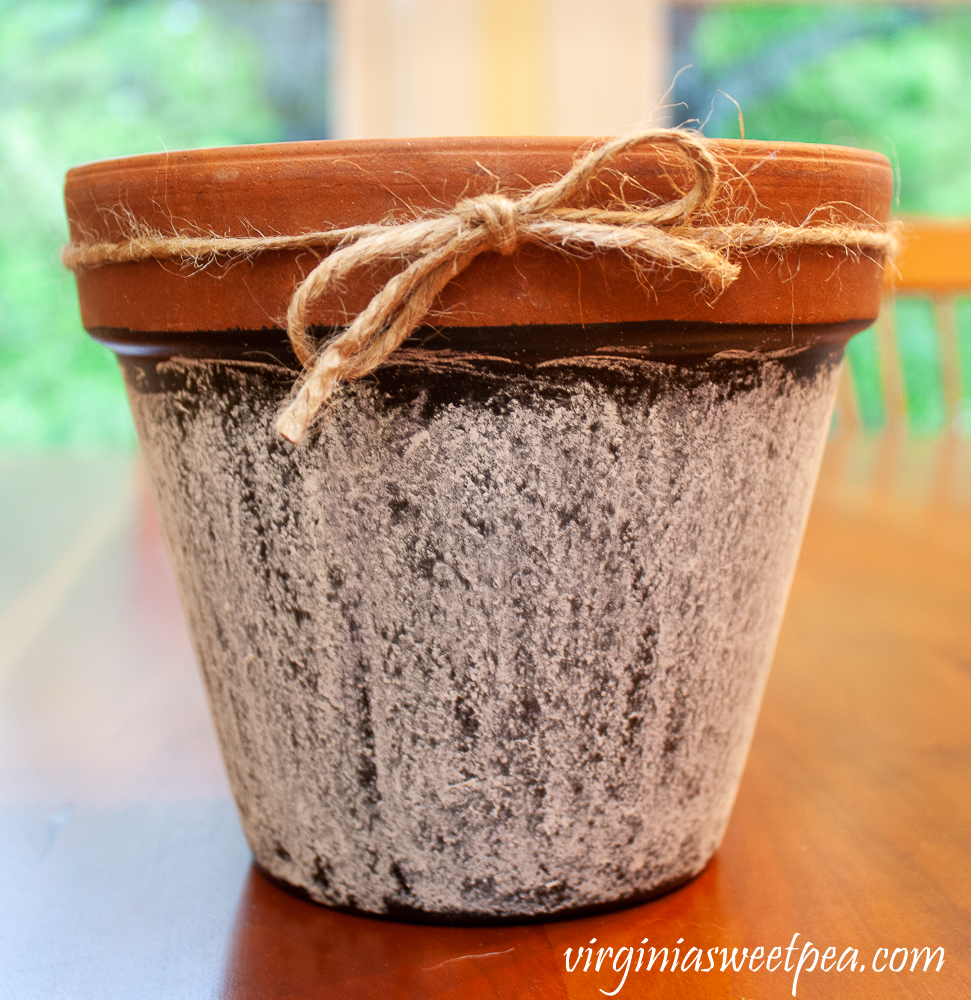
Wipe off the chalk with a paper towel or rag.
Add Plants to the Pots
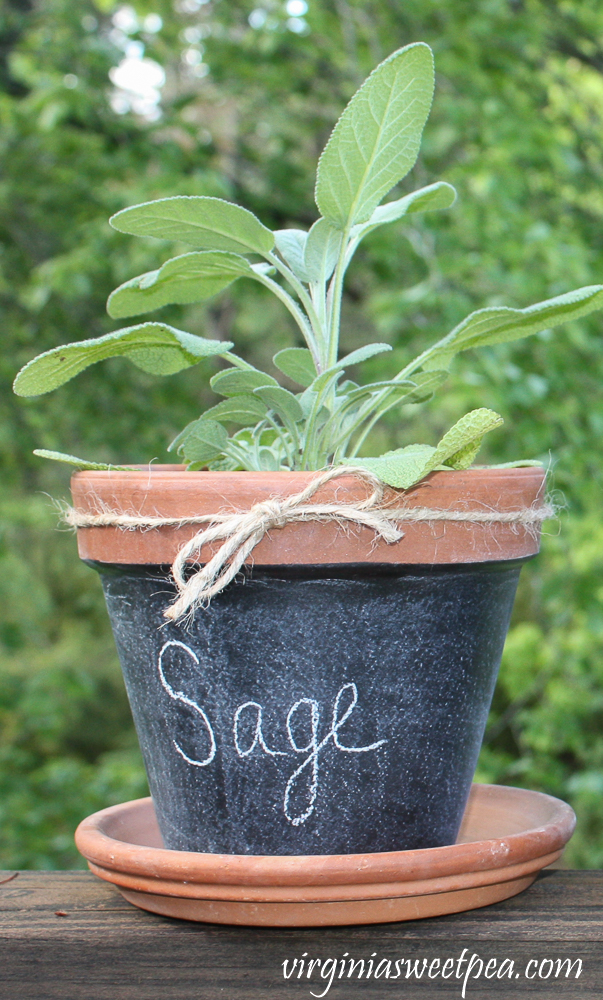
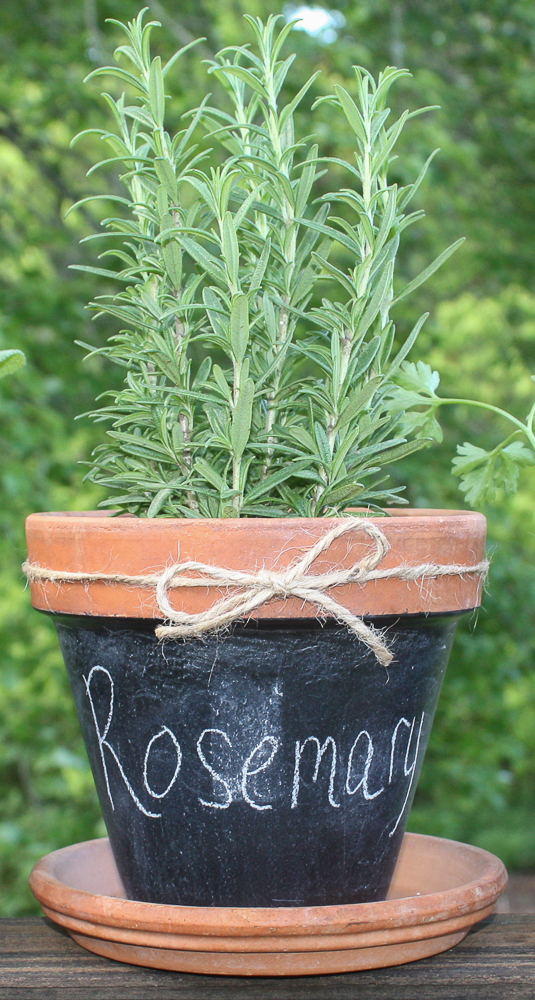
I made three pots and planted Sage, Rosemary, and Parsley in the pots.
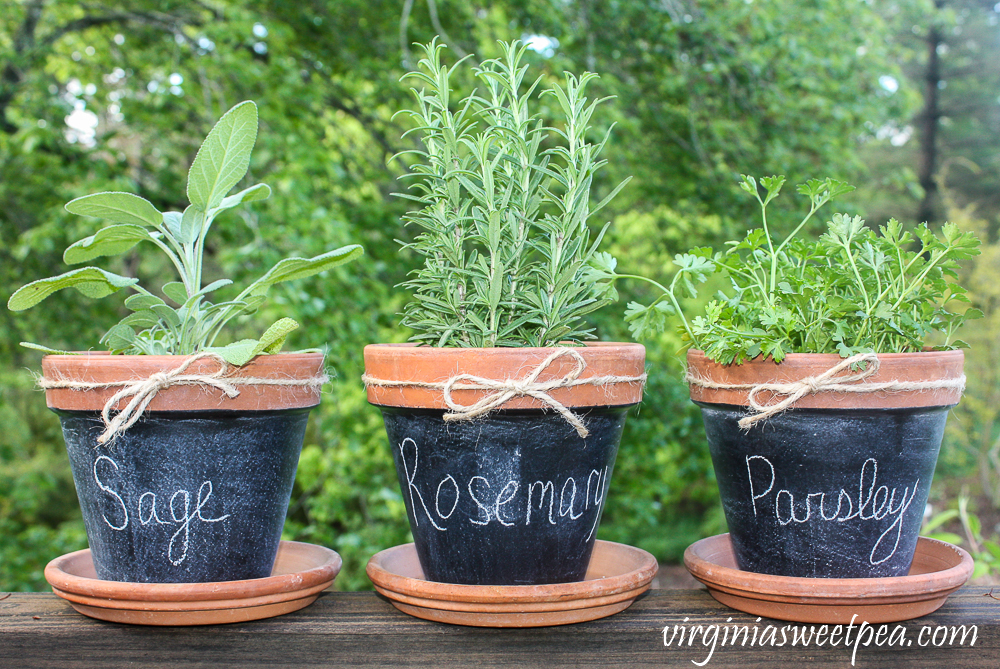
I don’t know why, but I’m more successful growing Sage in a pot versus in the herb garden in my yard.
Rosemary is another herb easy to grow in a pot.
I love having a pot of Parsley near my kitchen as I use it frequently when making Italian dishes.
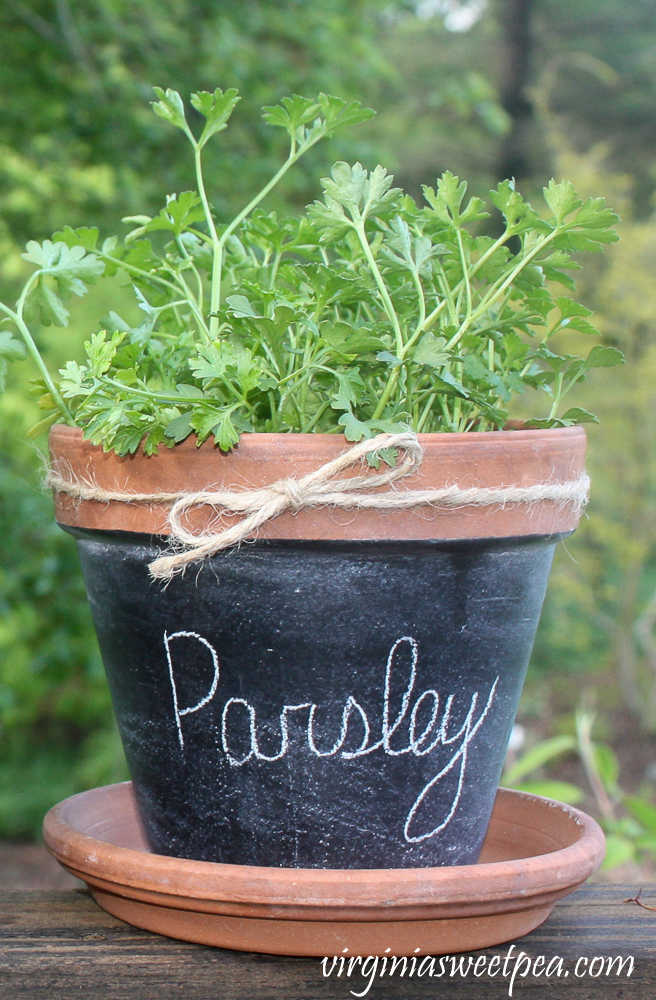
When the herbs outgrow these pots, they will be transferred to my herb garden, and then the labels can easily be changed to match the new plant occupant.
This post was first published in May 2013. It’s a favorite gardening craft project and it was even featured in a magazine.
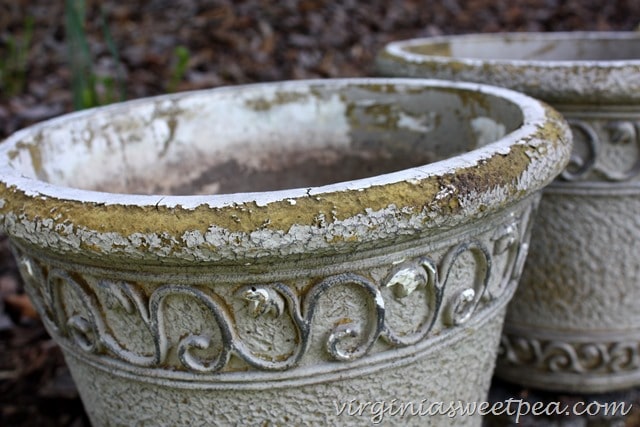
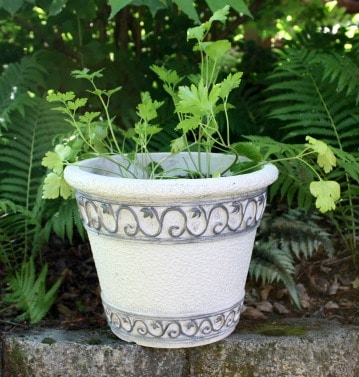
If you have flower pots that look like this, check out how I refreshed these pots with paint. I did this project in 2015 and these pots still look great!


Super cute 🙂 Pinned
Thanks! Now I need to do some cooking with those herbs.
Your little pots are adorable. I am a huge fan of chalkboard paint. Pots get reused a lot so this is a cute and practical way to use it and have fun. Have sweet Monday! Wanda
These are great! I just posted how I planted my herbs – stop by to see!
Thanks! I look forward to visiting your blog.
Very cute and practical!
Love this Paula! Pinning! xo
Hi Paula!! Just popping over from Savvy Southern Style!
These little pots are sooo cute!! On my way to share them on my fb.me/longabergerlifestyle page now!
Wishing you An Extraordinary Day!
So cute Paula. These would sure make great gifts! Just back from spending the week with family and my mother, we had a great time! Thanks so much for sharing these sweet pots at Amaze Me Monday, hope you’ll hop over to join this weeks party…
Blessings,
Cindy
I love these pretty pots! I love fresh herbs too and keeping them in these super cute pots is so clever! Thanks for sharing at Project Inspired! Hope to see you at tonight’s party 8 pm EST!
This is an awesome project! I love it. the pots are so pretty.
Thanks, Colette!
super super cute, Paula! Featuring you tonight and pinning now!
It was super fun meeting you last weekend, btw!
Love this idea, Paula…so clever! Hugs…Debbie
Hi. These are adorable. i’m wondering though, how does the paint hold up once the plant is watered and the clay gets damp? Have you had any problems with peeling pant? Thanks!
These are so cute, Paula! I need to try something like this. 🙂
Thanks, Dee! It’s a super simple project. My mom is actually using them now for her herbs. 🙂
Paula
What a creative use of chalkboard paint!! Perfect for Spring too! I’d love if you shared this at the Create with Me link party! I’m featuring chalkboard projects this month at http://www.lovecreatecelebrate.com 🙂
Thanks for stopping by, Lindi. I would love to add my project to your party.
Paula
Thank you for sharing! Pinned! This is the perfect thing to be pinning for the Spring 🙂 May 2nd we are sharing Leather projects – stop by if you have any to share. I’d love to see them!
These are so pretty! What a cute way to give boring pots new life!
Thank you, Michelle!
Paula
Doesn’t chalk paint make everything better? I love your pots, Paula! It would be fun to try some of those chalk stencils on them. What a nice gift these would be, complete with the planted herbs. I’m so happy it’s finally time to garden again 🙂
This would make an easy gift idea! I am definitely ready for gardening!
Paula
Love the addition of chalk paint to the pot! No need for a plant marker:) This would be cute in my kitchen window.
Thank you, Carrie! This was a fun project.
Paula
I love doing crafts with chalkboard paint and using them as gifts. Such a neat way to label your herbs.
Thank you, Sonya!
Paula
So cute. thanks for sharing with us at Charming Homes & Garden
Rachel
Thank you, Rachel!
Paula
Super cute and smart way to plant an herb garden. Always love chalkboard projects,!
Such a cute idea for an herb garden! Thanks for sharing them with us at the Snickerdoodle party. I will be featuring them this week!
How lovely, what a lovely idea. These would be a great gift although I might not be able to give them away!
I love this smart idea and plan to include it in my roundup on painted flower pots! Thanks, Paula!
Those are adorable! I am pinning and plan to make these. I’ve wanted to plant herbs, and these will look so cute in my kitchen window. Thanks for sharing at Thursday Favorite Things.
Such a fun and easy DIY Paula and so perfect for herbs.
Thank you for sharing your chalkboard pots at Create, Bake, Grow & Gather this week. I’m delighted to be featuring them at tomorrow’s party and pinning too.
Hugs,
Kerryanne
Thank you so much, Kerryanne! I so much appreciate the feature.
P.S. I’ve featured this at the TFT party. Thanks for sharing. 🙂