Christmas DIY Recessed Glass Votive Centerpiece
In August I discovered a new local magazine, Clutch, and immediately loved it. I contacted the owner of the magazine and asked if I could write a DIY article for a future issue. With Mr. SP’s help, I designed and constructed a glass votive candle holder centerpiece that can be customized for any holiday or for any décor scheme. My article didn’t make the printed magazine, but I’m hoping that it will appear in the online edition at some point this month.
I have really enjoyed using this centerpiece this holiday season. The red paint color will make it alos perfect for using on both Valentine’s Day and 4th of July.
Anyone with basic woodworking skills can make this centerpiece. I wouldn’t make this unsupervised, but with Mr. SP’s help, making it wasn’t at all difficult.
Materials Needed:
2 x 6 pine board cut to 31 1/2 inches
5 glass votive holders (I purchased mine at the dollar store.)
Luan or other thin wood
Ruler
Pencil
Router
Drill Press
Band Saw, Sabre Saw, or Coping Saw
Sander or Sand Paper
How To:
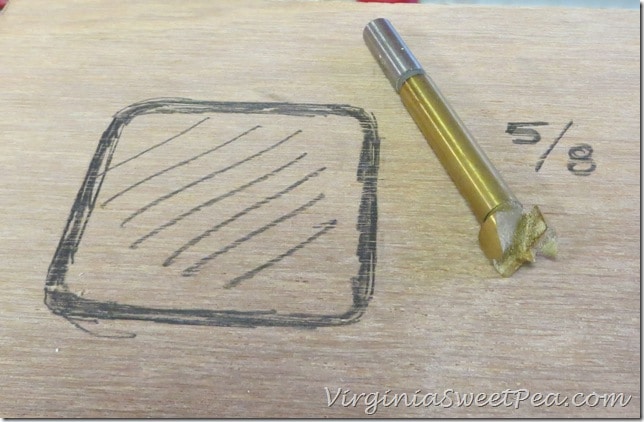
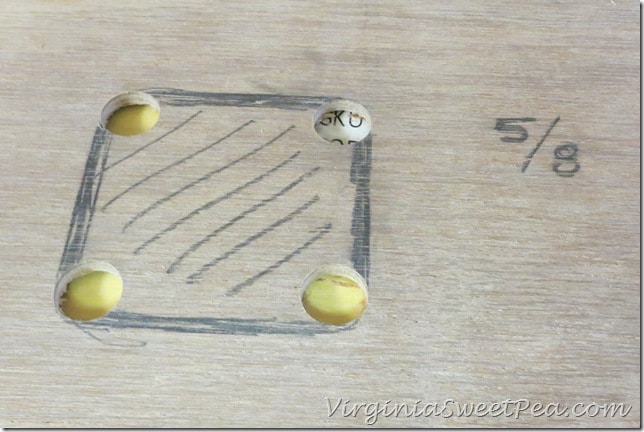
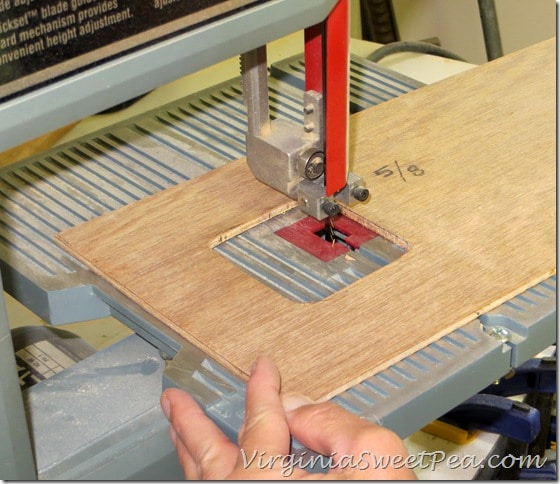
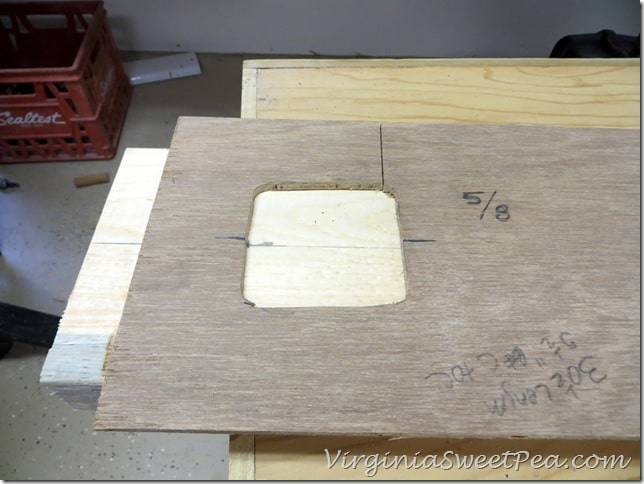
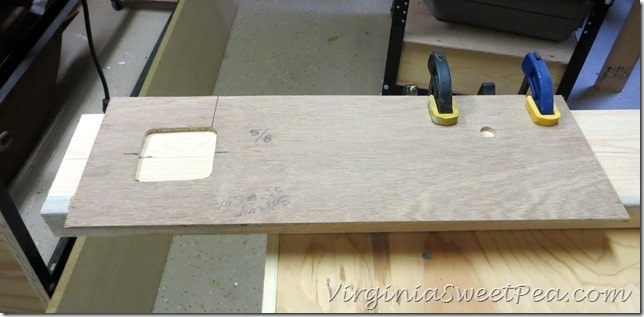
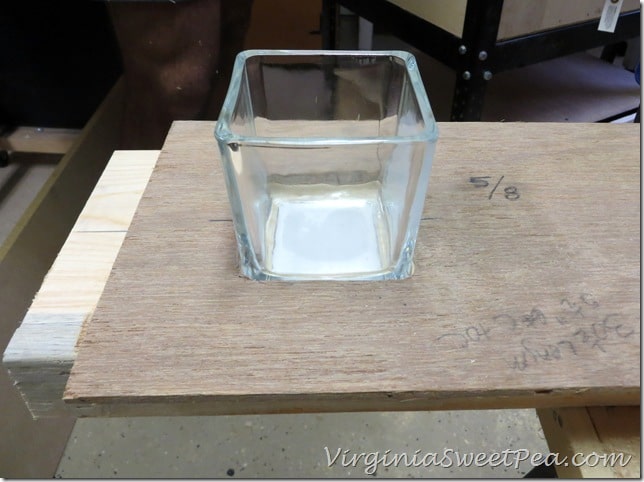
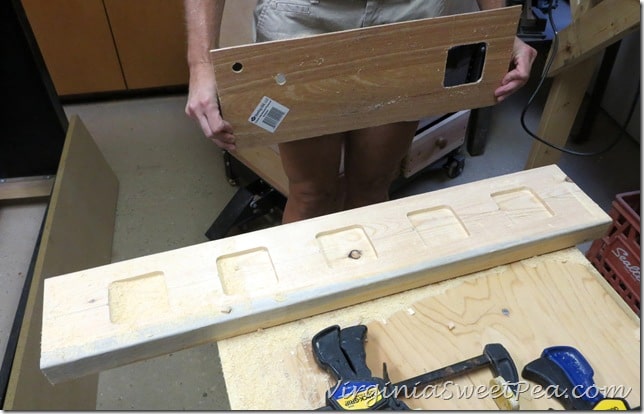
1. Trace the bottom of a glass votive on a sheet of luan (or other thin scrap wood) to make a template for routing. Use a 5/8″ drill bit to cut a hole in each corner and then a band saw (or sabre saw or coping saw) to cut out the sides. Mark the left and right sides at the midpoint.
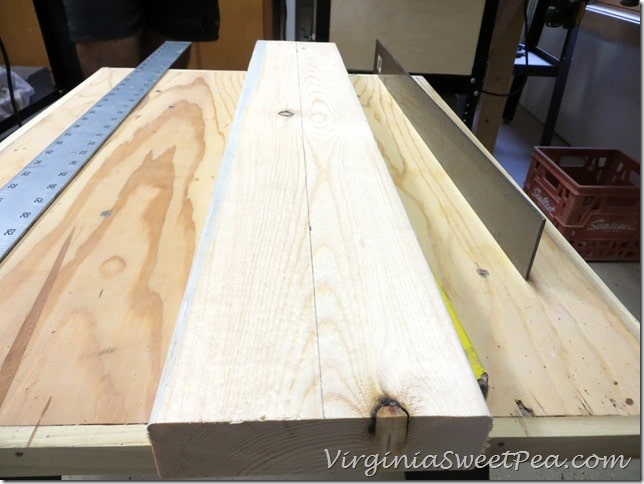
2. Measure and mark with a pencil the midpoint of the width of the board in several places. Use a ruler and a pencil to mark a center line down the board.
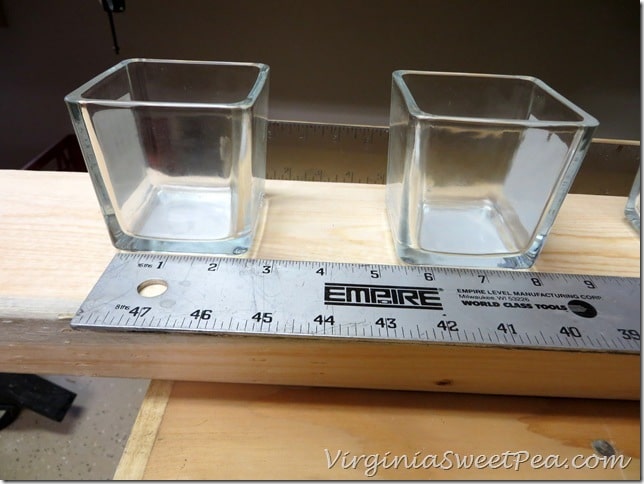
3. For my project, I used glass votive holders that measured 2 3/4″ square. For this size votive, I chose to center them on the board by marking the board as follows. Using a ruler, start at one end of the board and mark the center line at the following points: 3″ from the edge and then every 5 1/2 inches. These marks will insure that your glass votive holders are evenly spaced.
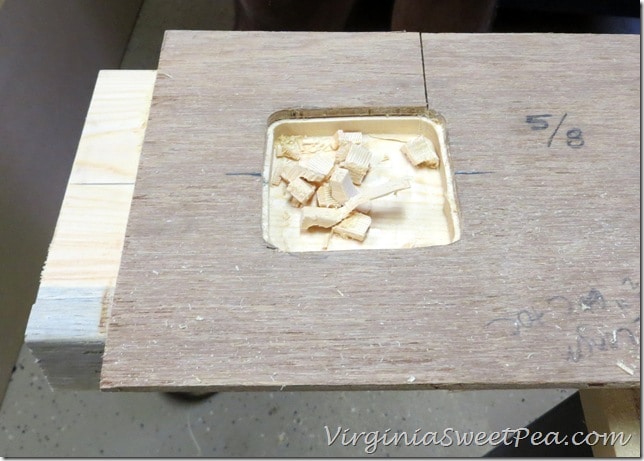
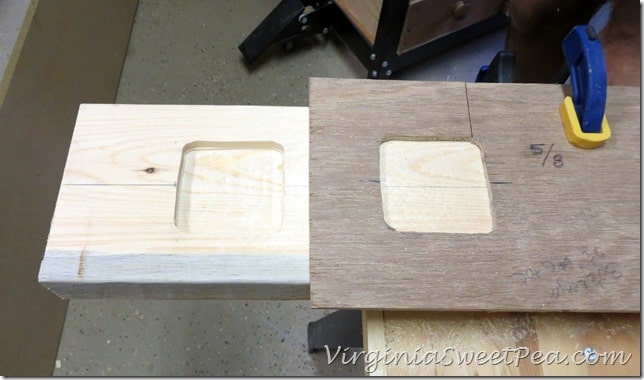
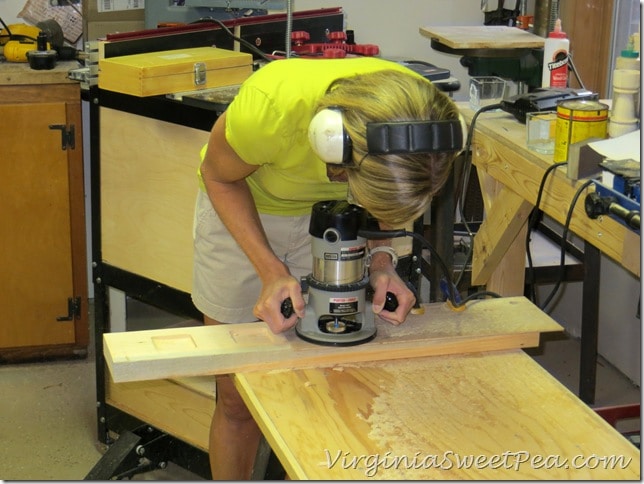
4. Line up the lines drawn on the template with the line drawn down the center of the board. The left edge of the square cut out of the template should be placed on the mark made at 3″. Clamp firmly in place. Use a router to make a 5/8 “recessed opening for the first votive.
5. Move template to the next pencil mark (5 1/2″ from the 3″ mark), clamp, and route 5/8″ deep.
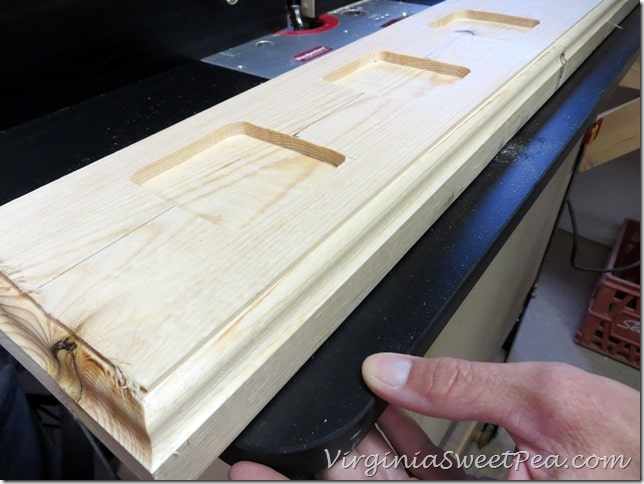
6. Continue the same process until five squares have been routed.
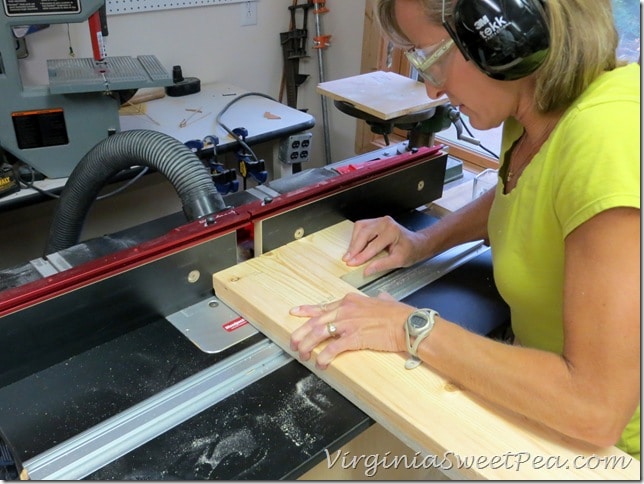
7. Rout the edges, if desired.
8. Sand until smooth. Stain or paint in an attractive color to match your decor.
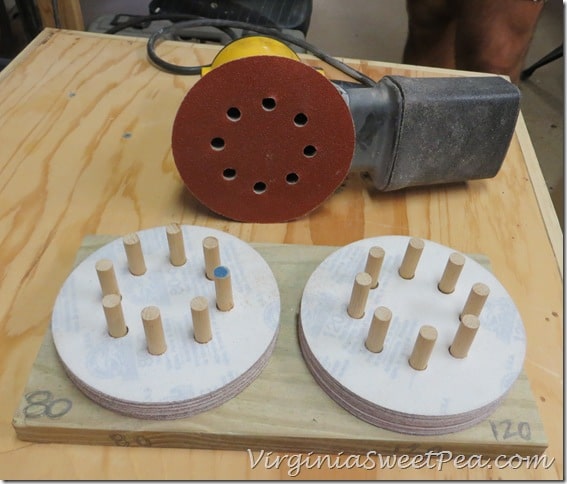
Check out Mr. SP’s handmade sandpaper caddy. Isn’t this a clever way to keep sandpaper organized?
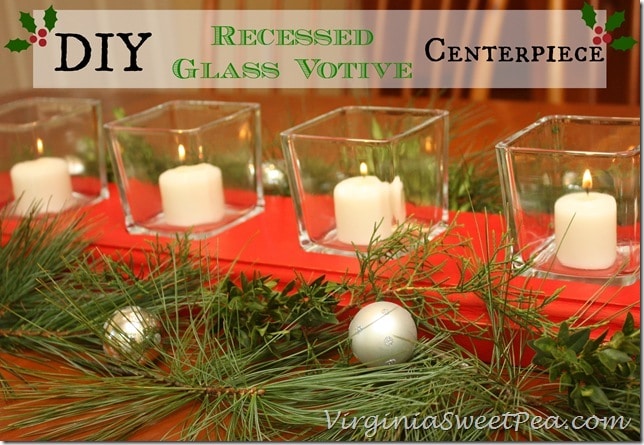
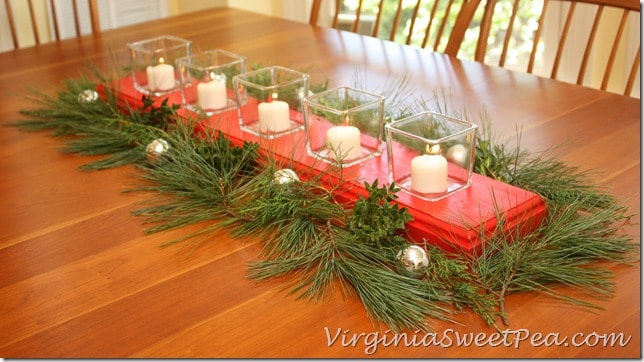
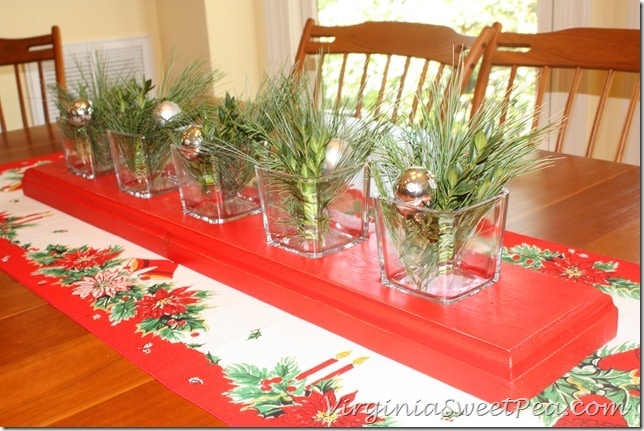
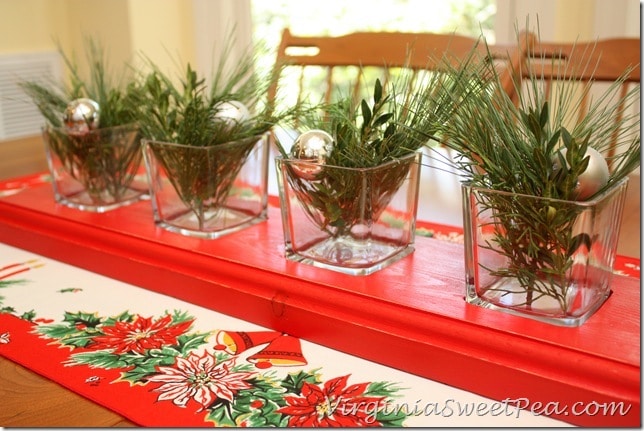
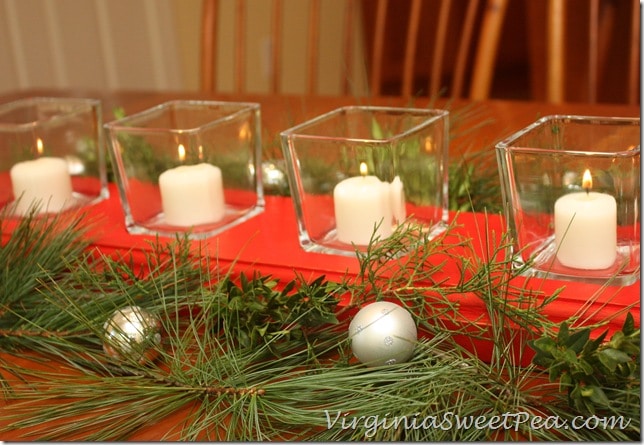
I styled the centerpiece two ways for Clutch: filling the votives with candles and then filling them with greenery and balls. A vintage runner found in Vermont contrasts the red centerpiece.
Which look do you prefer??
The use of different candles, flower arrangements, paints and stains, allows this centerpiece to remain timely throughout the year. I already have plans to make a pastel painted version for Easter.
Sharing With:
DIY Project Parade at DIY Show Off
Tutorials and Tips at Home Stories A2Z
The Inspiration Board at Homework
Grace at Home at Imparting Grace
Tutorials, Tips, and Tidbits at Stone Gable
Happy Hour at Design, Dining + Diapers
Countdown to Winter at Domestically Speaking
The Scoop at Our Southern Home
Project Inspire{d} at Yesterday on Tuesday
Wow Us Wednesday at Savvy Southern Style

I love this! My hubby has a bunch of woodworking tools too, so maybe I can get him to work on this project with me some weekend. Sure hope you get published – let us know if you do!
I like both looks. (who could pass up that gorgeous vintage table runner??)
Paula, this is beautiful! I like it best with candles in the glass holders, but it looks good both ways. And what fun you’ll have with it for Valentine’s Day and Independence Day! I hope it does make it into the online version of Clutch–that would be so cool!
I love your centerpiece Paula! I’m keeping my fingers crossed that your project gets featured with them online!
Amazing work, Paula! And what a great idea to be able to use it all year!
What a great idea. I like it best with the candles.
Looks awesome, Paula. You just confirmed what I knew to be true. I need a router!
I love this votive holder!!!! This would make a fabulous Christmas gift!
Hi Paula, Really pretty project. My Dad and I did something similar a bit ago. Thanks for reminding me to use it! xo
This is awesome! And you are right, you can use it for Valentines Day or the 4th. Looks a little too difficult for me though…lol. I’m not a math whiz and power tools terrify me! But good for you!
Your glass votive centerpiece should have made the printed version! It’s beautiful!
What a great project! Looks beautiful. 🙂
Thanks, Megan. It’s about time to pull it out for Christmas decorating for this year. My house is still in full Thanksgiving mode and I’m ready to switch it over to Christmas.
This is simply stunning!
Thanks, Laura!