DIY 2×4 Shelving Unit
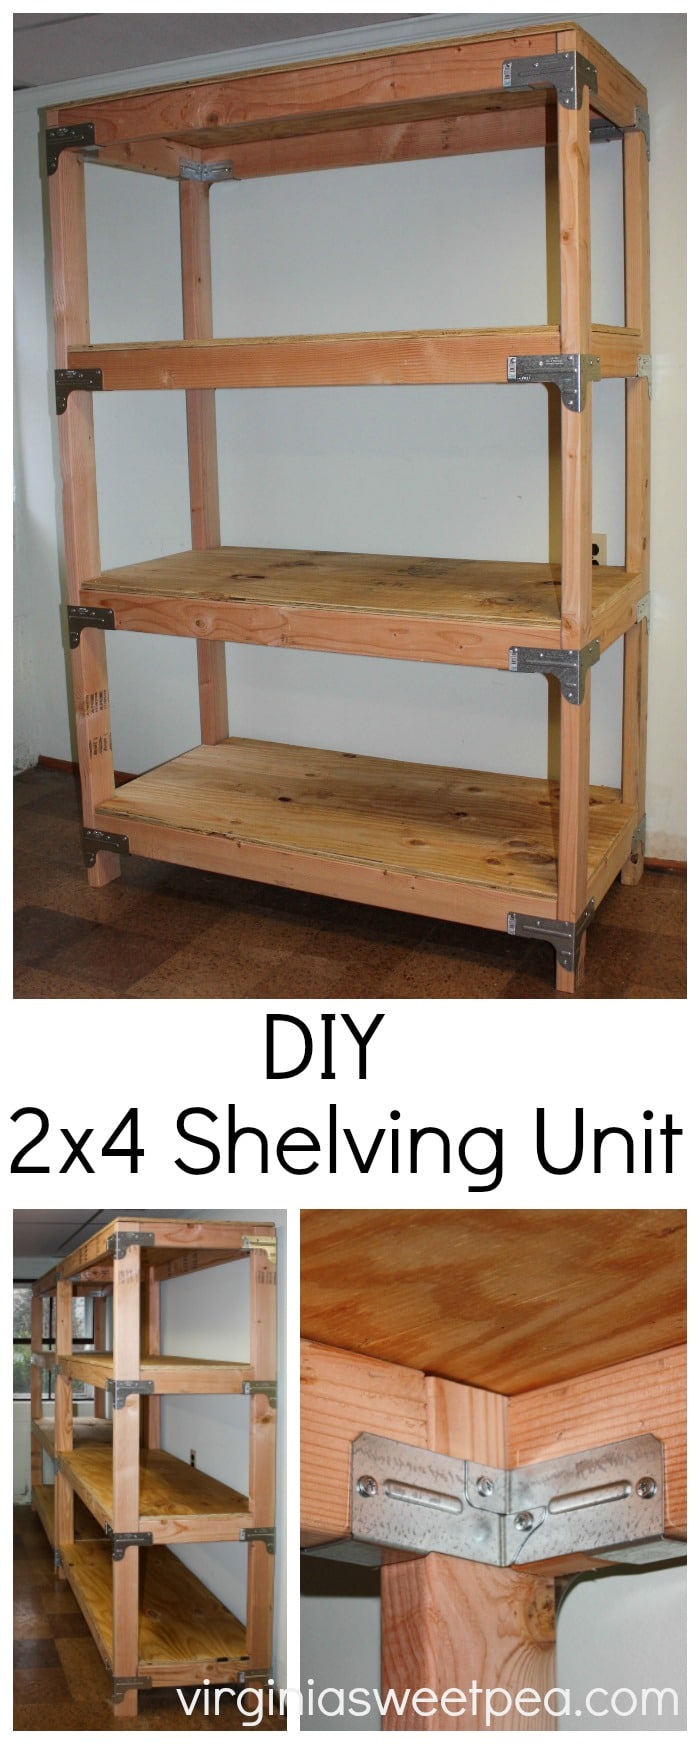
A DIY 2×4 Shelving Unit helped to solve the organization problem in our basement. This 2×4 shelving is easy to build and very sturdy.
With the new year comes the urge to purge and organize. This month I’ve been working on organizing my side of our basement and since I have so much stuff that I’m not willing to part with, shelves were needed to hold my treasures. A DIY 2×4 Shelving Unit was just what was needed to help in my organization quest.
It’s not just me that has the organizing bug this month, so do my Power Tool Challenge Team gals. You’ll find links to organizing projects that my friends created at the end of this post. I can’t wait to see what my friends made for this month’s organizing theme!
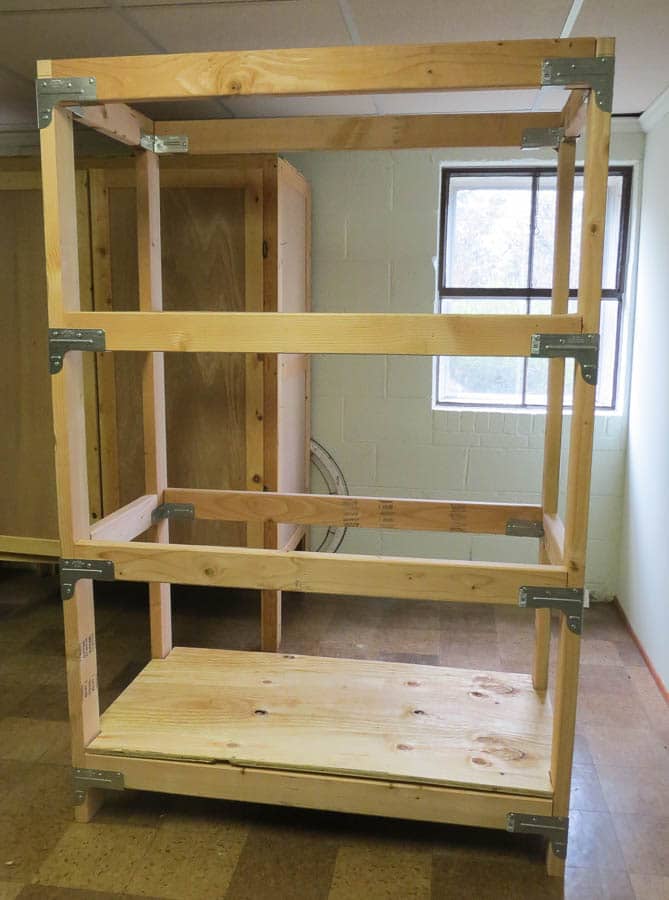
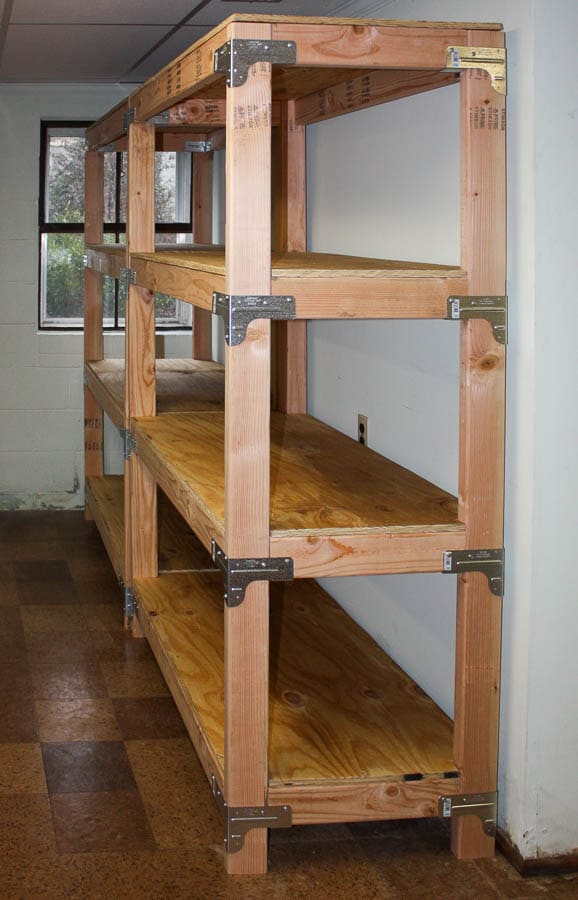
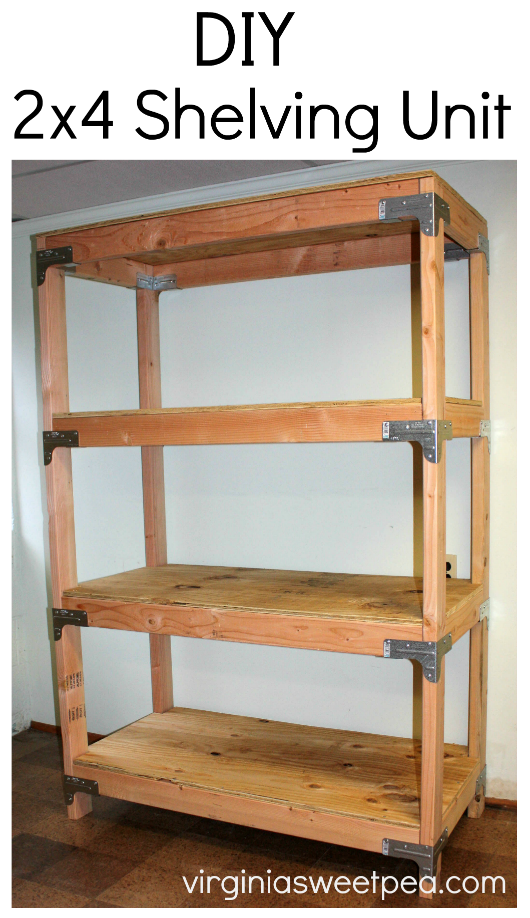
The picture shows one of the DIY 2×4 shelves that I built. I actually built two because I knew that one wasn’t enough for the number of treasures that I needed to store.
How to Make 2×4 Shelves
It took just two afternoons of work to complete two 2×4 shelving units and the storage that they supply is wonderful. I like that I can move them around and if I ever needed to disassemble them, all that I would have to do is take out the screws.
Let me show you how easy it is to make these 2×4 Shelves.
Materials
- 9 – pieces of 2×4 8 ft. lumber
- 1 – 4 ft. x 8 ft. sheet of 5/8” plywood
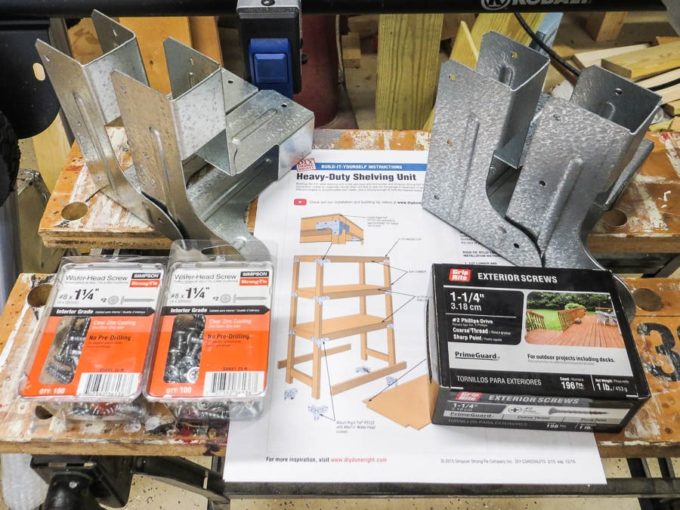
- 16 – Simpson Strong-Tie Connectors – Rigid Tie RTC2Z connectors
- 2 – Boxes Simpson Strong Tie #8 x 1 1/4” Wafter-Head screws
- 5/8” Deck Screws
- Circular Saw
- Compound Miter Saw
- Drill
- Jig Saw
- Carpenter’s Square
- Clamps
- Pipe Clamps
- Clamping Squares – We have four of these and find them to be super handy!
Procedure
1. The Plans
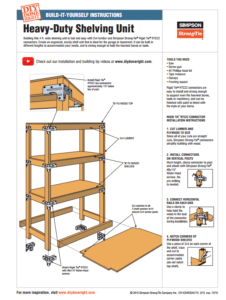
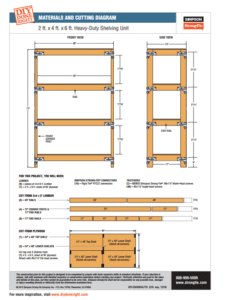
These are the 2×4 shelving plans that I used to make my shelving units. In my area, Simpson Strong Tie products are only available at Home Depot, so that’s where all of the materials for this project were purchased.
Read the 2×4 shelving plans before you start your project, gather your supplies, then get busy!
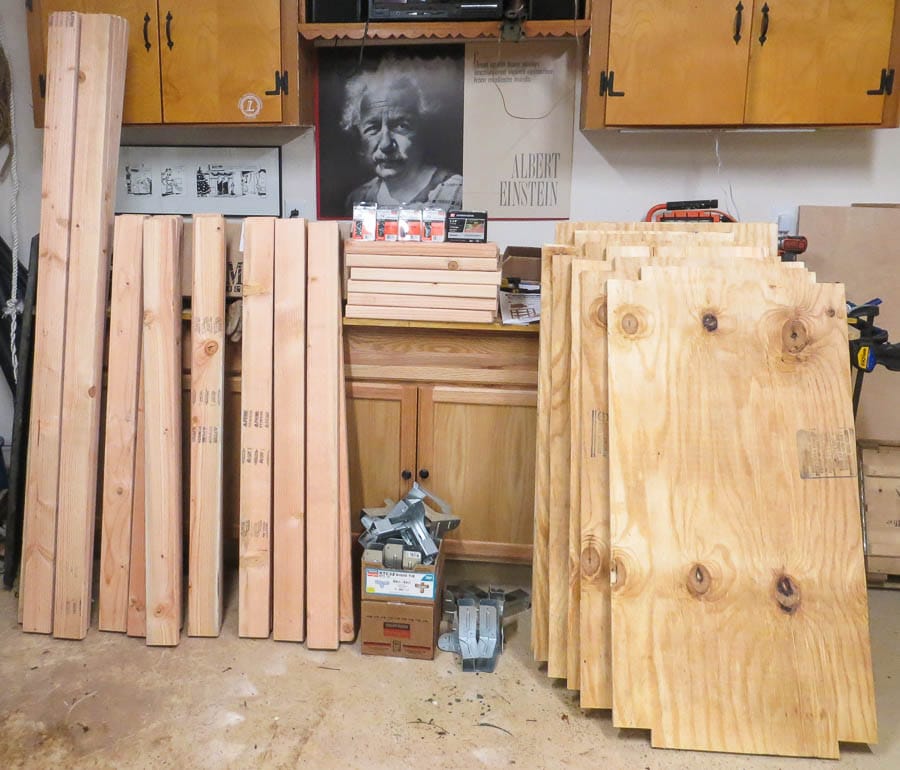
2. Cut the Plywood for the Shelves
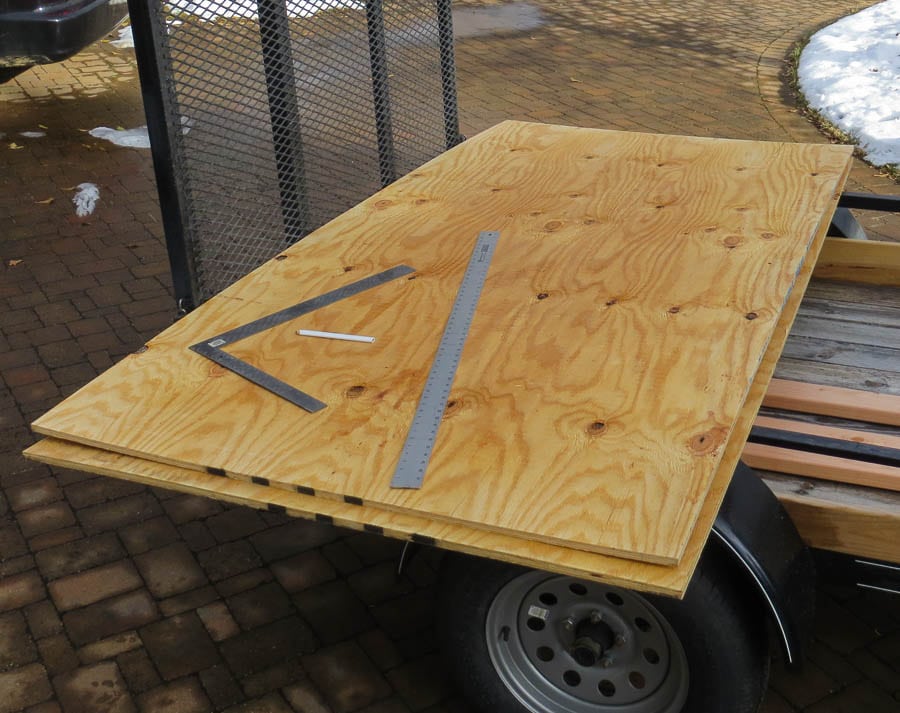
The shelves were cut first because the sheets were large and it was easier to cut them on the trailer and then bring the pieces into the house.
Remember that I made two diy 2×4 shelves, so I needed two sheets of plywood. Each sheet of plywood was cut to 24” x 48” using a circular saw.
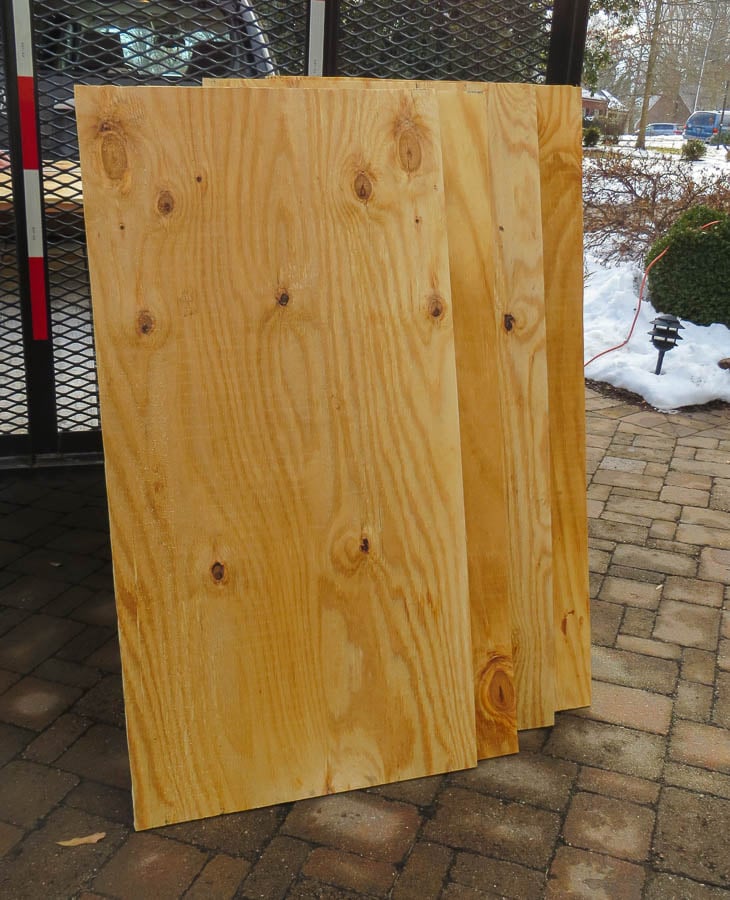
Shown here are four shelves. I cut four more since I made two shelving units.
3. Notch the Corners of the Plywood Shelves
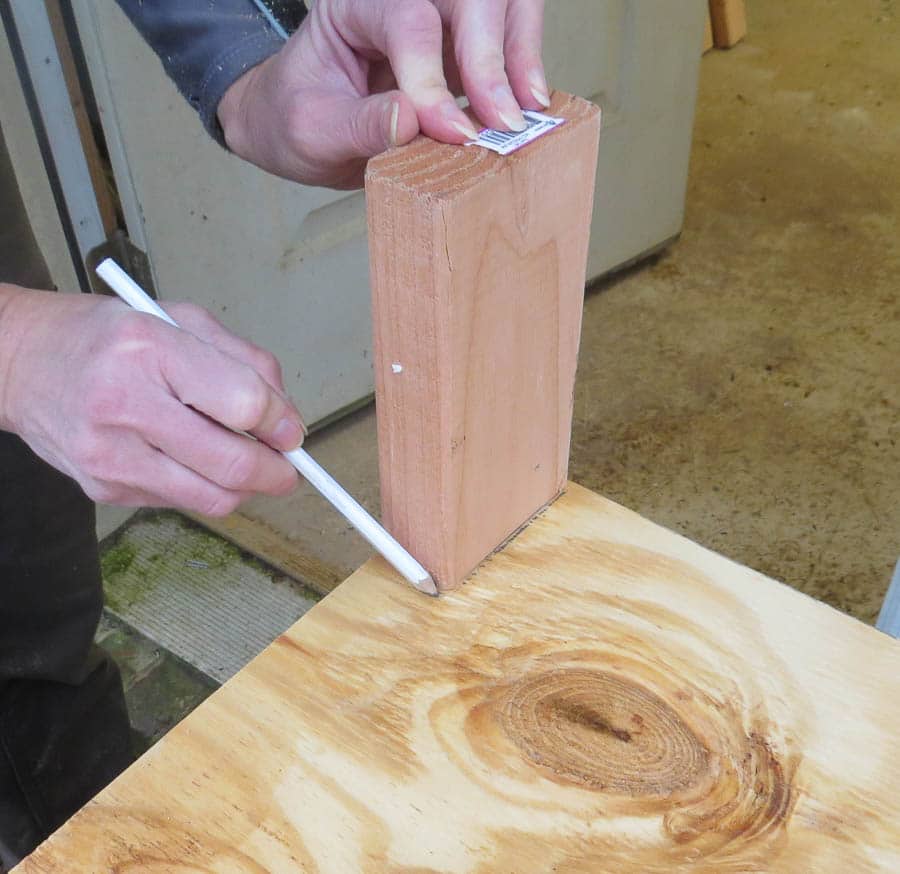
Trace around a scrap piece of 2×4 on each corner of three of the shelves to accommodate the corner post. The top shelf is not notched.
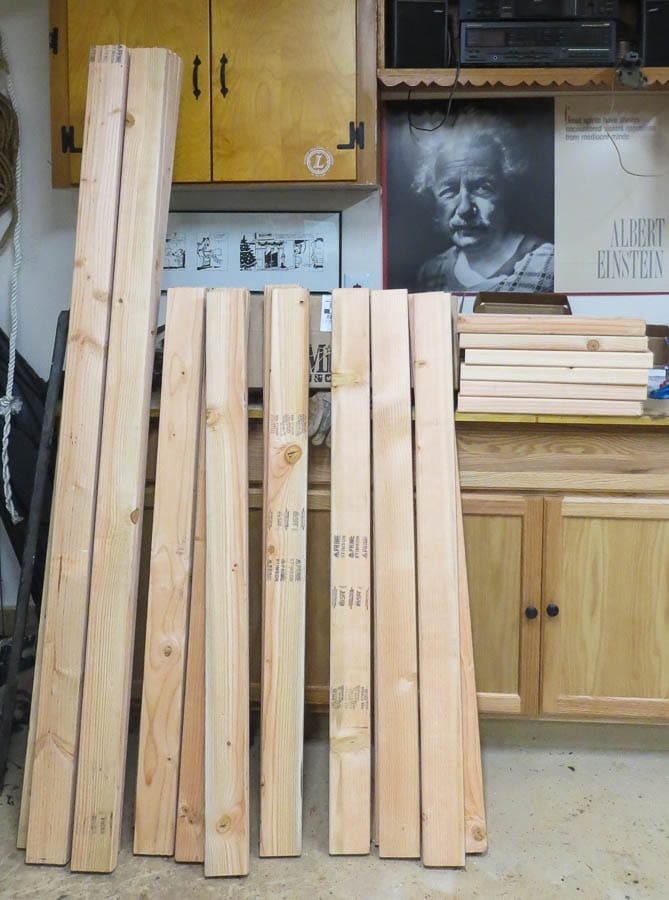
4. Cut Lumber to Size
Each shelving unit required 8 – 45” rails; 4 – 72” corner posts; and 8 – 17” end rails. These were quick and easy to cut with our sliding compound miter saw. (Probably my favorite workroom tool!)
It didn’t take long at all to cut all of the pieces needed to build two shelving units.
5. Build the Shelves
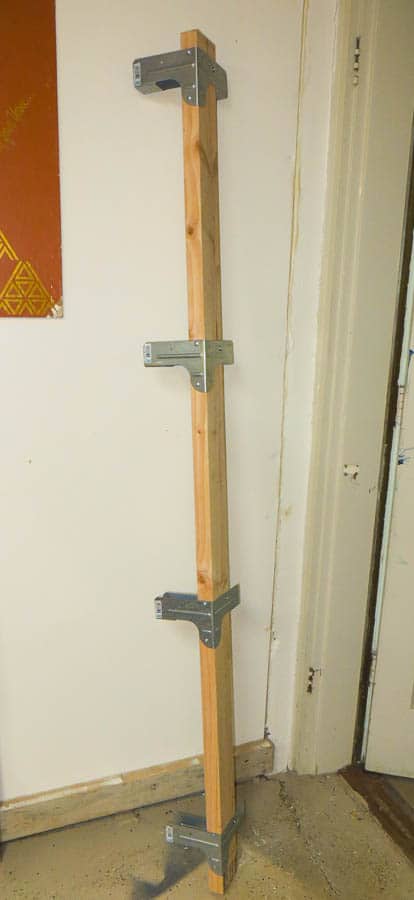
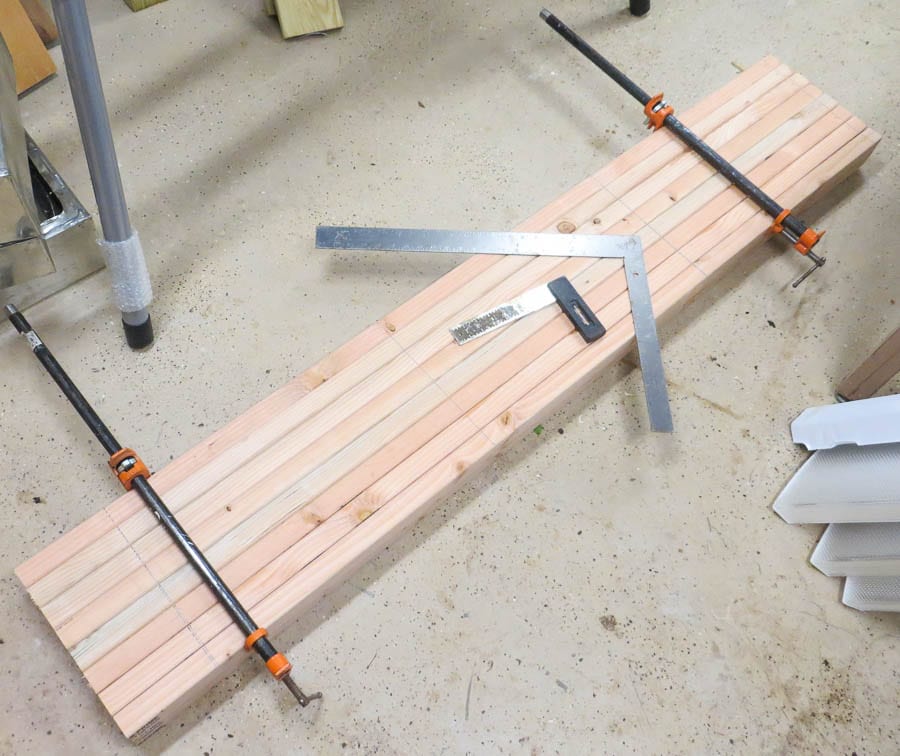
The connectors were first installed on the vertical posts. To make it easy, the posts were squared off and clamped together so that lines could be marked with a pencil where each connector was to be attached.
This is what one vertical posts looks like. Keep on screwing connectors into place until four vertical posts (or in my case eight) are ready for the next step.
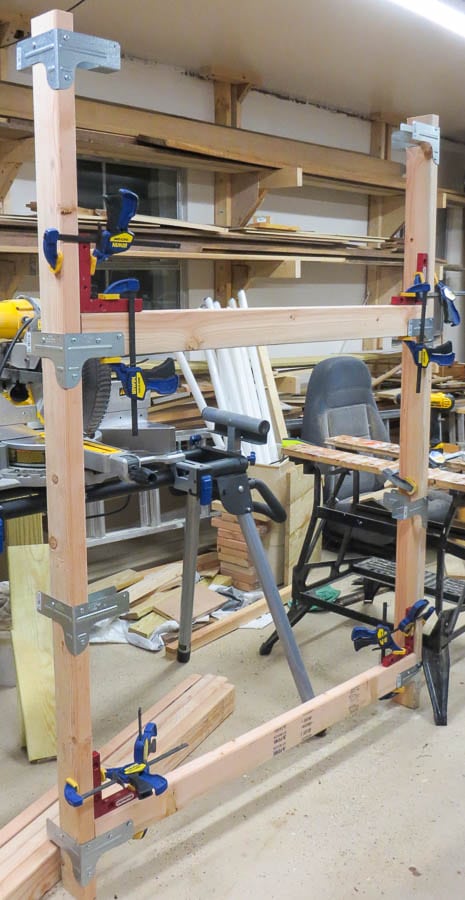
The side rails were then attached between two end posts. Clamping squares and clamps were essential her to keep things square.
After the sides were complete, I finished construction the shelves where they would be used. Here the end rails are added.
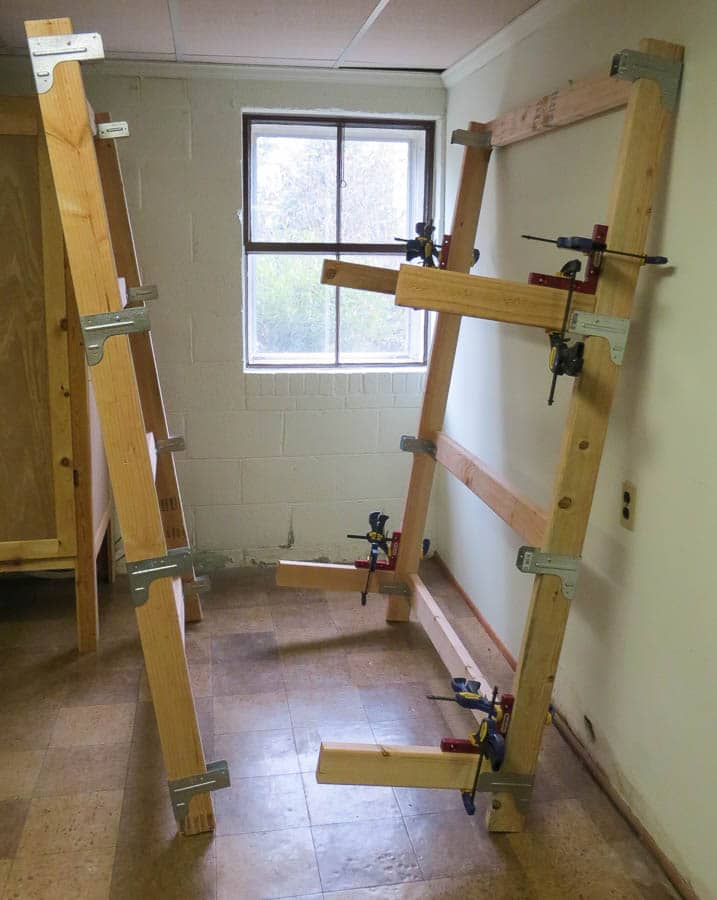
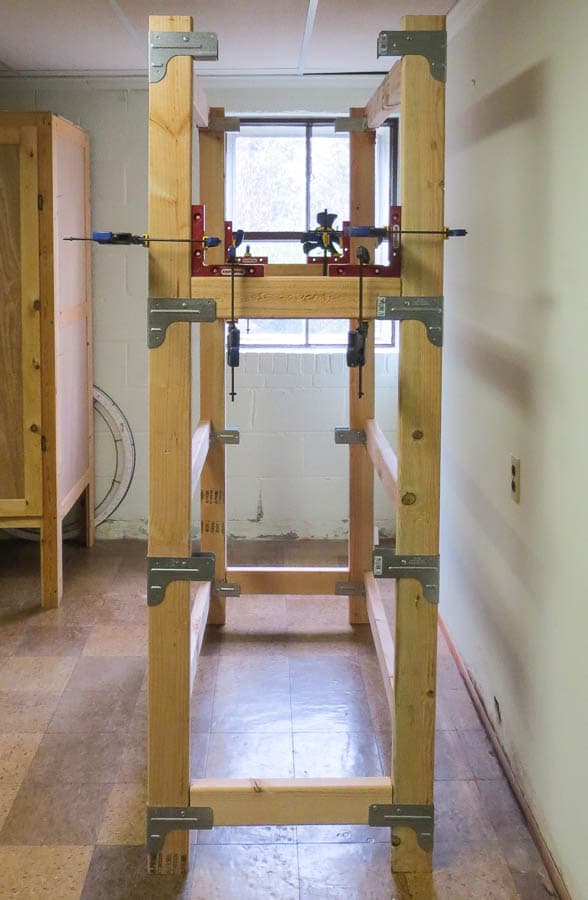
Again, to make sure that the shelving unit was square, I used clamping squares, clamps, and pipe clamps to hold it together as I screwed the connectors in place.
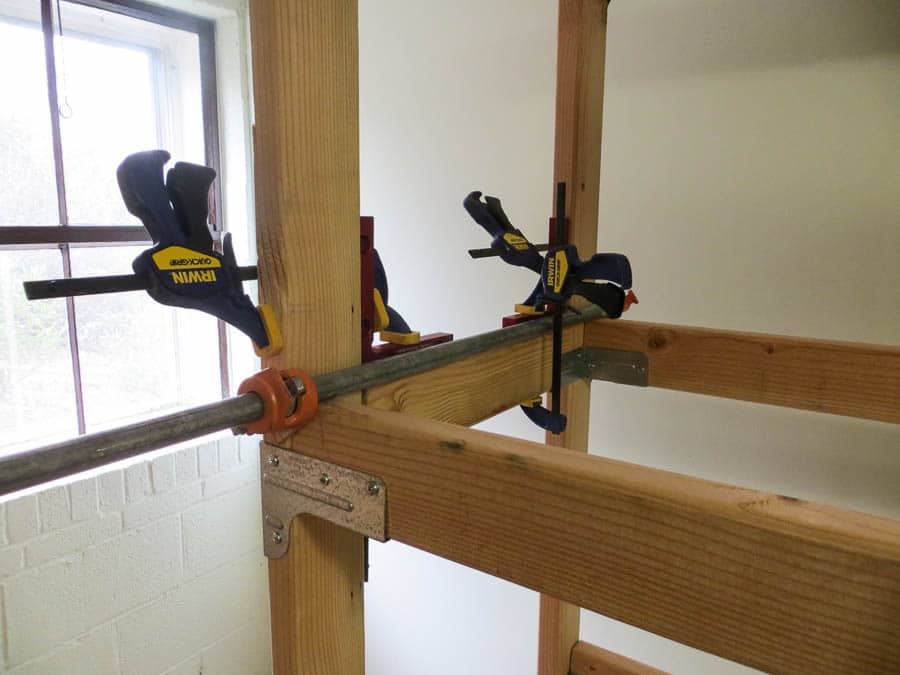
This project is not at all difficult but it did require a lot of screwing!
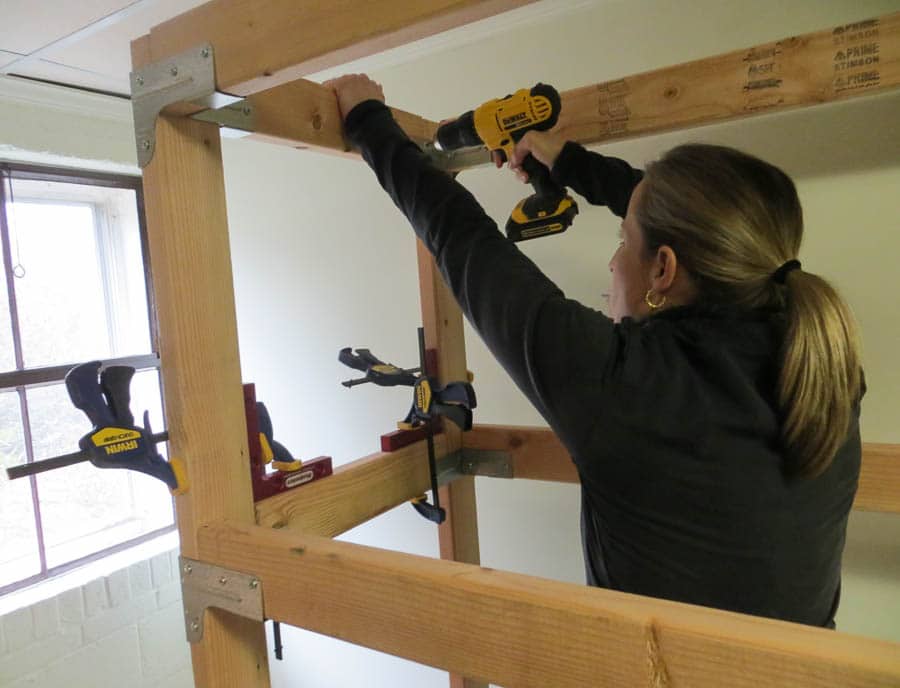
The next step is to screw each shelf into place. I started at the bottom and worked my way to the top.
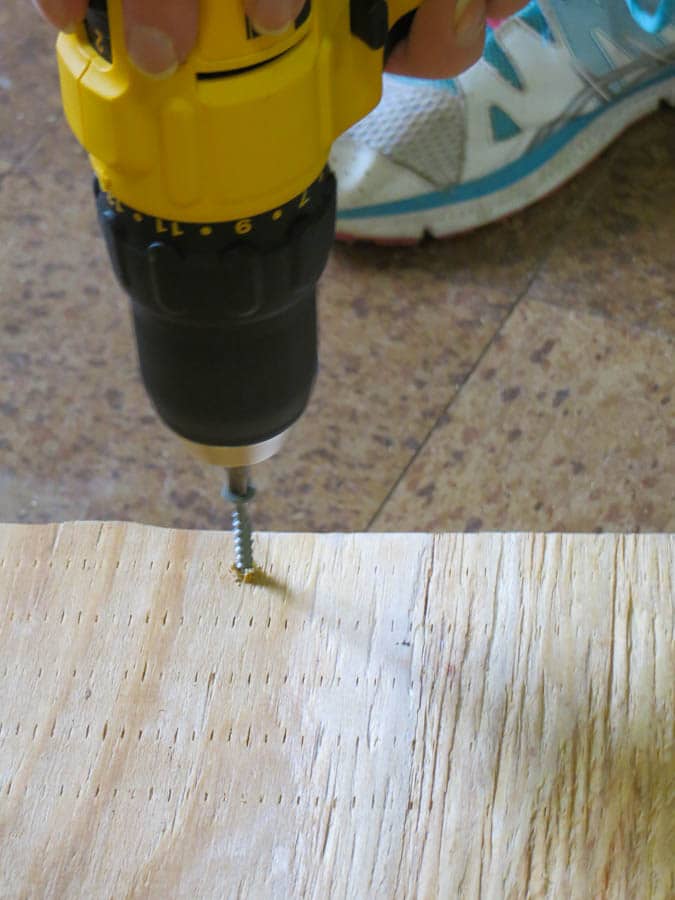
I used three screws on the long sides and two on the short sides.
Here are the two DIY 2×4 Shelving Units in place, ready to be filled with my treasures.
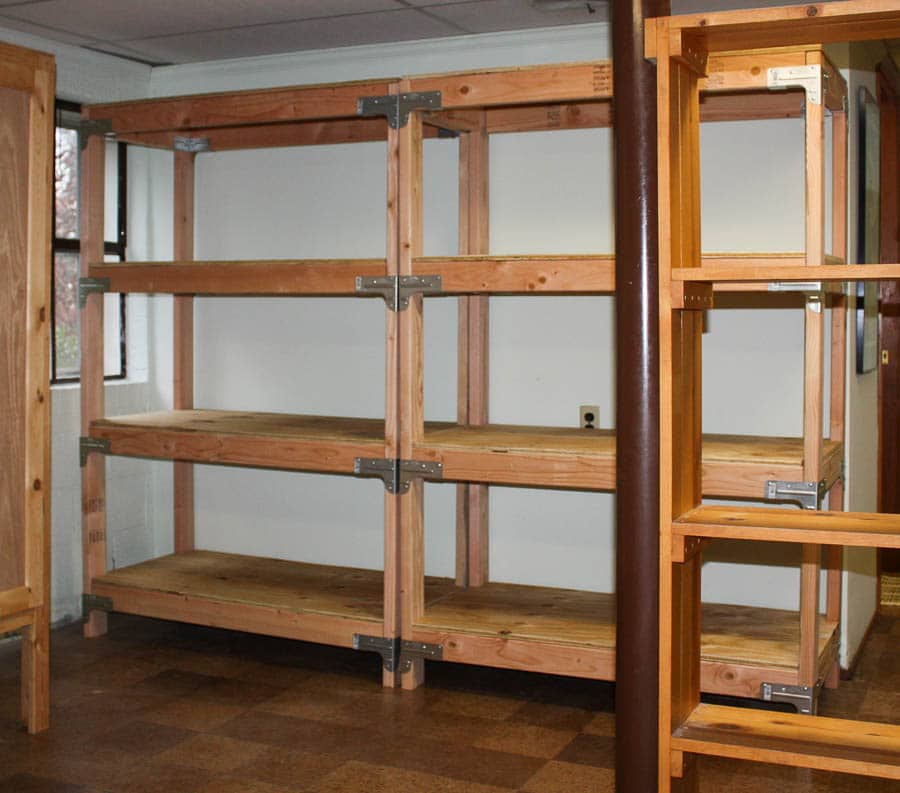
Here they are from another angle. The shelf to the right of the brown pole was added by the former owner of our home. It’s really not empty, I just moved things out of the way for the picture. There is no shortage of stuff at my house!
This isn’t a decorative piece, but I like the industrial look that the Strong Tie Connectors give my shelves.
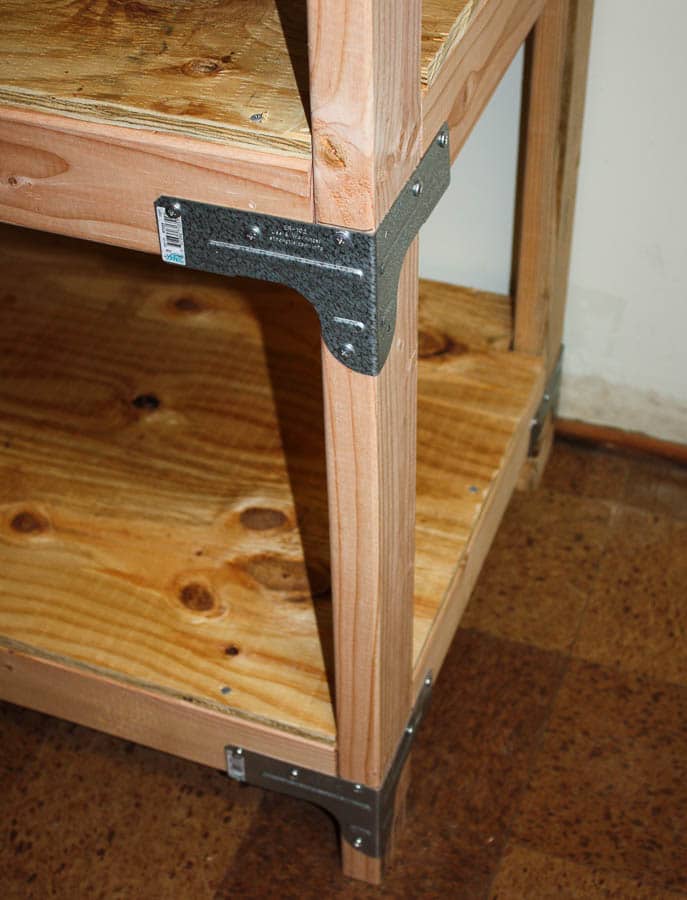
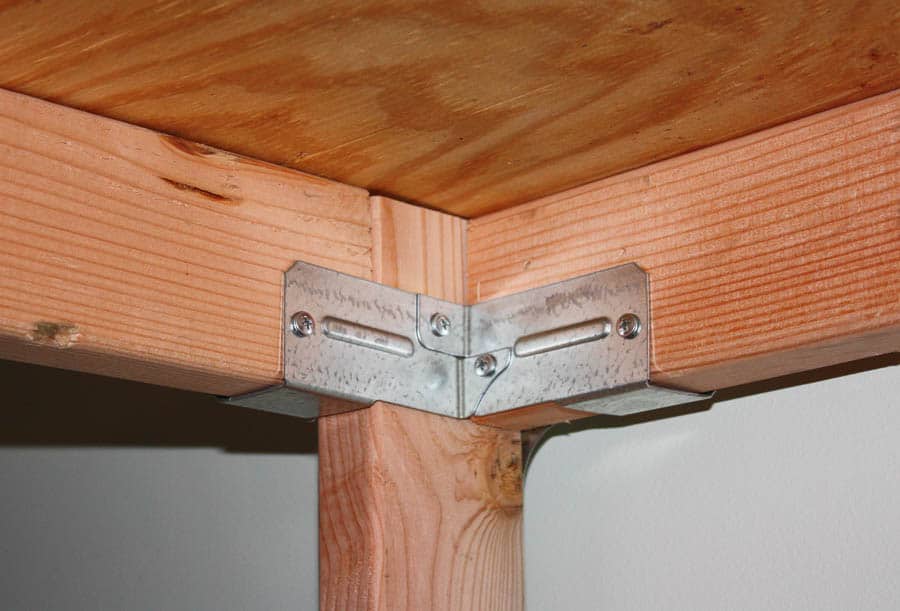
The connectors also make these shelves incredible sturdy.
Here are my new shelves filled with my treasures. I don’t have room upstairs for decorative items that aren’t currently being used and these shelves are the perfect spot for storing my things. Most bloggers probably wouldn’t show you a picture like this that isn’t perfectly styled but this is real life and I’m all about sharing that.
If you are wondering about the cabinet to the left of the shelves, Mr. SP made it for me years ago and it’s full of craft supplies.
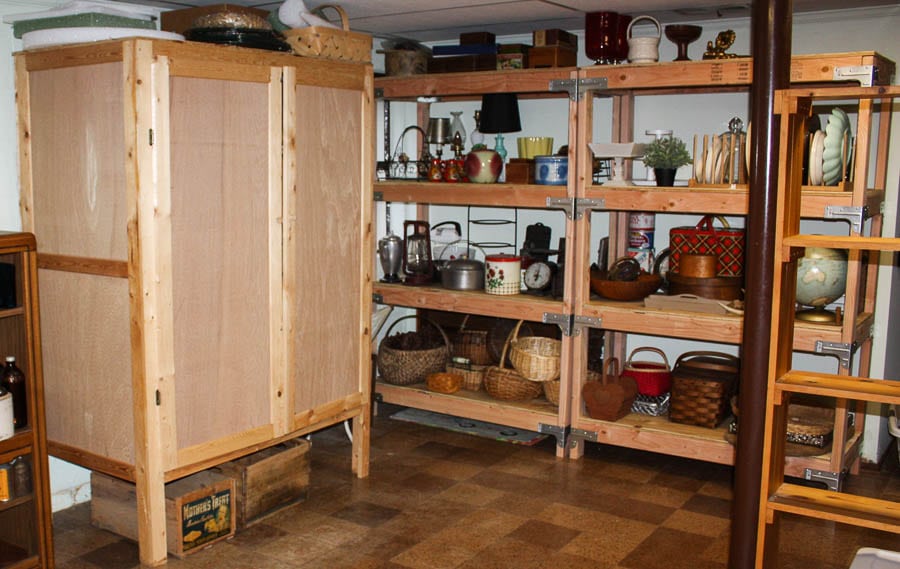
My side of the basement is looking better and is much more organized thanks to my DIY 2×4 Shelving Units. If you have a basement or garage that needs shelves, this may be a project that would be very useful in your home.
Now for the fun part! Enjoy these organizing projects created by my friends.
The Kim Six Fix – Under Cabinet Storage
My Repurposed Life – Repurposed Drawer Dog Toy Box
H2OBungalow – DIY Hanging Jewelry Organizer
Create And Babble – Pallet Wood Entryway Bench with Shoe Storage
The DIY Bungalow – Reclaimed Wood Shelves
Designed Decor – Repurposed Radio Cabinet Coffee Bar Drink Station
Domestically Speaking – Easiest DIY Drawer Organization
Refresh Restyle – Mudroom Storage Idea
My Love 2 Create – Drawer Storage Shelf
Thrift Diving – How to make a DIY Pegboard Organizer for Your Garage or Craft Room
Favorite Projects
If you liked this post, check out more popular projects.

Wow! Your post & project is perfect timing. Our garage is a catch ll basin of insanity and has been for 3 years. We keep saying we are going to change that and build shelves. This is the year we’ve committed to doing it! Saving this for the near future, love how strong your shelves look as well as how simple they are to build!
These shelves are perfect for storage. The set I built is for heavy duty items and after I finished the project, I realized that there were directions on the Simpson Strong-Tie site for a less heavy duty version that would have been a lot cheaper to build. If you don’t have heavy items to store, I’d check out the less heavy duty directions because what I built ended up being pretty costly, mostly because of the price of the strong ties.
Paula
Paula,
Great tutorial for diy shelving. I need about 5 of these units for my blog staging items. Currently the totes are just stacked on top of each other.
pinning!
gail
Blog staging items take up a lot of room, Gail! I am glad to have my things on shelves and out where I can see them.
Paula
These are great! Everyone needs these for extra storage. I know my life was so much easier after we built ours in our basement storage area. You did an awesome tutorial!
I am really enjoying my shelves, DeDe. I have a feeling this won’t be the last set that I build.
Paula
I need to build about 5 of these for our garage.
These bad boys are perfect for a garage, Maryann!
Paula
Man, these bad boys look heavy duty! I haven’t ever used this metal shelving brackets, but I like the idea of using them because they’re super strong. No pocket holes needed! Now you can fill them up! 🙂 Pinning!
And boy-oh-boy did I fill them up quickly, Serena!!
Paula
This is great Paula, I could use some of these in my garage! Strong Tie connectors are super sturdy and easy to use!
These shelves would be perfect for a garage, Mindi. Wish we had a garage. Our neighborhood came along before garages were common. Thank goodness for a big basement and an outdoor shed. 🙂
Paula
These look great,
Over here in Australia basements are unfortunately not as common as over there.
We always watch the home buying shows from America and they nearly always have huge basements – it makes us very jealous of the extra space !
We do however have a garage which I am building a similar thing to yours.
I am surprised at how long it is taking me – although I am not the fastest DIY person in the world.
Those brackets would have been very handy – but don’t seem to be for sale over here…….
In my area, almost everyone has a basement but coastal homes here don’t have them. I hope you enjoy your shelf. It’s too bad that the brackets to make one aren’t available in Australia, it really does make building one easy but it’s definitely 100% doable without them. We’ve now built three of these shelves and I have a spot in mind that needs another.
Paula
My basement could use about six of these! It seems like using the Simpson Strong-Ties is the way to go for these type of shelves. Pinning for future use!
The Simpson Strong-Ties make these shelves easy to build and super strong. BUT, they are expensive!
Paula
Those shelves look so useful! And strong! Awesome project!
Thanks, Karen! If we had a garage, I know I’d want a set in there.
Paula
What a great idea. I love the industrial look also. You should share a photo of them full too! Great job this month.
Thanks, Kim. If you visit us at the lake next summer, you just may see a set of these shelves there. They are so handy!
Paula
It looks great, Paula. The perfect way to store all your wonderful treasures. I was just thinking that I need a “prop room” and these shelves are ideal for that!
The shelves are great for storing all of my treasures, Angie. Since you are like me and love vintage and antiques, I’m sure that you have just as many things that need storage. A “prop room” would be awesome to have.
Paula
Oh wow! Those are some awesome shelving units! I bet they make you so much happier, now that you can more easily store and view your decor! Your basement is like a treasure chest!
It made me so, so happy to get my things more organized. Our basement definitely is a treasure chest of “stuff”.
Paula
Those aren’t going anywhere – nice strong and sturdy shelving. Could use some of these!
They are sturdy, Marie. I’m just so happy to have my “mess” corralled!
Paula
LOL…please don’t take this question as if I didn’t pay attention to the actual subject ….lol.. love it ….but I couldn’t go on with Albert E. in the background …( one my fav. )…I’ve tried cpl different ways to read the words next to his pic. …I can’t enlarge enough …Please ??….what does it say ? ..
My husband will be thrilled that you like his poster. I’m pretty sure it is a relic from his college days and he will soon be 54. 🙂
The quote on the poster says, “Great spirits have always encountered violent opposition from mediocre minds.”
Paula
How about plans for the cabinet to the left of the shelves
My husband built the cabinet beside my shelves long ago. At this time, I don’t have any plans available for how he made it. Perhaps that could be a future blog post. Thanks so much for your interest in it.
Hi! I’m an editor for Remodelaholic.com and am writing to request permission to use a photo from your 2×4 Shelving Unit post (https://www.virginiasweetpea.com/diy-2×4-shelving-unit/)
We hope to feature this in an upcoming round up of ours about DIY shelving. We would include a backlink and clear credit to you via the name of your blog.
Additionally, we routinely publish round-up style posts on our site and if you’re willing to allow us to use one photo from other posts you’ve done, we would love to add you to our directory of sites to feature. As a bonus, your site would then be on our radar for possible Facebook shares as well.
Please let me know if this is satisfactory. Thanks for your consideration!
Thank you so much for considering my 2×4 Shelving Unit for an upcoming round-up. I would love to be included.
I would also like to be added to your directory for future features.
Paula
Assuming we have the requisite tools, what is the approximate cost of one unit?
I just built a heavy duty shelving unit for my wife. Well, it was originally supposed to be mine but I loaded it up with slow cookers, mixers and cast iron.. I added casters and the rest is history.
That is wonderful, Charles! Adding casters is a great idea. We are planning to build another shelving unit and I’m going to add casters to this one.
Paula