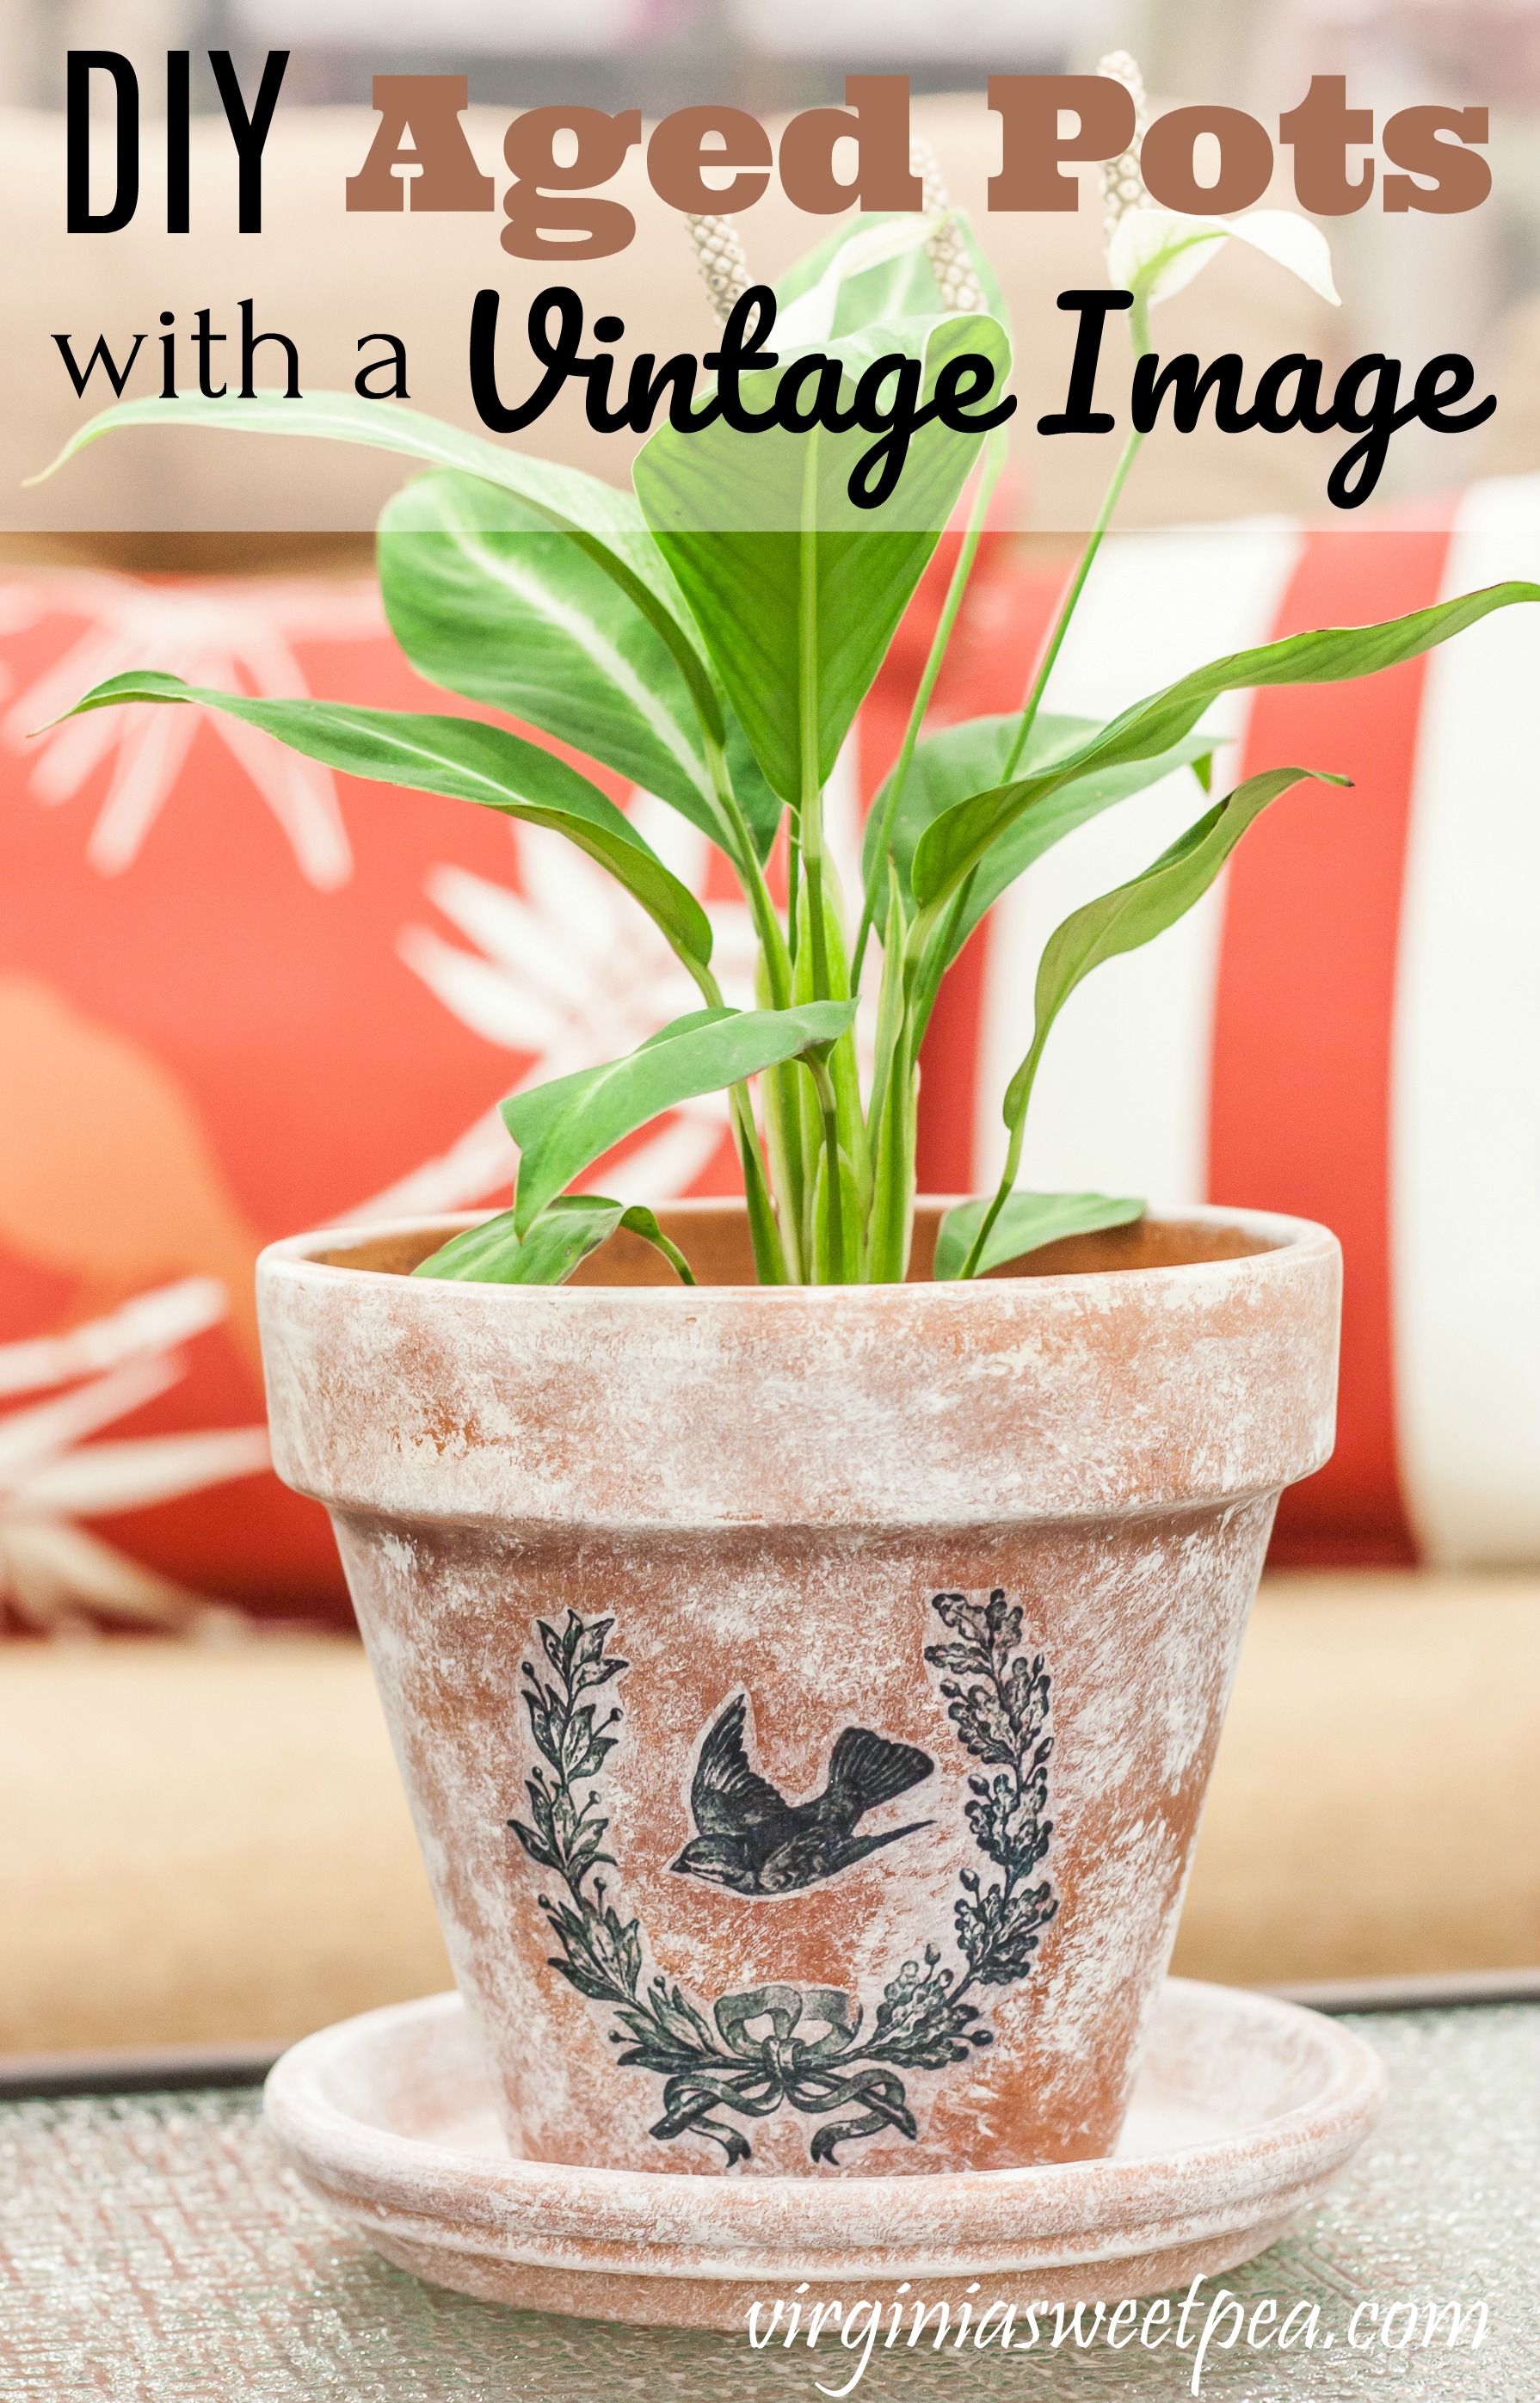
DIY Aged Pots with a Vintage Image
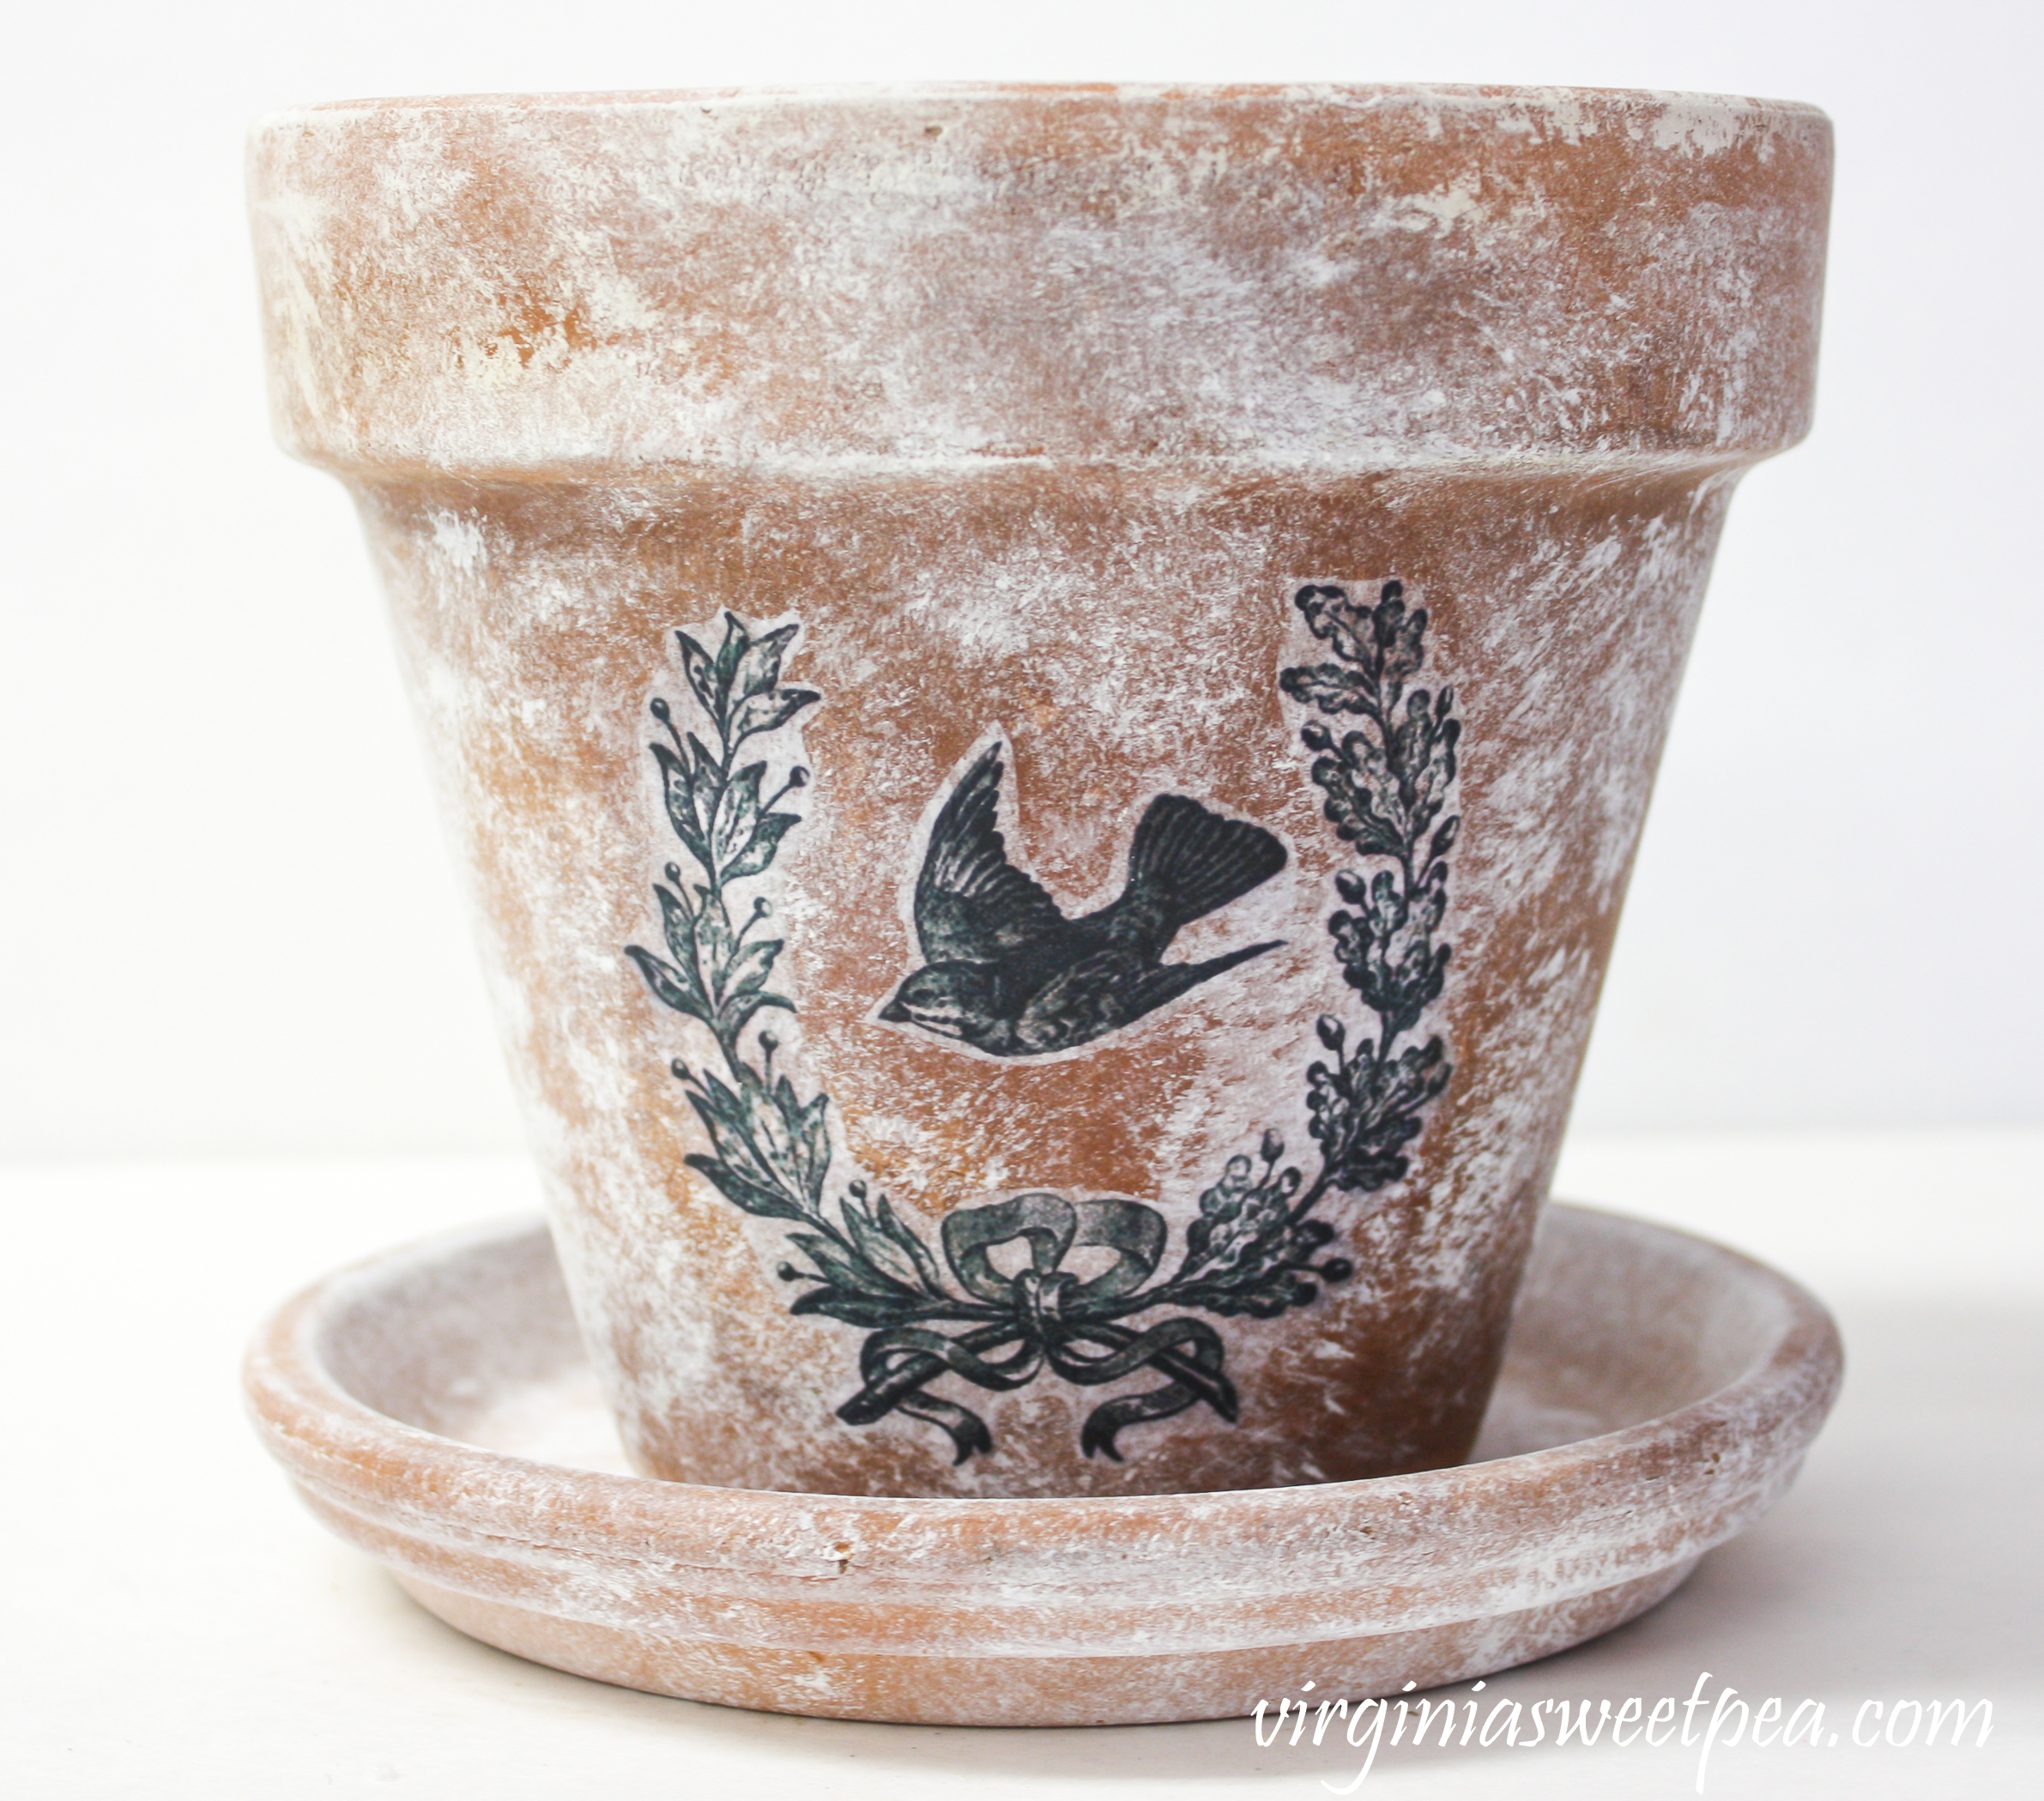
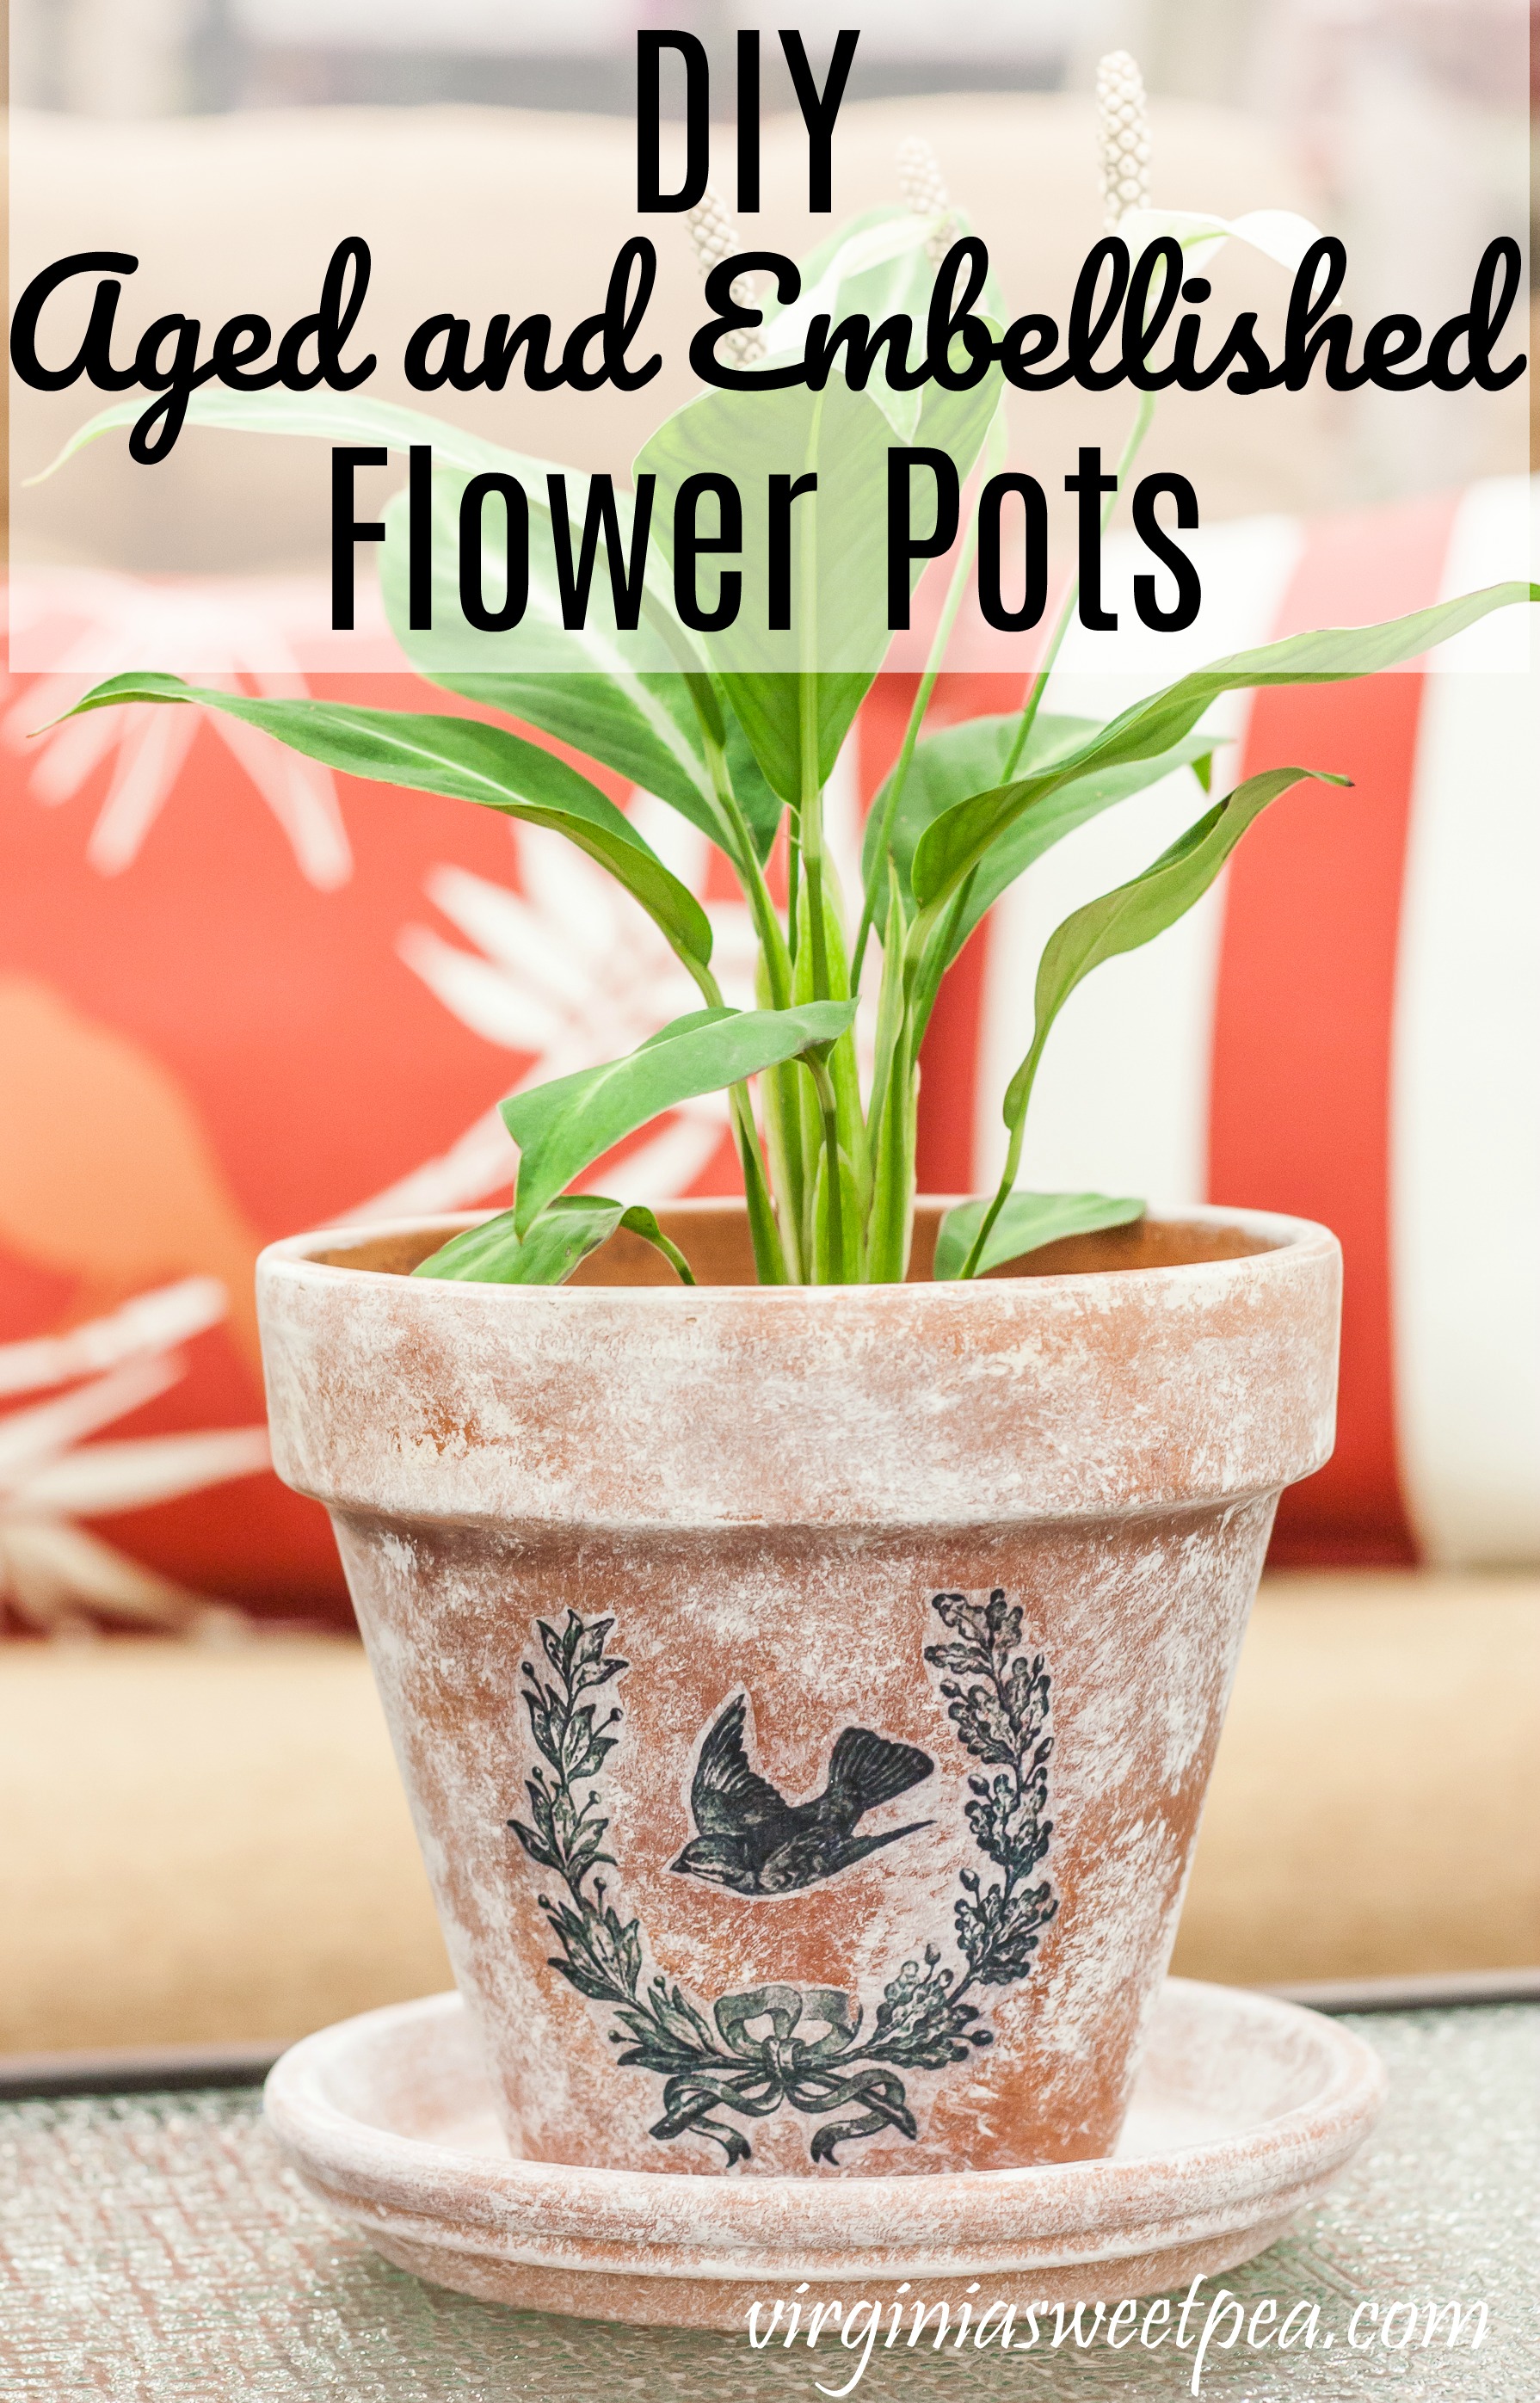
I enjoy gardening and all things vintage and this DIY Aged Pot with a Transfered Vintage Image project combines both of those loves. Today I’m sharing how to age a flower pot with paint and then how to transfer a vintage image to it to get a one-of-a kind flower pot to enjoy in your home.
Yield: A Clay Pot with a Transferred Image
DIY Aged Pots with a Transferred Vintage Image
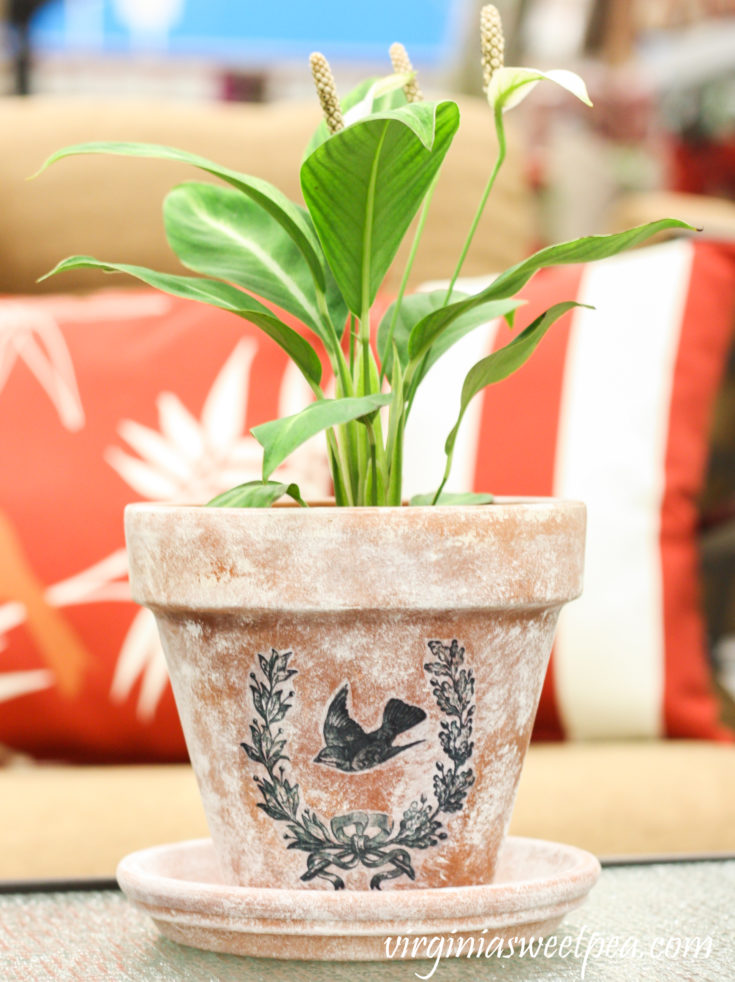
Jazz up an ordinary clay pot by aging the pot and then adding a vintage image.
Prep Time
10 minutes
Active Time
20 minutes
Additional Time
1 hour
Total Time
1 hour 30 minutes
Difficulty
Easy
Materials
- Flower Pot with Saucer
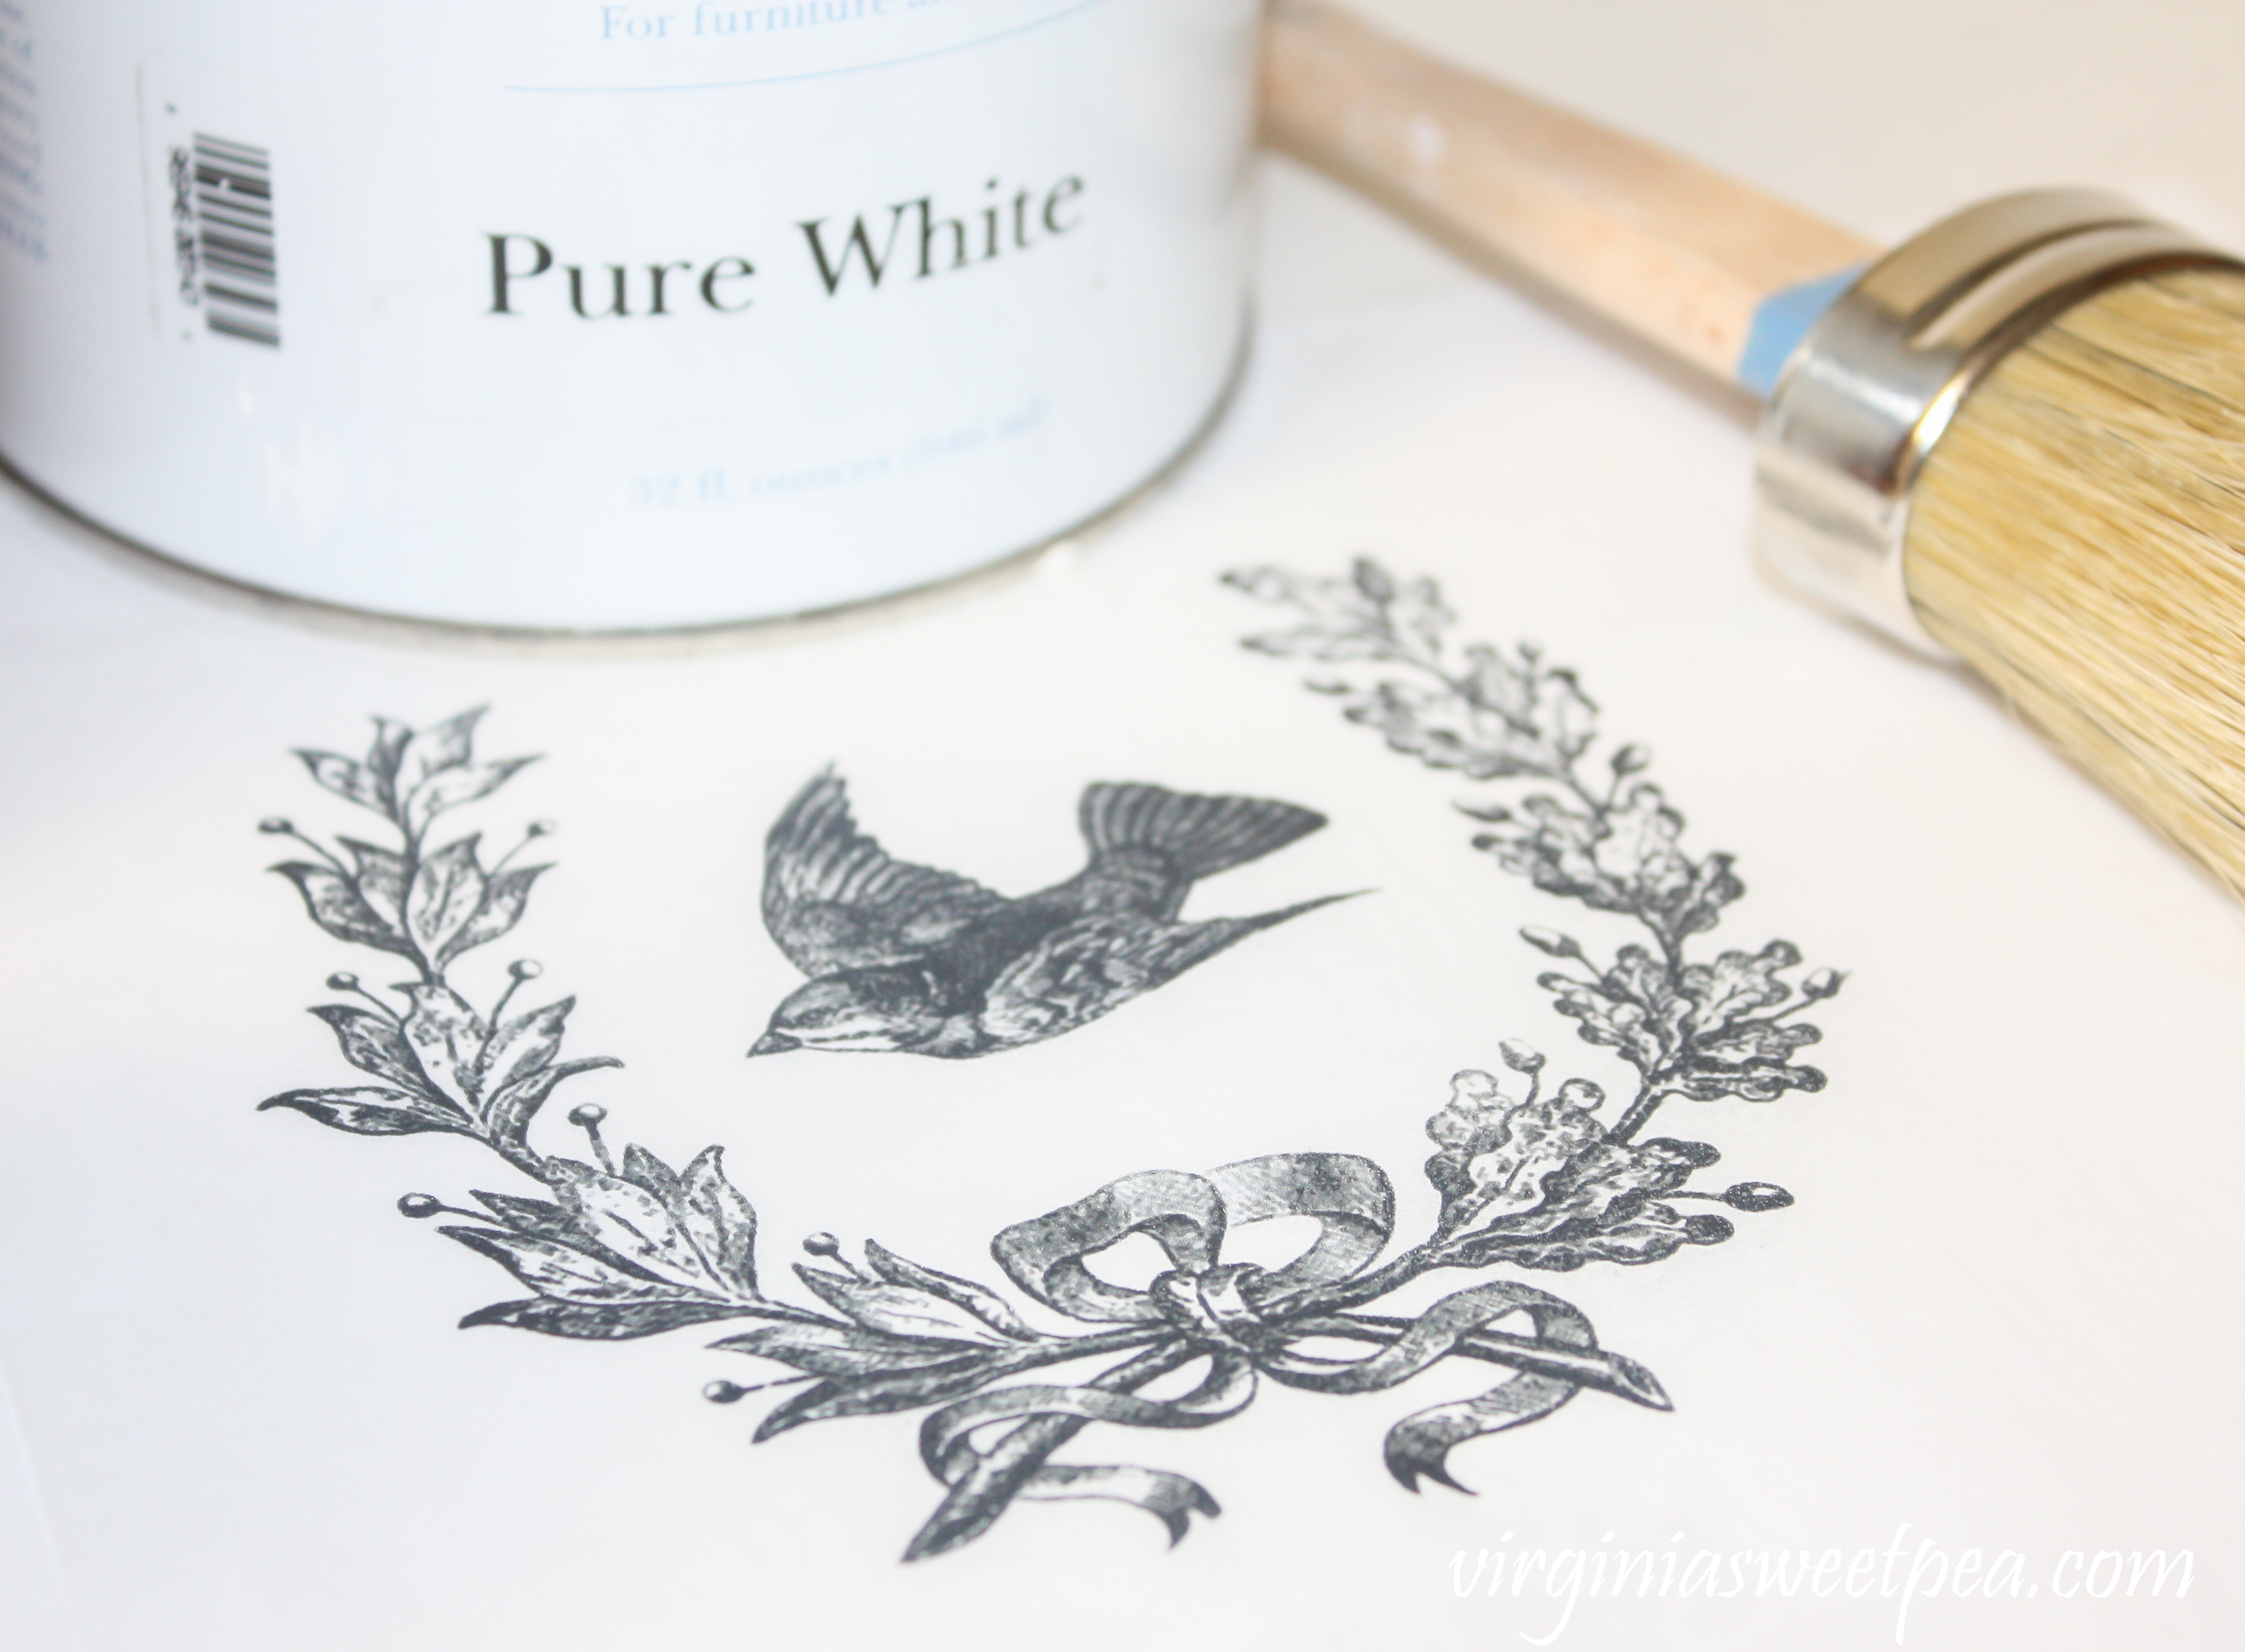
- Paint
- Printable Graphic
- Tissue Paper
- Tape
- Mod Podge
- Clear Spray Sealer
Tools
- Scissors
- Paint Brush
Instructions
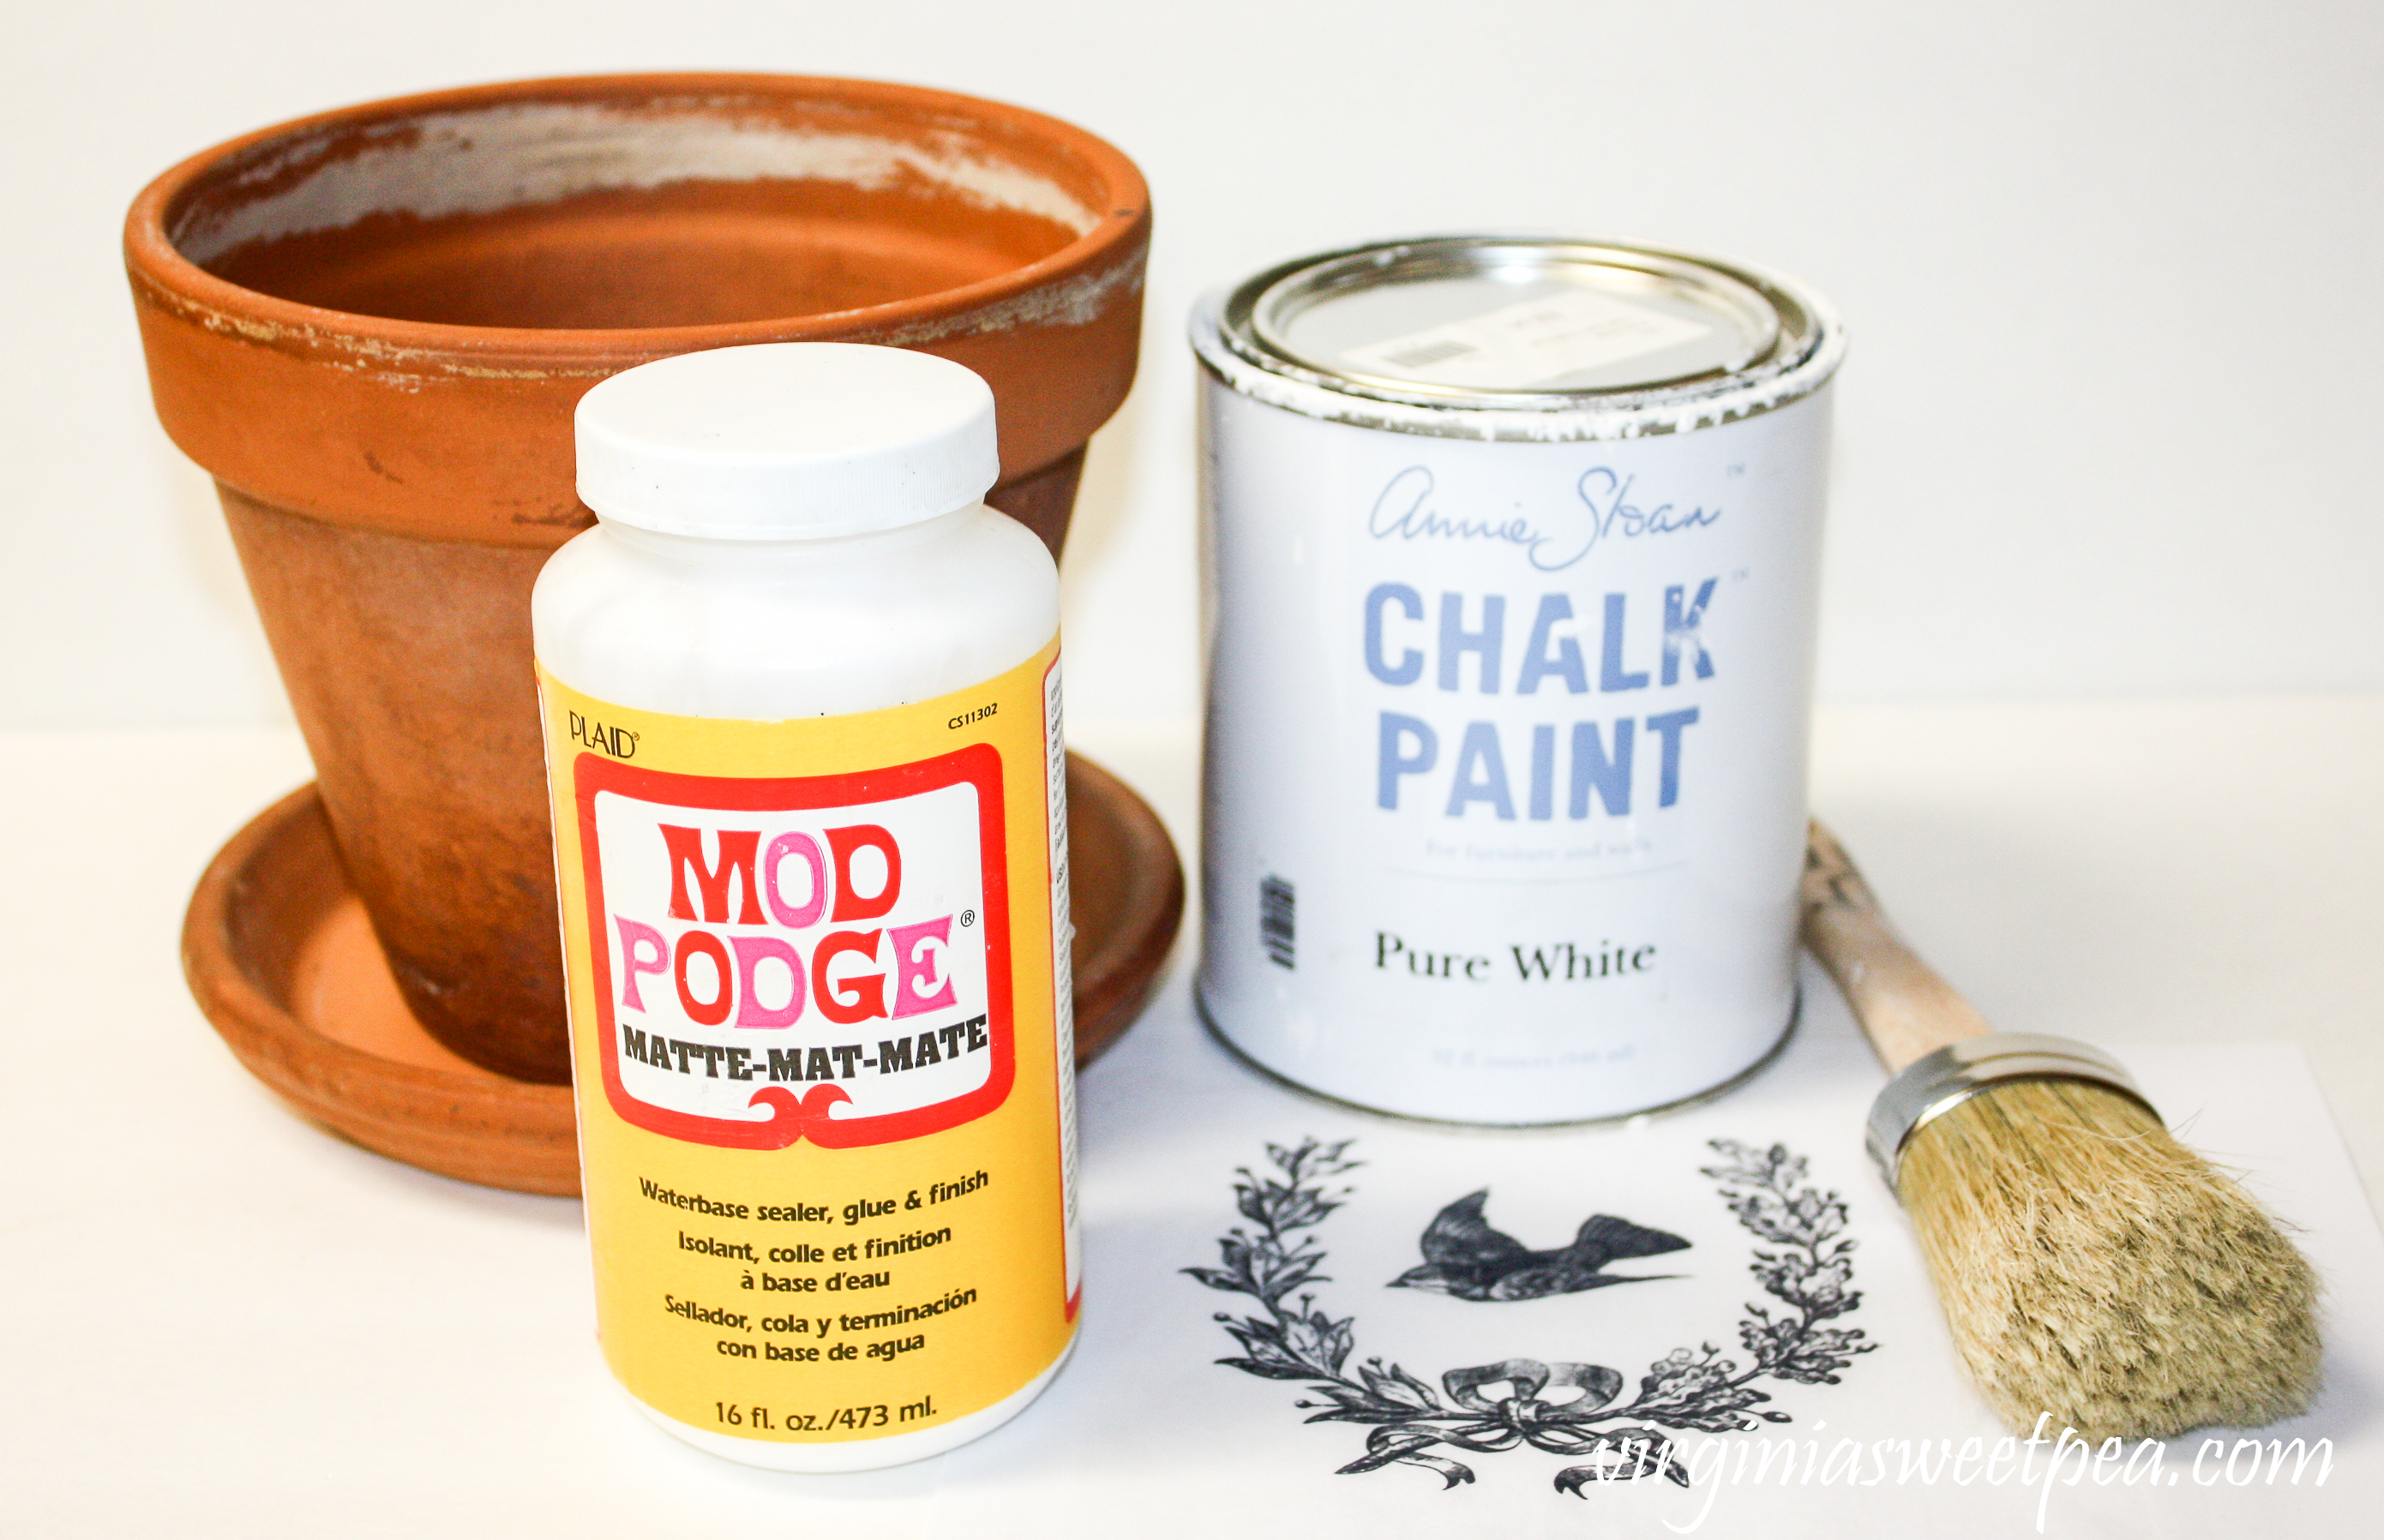
- Gather materials.
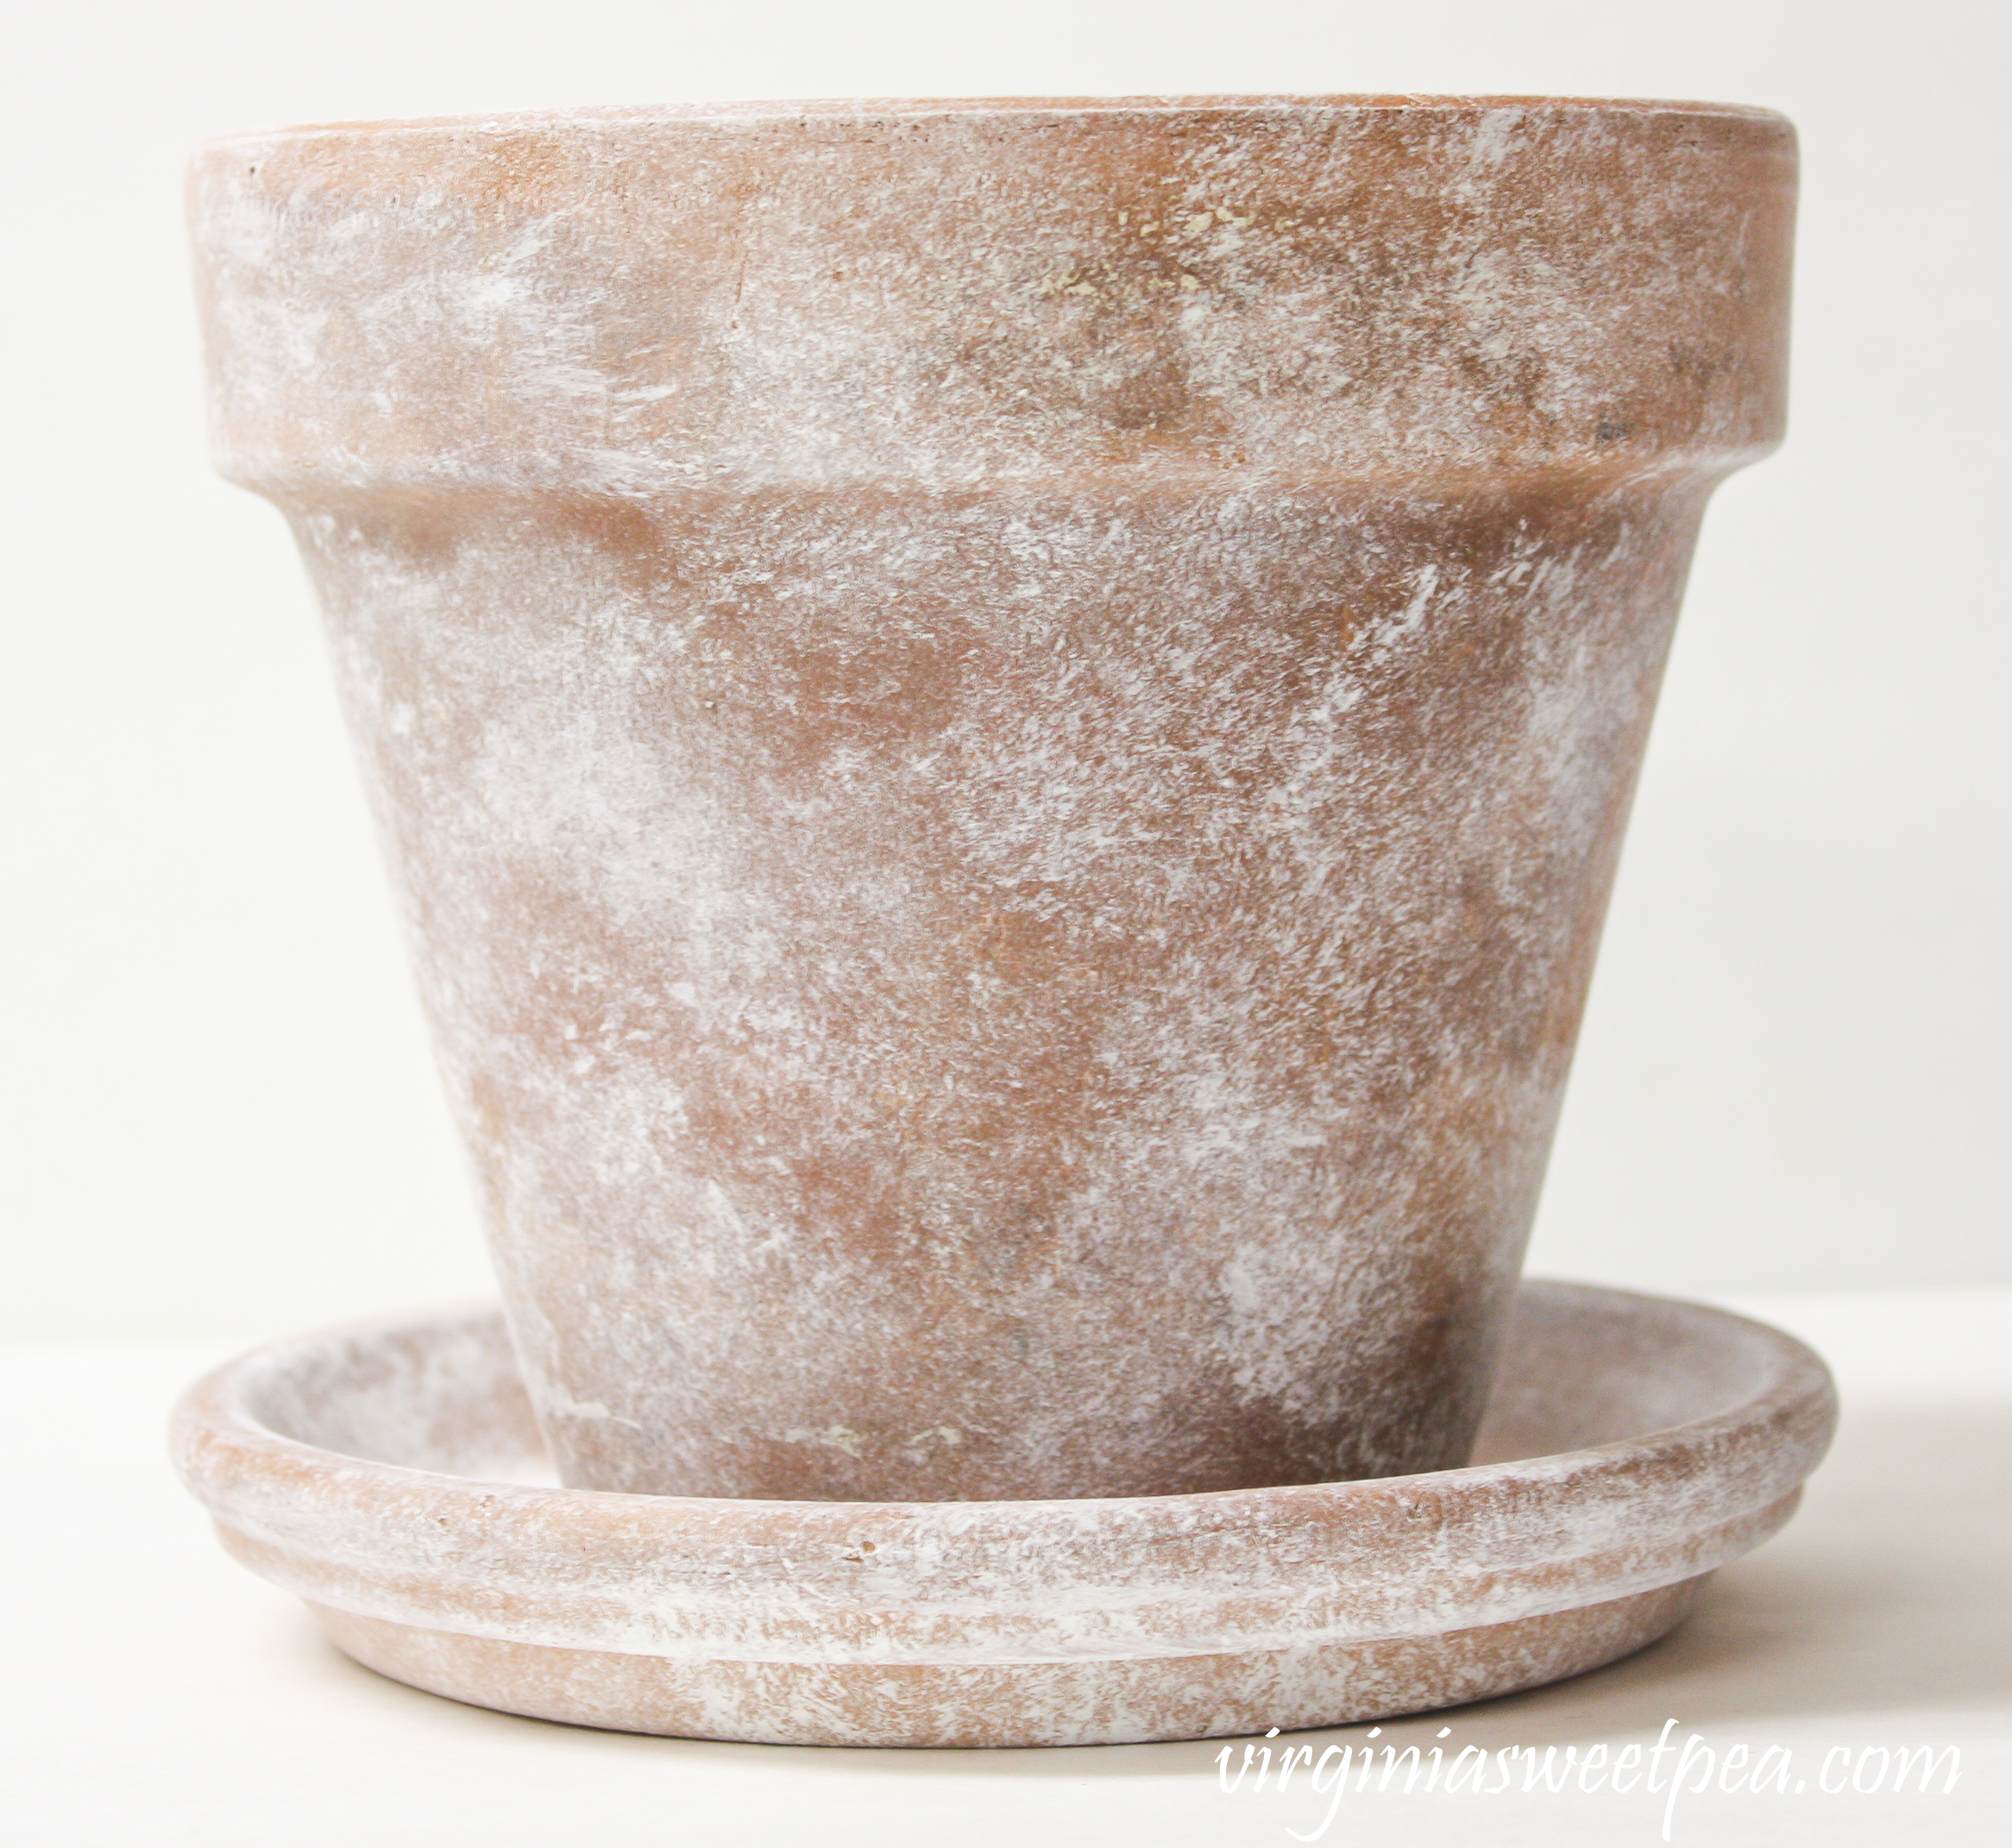
- Put a small amount of paint on the paintbrush and dab the brush on paper towels to remove most of the paint. Brush paint on the pot and saucer to create an aged, weathered effect.
- Tape a piece of tissue paper to a sheet of printer paper and print a graphic from your computer on the tissue paper.
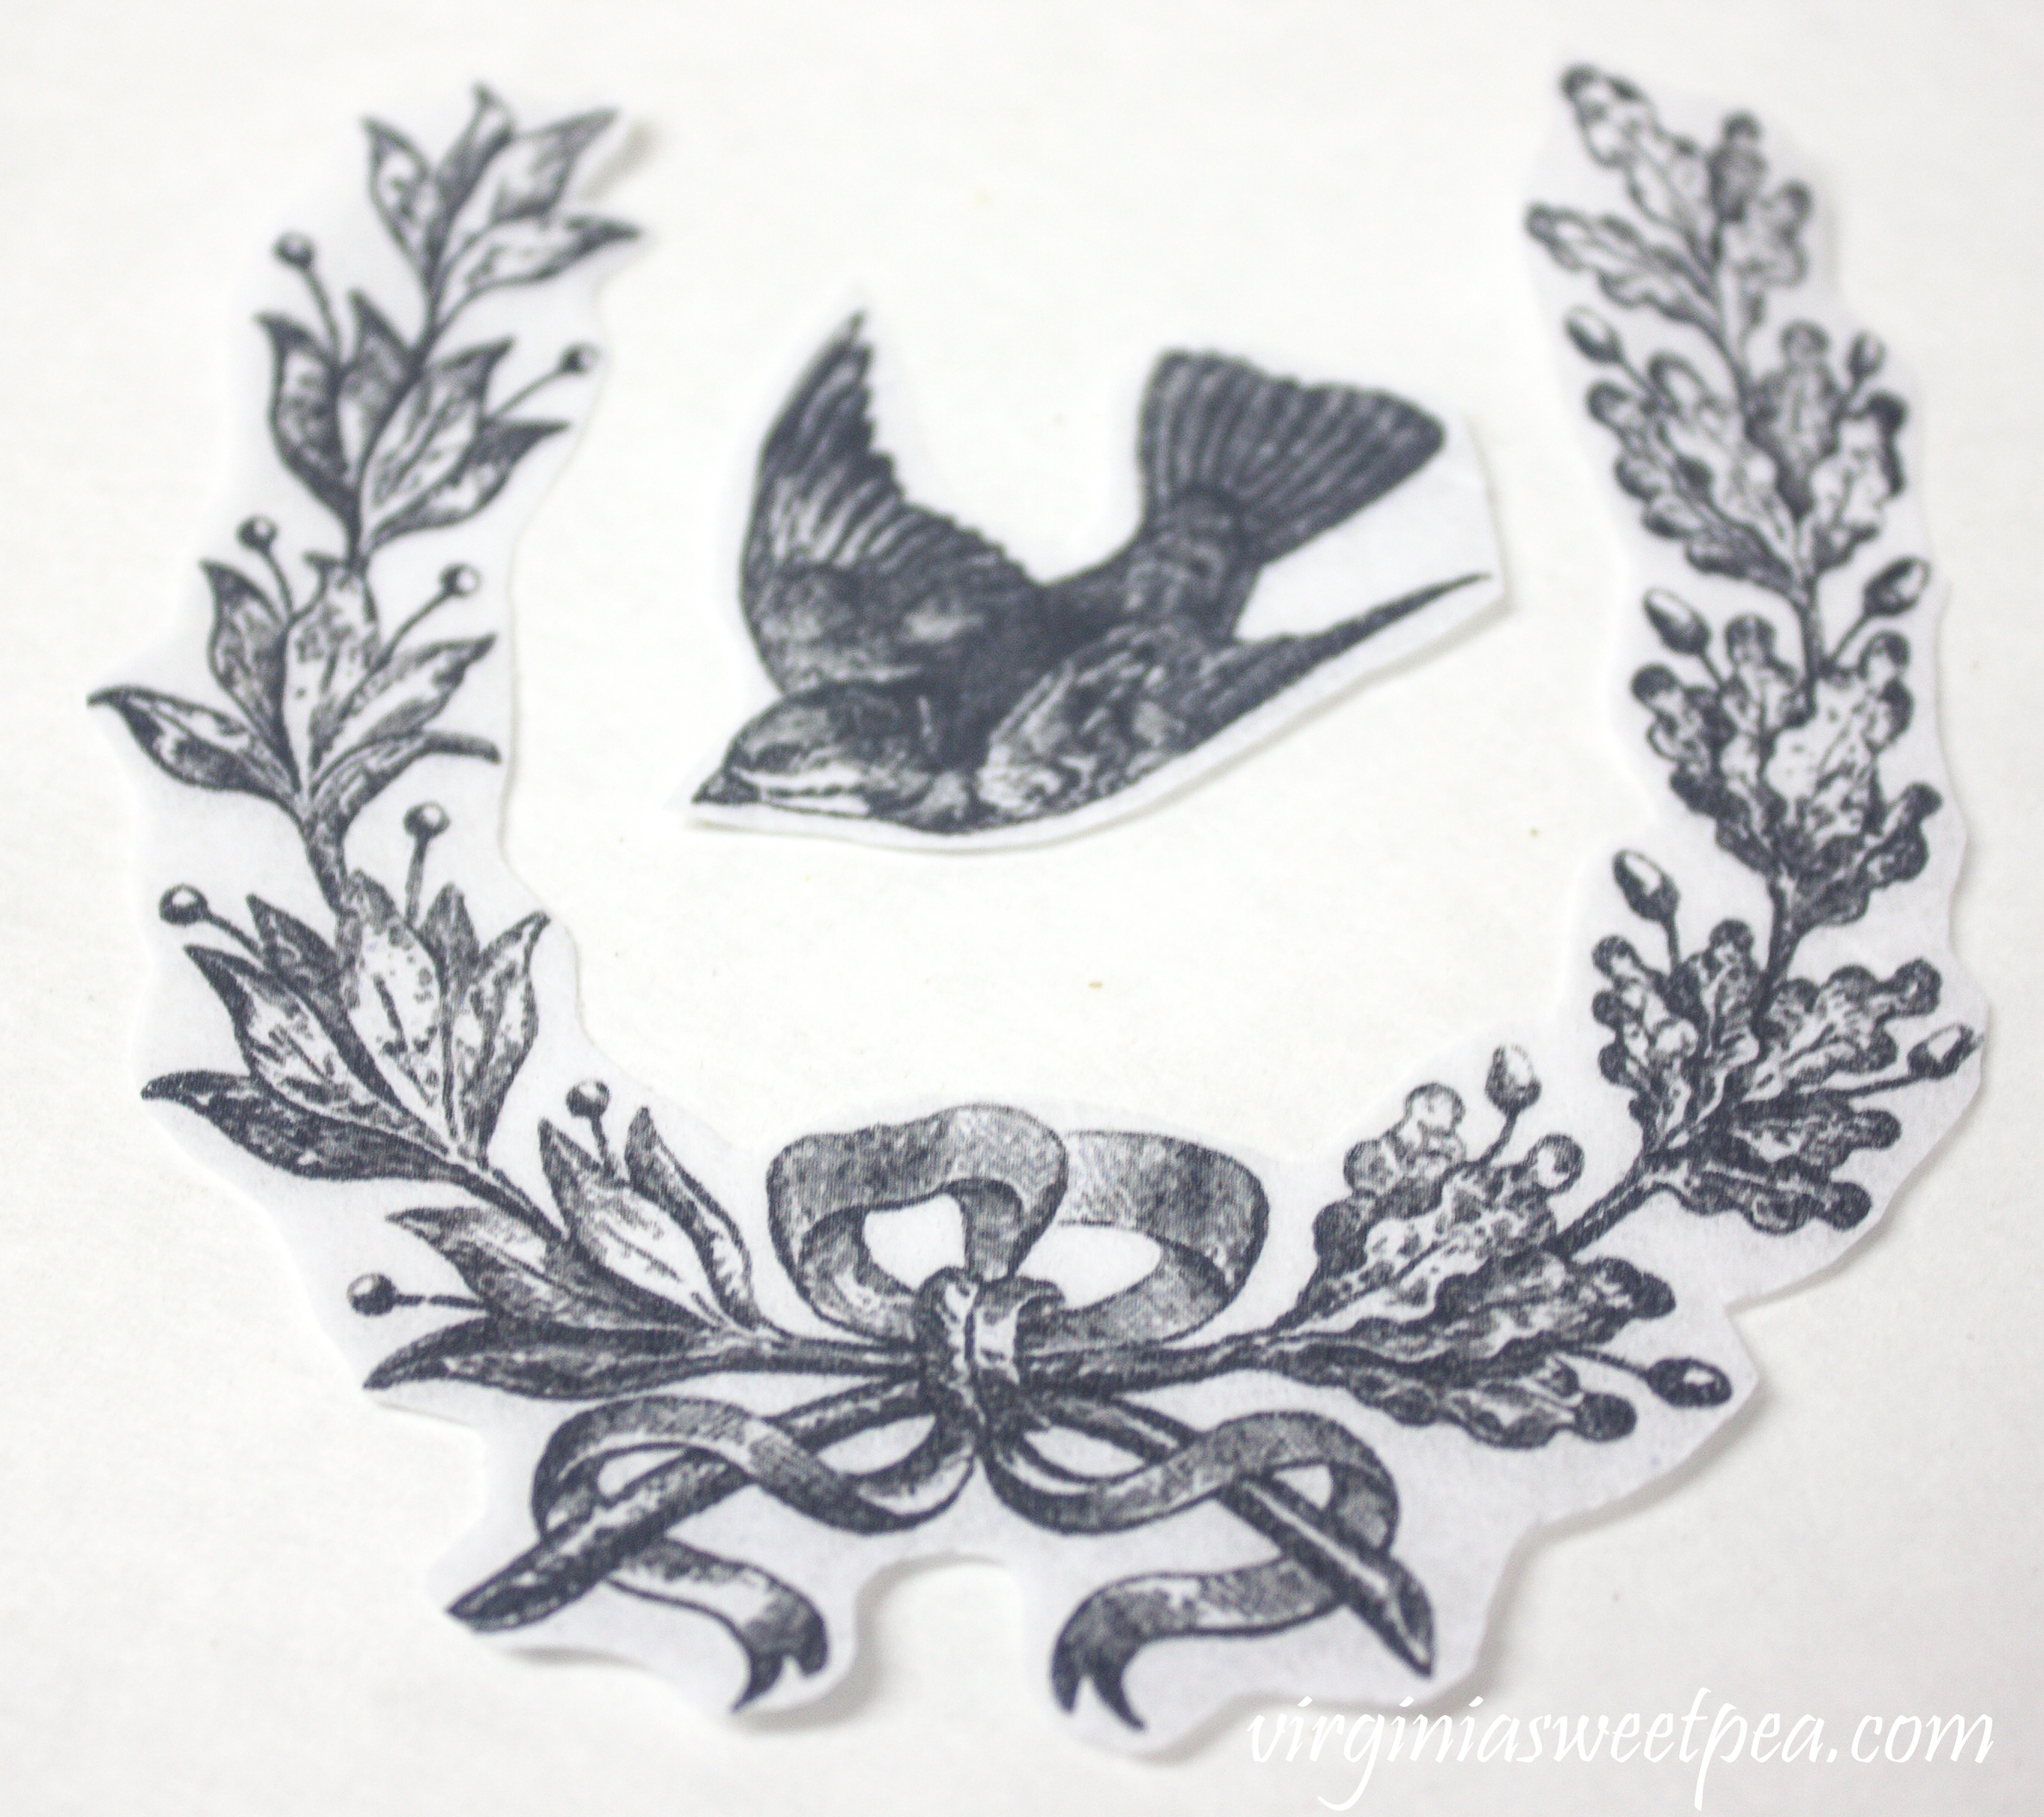
- Peel tissue from printer paper and cut closely around the graphic.
- Brush a small amount of Mod Podge on the pot where the graphic will be applied. Apply image using your finger to smooth out any wrinkles. Brush Mod Podge over the graphic.
- After the Mod Podge dries, spray clear sealer on both the inside and outside of the pot to protect the image and paint.
How to Use an Aged Pot with a Vintage Image in Your Home
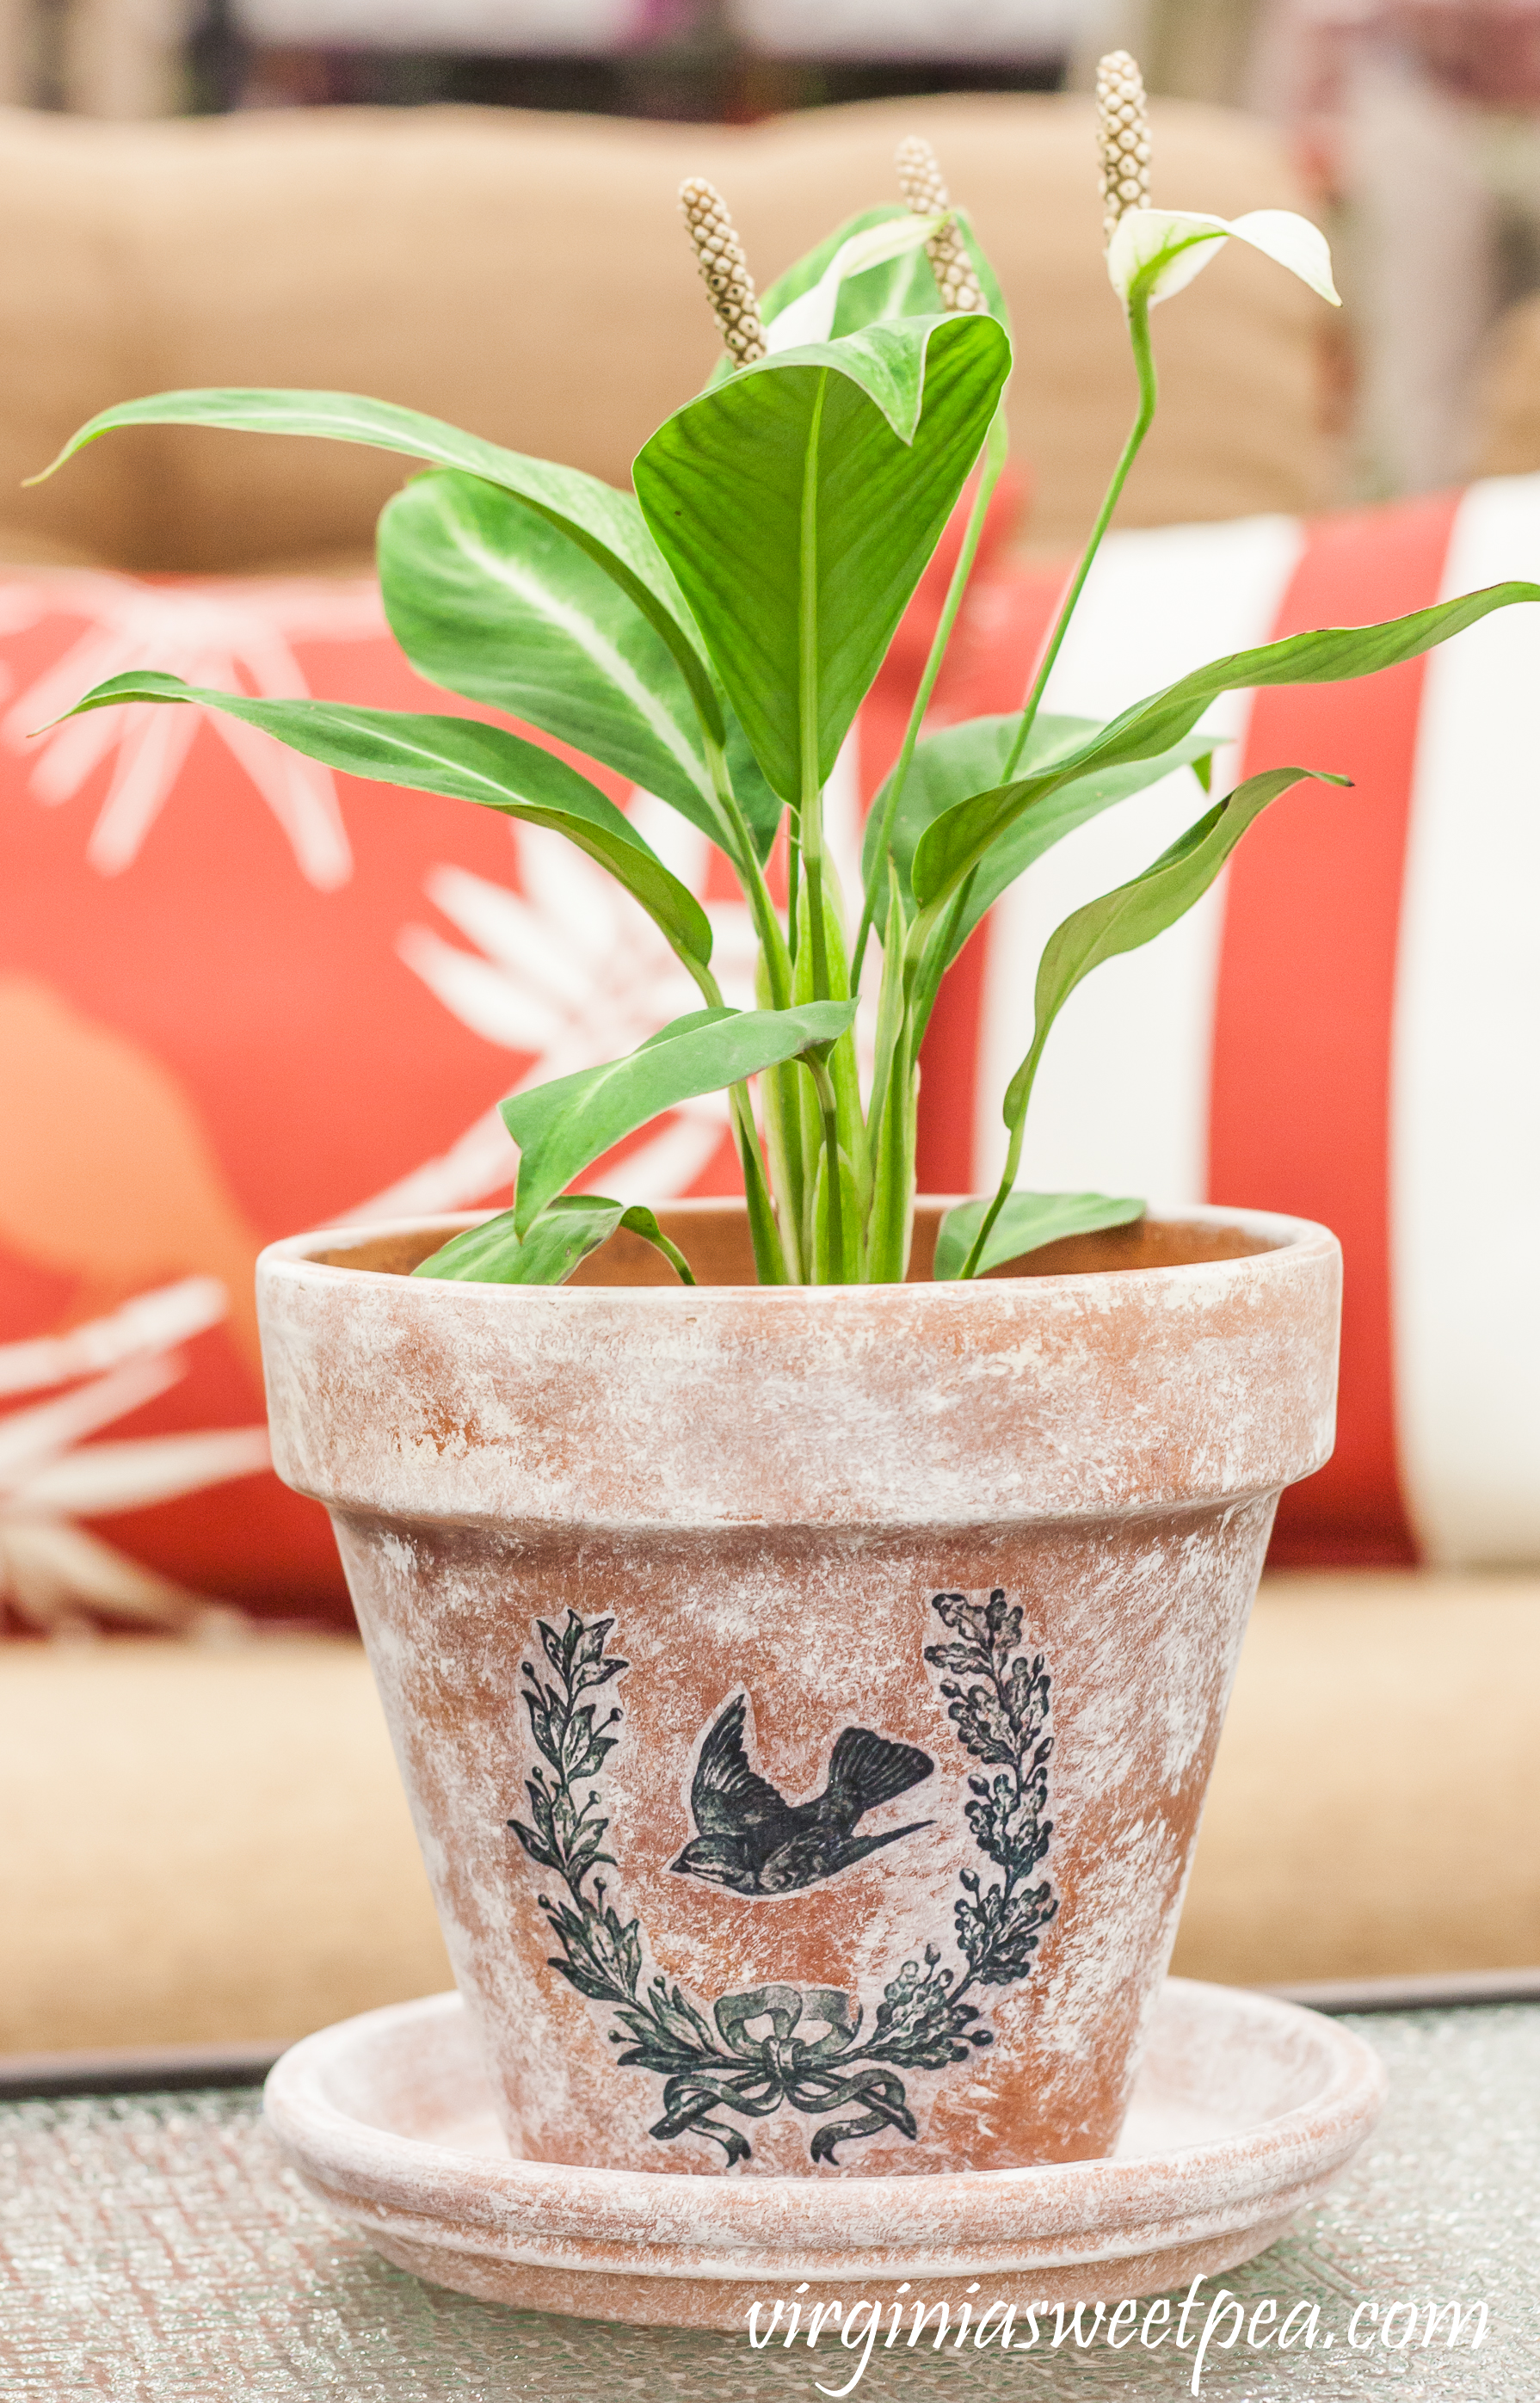
A DIY aged pot looks great holding a houseplant.
More Ways to Enjoy This Project
- Decorated pots filled with pretty flowers would make a great centerpiece for a bridal or baby shower.
- This craft is perfect for kids. Let them pick out their graphic, print it out, and have fun making their own pot to keep in their room.
- Decorate pots with a school logo and use them for decorating a tailgate table at fall games.
- Paint pots in a seasonal color, apply a seasonal graphic and fill with treats for a perfect hostess or neighbor gift.

I love it! Great idea with the tissue paper, it blends beautifully!
Debbie
Thanks, Debbie! I found that cutting close around the design was the key to using tissue paper. When I left too much showing, it looked terrible. Since it was tissue paper and applied with Mod Podge, it was super easy to remove and start over.
Paula
aaahh, I love this pot. So fun. Thanks for the tutorial!
Thanks, Kathy! It was a fun project to make.
Paula
Great idea for a series.I look forward to summer every year, for the warm, not the quiet. I’m glad you get a good long break. Your pot is really nice. I’m not a gardener because I can’t keep things alive. My mom is though. She would like this.
Thanks, Kathleen! Your mom would enjoy a pot like this and it would be a fun project for you to do together the next time you visit her.
Paula
These look fabulous. I love it. Great tutorial.
Thanks, Marty! I need to make more for gifts.
Paula
This is really beautiful, Paula! I need some inspiration for the deck we just built! Thanks for joining us on the tour!
Thanks, Marty! You’ve made great progress on your deck. I hope you can soon enjoy it.
Paula
Gorgeous pot Paula! Thanks for the How-To my friend. Happy Sum, Sum, Summertime to you!
Thanks, Therese! You know that I am more than ready for summer! I plan to enjoy every single second of it.
Paula
This is lovely. It really looks like something found at a local boutique. Or something expensive from Ballard Designs. Well done.
Thank you, Kim! I had a lot of fun making them and intend to make more for gifts.
Paula
I love this idea, Paula! I bet the boxwood topiaries look terrific in them on your mantel. Great idea for kids too.
Thanks, Suzy. I’m really enjoying the boxwood topiaries and they should last a long time.
Paula
I kick myself every time I see cute pots decorated like this with the graphics. so pretty and every one makes it so easy to do…but I have never done one. maybe this is the push that i need to do something like this.
Thanks, Laura. This project was a quick and easy one.
Paula
I love easy projects!! Thanks!
Thanks, Angela! It was a fun project to complete.
Paula
Those are so darling! Love simple crafts this time of the year especially!
Thanks, Vanessa. Simple is always better in my book!
Paula
This is so sweet. I love projects like this!!
Thanks, Jennifer! I enjoyed creating it.
Paula
Paula, I know you are so happy to be on your summer break! I always lived for the summers when I was teaching! Love your cute pot and how you turned it into a topiary, too! I loved all your ideas of how you could decorate pots and they would make great gifts. Pinning and sharing!
This is so pretty, Paula! I love aged and worn look of the pot.
Thanks for the Instructions Paula, this is absolutely adorable and looks so easy too!!
Huggs, Nancy
Hi Paula, What a darling little pot. I can think of so many ways to use it! I love the tissue paper idea. Thanks so much for that tip! Hope you have a fun summer!
Paula,
I just love this project and so trying it!!! Thanks for the inspiration. Stumbled and pinned! ~Christy
Great tutorial Paula! I am going to have to try this one myself! It turned out so pretty!
Beautiful Paula – I love the aged look on these pots and the graphic combined with my fave – boxwood! Thanks for sharing at Monday Funday! Pinned and tweeted!
This is beautiful Paula! It is such an easy way to transfer an image to the pot. Did you have any difficulty printing on tissue paper? It sounds like a printer would just eat up the thin paper.
I taped the tissue paper on all of the edges and it worked fine. I was worried that I would clog it up and ruin it!
Paula
Its lovely. The bird is the perfect touch. Hugs P.S. I invite you to share at my hop tomorrow.
What a fabulous idea! It’s definitely on my list of must try craft ideas!
🙂 Linda
Thanks, Linda! They were fun and easy to make.
Paula
What a cute little flower pot! The graphic add so much to it! Great job!
Thanks, Allison! I intend to make more for gifts.
Paua
So pretty! Such a great idea!!
Thanks, Melissa! I’ve really enjoyed these pots this spring.
Paula
Paula, this is brilliant! I think you know I’ve made “aged” looking pots, but I’ve never thought of adding an image. This little pot is just adorable, and you were so smart to make two for your topiaries! I’m pinning this!
Thank you, Richella. It’s nice to enjoy the pots inside.
Paula
Love it! I need to do this with my terra cotta pots!
It was an amazingly quick project to do!
Paula
Paula,
Your aged flower pot is charming and I love the vintage look. I would have never thought to print on tissue paper, as my printer would gobble it up. I’ll have to give this a try, because I have a few aged pots around the house but none with a tissue paper graphic.
The vintage pots are beautiful! Would be honored if you would share this beautiful post at the Wonderful Wednesday Blog Hop next week! Blessings…Shari @ http://www.puregracefarms.com
http://puregracefarms.com/2014/06/wonderful-wednesday-blog-hop/
Thanks, Shari! I’ll be sure to stop by your hop.
You know I love this ( see comment earlier) Thank you for sharing at the Thursday Favorite Things blog hop. Watch for your feature on Monday xo
What a great project! Pinning! Have a great week.
Leslie
I’m new to following your blog. I love your blog you are one talented lady. I learned of your cancer today. I’m so sorry will keep you in my prayers.
Thank you so much for praying for me, Judy. I thought I was one of the healthiest people in town on the morning of January 13, 2017. That evening I found out I was riddled with cancer. I’m so very grateful to modern medicine because without it, I wouldn’t be here. I also am so grateful to everyone who is praying for me and sending me good vibes. I am glad that you are following along with my blog!
Paula
Paula, I really love the look of this pot! It is so pretty and looks easy to re-create! I am craft-challenged so I need things that are not complicated. I think I could do this! 🙂 Thanks so much for sharing at Celebrate Your Story! Hugs!
This is definitely a super simple project!
Paula
A really wonderfull idea. Easy to make and it´s looks amazing. I can imagine a lot of pots with vintage design. Thank you for inspiration. Simona
Thank you, Simona! I need to make more with different designs!
Paula
I absolutely love this project! I’m going to try it soon! May I share it in my next newsletter with a link to this post?
I would love it if you would share this project in your next newsletter! That is so kind of you!
Paula
Hi Paula,
I’m glad to hear that you’ve had another good report. I will continue to keep you in my prayers.
Thank you, Liberty! I so much appreciate your prayers and your friendship. I’m glad that we connected through blogging!
Paula
Love this project!! It is so smart to tape tissue paper to regular printer paper!! Who knew??!! Thanks for sharing!
Thank you, Cindy! I am in the mood for spring and need to make a few more of these.
Paula
I love how this turned out, Paula! Thanks for sharing at Vintage Charm!
Look at all those comments, Paula! 😉 Such a lovely project, and thank you for the great tutorial. So glad you shared on Homestyle Gathering! Pinned!
This is so pretty, Paula! I featured your project this week at Best of the Weekend. Have a wonderful weekend!
Shelley
Thank you so much for featuring me this week, Shelley!
Paula
Super cute planter pot for Spring flowers. Thank you for sharing. I love vintage and rustic containers in my garden and home.
I’ve gotten into vintage things lately. (Is that because I am so vintage??)
I love this pot! Making one of these is a great way to anticipate the arrival of spring and warmer weather!
Thanks so much for sharing this at our Party in Your PJs link party.
Paula, what a great way to update a plain terra cotta planter! It looks great! Thanks for sharing at Celebrate Your Story! Link Party 🙂
Goodness gracious I thought I’d never get to the bottom so I could comment! Looks like these were popular! I loved it and am featuring it on the Farmhouse Friday Link Party tomorrow. Thanks for supporting us and linking up Paula. You are so appreciated!