DIY Candle Holders Using Upcycled Bedposts
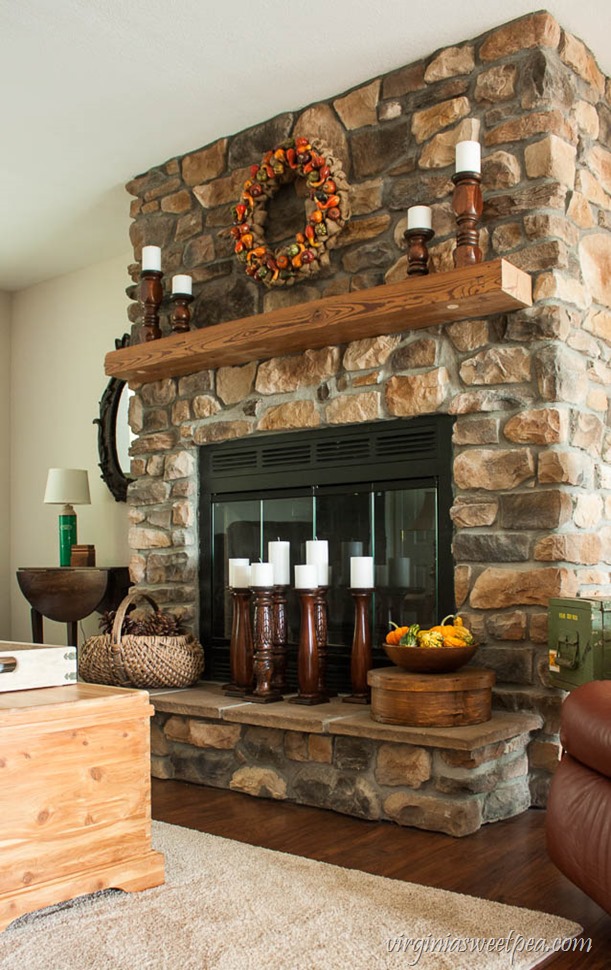
I am thrilled with my latest DIY project! Back in June, I spotted a few bedposts in a trash pile that were quite pretty. I used those upcycled bedposts to create candlesticks holders for our lake house fireplace.
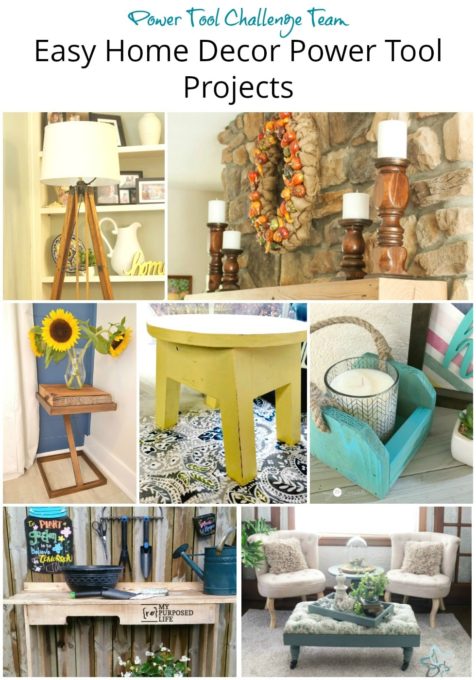
Today is our monthly Power Tool Challenge, so be sure to check out the projects that my friends completed at the end of this post. This month’s theme is “Wildcard” and I can’t wait to see what my friends made.
Shopping a Trash Pile
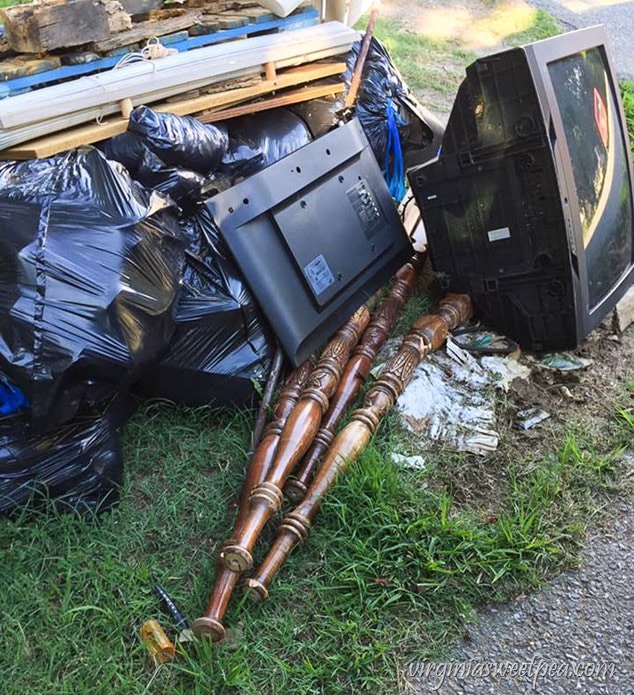
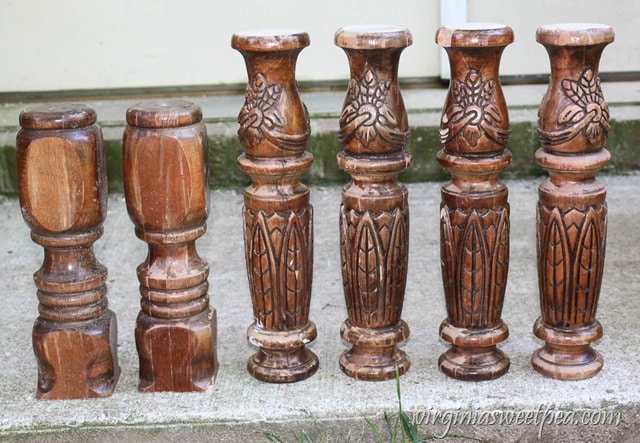
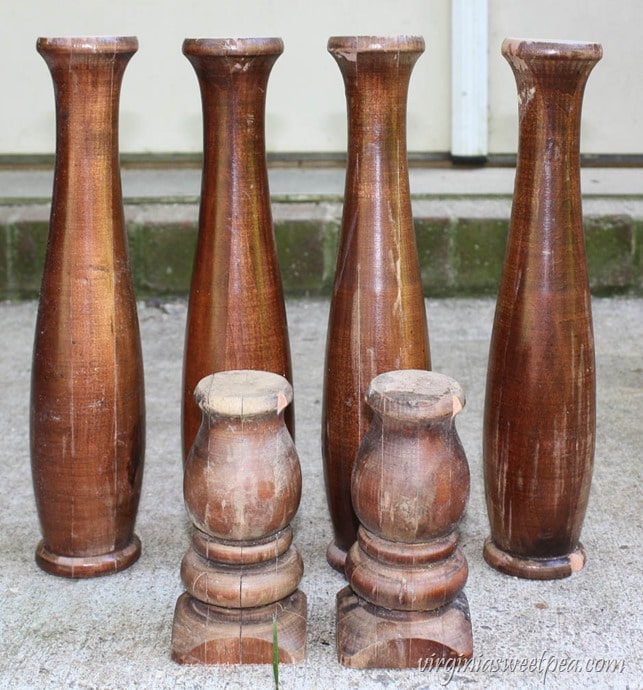
Before I show you more of what I created, let me share the “before” picture of these bedposts with you.
I spotted these bedposts on a walk with our dog and then high-tailed it home to get the truck to claim these bedposts as my own.
I got there just before the trash truck arrived, saving them from the dump.
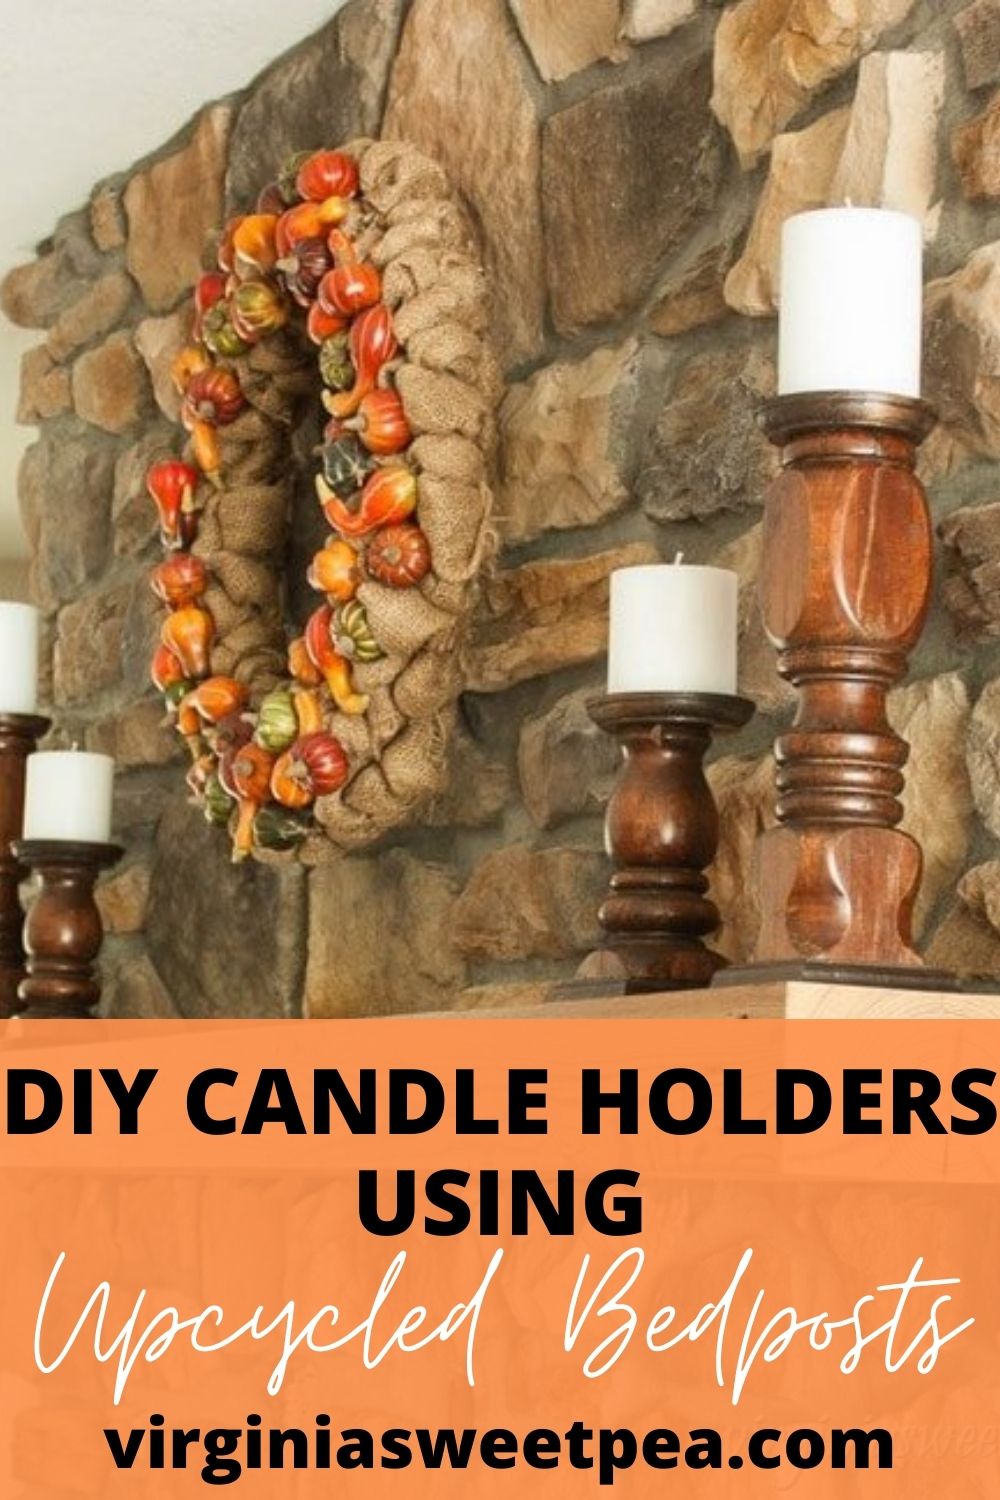
Candlesticks made from Upcycled Bedposts
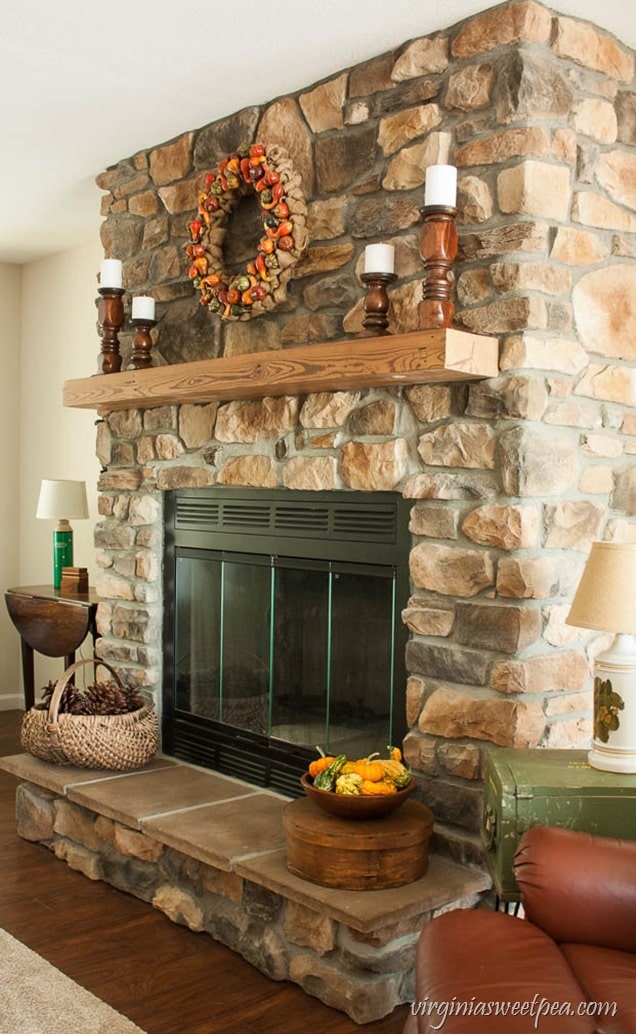
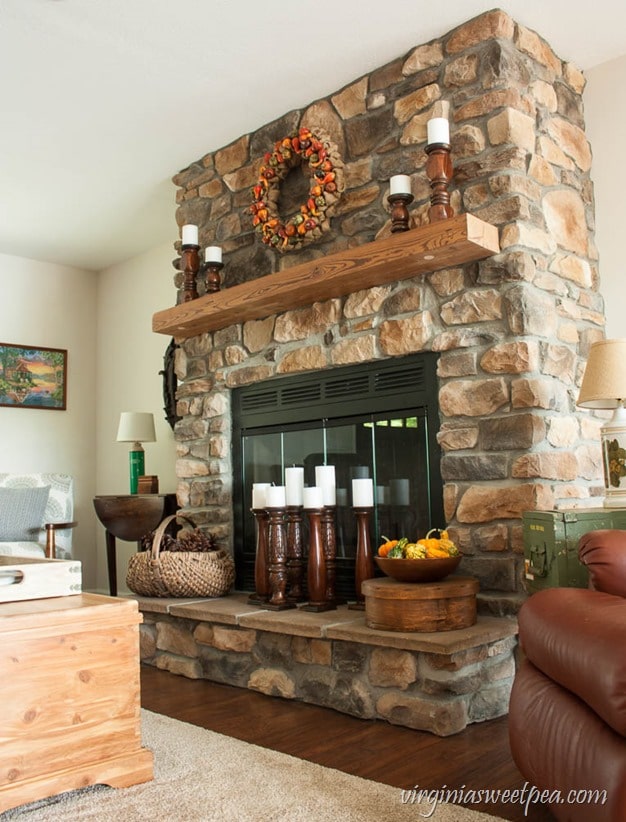
I made these candlestick holders at home and then took them to our lake house because I thought that they would look great on the mantel with our rock fireplace. I love how they look there!
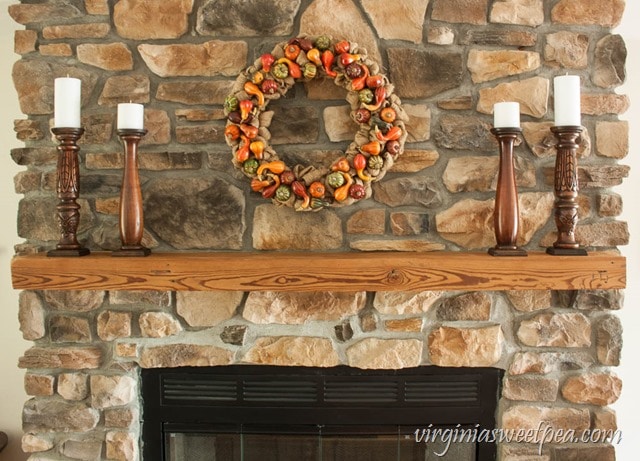
These four were the first that I tried there.
I love the thick and chunky look of these candlestick holders.
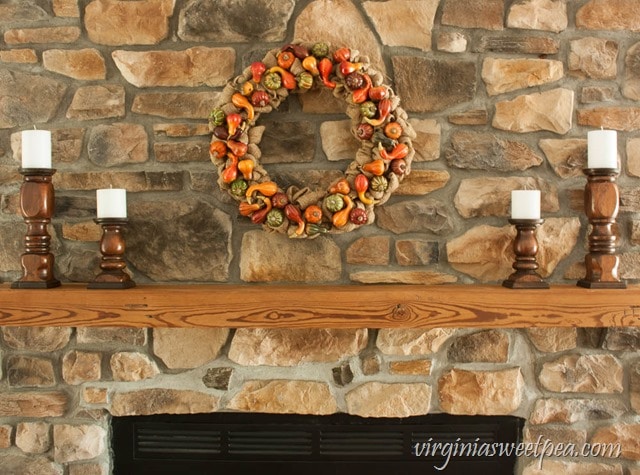
My mom made the burlap wreath and I added the small gourds to it. I really like how it looks hanging on our fireplace.
The mantel was made from a carriage house beam from the farm where my grandfather was raised.
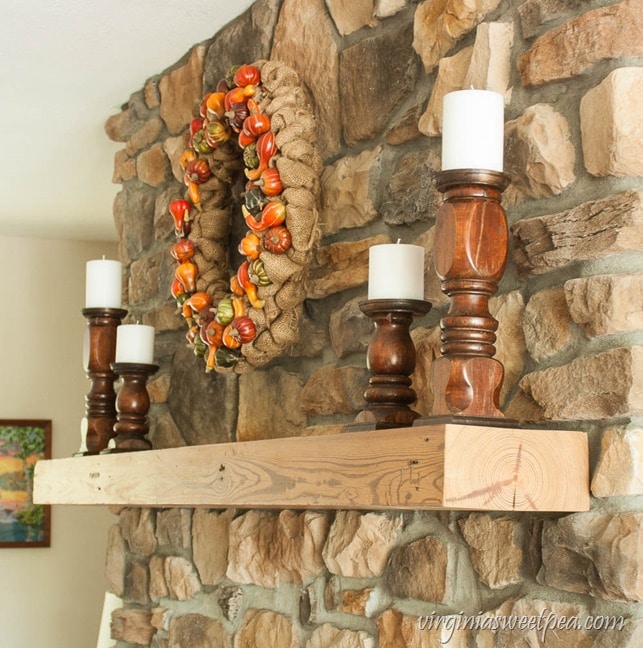
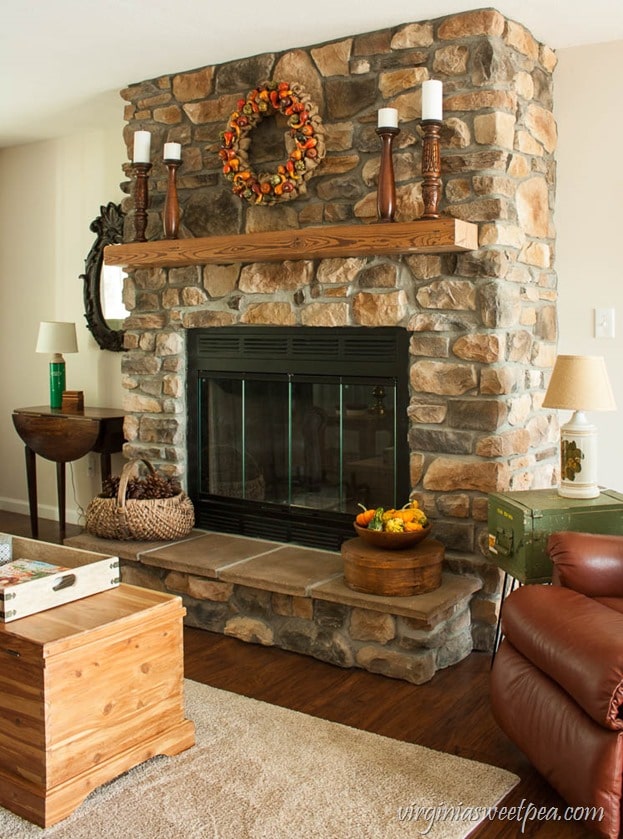
I was able to create different styles of candlestick holders using different parts of the bedposts. Here you can see two more styles.
The farmhouse tray on the cedar chest and the ammunition crate side table are both previous Power Tool Challenge projects.
The lamp made from a thermos is DIY project as is the Primrose lamp on the ammunition table.
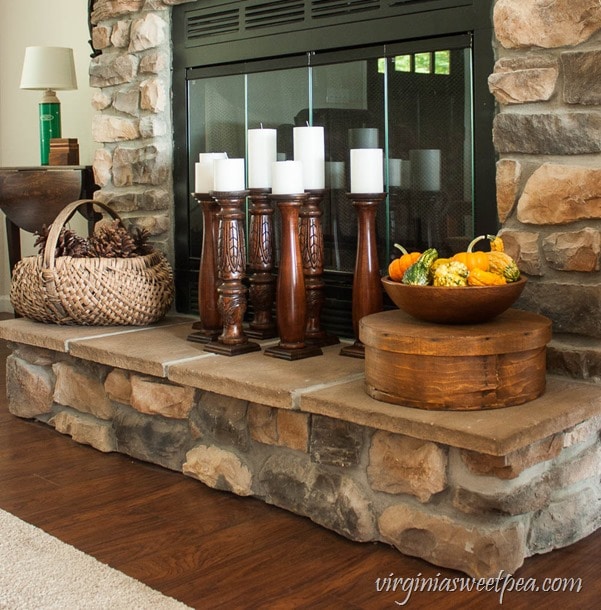
After I tested out the second set of candlestick holders on the mantel, I put the first set back into place and then grouped the remaining candlestick holders in front of the fireplace.
I like the look of an abundance of candles for fall and winter.
Wouldn’t it be cozy to have all of these candles lit on a cool fall night? I can dream about that, but I don’t think that my husband (aka Mr. Fire Safety) will go for it.
Let’s see how easy it is to make a set of candlestick holders from bedposts for your home.
How to Make Candlestick Holders from Bedposts
Supplies
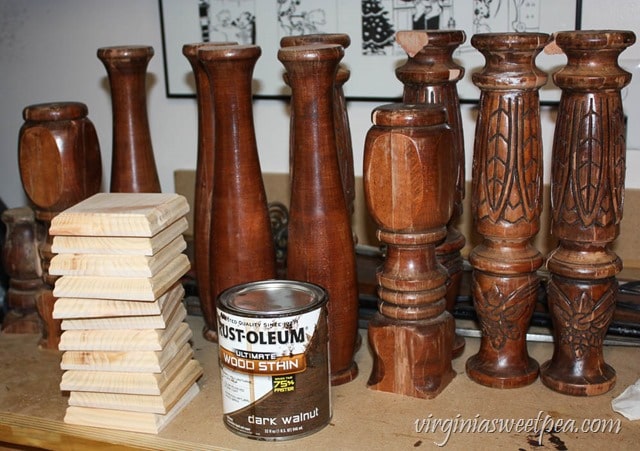
Bedposts
Miter Saw or Chop Saw
Lumber for Candlestick Bases – (I used a 10” board that we had on hand.)
Carpenter’s Square and Pencil
Router with Ogee Bit
4” Circle Plaques – (I purchased these rather than make my own.)
Stain and Polyurethane
Procedure
Cut the Bedposts
I used a sliding compound miter saw to cut the bedposts into pieces that I thought would look good as candlestick holders.
Make the Bases
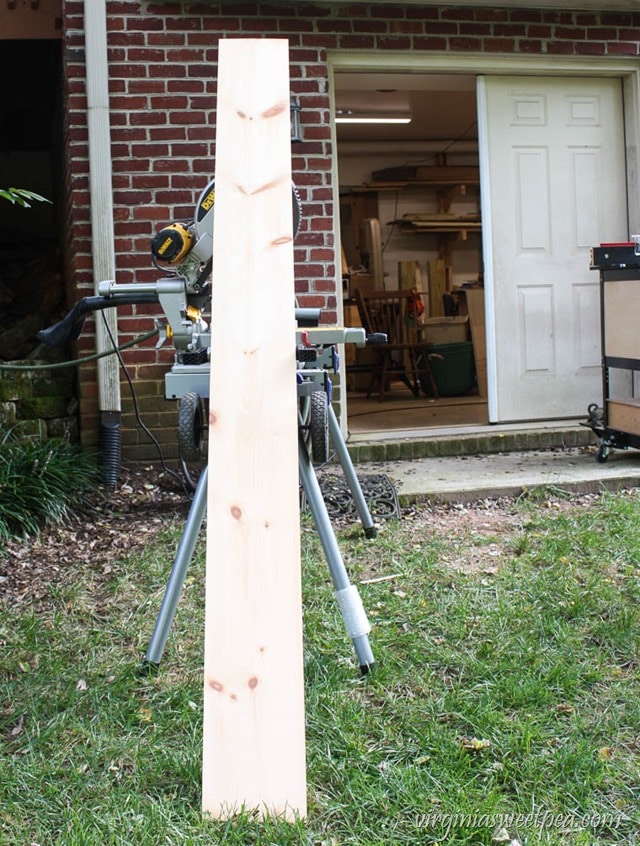
We had this board in our stash of wood and I used it to make the candlestick holder bases.
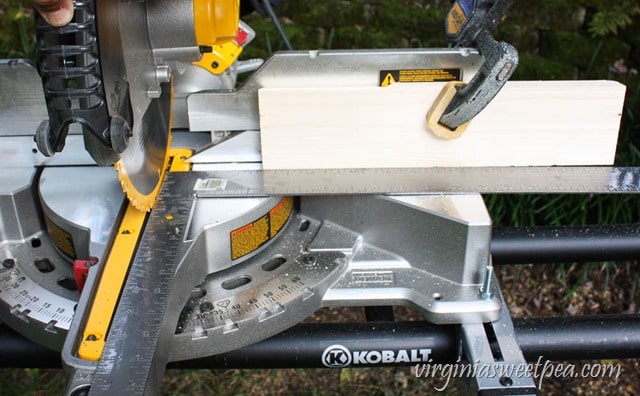
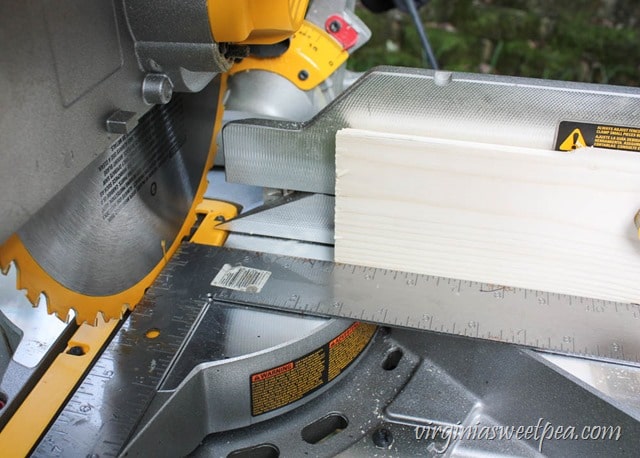
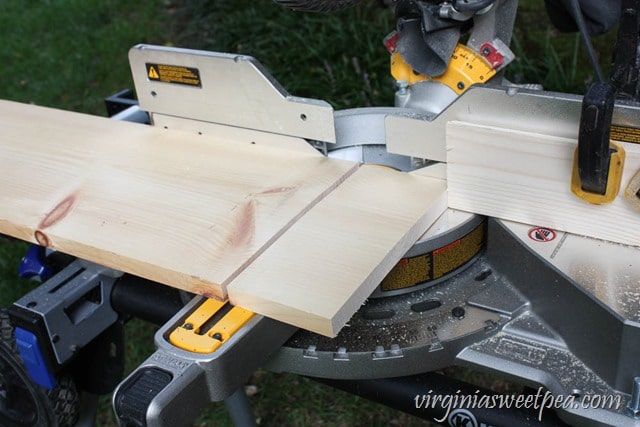
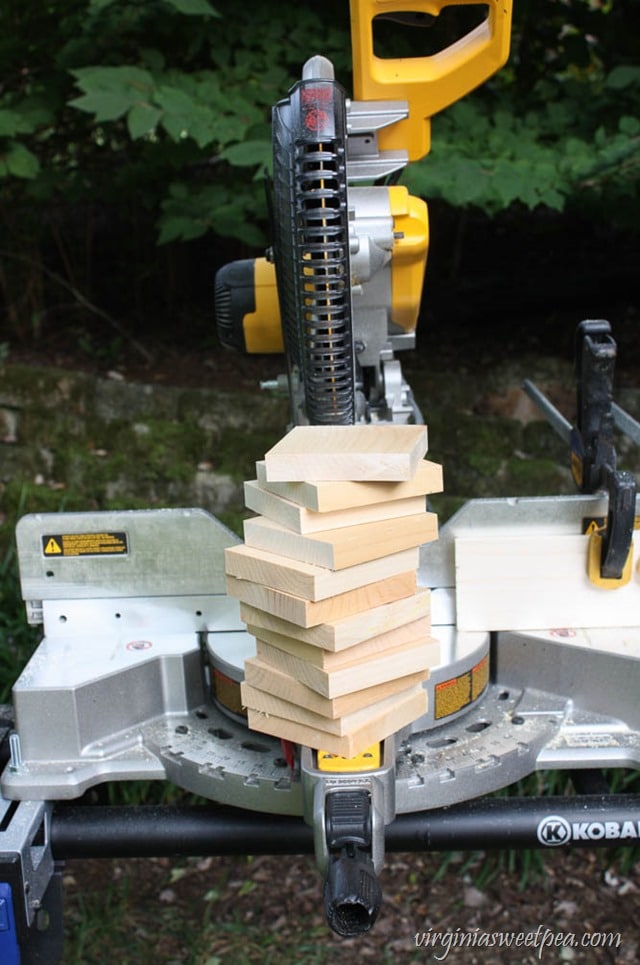
I wanted the finished size of each candlestick holder base to be a 4” square, so I set up a jig to let me easily cut 4” pieces from the board.
Here you can better see that the board is set to cut each piece at 4”.
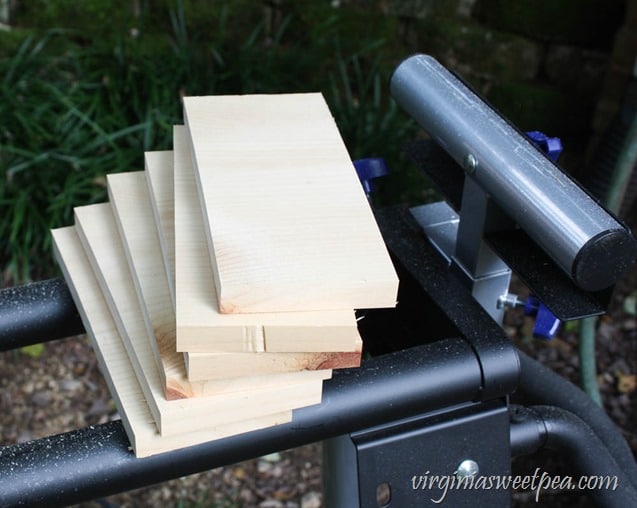
Here are the 4” width pieces cut.
After I cut the 4” widths, I cut them again to make 4” squares.
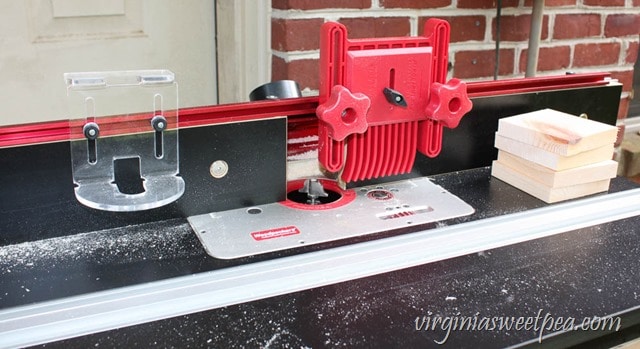
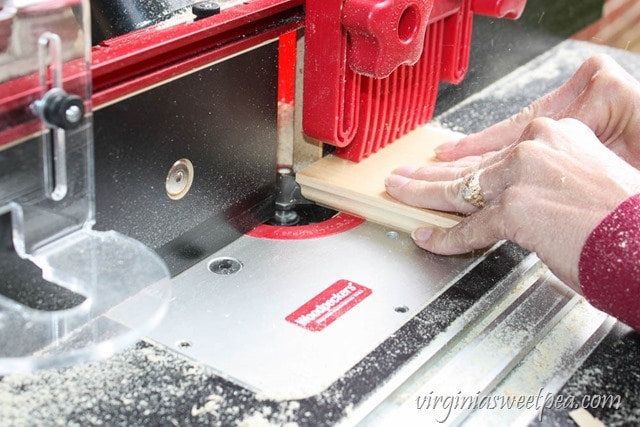
I wanted the squares to have some detail, so I used an Ogee Bit to route the edges.
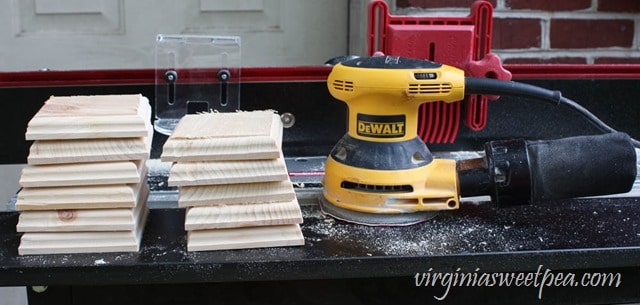
After routing the edges, each square was sanded smooth.
Apply Stain and Polyurethane
I stained the square bases with Rustoleum Wood Stain in Dark Walnut that was leftover from another project.
I wasn’t sure if it would be successful, but after staining the bases, I rubbed a light coat of stain on each bedpost to see if it would even our the wood stain already there and sure enough it worked like a charm.
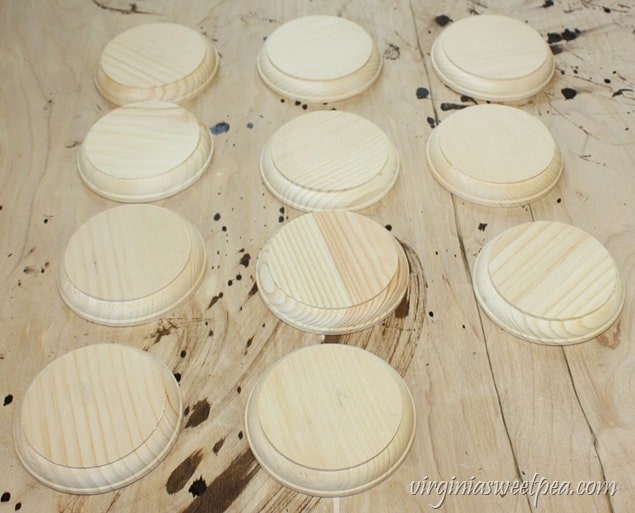
Rather than cut out circles and route the edges, I saved myself time by buying 4” wood circles that cost just $1 each from AC Moore.
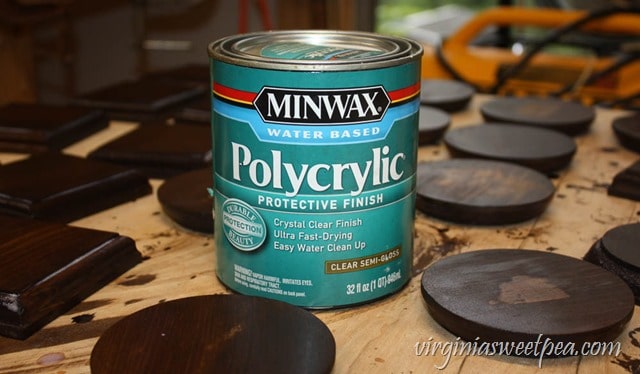
After they were stained, I gave the squares and circles a coat of Minwax Polycrylic.
Can you see the uneven stain on the backs of the circles? The labels were incredibly hard to remove and even after I sanded and sanded, some residue was left. I knew that the candles would hide the uneven stain, so I didn’t worry about it.
Glue
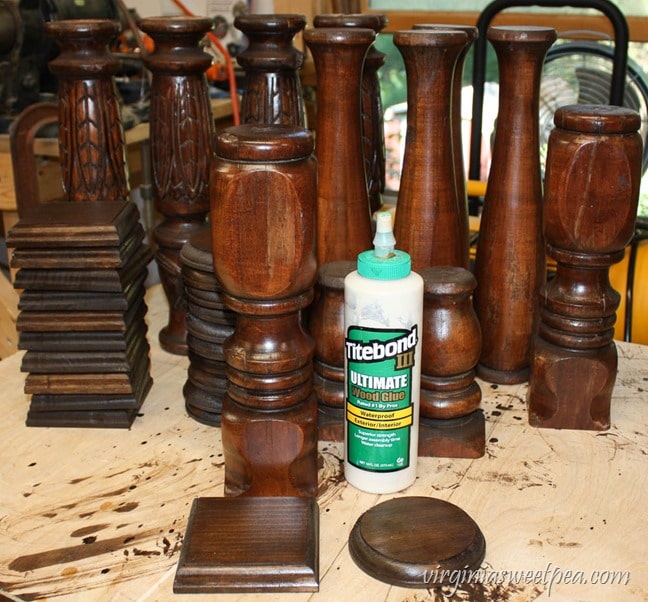
After everything was stained and polyed, it was time to glue the candlestick holders together.
I glued each candlestick to its base and after the glue set, glued the circle to the top of each candlestick.
I had to reglue a few after they dried because since the wood wasn’t clamped down, the wood slid.
This was an easy fix. I used a hammer to pop off the crooked piece and then reglued it into a better position, this time holding each piece in place until the glue set just a bit.
Enjoy
I really do love how these look on our fireplace at the lake.
Other DIY Bedpost Candlestick Projects
I certainly wasn’t the first to come up with this idea. Be sure to check out Gail from My Repurposed Life’s How to Make Candlesticks from Repurposed Bedposts and also Wendi from H2O Bungalow’s Bed Spindle Candle Holders.
This Month’s “Wildcard” Projects
Now it’s time to enjoy the “Wildcard” projects that my friends made for this month’s Power Tool Challenge.
The Kim Six Fix Vintage Surveyors Tripod Lamp
Virginia Sweet Pea DIY Candlesticks Using Upcycled Bedposts
H2OBungalow Upcycled Metal and Wood Table
Create and Babble Little Round Stool
My Love 2 Create Small Decorative Caddy
My Repurposed Life Easy One Pallet Project
Designed Decor Build Your Own Tufted Bench
Favorite Projects
If you liked this post, check out more popular projects.

Oh my gosh Paula! These chunky candlesticks are just perfect on your stone fireplace. And I love how you beefed them up with the additional routed bases. Pinning!
Thank you, Jeanie! Those bedposts were too good for the trash. I’m so glad that Sherman walked that way that particular morning so that I could discover them.
You are amazing! What a wonderful and beautiful DIY!
Thank you, Mary Beth! I had fun making them and now I’m loving how they look on our fireplace.
Great upcycle of these bedposts! The candlesticks are just beautiful and I too love how you beefed them up
Thank you! I had a lot of fun making them and I’m loving them on our fireplace.
what an awesome idea, paula! they look fabulous! and i love that they didn’t go to the landfill.
Thank you, Cassie! I had fun making them and I love how they look on our fireplace.
What a great trash find. You used every bit of those legs. You can never have too many repurposed candle sticks for decorating.
I really did use nearly every bit of the legs for these. The headboard part wasn’t in the trash pile and I wonder if someone else nabbed it. 🙂
Paula
What a great project. Now I can’t wait to find bed posts. Thanks for sharing.
Thank you, Vanessa! I’m glad to finally have some decor on this fireplace. It’s been pretty much undecorated since we built the house. Those candlesticks are perfect for decor and I love that they were nearly free to make.
Paula,
Oh how I love making projects with bits and pieces! Because I always have random bed parts I have made these many times using different methods and colors. They are so much fun to make and YOUR diy candlesticks turned out beautiful! What a great score to find on the side of the road.
While cleaning the garage recently, found tons of spindles just waiting for a new purpose. Maybe it’s time for me to make more of these. 😉
pinned!
gail
Your projects are always an inspiration to me, Gail. I didn’t comment on your garage clean-out post, but I did enjoy getting a peep into your work space. I look forward to seeing a spindle project on your blog perhaps soon.
Paula
I love your upcycled candlesticks! Lucky you to have found such an awesome stash! …I’d want to light all the candles too, I think you should go for it! Pinned 🙂
I’m going to eventually switch the candles out to battery operated ones. When it finally gets cold here, sitting in front of a fire with the candles lit is going to be heavenly!
Oh my!!!!! Thank you for sharing these candle holders out of bed posts Just beautifully displayed and done Thank you and God bless
Thank you so much, Norma!
Hi Paula you did a great job on the candlesticks they look great by the fire place have a great day
Thank you so much, Laura. This fireplace is nearly two years old and I was stumped on how to decorate it. Now that I have my candlesticks, decor will be much easier. I appreciate your visit and comment!
Oh, the candlesticks are fantastic! It makes me want to take a saw to my bed.
Those bedposts were a great find! They were on the end of a dead end street without a lot of foot traffic. I see beds in trash piles frequently in my town, so keep your eye open!
Your candlesticks are awesome! Such a great upcycle. I’ve pinned for later. Thanks for sharing, Cynthia
Thank you, Cynthia! I was glad to find a use for those bedposts and I kept them out of the landfill which was a bonus.
Love your beautiful candle sticks!! WOW! they look fantastic on your mantle and fireplace! Great job!
Thank you, Caroline! I have been wanting some decor for this fireplace and those bedposts provided it for very little money, just the kind of project that I like.
Oh I love these, Paula! It’s so expensive to buy solid wood candlesticks like these. Pinned to share
Thank you, Marie. I was thrilled with how these turned out.
I love how those candlesticks turned out. They are beautiful. I knew as soon as I saw the stone that you had them styled at the lake house. I’m with you. I bet they would look great with the candles all lit. (Funny about Mr. Fire Safety. hehehe)
The candlesticks look so good at the lake. I’m sure that they will stay there for a while.
The idea to re-purpose an old bed posts is so incredible. The candle stick stands are vintage like and it is so pleasing in the eyes. Perfect for the fire place.
Thank you! I am so glad that I found them.
I LOVE these. I have pieces from a cabinet that I’m going to make candleholders out of too.
I am looking forward to seeing the candle holders that you make.
I shake my head that someone would toss these away, what a wonderful find, good for you. All of these beautiful matching candle sticks make such a beautiful statement on your fireplace.
Thank you! I am so glad that I found these before the trash truck did!
This may just be my most favorite of all your upcycles! Now I will be actively searching for old bed posts! Thanks for the inspiration.
Thank you, Lynn! They’ve stayed on our lake house mantel since I made them. Yesterday I bought orange candles for them at Hobby Lobby to change their look for fall.
Paula
Paula these are amazing! I love them! These beautiful candle holders would also make wonderful christmas gifts!
They would make great gifts!
I really like these. Neat that you found them in the trash.
Blessings,
Laurie
Ridge Haven Homestead
Homestead Blog Hop
Thank you so much, Laurie!
YOU ARE SO CREATIVE! THIS IS SUCH A GREAT IDEA, REALLY LOVE IT.
Thank you so much, Melba!
I love, love, love, candlesticks and this is genius!!
Thanks so much for sharing this and making me want to try this myself:)
Thank you so much, Maria!
These are gorgeous, Paula! You are so talented! They look amazing against your rock fireplace.
Thank you so much, Lynne!
What a great idea!!! Love this and I am going to have to try it!
Thank you so much, Crystal!
I have some legs I bought for a project and they didn’t work so they are in my “one of these days pile”. Maybe I’ll dig them out.
Great idea! They are so easy to make.