DIY Chippendale Railings
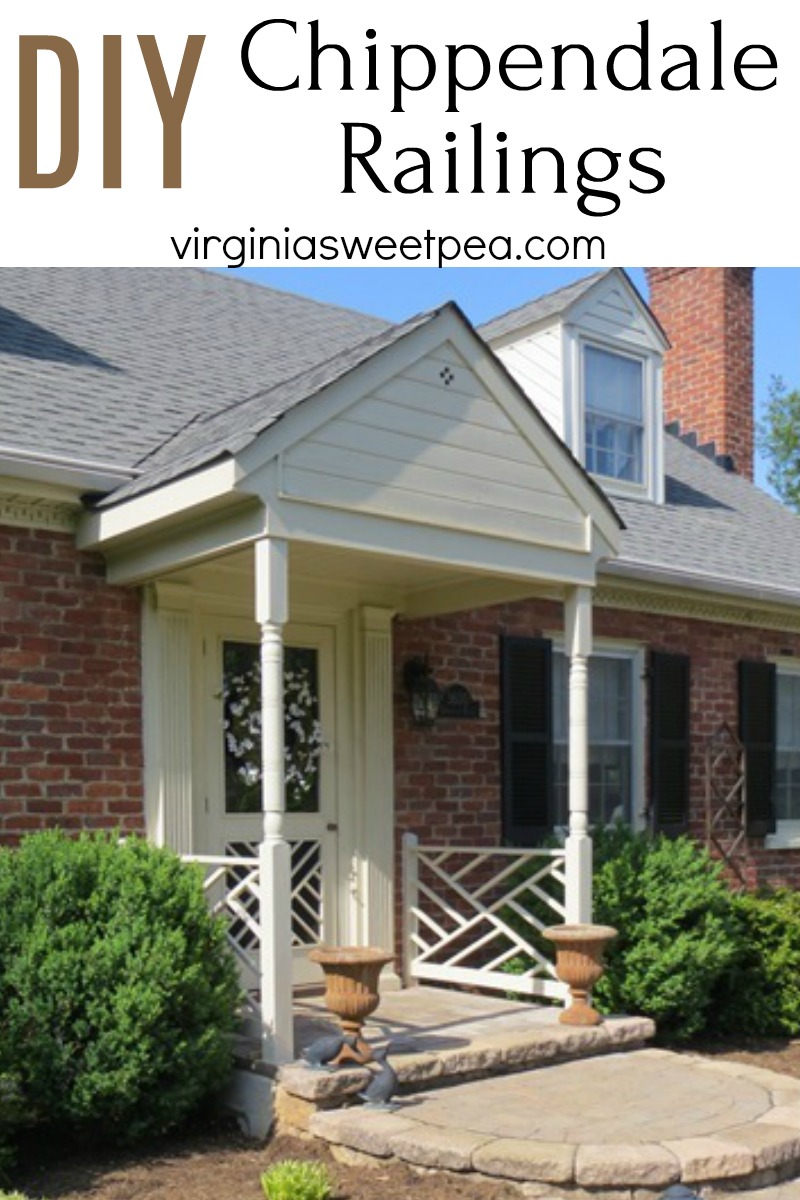
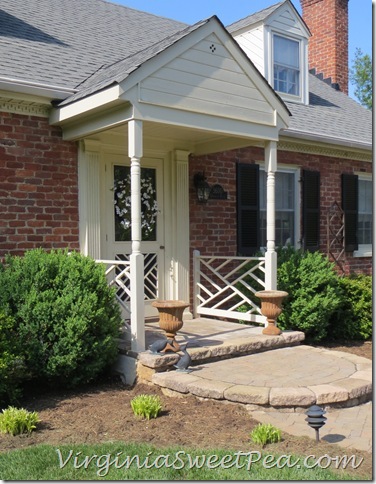
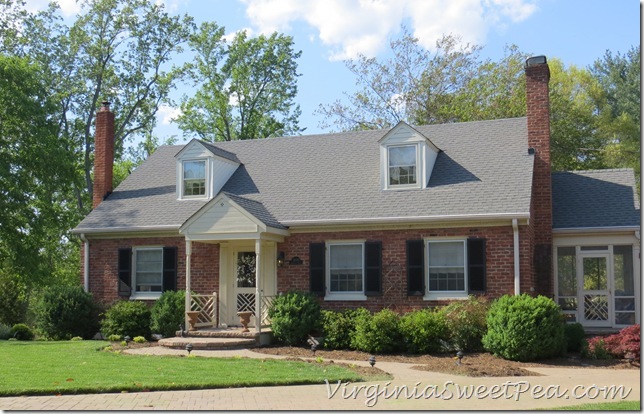
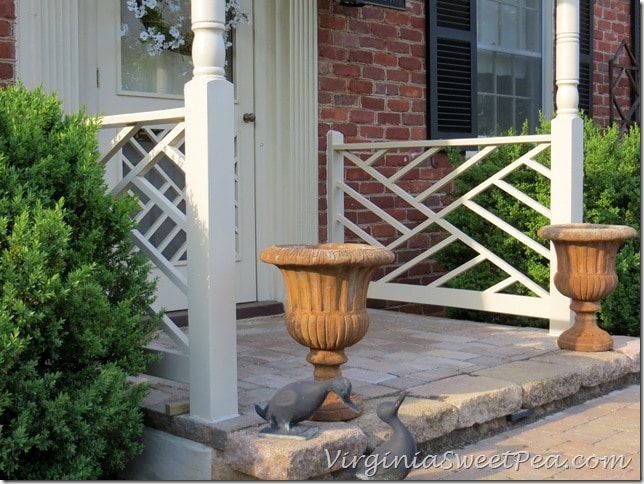
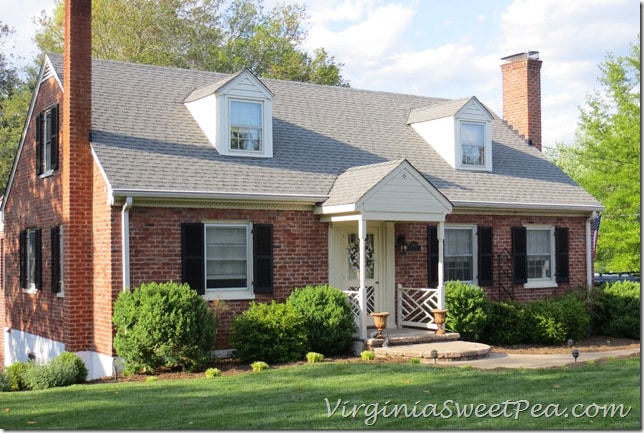
Many years ago we added a small porch to the front of our home with Chippendale railings. After years of being exposed to the elements, both railings and one Chippendale side was falling apart due to rot. Rather than hire someone to do this project, we tackled it ourselves and made our own DIY Chippendale Railings.
DIY Chippendale Railings
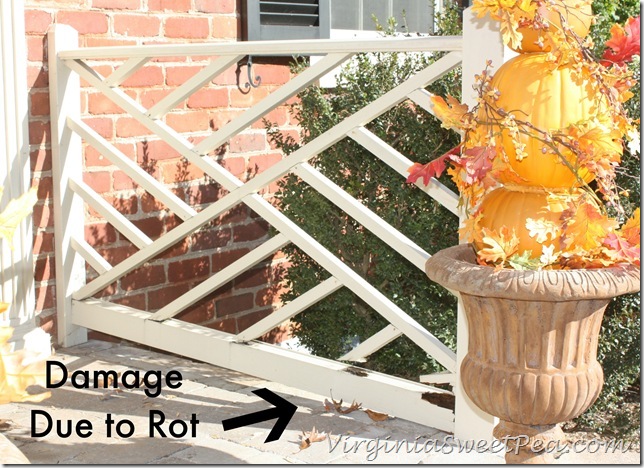
The right side Chippendale railing had a lot of rot, mainly at the bottom.
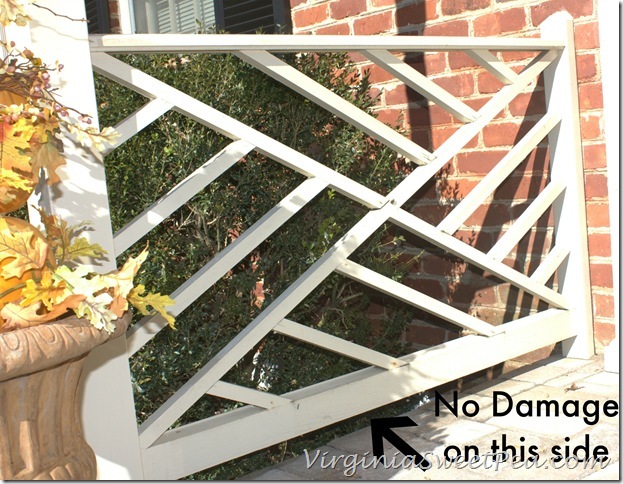
The left side of the railing had no rot.
We are not sure why one side rotted and the other didn’t. The right side faces east, not a reason that we can blame the rot on.
We removed the damaged side of the railing and began the process of building a replacement.
So that the sides would wear evenly in the future, we decided to remove the side that was not damaged and replace it as well. Our porch was without railings for several months as we built the replacements.
How to Build Chippendale Railings
We purchased pressure treated 2x4s and 2x2s for the project.
Since we had the old railings, we used them as templates for the new railings.
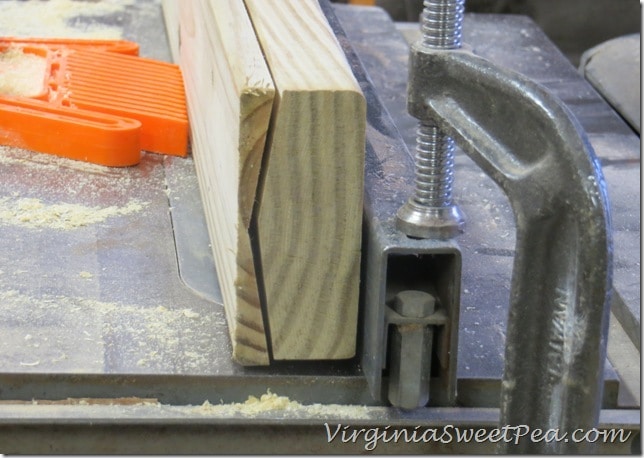
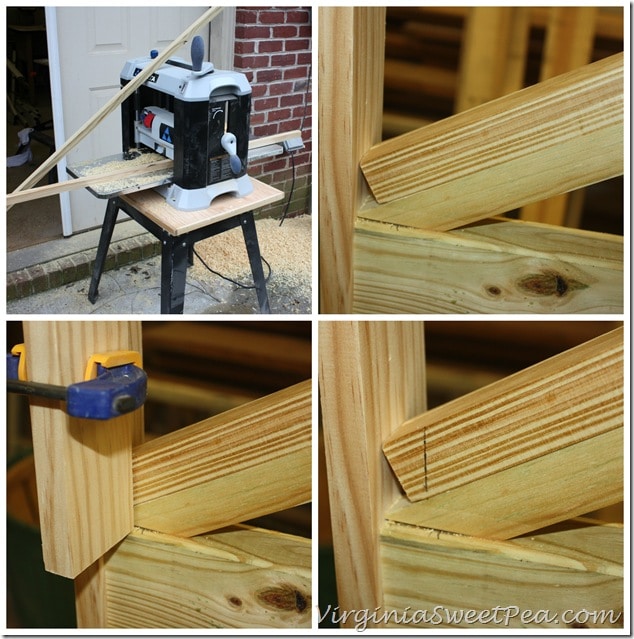
2x4s were cut to length, and cut on the table saw to the shape we wanted, with a crowned top which generally matched the original porch railing shape.
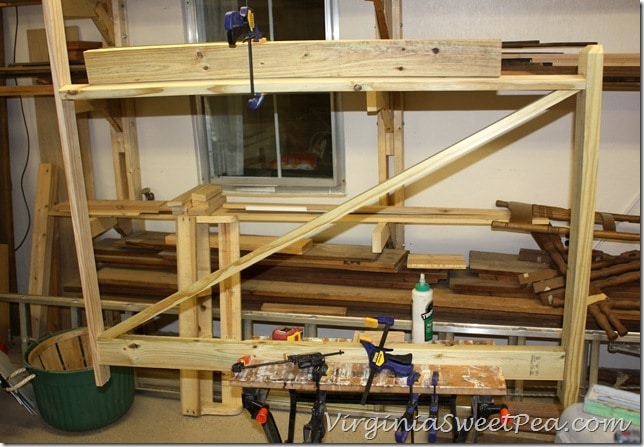
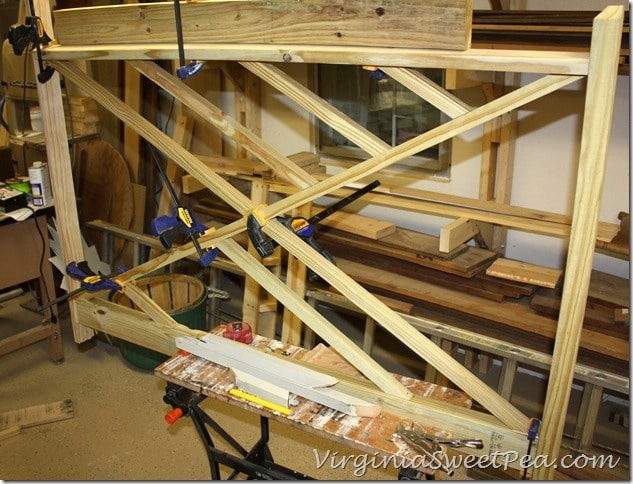
We started by framing in the railings with the end post, shown on the right of the photo, and a sacrificial board on the left – whose end will eventually be fastened directly to the porch columns.
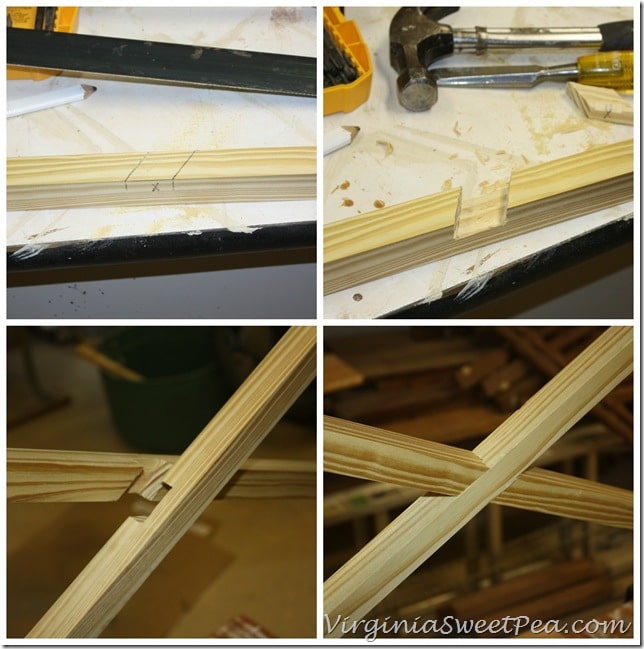
The 2x2s were planed to a slightly smaller dimension so as to square the corners. The main center cross braces were cut to length and notched such that they would fit together in the center.
The main cross pieces were temporarily clamped in place, and the intersection marked with a pencil line.
The intersection was then cut half way through the wood with a hand saw, then chiseled to remove the wood at the intersection where the pieces would join.
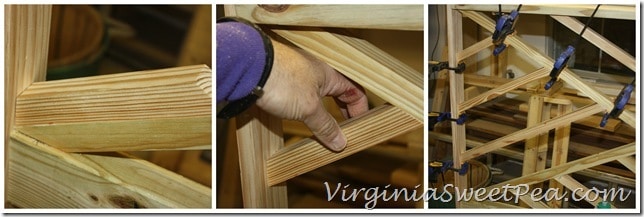
After the main cross braces were in place, the intermediate pieces were cut to length and the cutting angle marked on the pieces.
Once marked, the angles were cut with a powered miter saw (chop saw).
After cutting, the angles were tested to verify a tight fit and were then glued into place with waterproof wood glue.
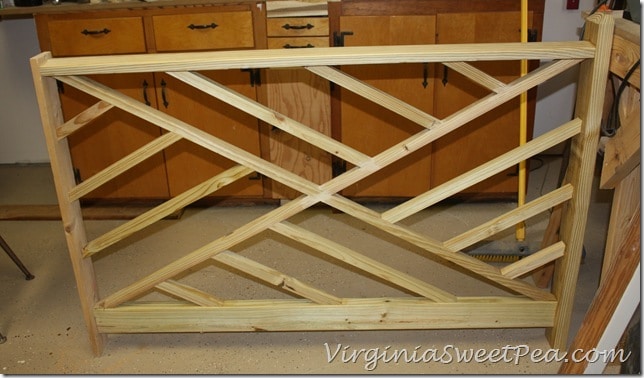
The top/bottom and left/right pieces were mirror images of each other, so the angles were all cut the same.
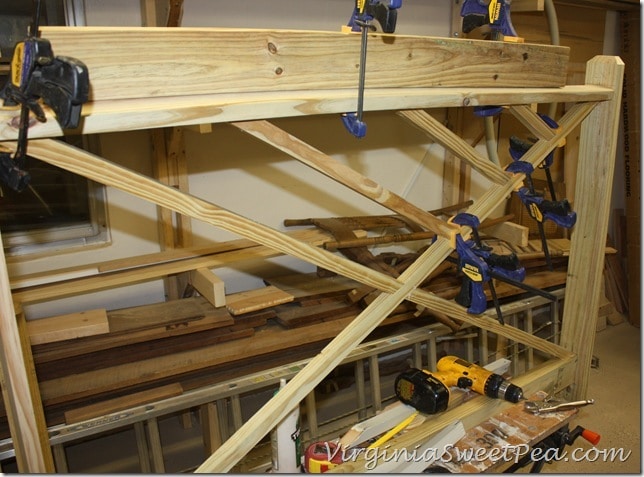
It was important to have a bunch of clamps available to hold everything into place while the glue dried.
Where practical, deck screws were later added to ensure structural integrity.
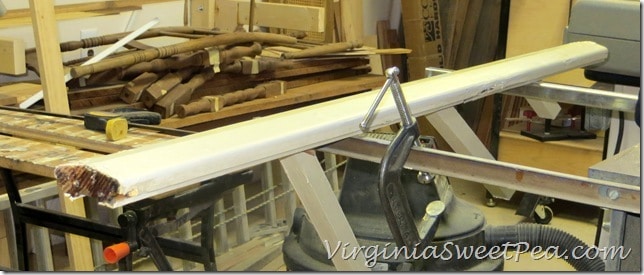
A spare 2×4 board was temporarily clamped to the top of the railing during this process to keep it straight during the build process (the photo is deceiving since it looks curved).
Below you can see that the top/bottom sections are identical, as are the left and right.
After both railings were built, we primed them and painted them with two coats of paint.
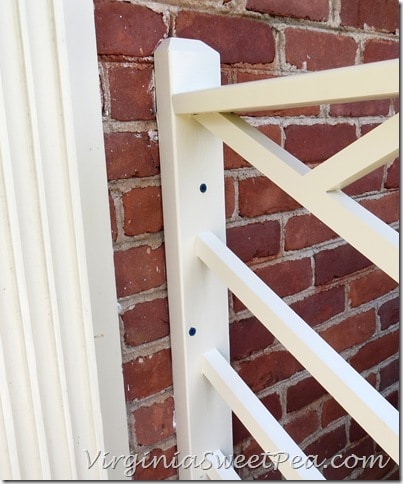
Here, again you can see the sacrificial board (on the left) that will be removed prior to installation.
After the railings were painted, we attached them to the brick with concrete screws and to the vinyl columns with deck screws.
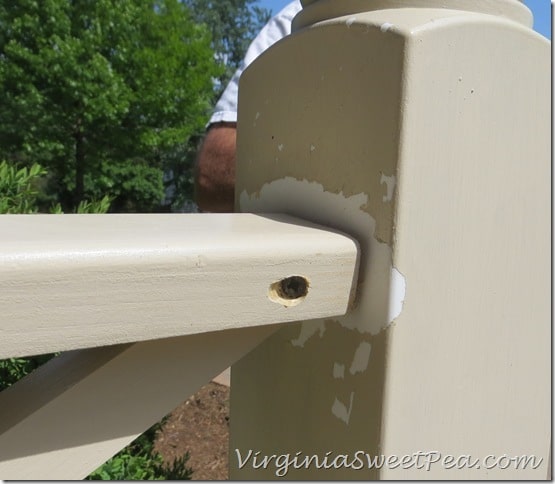
Removing the old railings and installing the new ones removed some of the paint from the vinyl columns.
A light sanding followed by a few coats of paint fixed this problem. The screw holes were filled in and painted over as well.
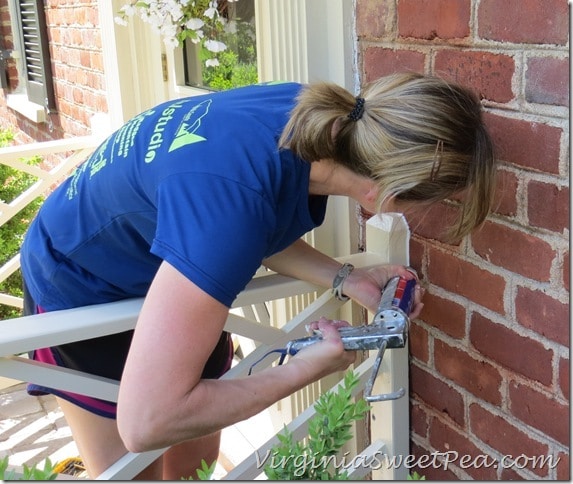
Caulk in all necessary areas seals the railings to prevent future rot damage.
We both are glad to check this DIY Chippendale railings project off of our DIY list!
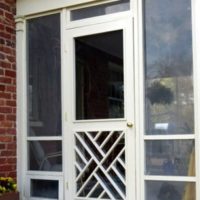
Chippendale doors and railings are very popular in our town.
When I’m walking Sherman or running, I enjoy looking at the many styles of Chippendale doors in our neighborhood.
A local hardware store made our Chippendale front door and Mr. SP crafted the one on our porch.
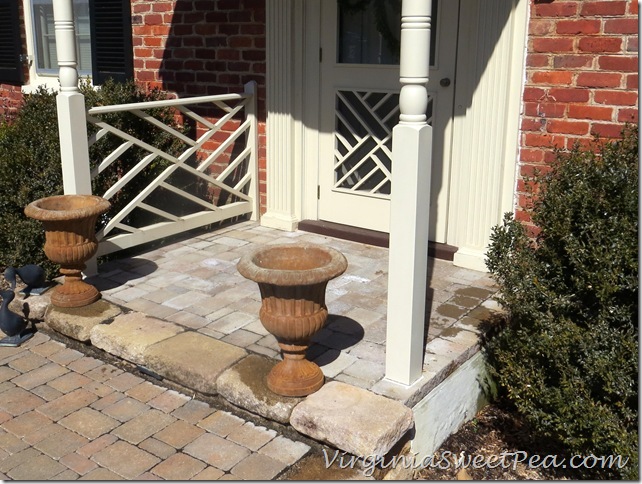
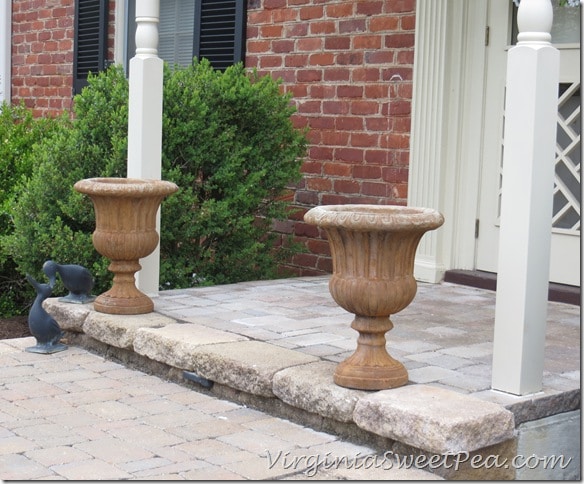
This project took a few months longer than anticipated due to working on it sporadically. The wait was worth it! I’m hoping to get some flowers planted in the pots this week.
Are Chippendale doors and railings popular in your town? My guess is it may be a southern thing!
Favorite Projects
If you liked this post, check out more popular projects.
Other DIY Chippendale Projects








I love your chippendale railings, Paula! I had recently noticed that mine (plain, boring railings) needed replacing! I’m going to send you my measurements! 🙂 No, really, you do outstanding work! And I love your porch and front door, too! Heck, I love your entire house! Beautiful. I wonder if my son-in-law can do this if I show him this post . . .
Thanks, Alli! We were lucky because we had the original railings to use as a guide for making the new ones. It wasn’t terribly complicated, just a lot of cutting and gluing! The painting was tedious, too.
I already commented on your FB post, but I love how those railings look and your door, too. I wanted to see if you had made that also. You and your hubby must make a good DIY team! I don’t think I’ve noticed those before, but now I’ll check out houses in Roanoke when I’m out and about.
I’m so glad you commented! We had the front door made and after examining it, Mr. SP made a matching one for our screened porch. I’ll bet Roanoke is full of Chippendale!
That looks really nice and like a lot of hard work. You have such a great house. I love seeing all of the projects.
WOW, awesome job! Looks beautiful.
I love Chippendale railing, but that is too much of a project for us. Glad you can do it though.
They look fabulous Paula!! What a great and detailed tutorial too! Thanks for sharing!!
Nancy
WOW! I am continually impressed by your skills! I can’t believe you just built those! They look amazing – I like them even more than the first ones you had!
It is a Southern thing and I love them! Wow Paula, you did such a GREAT job…looks beautiful!
Blessings,
Cindy
WOW! You guys are super-uber talented when it comes to woodwork! You need to start your own business, you know what you’re doing! -Bev
Love this post so much! Thanks for the great tutorial! You go girl!
Happy, happy day to you!
karianne
You rocked that railing! Your house is so charming! XO
I saw another house with the similar design for their mailbox holder and immediately thought of you, and that’s a good thing 🙂
The railings are gorgeous. Love them and you home is stunning. Thanks tons for linking to Inspire Me.
looking good mr. and mrs.skulina
Thank you, Caleb!
Dear Sweet Pea…do you know of any stores where I can buy /order such a railing? We are not do-it-yourselfers!
I don’t know of any stores that sell it. I would hire a handyman to construct it for you.
I am looking for someone to make one wood Chippendale panel for a indoor partially enclosed stair well. is there any company that can take on this task?
I would contact a local carpenter.
Paula…I just saw your project lined on the Blogtalk 2.0 FB group and LOVE your railings! I’ve wanted to build some for the front of our house for the longest time and didn’t know what they were called! Thanks for the awesome tutorial my fried! Pinned for the near future..at least I hope near future project! LOL
Glad you like our railings, Wendi. This style is very popular in Virginia. If you walked around any neighborhood in my town where the houses are older, you’d see a Chippendale door on almost every home.
Paula
How fun! You two are so handy and it looks great!!
You two are so handy! I’m so jealous. Your new railings look fantastic!
He’s the handy one and I make a great assistant. I’m also good at the grunt work like sanding and painting.
Paula