DIY Dry Erase Board
In September, Wanda from Recreate and Decorate shared how she made a DIY Dry Erase Board. I’ve had her project in mind since then and finally made my own version.
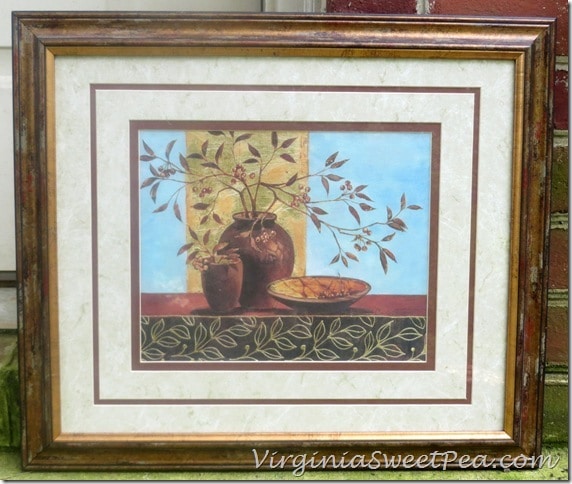
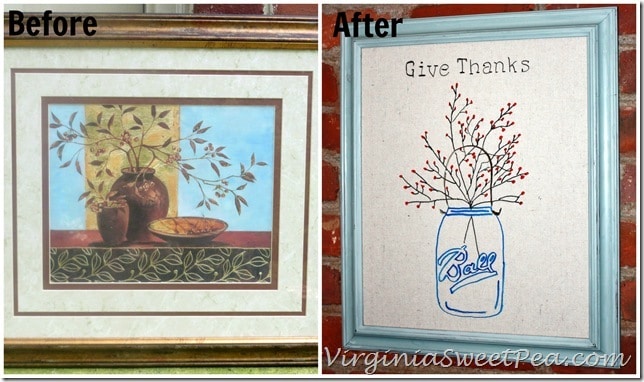
I started with this beauty that I found beside someone’s trashcan on an early morning run in the spring. Lovely, isn’t it?
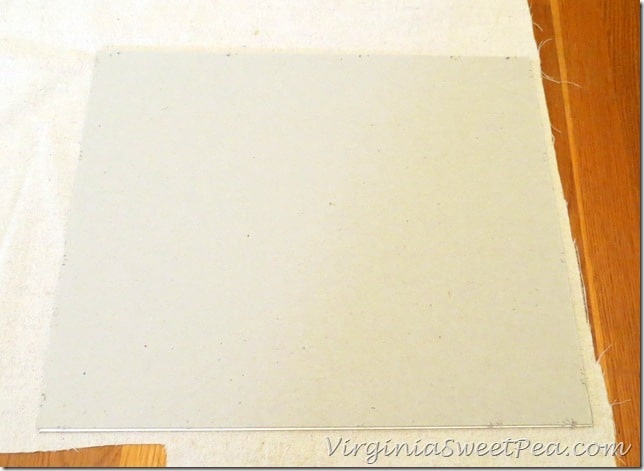
I took the picture apart and gave the frame a coat of AS Duck Egg Blue paint. I then traced the outline of the picture on a piece of drop cloth and cut it out.
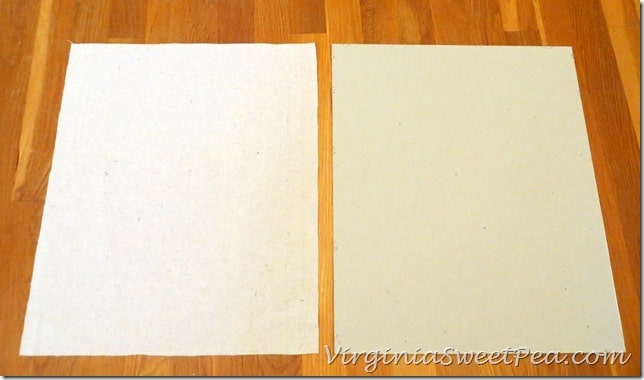
Spray adhesive was used to attach the fabric to the cardboard. (The ugly side of the picture is on the opposite side of the cardboard. I cut out a piece of brown paper and glued it over the ugly picture to hide it.) I put the picture back together with the glass and now have a handy dry erase board.
I’ve had a few questions about this project, so to be clear, the glass that came with the picture is what you write on with dry erase markers.
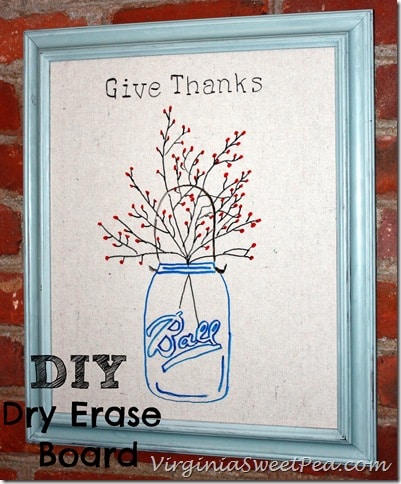
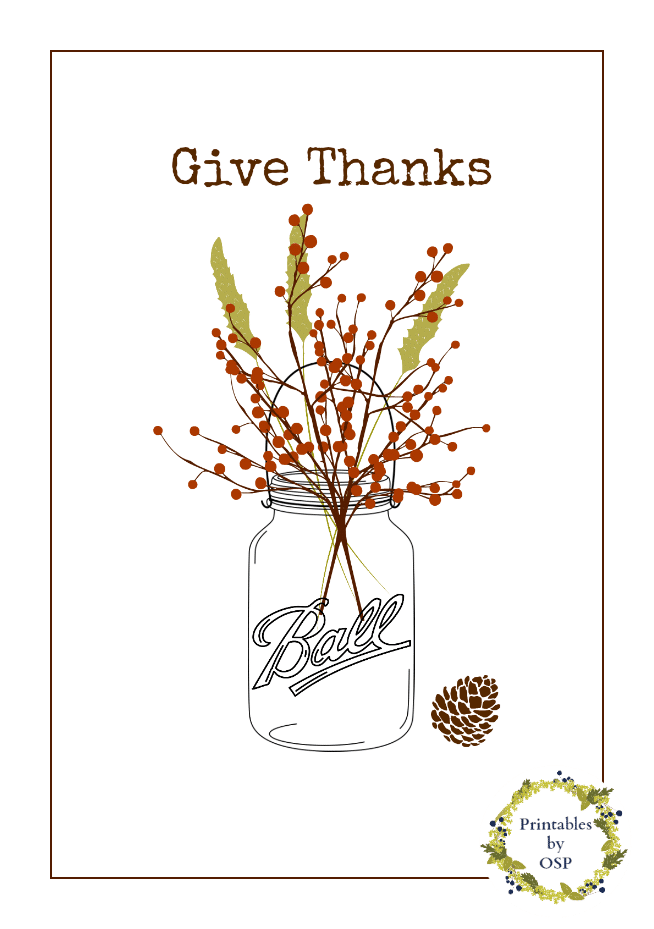
I wanted to put something Thanksgiving themed on my dry erase board and knew the second that I saw it, that I wanted to use Ann of On Sutton Place’s beautiful Thanksgiving printable.
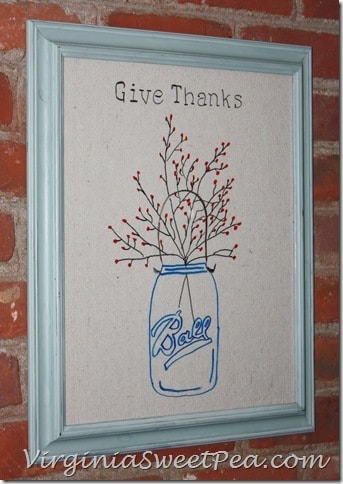
I made a transparency of the print on my printer and used an overhead projector at school to transfer the print to my dry erase board. (Many thanks to Christy of Our Southern Home for the overhead projector tip.) My projector is very old and didn’t make a clear image to trace, so I had to trace the basics and then fill in the rest by hand. I didn’t add all of Ann’s fabulous details, but I like my abbreviated version.
Several students in my afternoon classes saw my work and told me they liked it. One child asked me why I wrote “Ball” on the jar instead of “Fall”? When I explained that it was supposed to be a canning jar, another child said, “Oh, yeah! Like the kind moonshine comes in! I love my country kid students!
I’m glad that I saved this picture from the trash and was able to upcycle it into a dry erase board.

Great project Paula, I may give this a try during our long winter days. Thanks for sharing.
LOVE IT!! If you haven’t already I would love for you to link up to my weekly linky party. http://www.somedayilllearn.com/2013/11/04/teach-tuesday-40/
Wow! I love this so much! what a cute idea! I love that you can also write on other things you are thankful for if you wanted to!
Love it! I love Thanksgiving things to keep the holiday from getting lost!
Clever!!
Hey! Did you pick up that picture from my trash can?! I can’t believe you called it ugly! Hee hee. I love the color you painted the frame. It is so pretty. Your students are too funny. I’m sure they keep you entertained all day long.
Hi Paula
I love this board. Great idea. Thanks for hosting the link party. I’ve been a G+ follower for some time but I added you on Bloglovin tonight. Hope you will come visit me also and join my link party if you’d like.
Angel
This is one of the best craft ideas I have ever seen! Pinning of course!
Great dry erase board. Love how you transferred the image. It looks so nice.
I Love your Dry Erase board Paula! It turned out so great! And your country kid students sound like a hoot! What fun. Cheers
Beautiful!
What a great project, Paula! I love that you made the Ball jar blue, by the way–a great extra detail! And the comment from your student? Priceless!
This is so pretty, and such a great use of something that was not so pretty! I tried making a dry erase board for work, very quickly using laminated card. Worked great for a couple of months but now it’s just looking a mess and the pens don’t really wipe off cleanly. An old picture frame with glass is looking like a much better option.
Julie,
I have the same problem when I laminate things to use at school. I guess the film wears out after many uses.
Paula
This is such a cute idea! I love the print you created behind the dry erase board… and your ‘country kids’ connection to the canning jars is hilarious:) Pinning it!
Thanks, Krista! I laughed out loud when the child made the canning jar comment.
Hey Lady! I featured this beauty at this week’s Project Inspire{d}… thanks so much for linking up! http://yesterdayontuesday.com/2013/11/project-inspired-delightful-decor/
This is absolutely adorable! You did a great job. Loving that printable! Thanks for the shout out as well! ~Christy