DIY Pallet Wood Arrow Sign
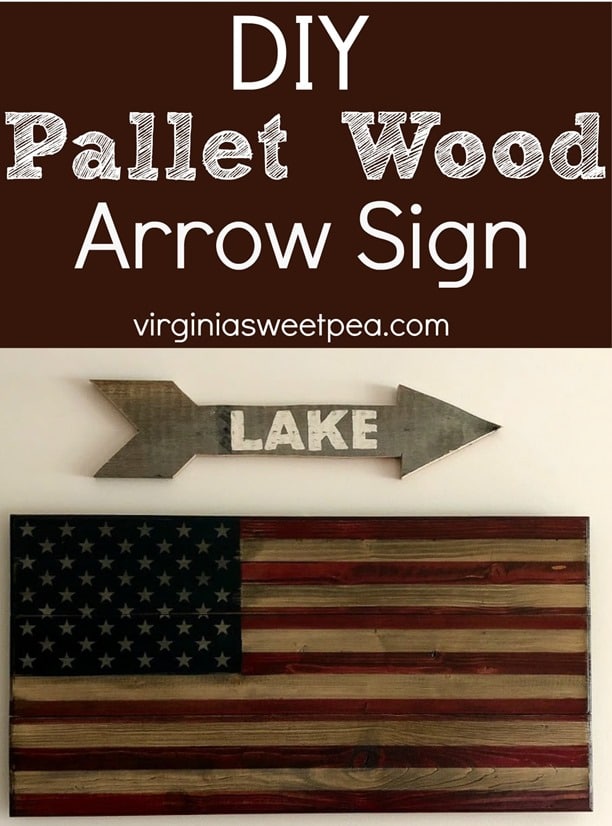
This month’s Power Tool Challenge is all about signs. I made a DIY Pallet Wood Arrow Sign for our lake house.
I’m excited to see the signs that my Power Tool Challenge friends made for this month’s sign theme. You’ll find links to all of the projects at the end of this post.
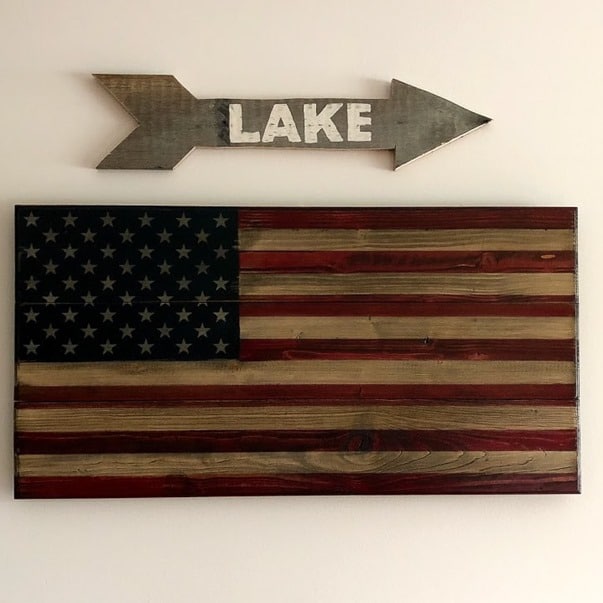
LAKE Pallet Wood Arrow Sign
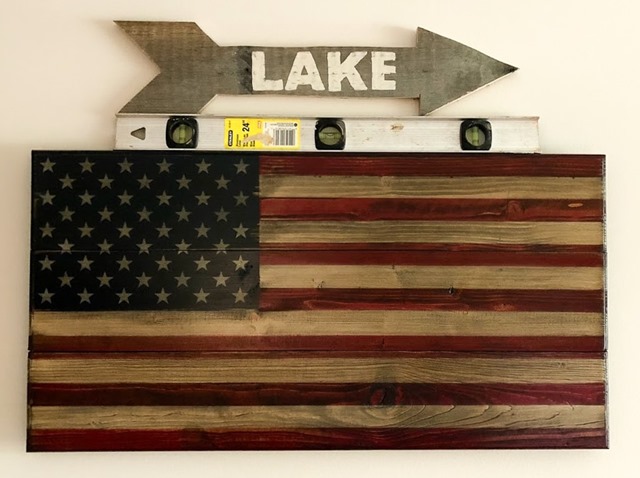
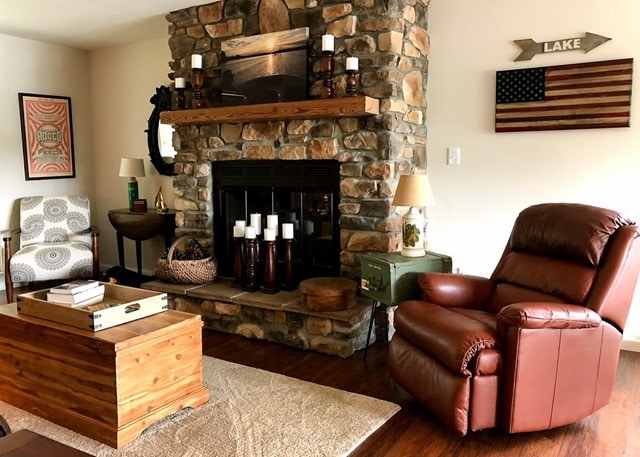
The pallet wood arrow sign that I made points to the lake. It’s hanging over a Flags of Valor wooden flag. This company is veteran run and each flag is handcrafted by a veteran, many of which are combat disabled.
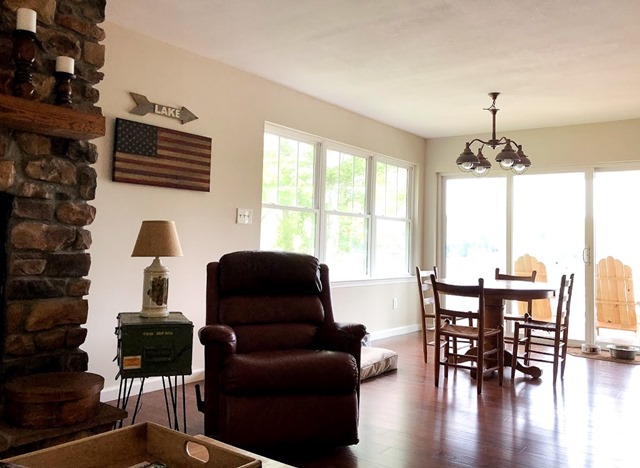
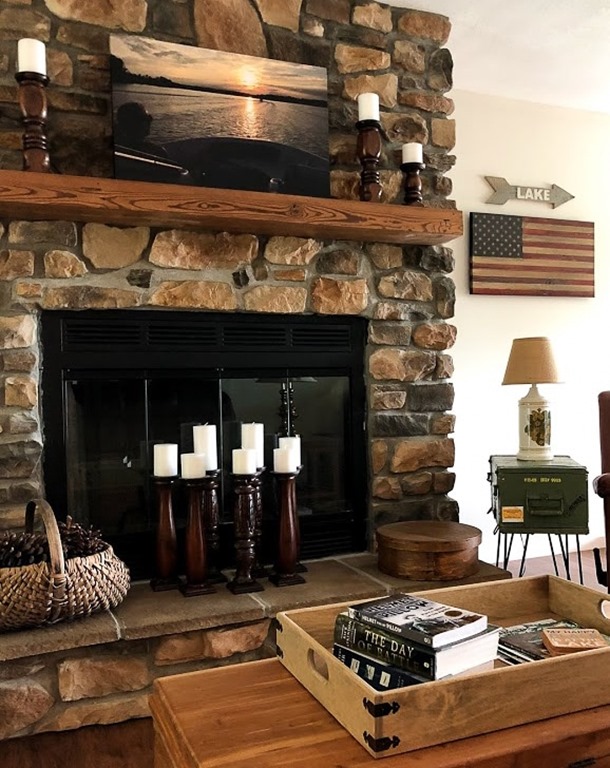
Our living room at the lake is filled with past Power Tool Challenge projects. On the mantel and hearth are Candle Holders Upcycled from Bedposts. The Farmhouse Style Tray on the trunk and the Ammunition Crate Table are also past projects. You can see all of my past Power Tool Challenge projects here.
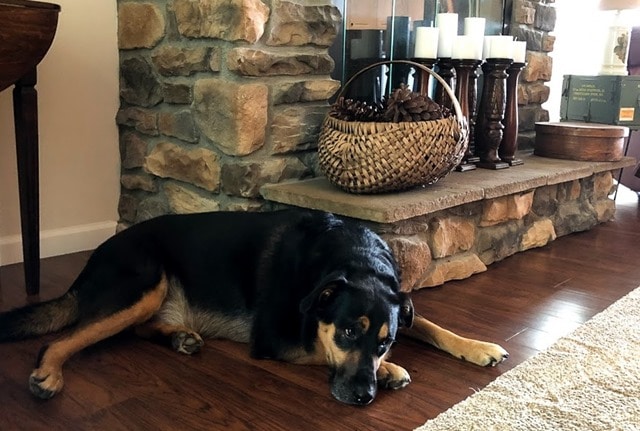
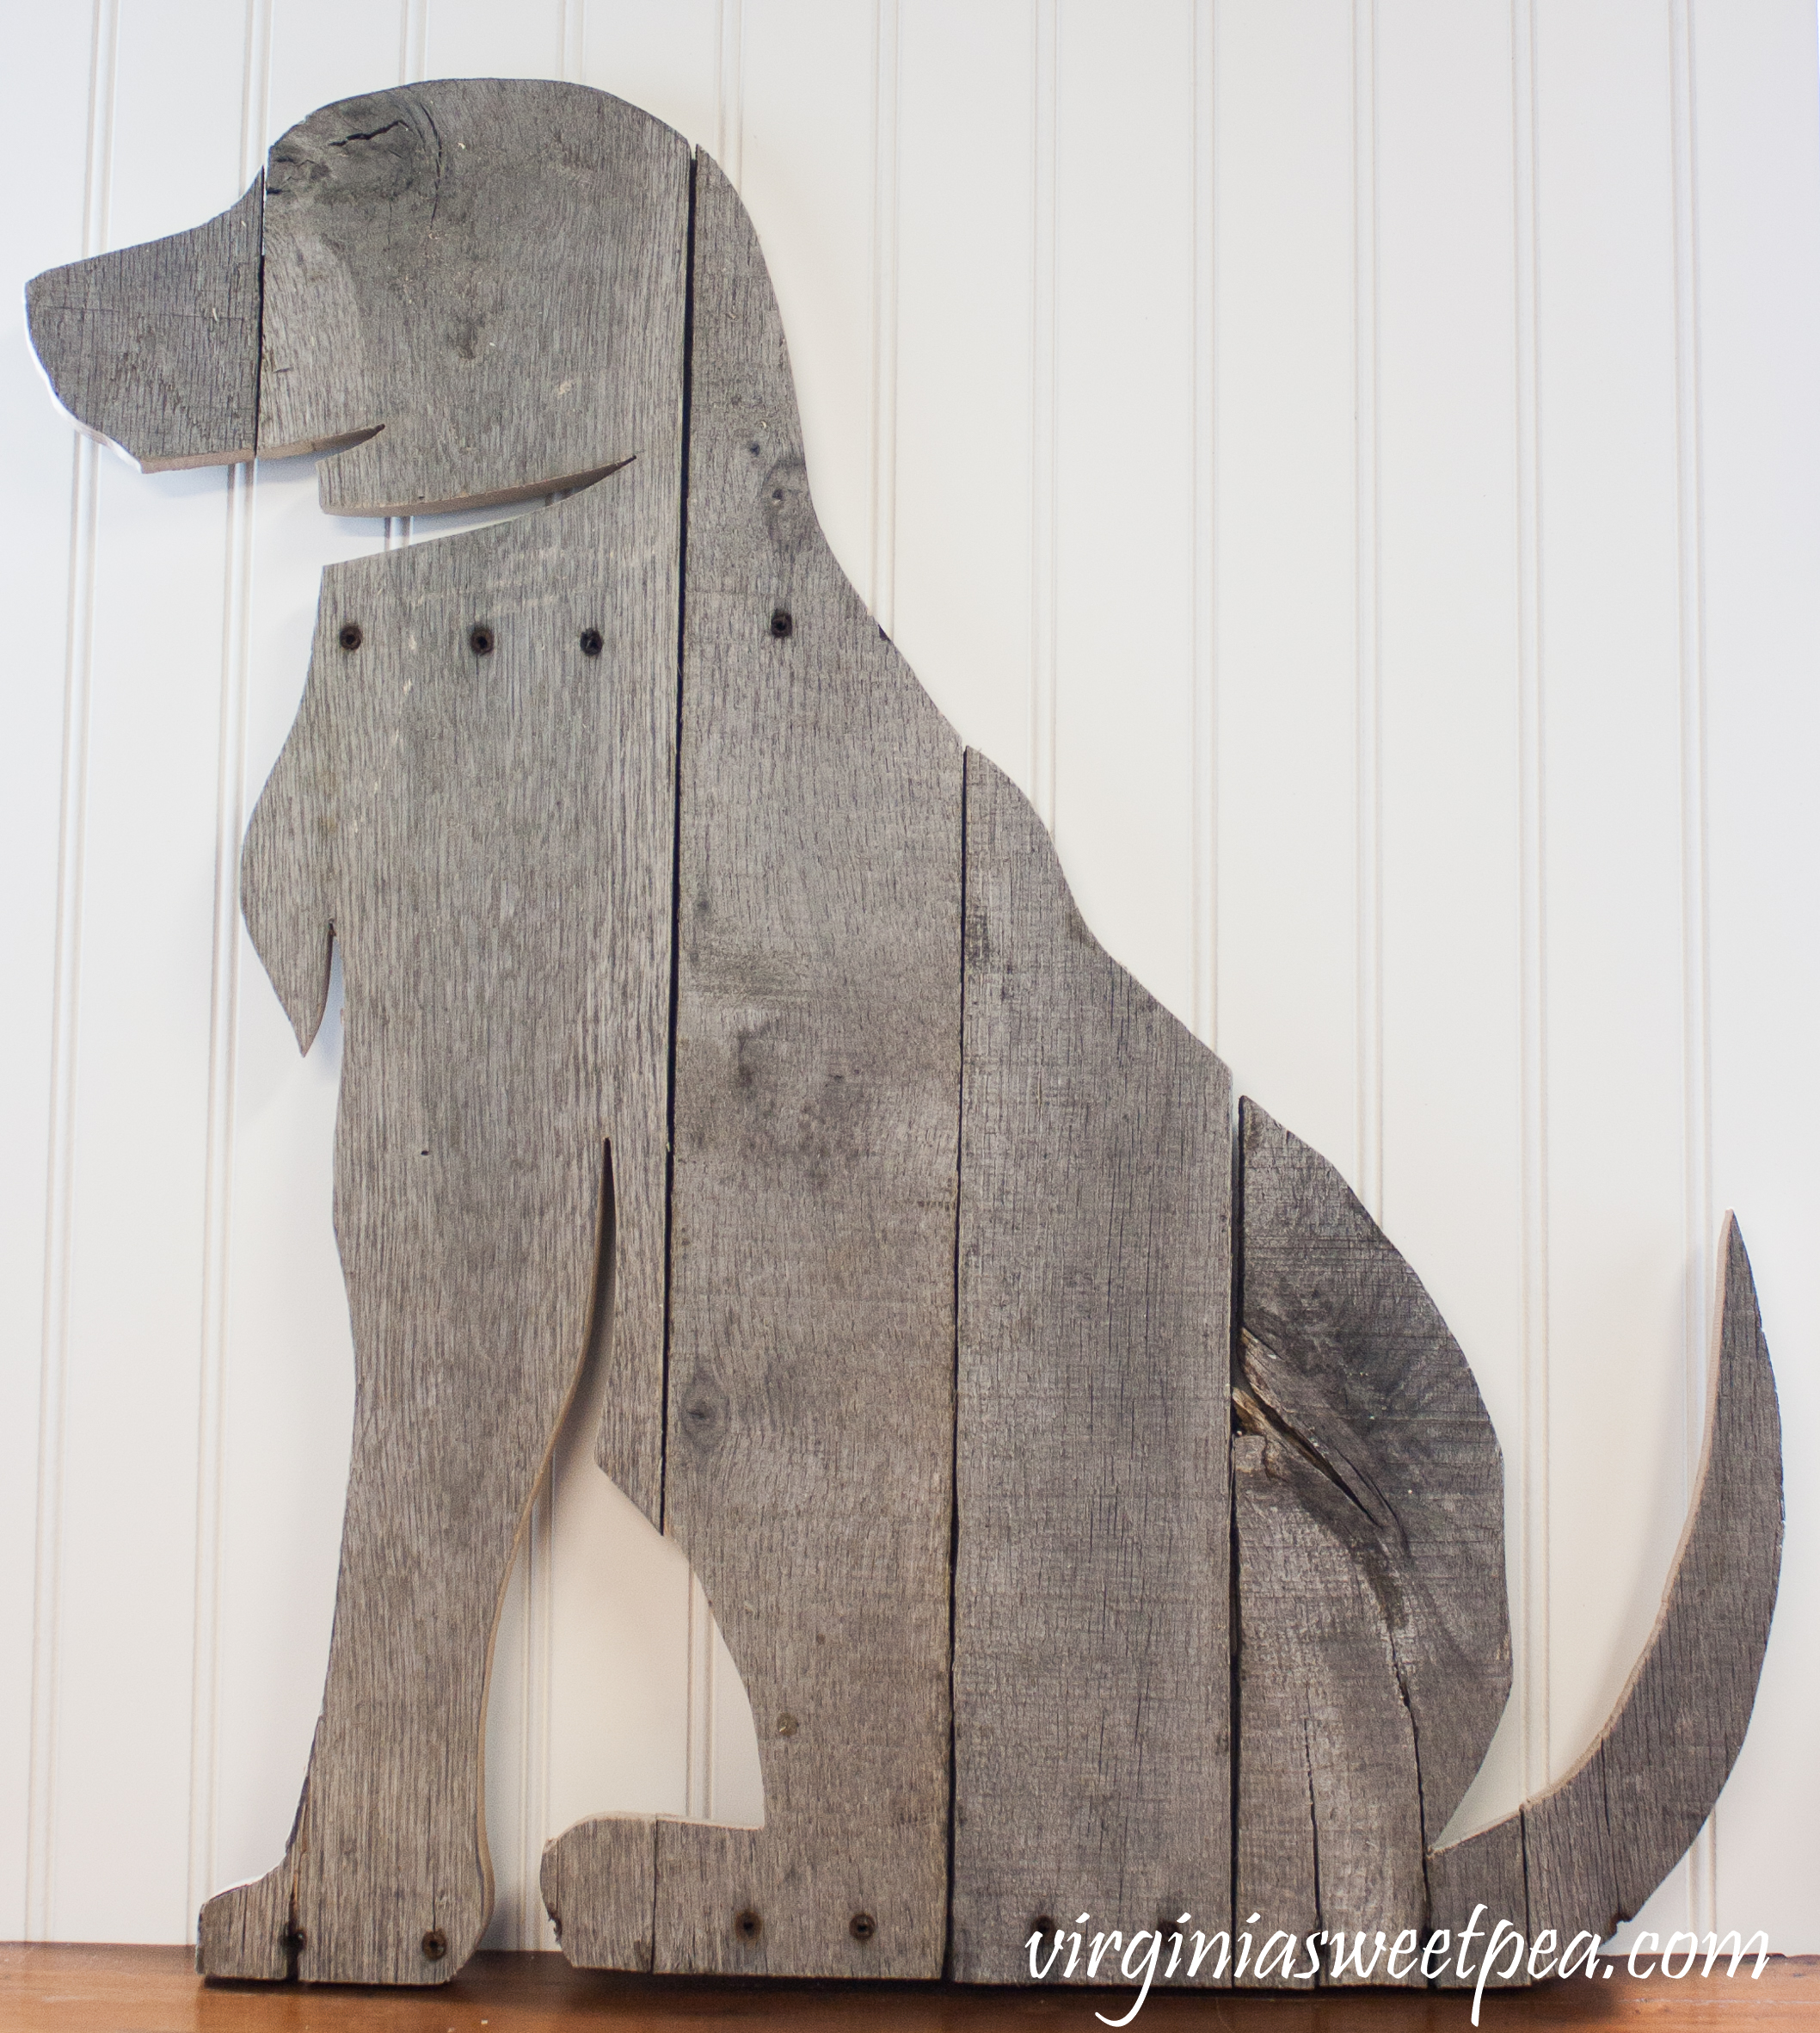
Sweet Sherman loves being at the lake and he was enjoying a cool spot on the floor as I took pictures.
This project was quick to make and I really like how it looks on our wall at the lake.
How to Make a Pallet Wood Arrow Sign
This post contains affiliate links. For full disclosure go here.
Supplies
Pallet Wood – Or use a board and a stain like this one to give it a weathered finish.
Prybar
Hammer
Clamps
Sanding Block
Pencil
Printer
Chalk
Paint – I used Dixie Belle in Drop Cloth.
Sawtooth Picture Hangers
Level
Procedure
Prepare the Pallet Wood
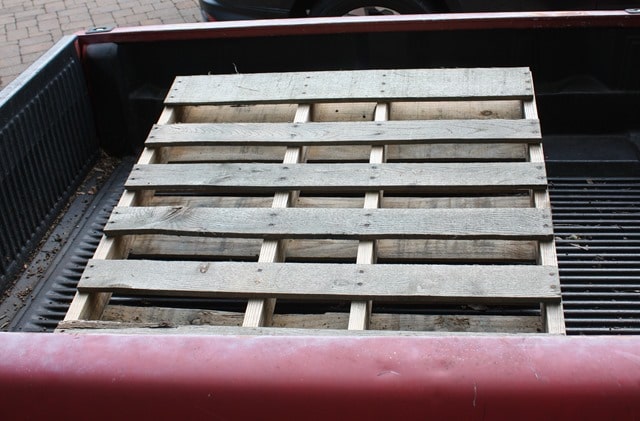
This pallet was new in April. I asked the tennis pro at a local club if I could have it when I spotted it there this spring. It’s been on the back of our truck since then and the wood has weathered beautifully.
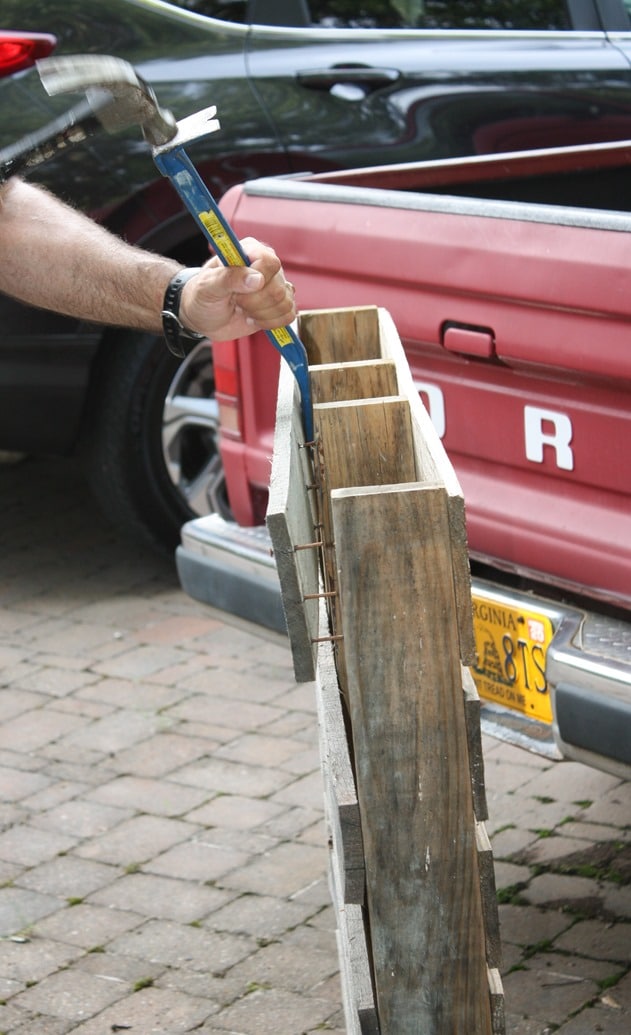
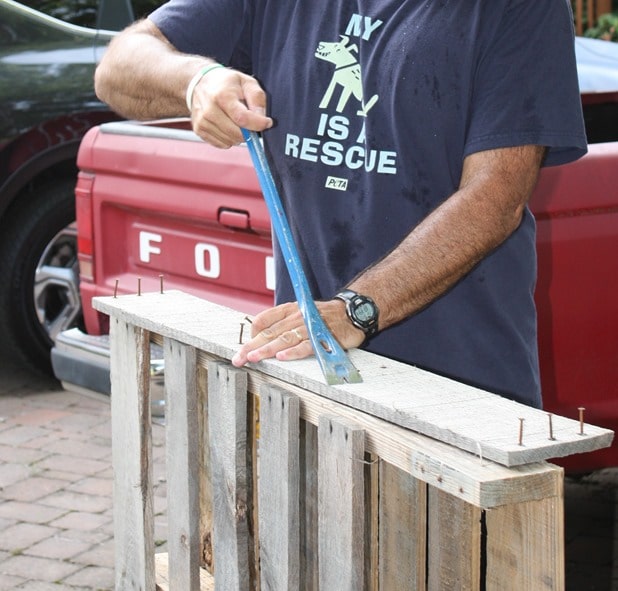
I only needed one board for this project and I had to enlist the help of Mr. SP to pry it loose as I wasn’t strong enough to do it on my own.
He also popped the nails out while he was at it.
Draw the Arrow on the Wood
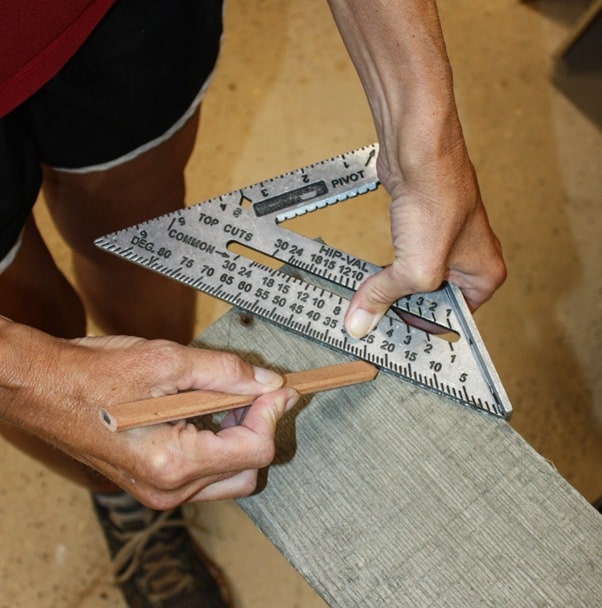
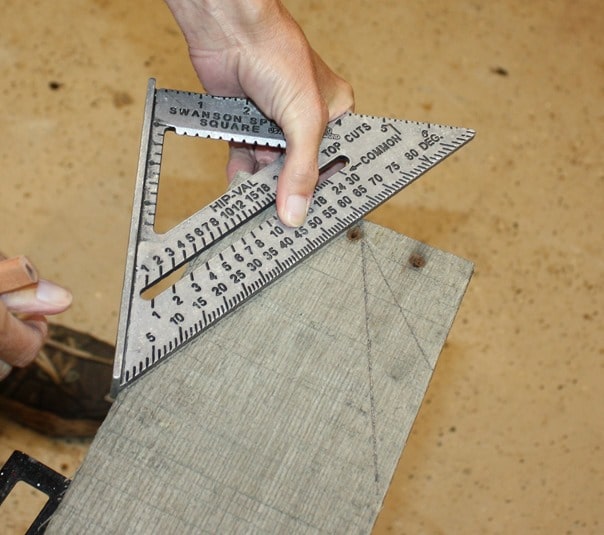
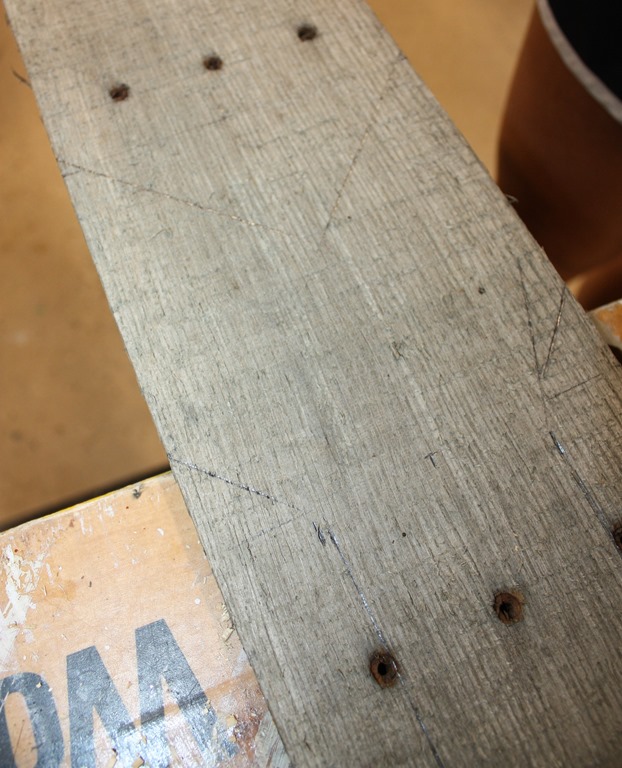
Use a combination square to mark the center of the width of the board. Then use a speed square to draw the sides of the tip of the arrow at a 60 degree angle.
I originally tried a 45 degree angle and didn’t like the way it looked.
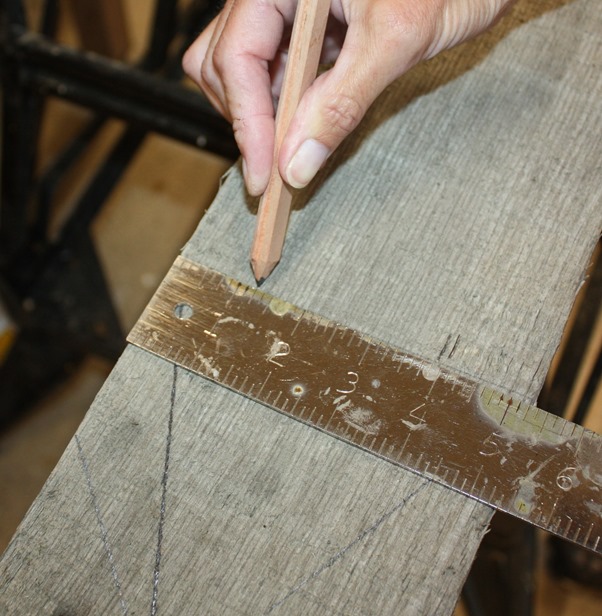
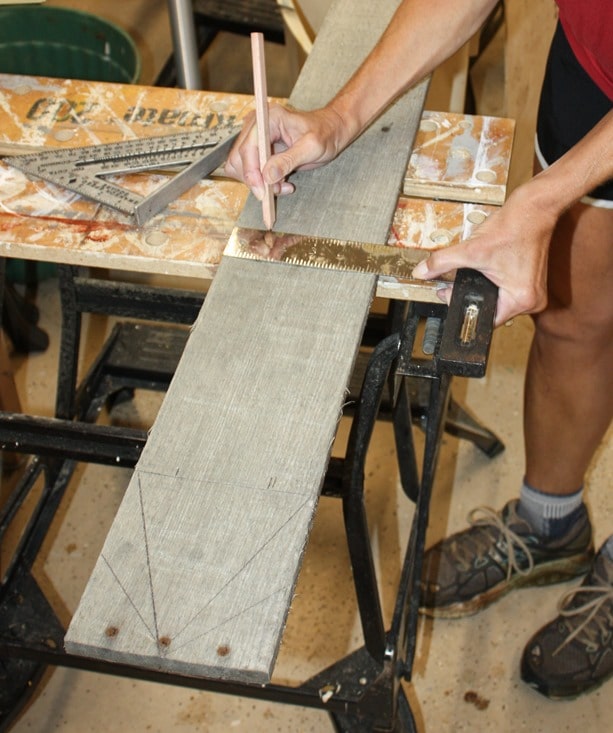
Use a carpenter’s square to mark the shaft of the arrow. I marked mine at 1 1/4” but that measurement will vary according to the width of board that you use.
After marking the shaft at 1 1/4” at the base of the arrow’s tip and where you want the shaft to end, connect the marks using a carpenter’s square or straight edge. (not shown)
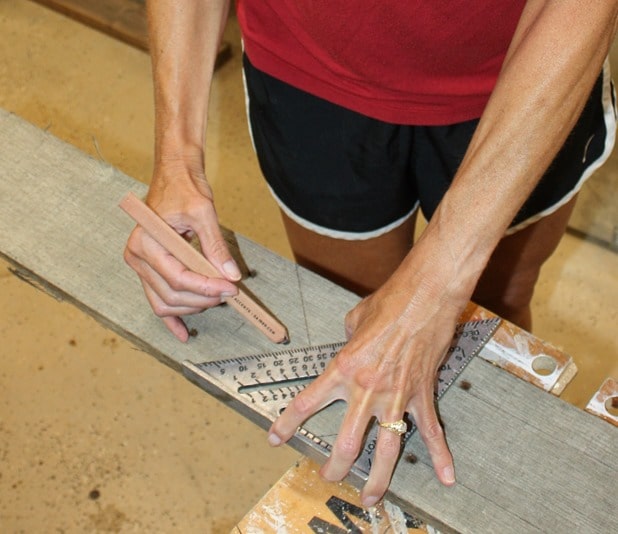
Next mark the ends of the arrow using a combination square at a 32 degree angle.
Cut Out the Arrow
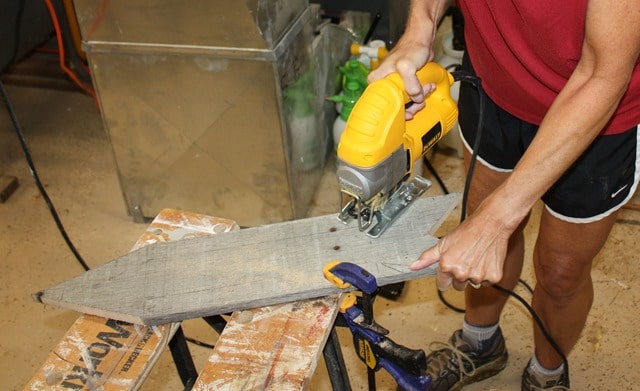
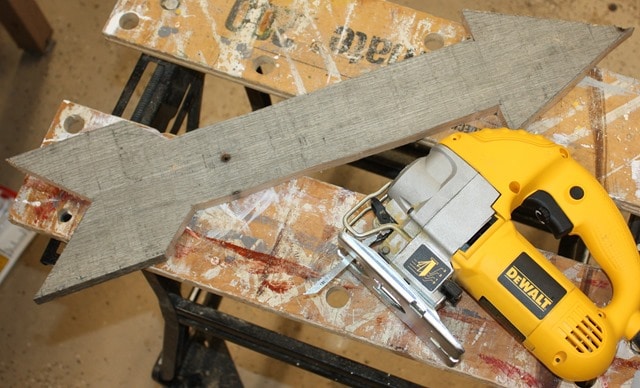
Use a jigsaw to cut out the arrow. Be sure to clamp the board tightly to your work surface.
Add Graphic to Arrow
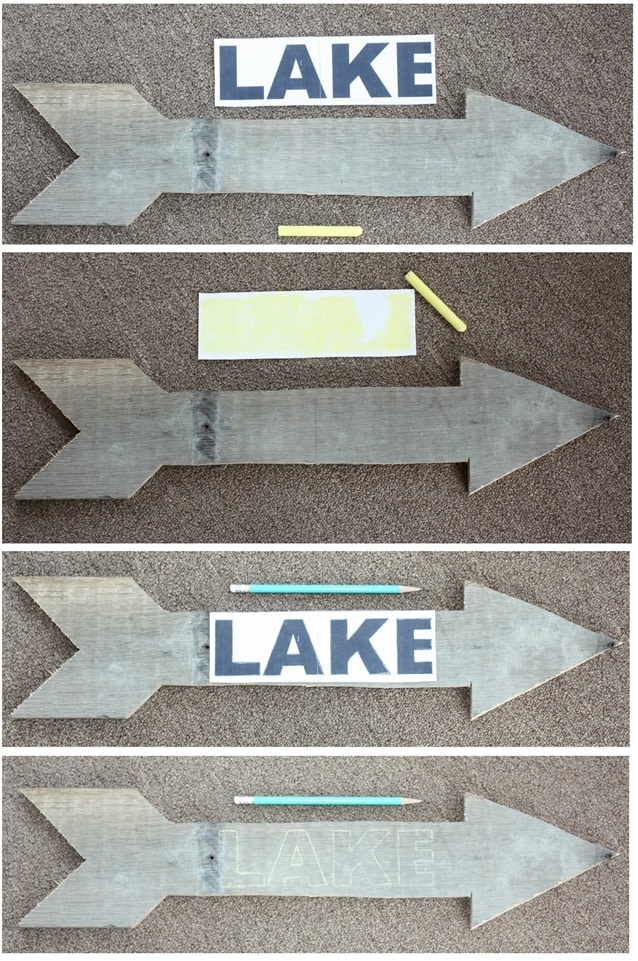
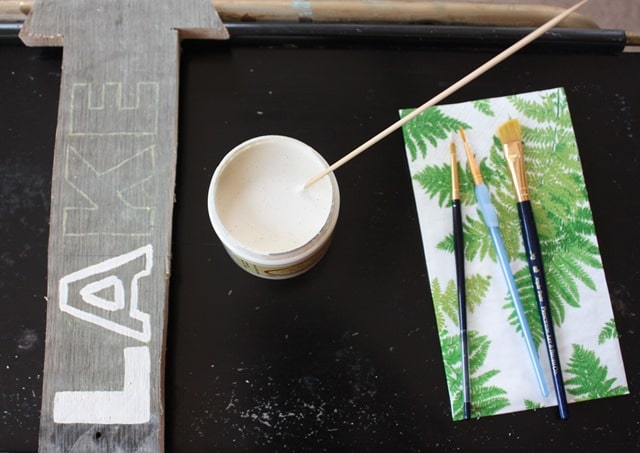
Print out the word you want to use for your sign. (A Cricut or Silhouette would be the easiest way to do this. I did it old school style.) To transfer the graphic, rub chalk on the back of the letters, place on the sign and trace over the outer edge of each letter with a pencil.
Use a script liner brush to paint the letters.
Distress
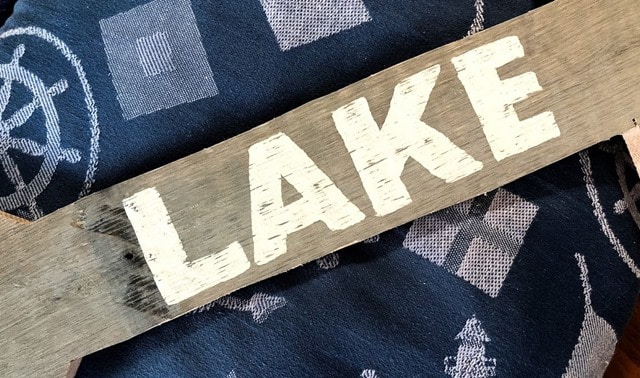
Lightly sand over the painted letters to distress them. If the pallet wood is rough in spots, sand those areas as well. Also sand away any stray pencil marks.
Hang the Pallet Arrow Sign
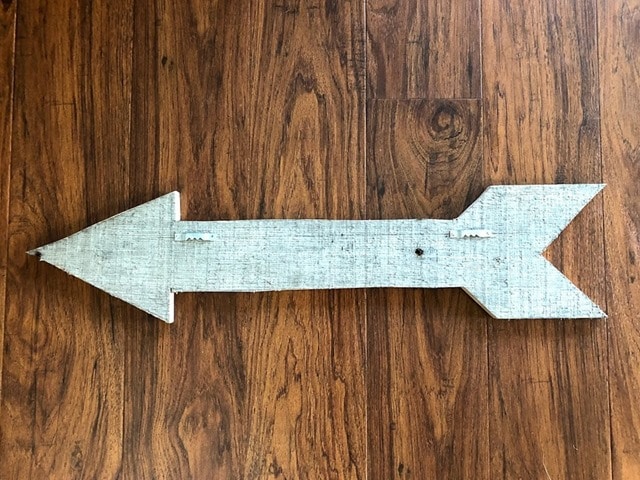
Use two sawtooth hangers to hang the arrow. You can see that I drew a straight line on the back of the arrow to help with the hanger placement.
A level is a helpful tool for this type of job.
Enjoy the Sign
This sign makes a nice addition to our lake house family room.
More Signs to Enjoy
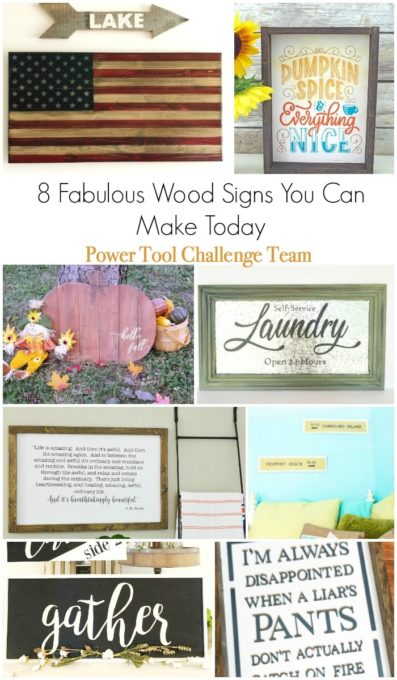
Now enjoy the signs that my Power Tool Challenge friends made. Click on the links below to see each project.
Create and Babble – How to Make Double Sided Framed Wood Sign
My Repurposed Life – Hello Fall Rustic Pumpkin Sign
Designed Decor – Framed Laundry Room Sign
H2OBungalow – Large Modern Wall Decor Sign Tutorial
Domestically Speaking – Beach Signs
Refresh Restyle – How to Make a Two Sided Sign
The DIY Village – DIY Raised Wood Lettered Sign


Love your lake sign! Looks great in that room!
Thank you, Maryann! The wood aged to be such a great match to the stained stripes in the flag.
Looks great! I know you would rather be at the Lake!
Yes, DeDe!! We love being at the lake and have been able to go nearly every weekend this summer.
Sign came out great
Thank you, Laura!!
Great tips and directions! I love your sign.
I have the best way to take pallets apart. I forgot to include it in my post. Thanks for the reminder.
Pinned your awesome LAKE sign!
gailh
Thank you for pinning my sign! I’ll search your blog for your method for taking the pallet apart. I need your method so I can use the other boards for other projects, like your adorable pumpkin.
This is so cute! Especially above your rustic flag. Lucky that you had a pallet weathering to the perfect patina for your project too. Nice tutorial!
Thank you, Wendi! I was amazed at how perfectly that brand new pallet weathered in four months. Now I need to find a use for the other boards on it.
Great idea! I love a pallet wood project!
Well done, very nice. All your projects are first class!!.