DIY Patchwork Wood Christmas Tree
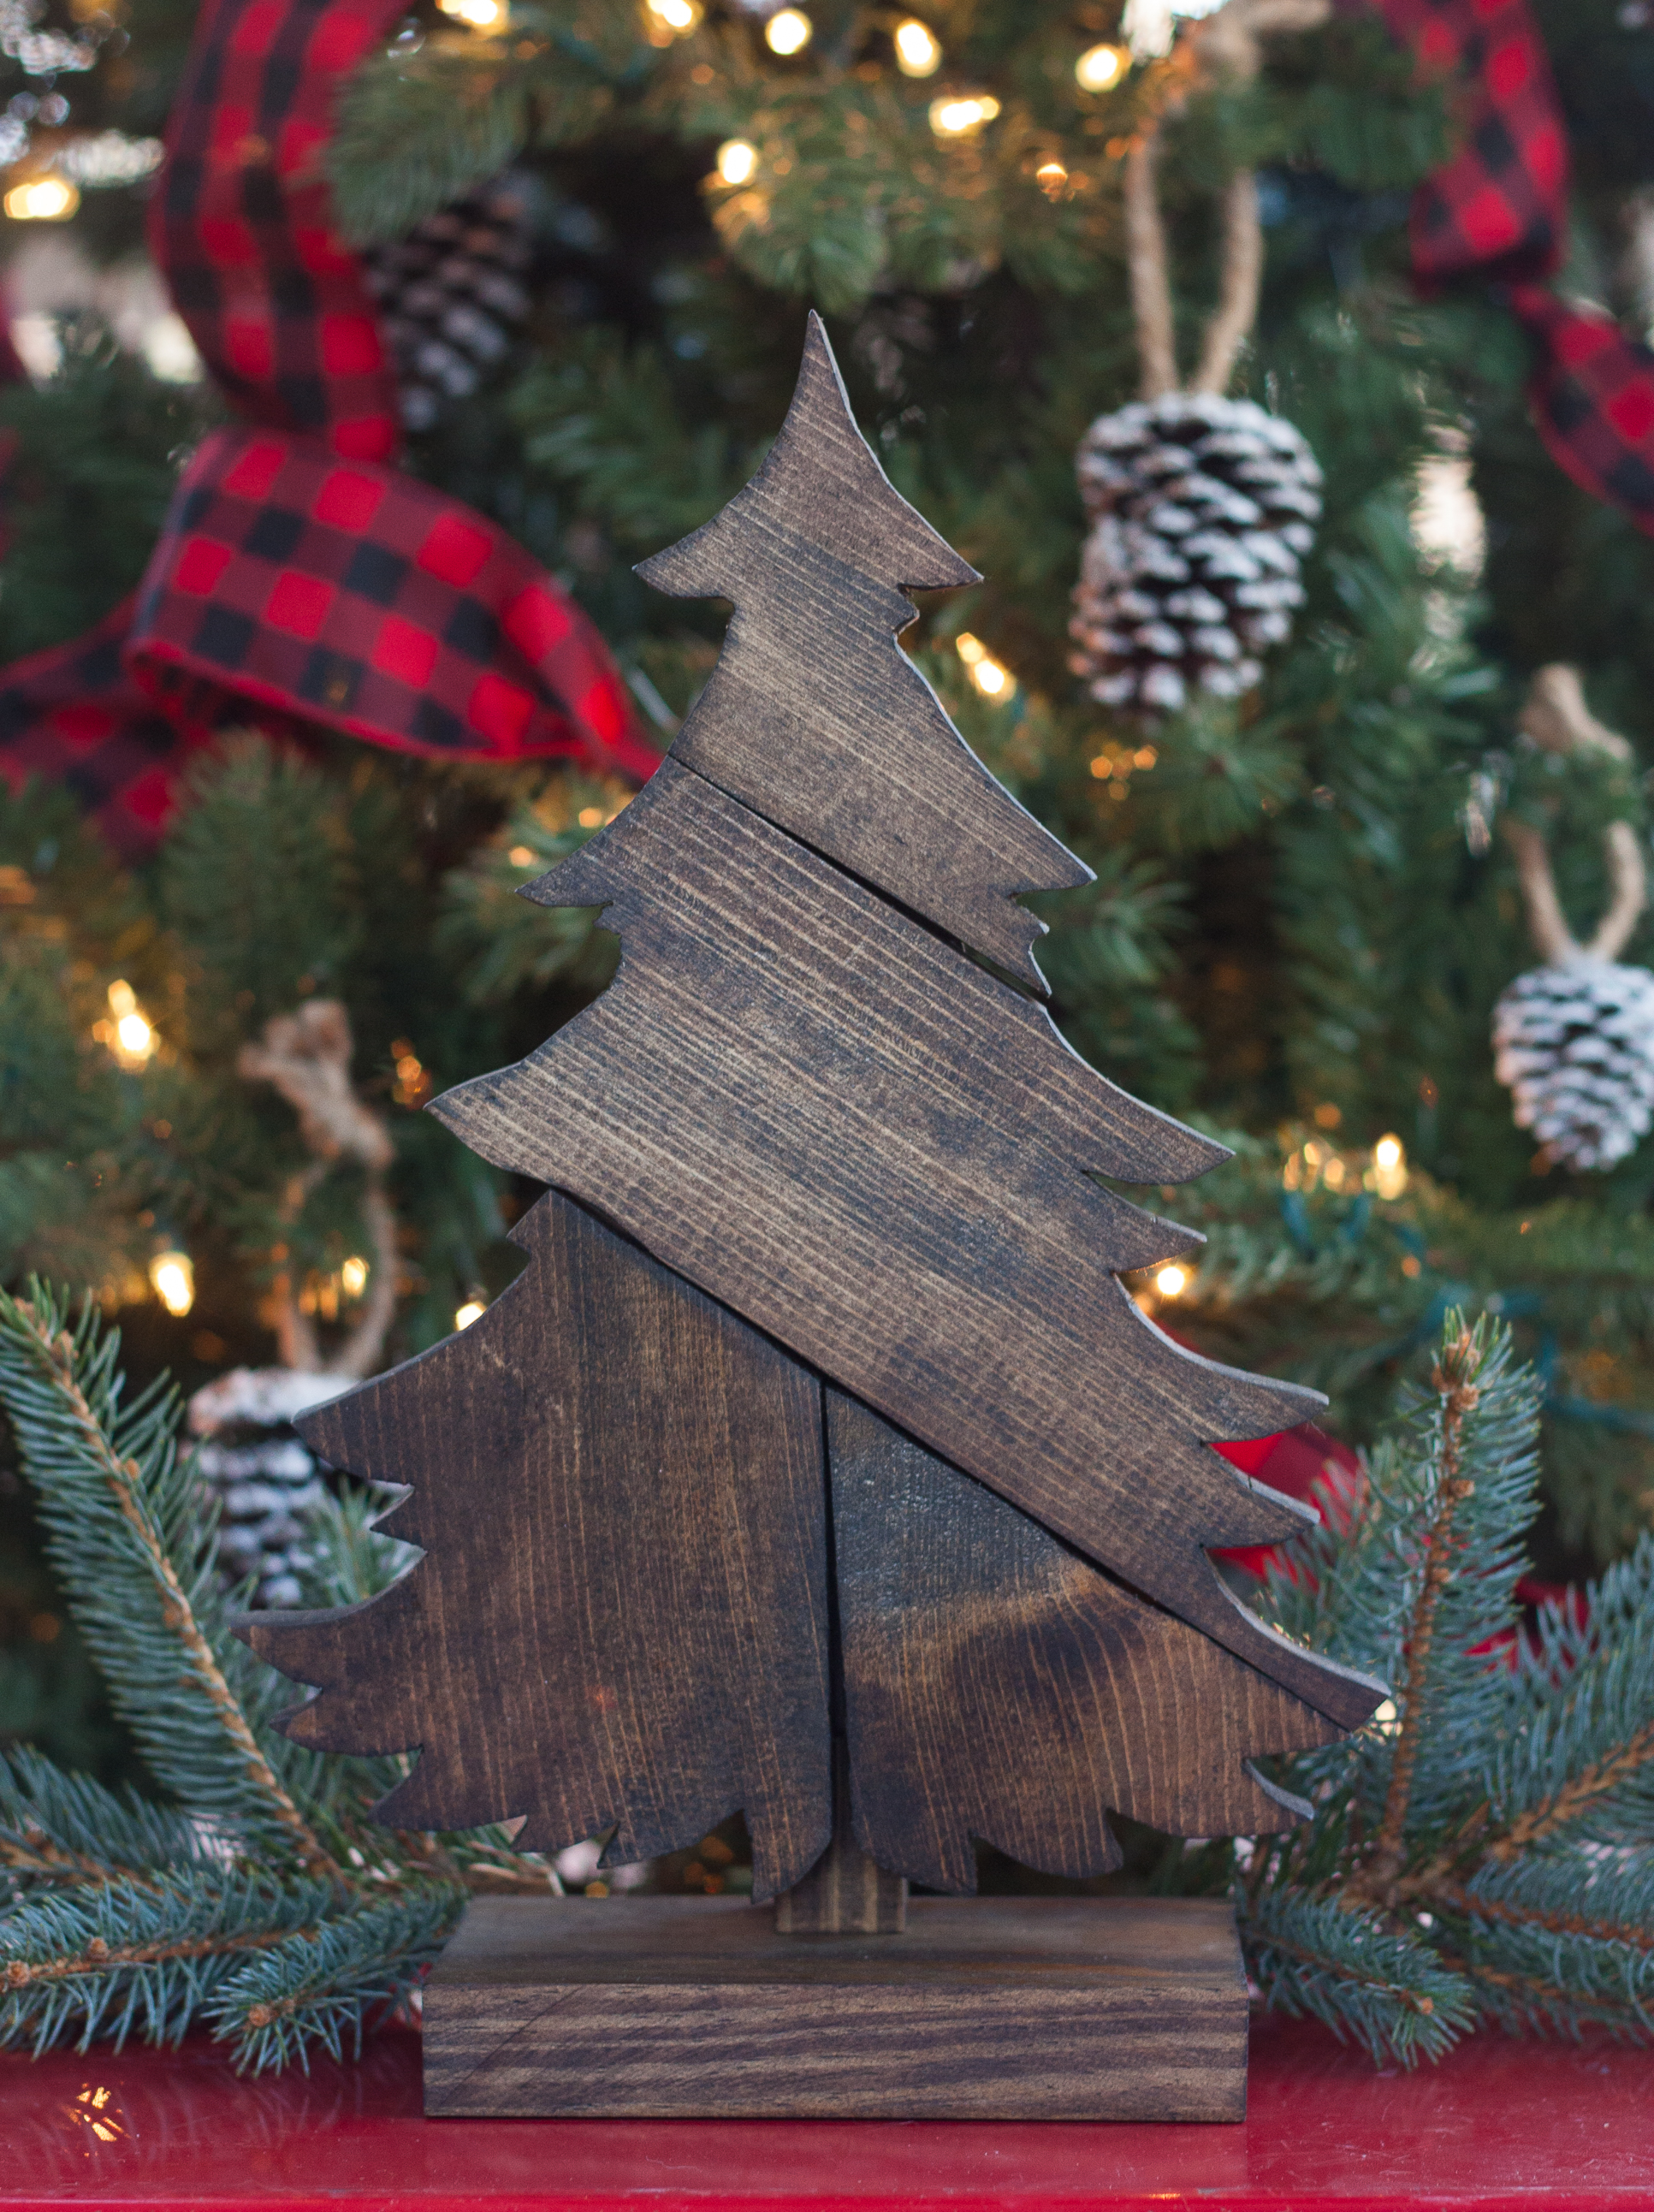
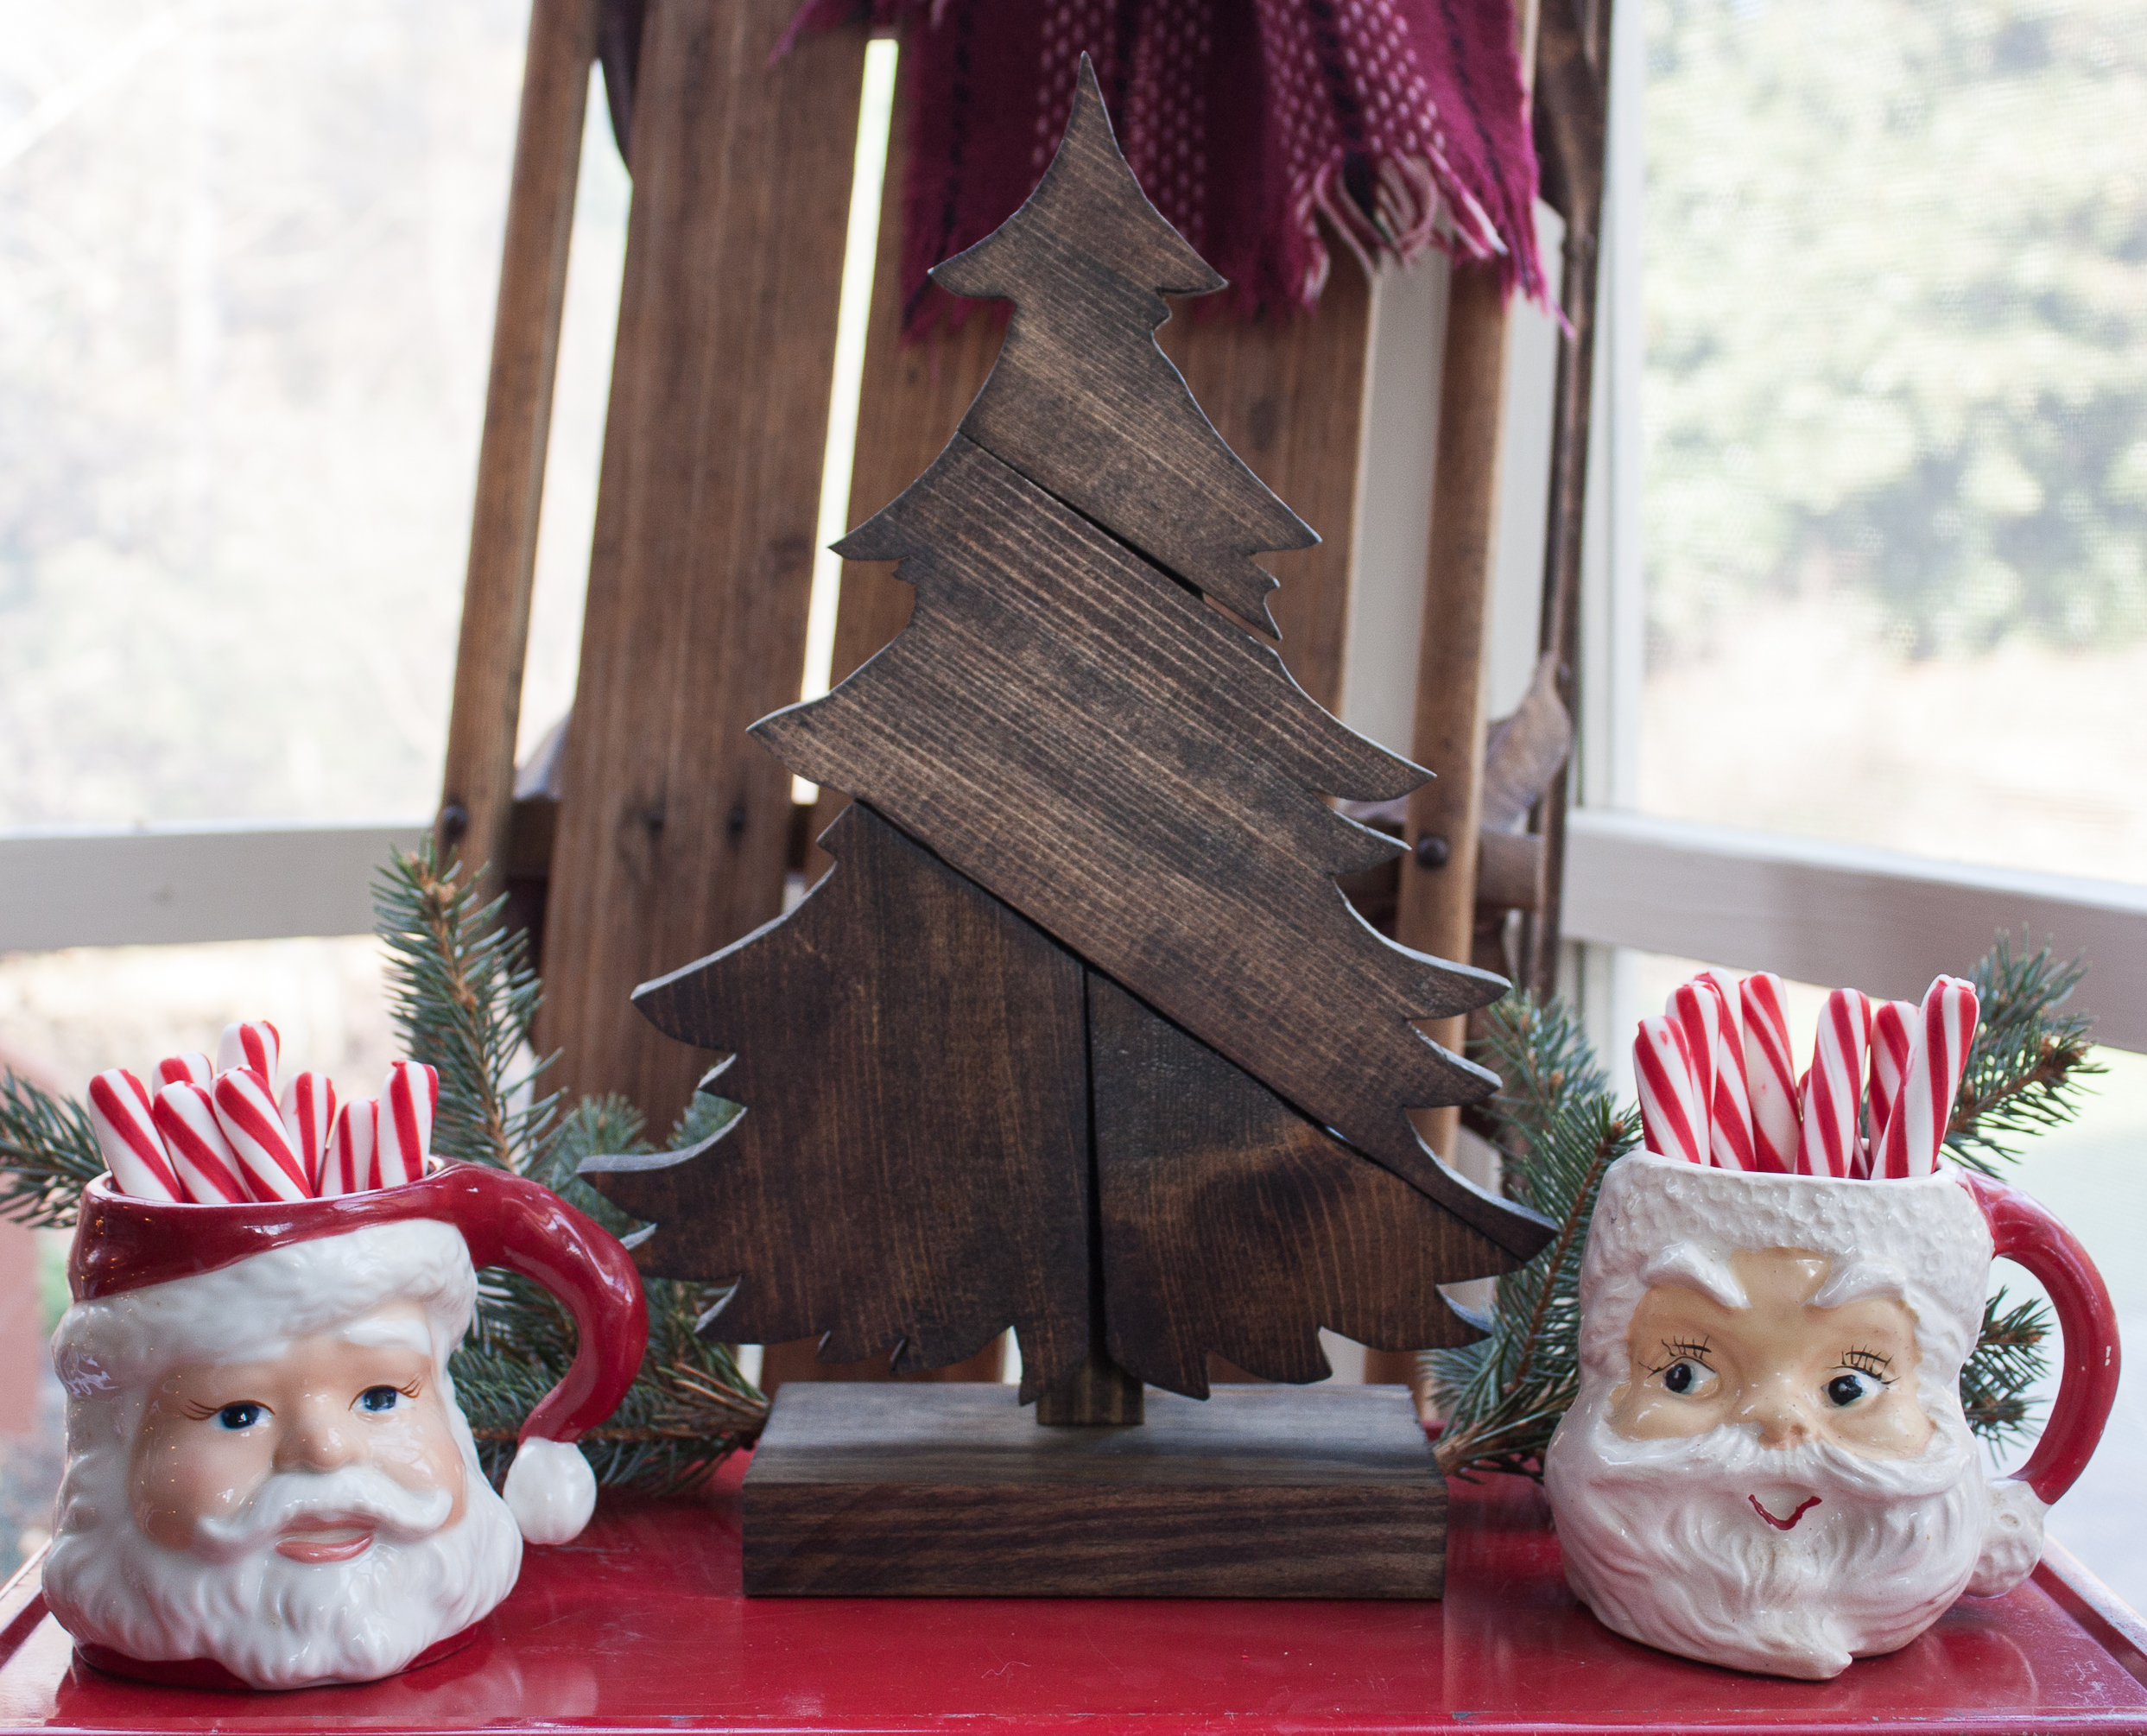
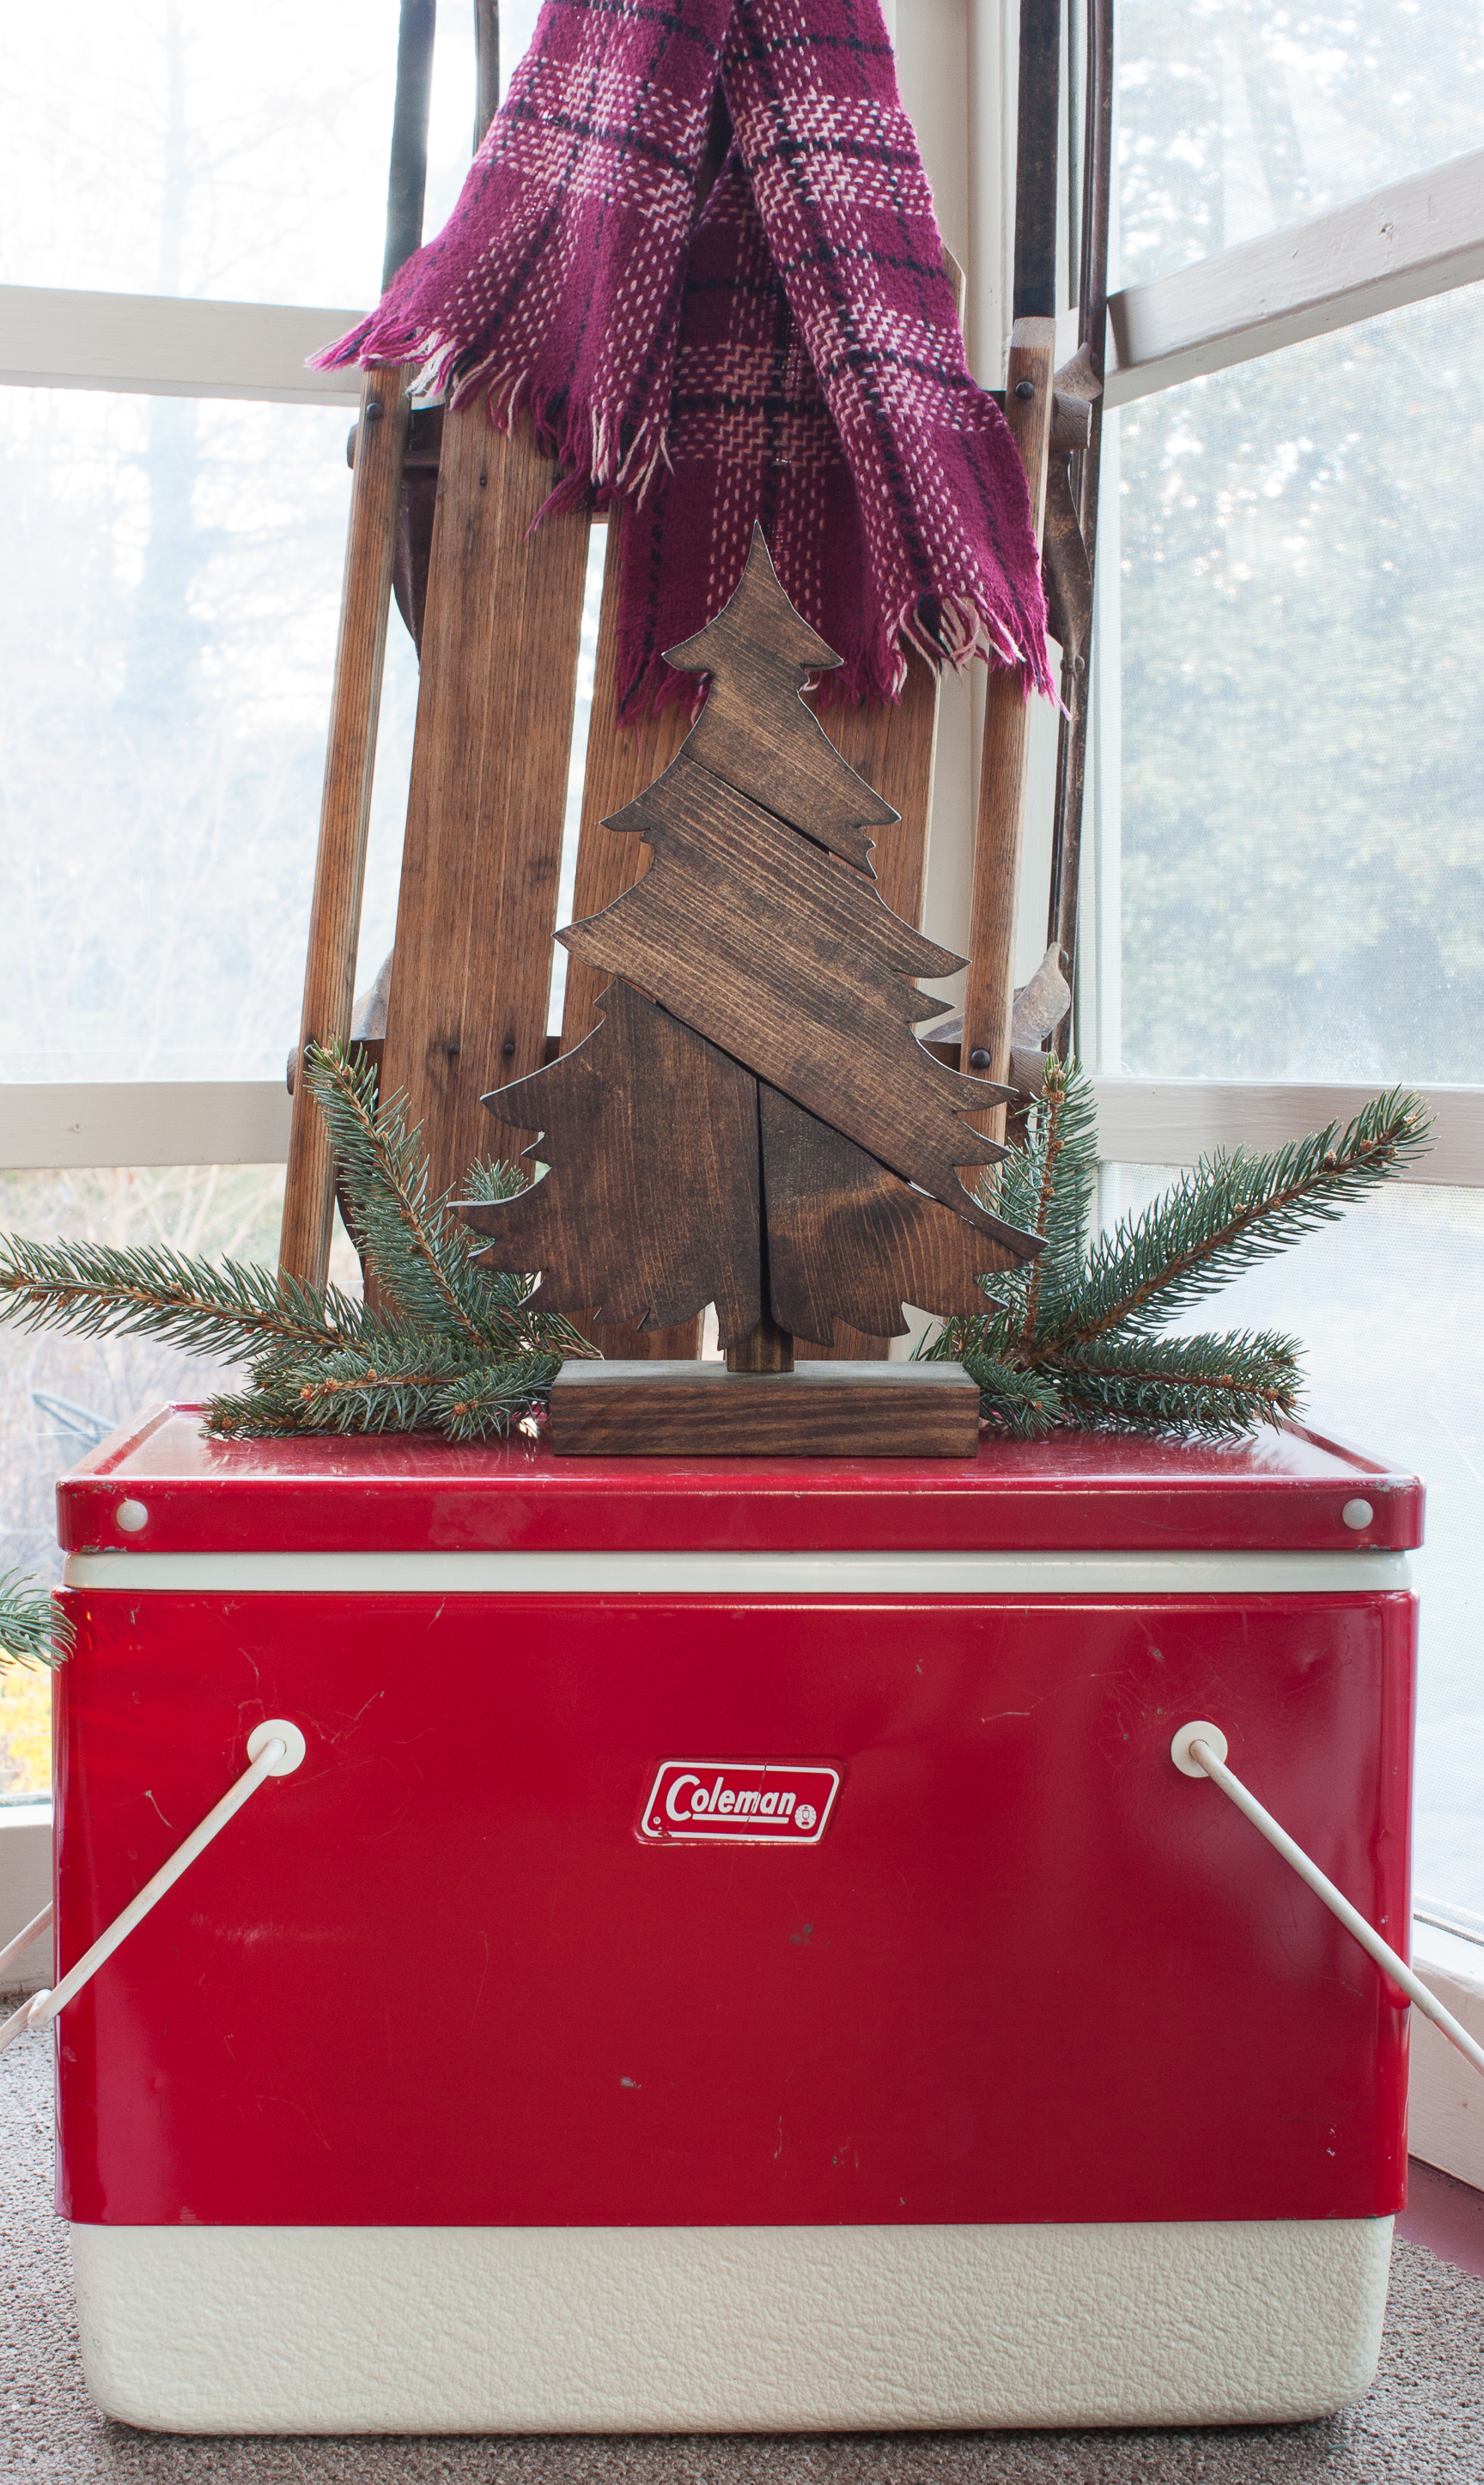
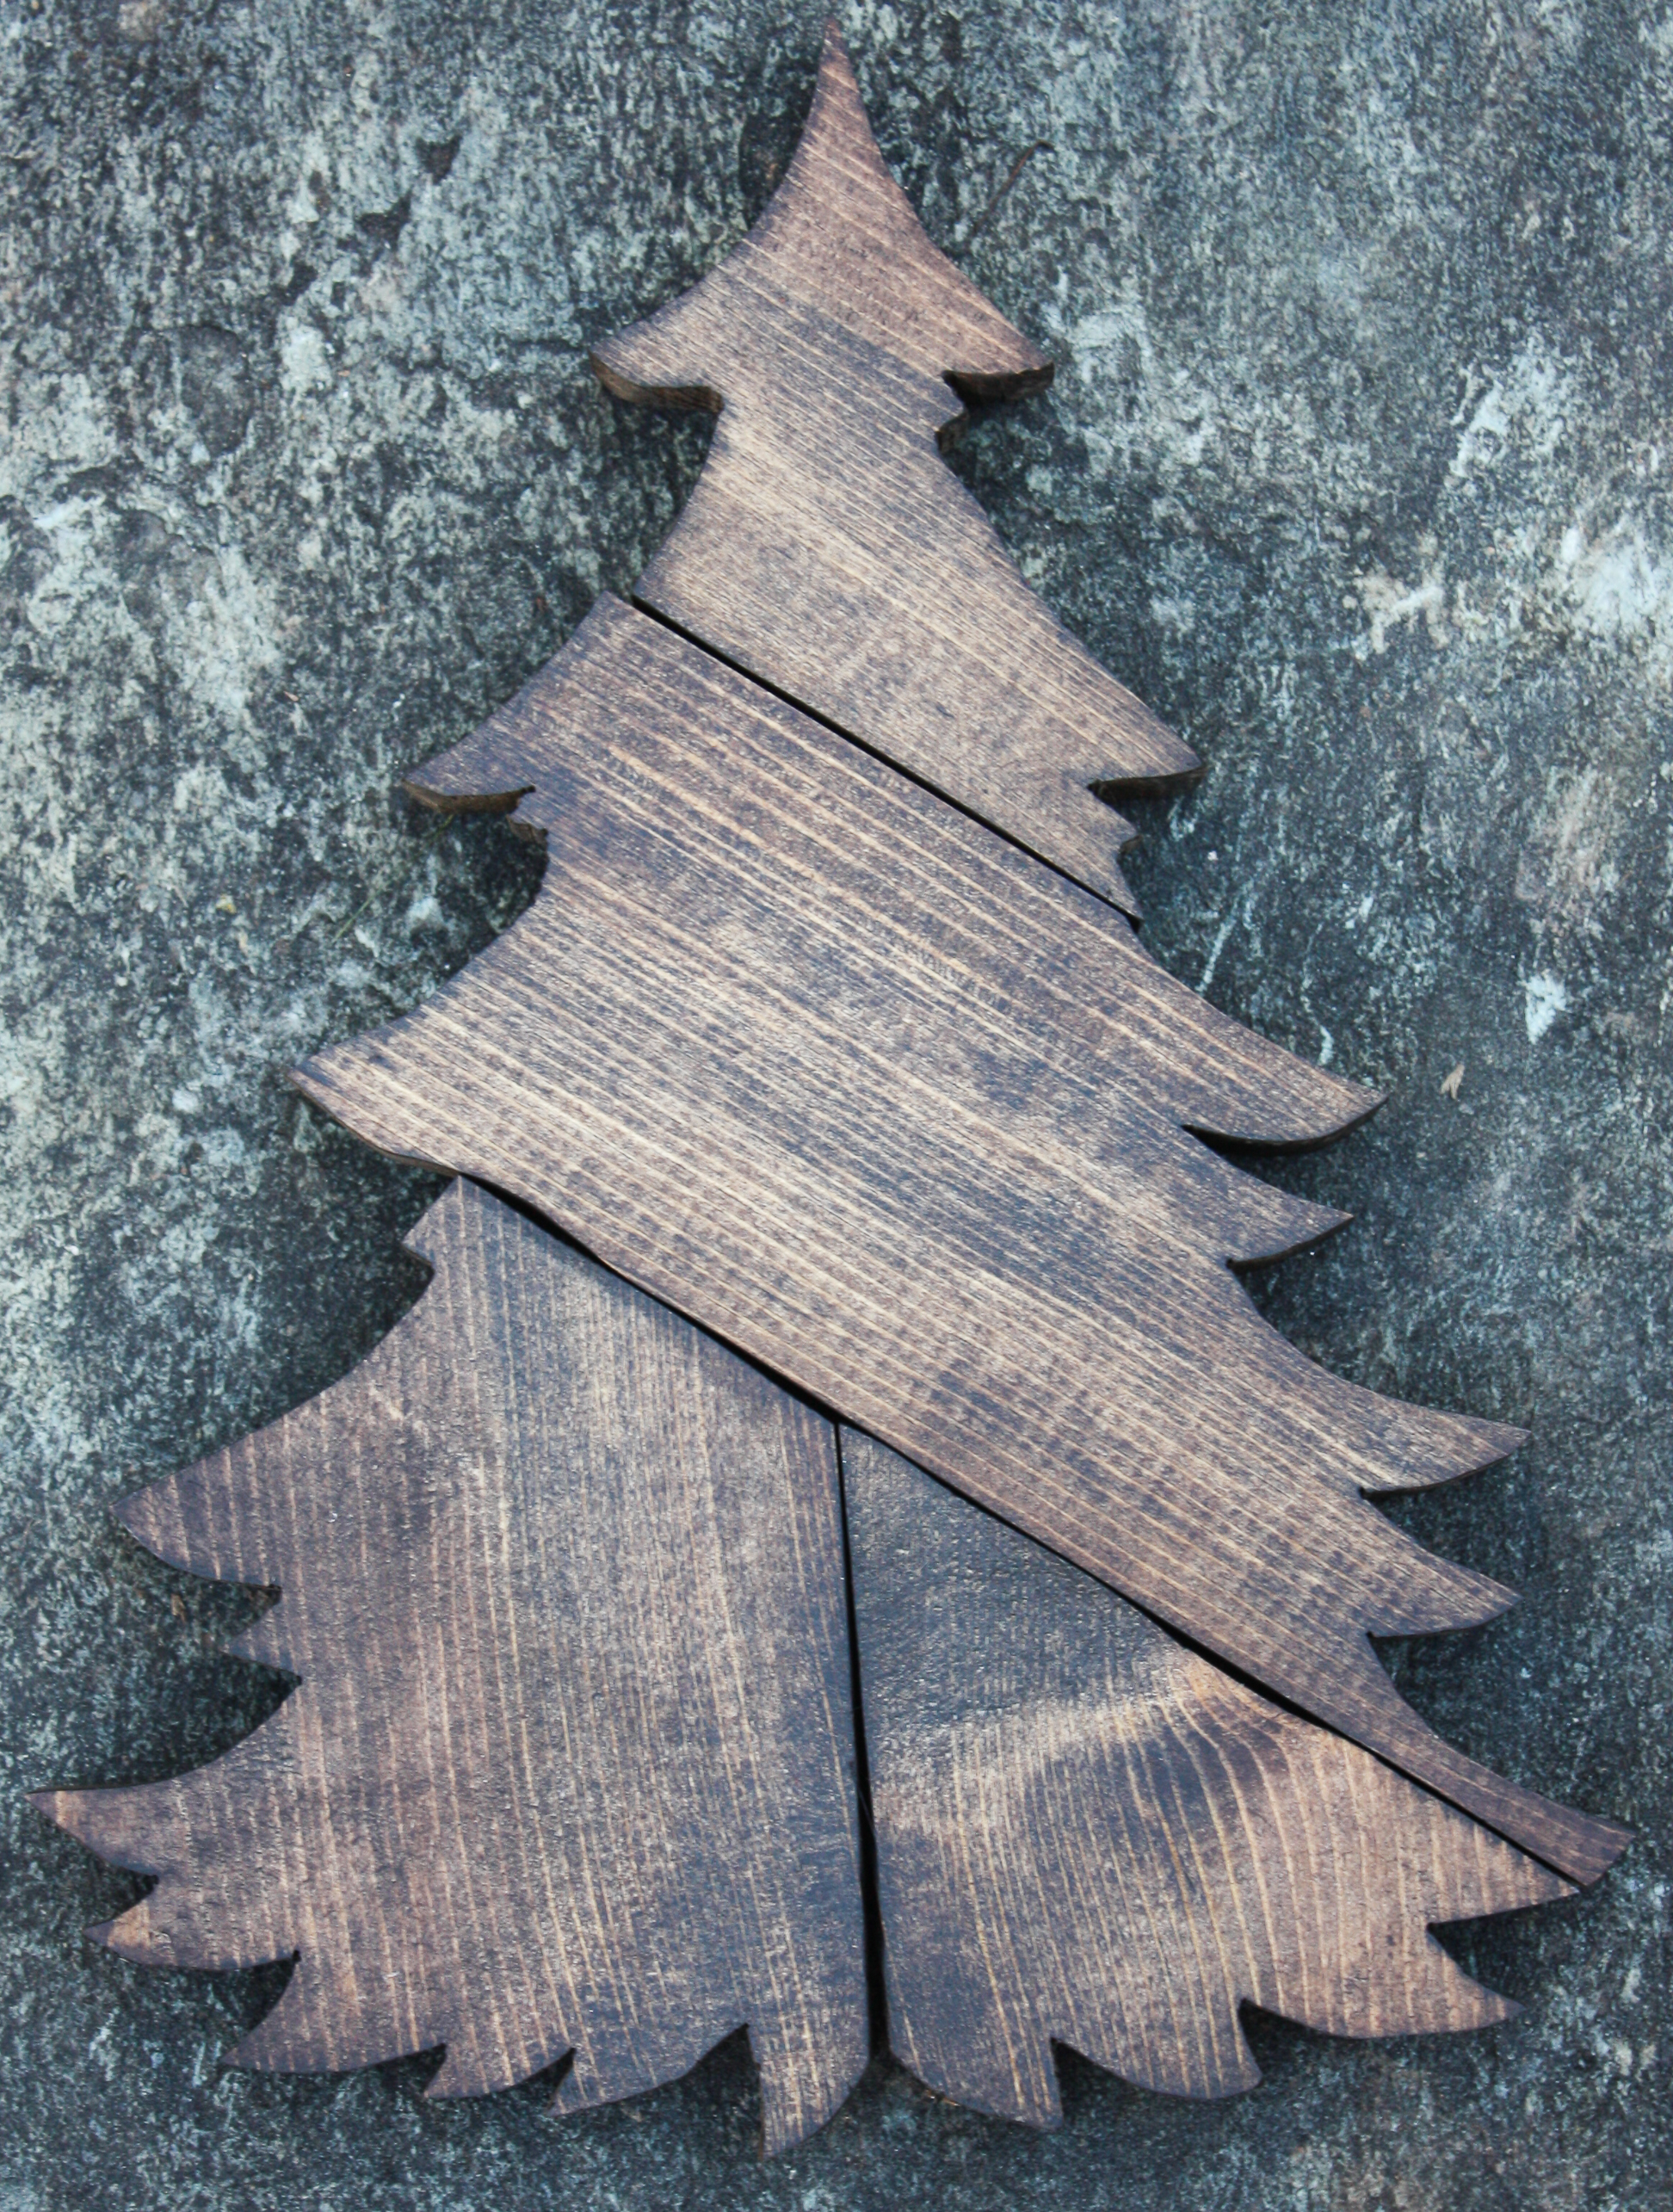
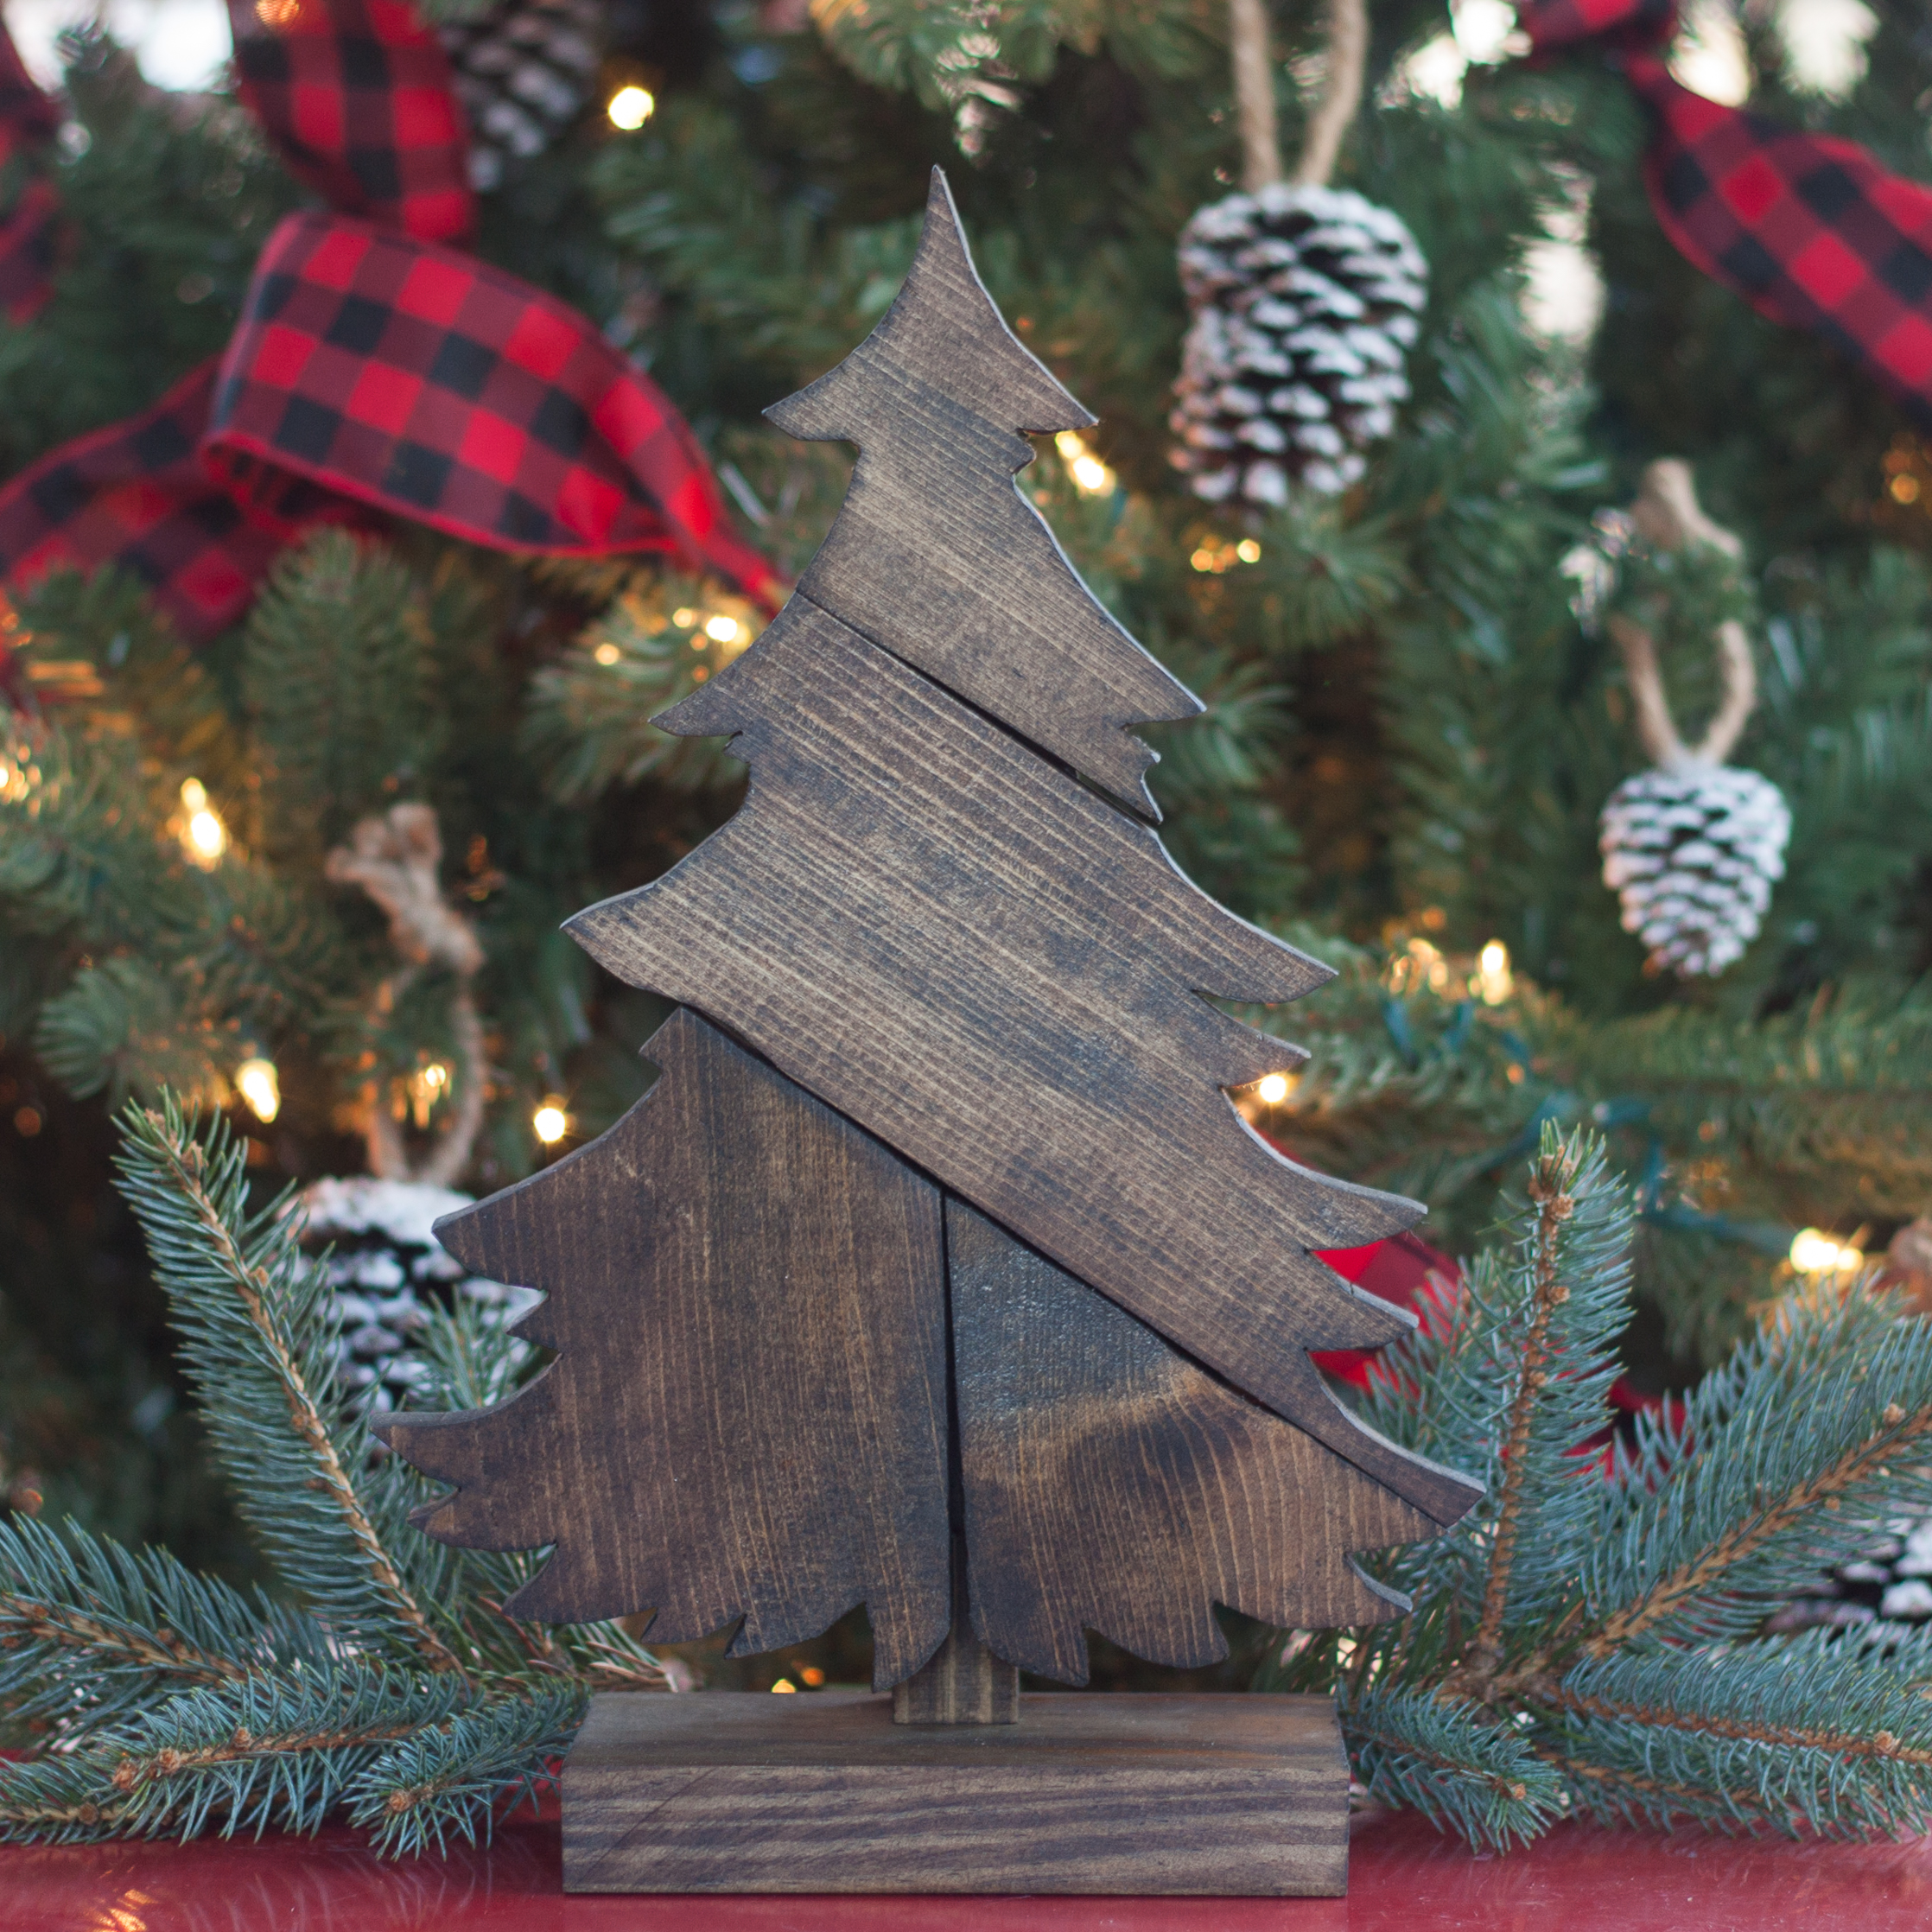
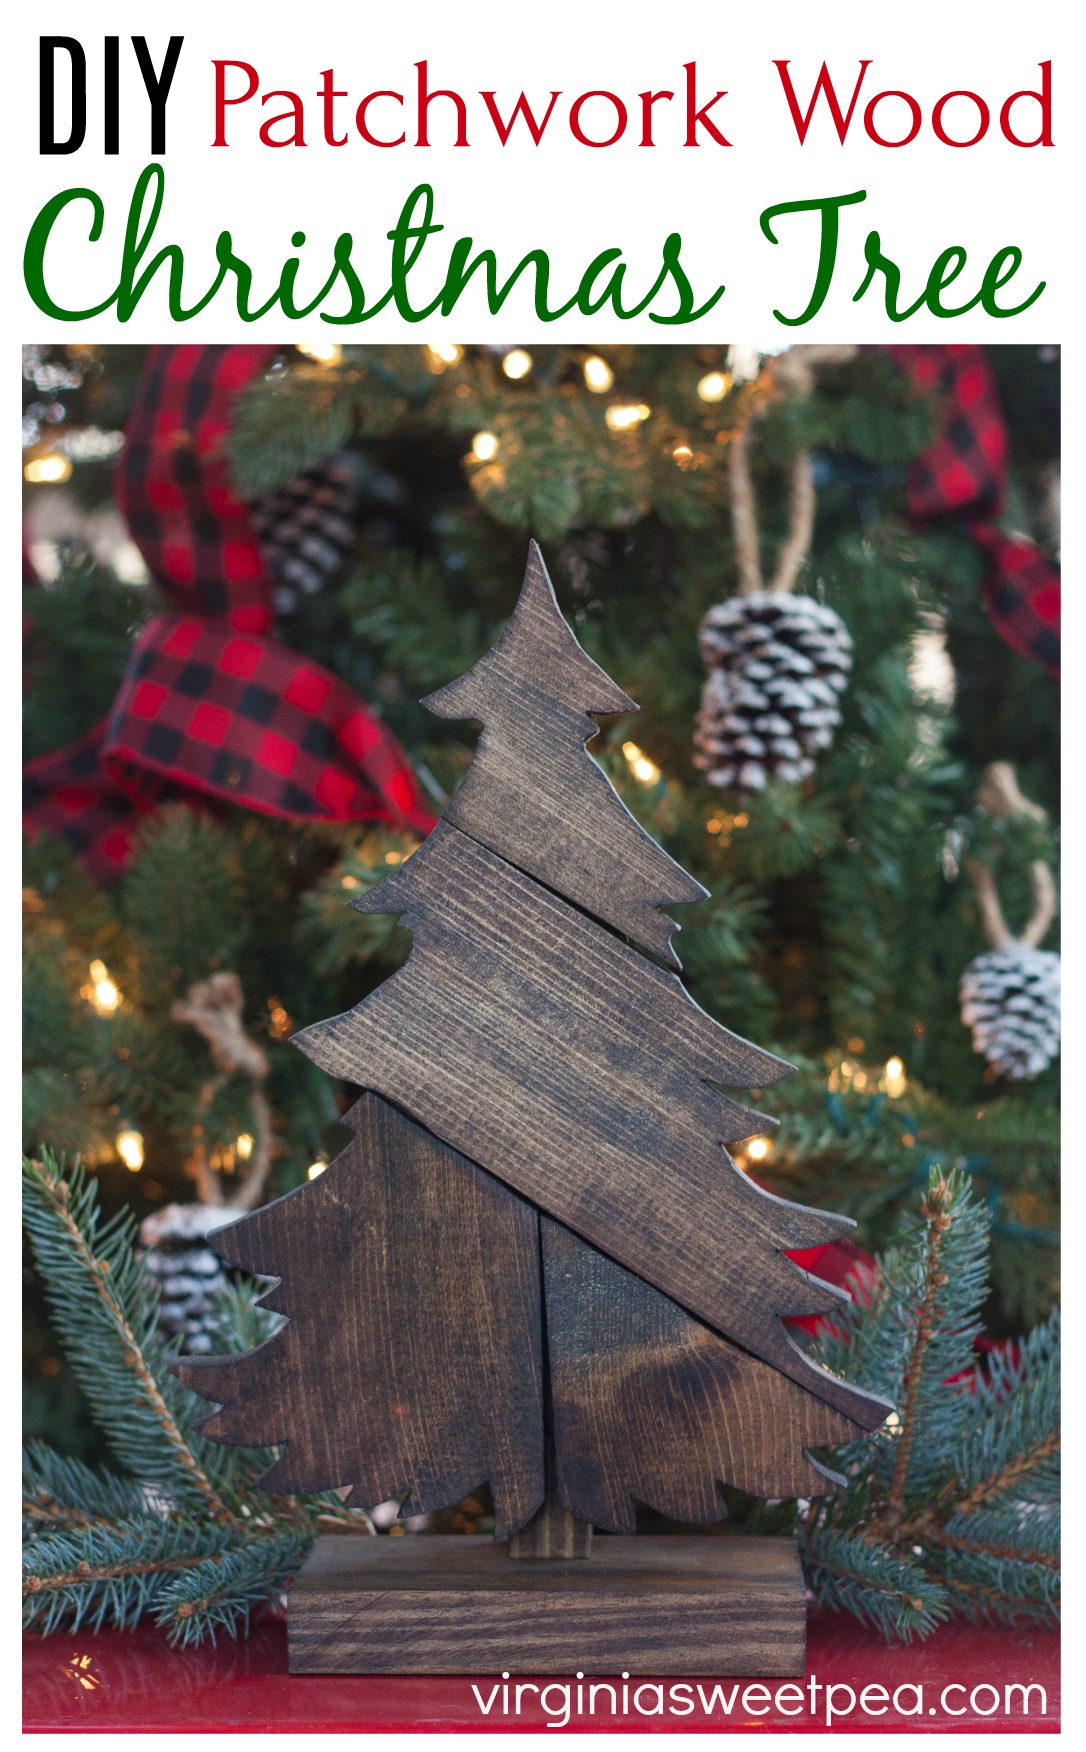
I made a DIY Patchwork Wood Christmas Tree that can be used decoratively in just about any place in a home.
I had so much fun making this tree and I love how it looks on my porch decorated for Christmas.
Today my Power Tool Challenge friends are sharing Secret Santa gifts that we made for each other. This is a fun challenge because we each make a gift for another team member but only we know the recipient of the gift that we made.
I hope my secret partner likes this project as much as I do.
This project can be made with scrap wood of different species or with one type of wood.
You can also customize the look of the tree by using different stain colors on each tree piece or the tree pieces could be painted.
I can’t wait to see what my Power Tool Challenge friends made for this year’s Secret Santa exchange. You’ll find links to all of the projects at the end of this post.
How to Make a DIY Patchwork Wood Christmas Tree
Supplies
- Pattern Pieces – The pattern came from BHG Holiday Crafts 2018 which is no longer available. A copy of the pattern pieces is available in my free printable library. Sign up here to access it. (I discovered a mistake in the pattern pieces printed in the magazine. See below for details.)
- Scraps of 1/4″ wood – I didn’t have appropriate scraps, so I purchased a 10″ wide plank of pine. This pack of wood would work perfectly.
- Scrap of 1″ thick wood – I used a scrap piece of deck board.
- 1/4″ Plywood scrap – This pack of wood would work perfectly.
- Bandsaw or Jigsaw
- Chop Saw
- Random Orbit Sander
- Sanding Sponge or Sandpaper
- Wood Glue – We only use this brand of wood glue.
- 1 1/4″ Deck Screw
- Wood Stain – I used Minwax dark walnut
Procedure
Cut Out the Tree Pattern
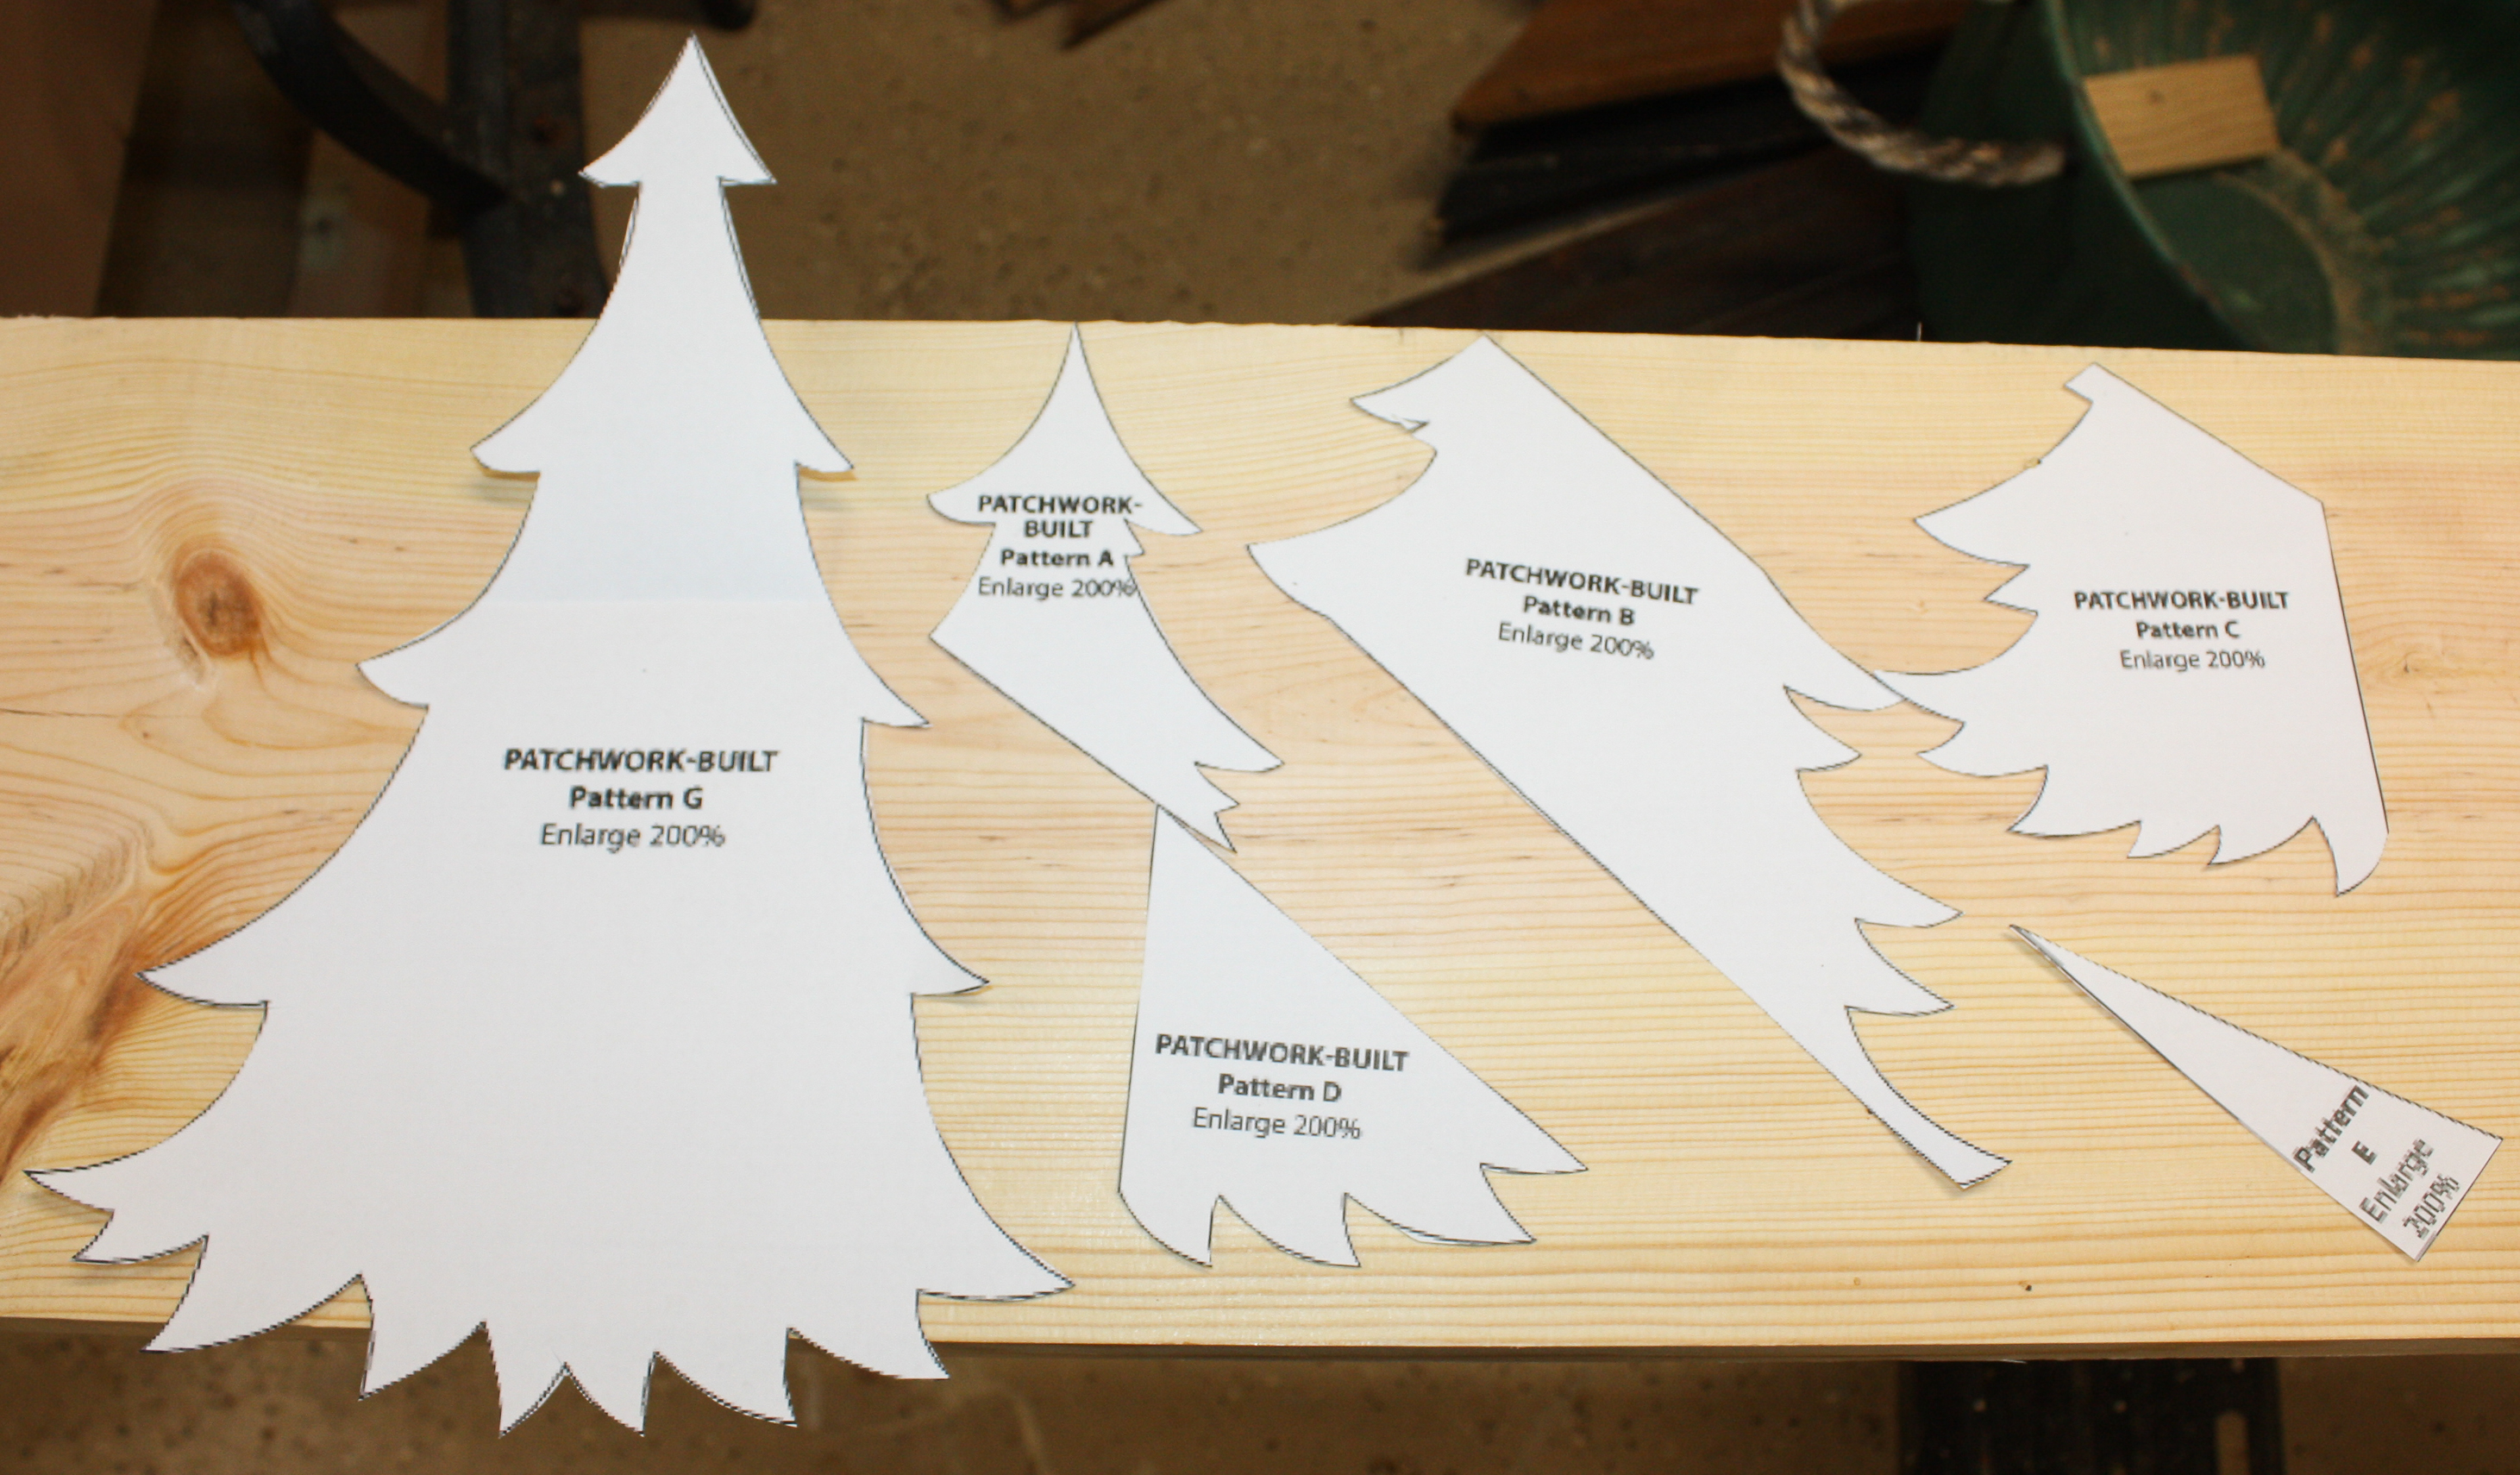
Enlarge the pattern pieces by 200% and cut out.
Printable pattern pieces are available in my free printable library. Sign up here to access the pattern pieces and loads of other free printables.
I discovered that pattern piece G that is to be cut from plyboard is too large to be used. Don’t cut out pattern piece G as it won’t work. See below for the adjustment I had to make.
Not shown is pattern piece F.
Trace the Pattern Pieces Onto the Wood
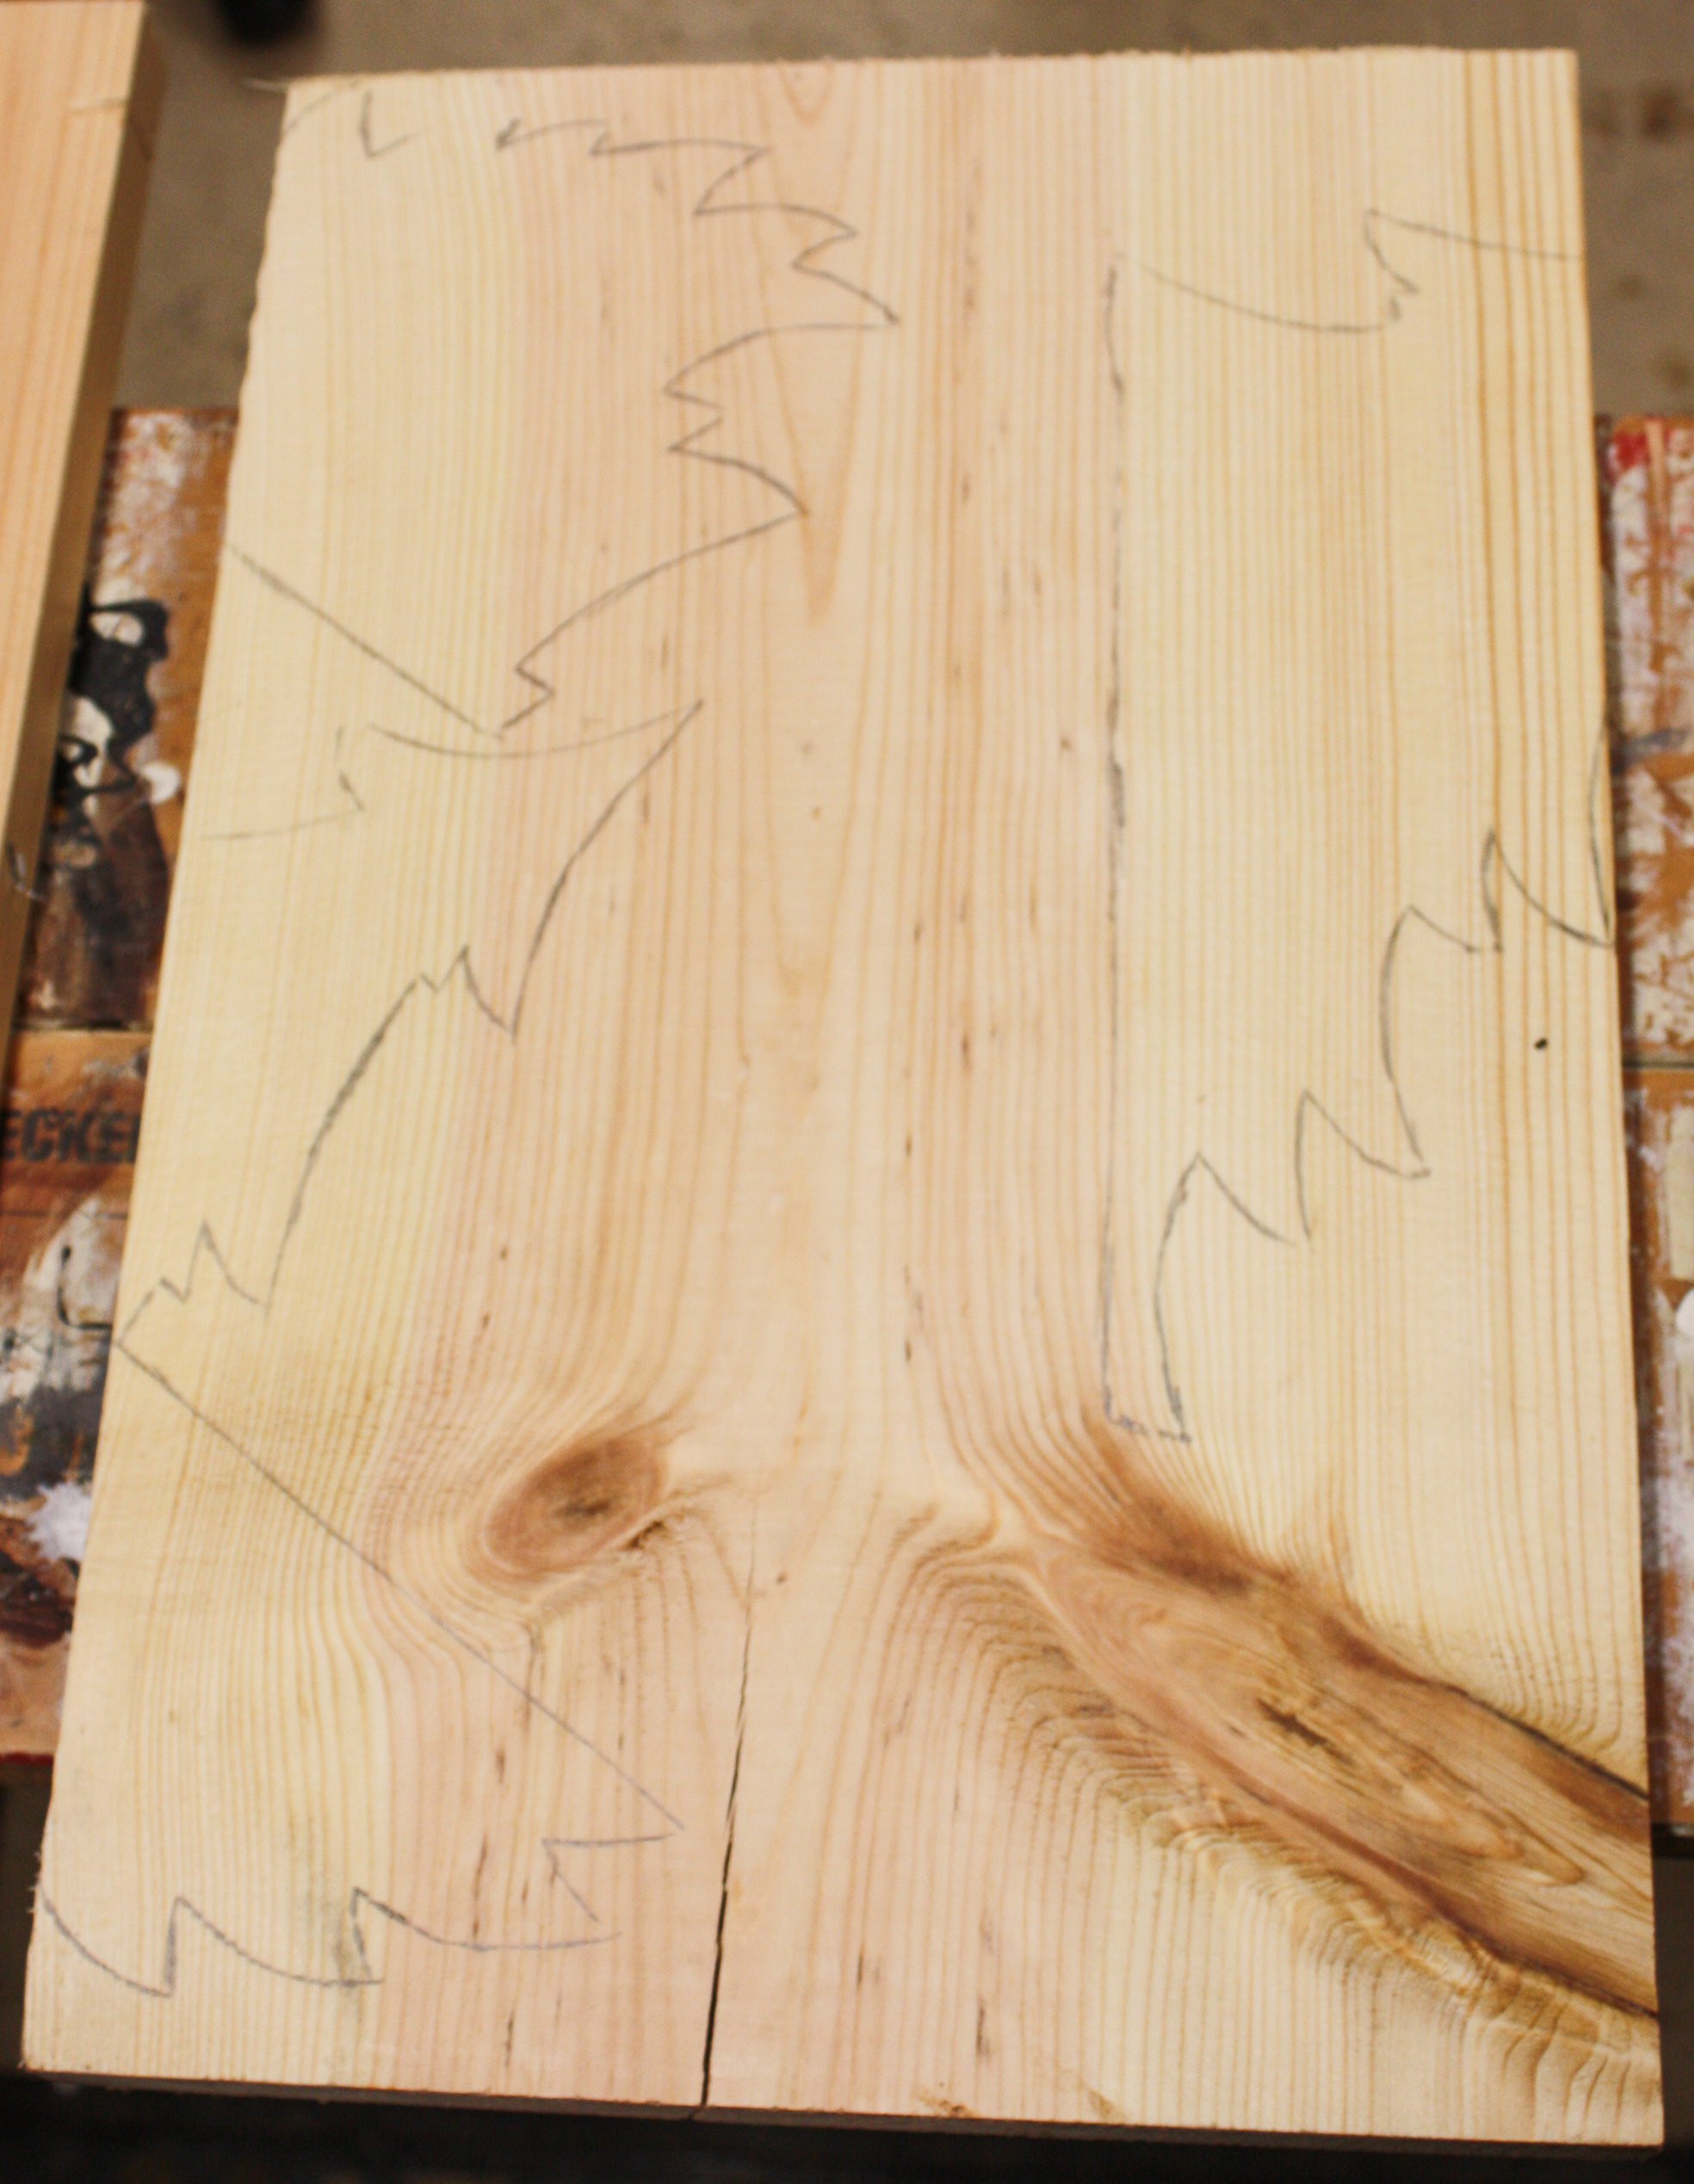
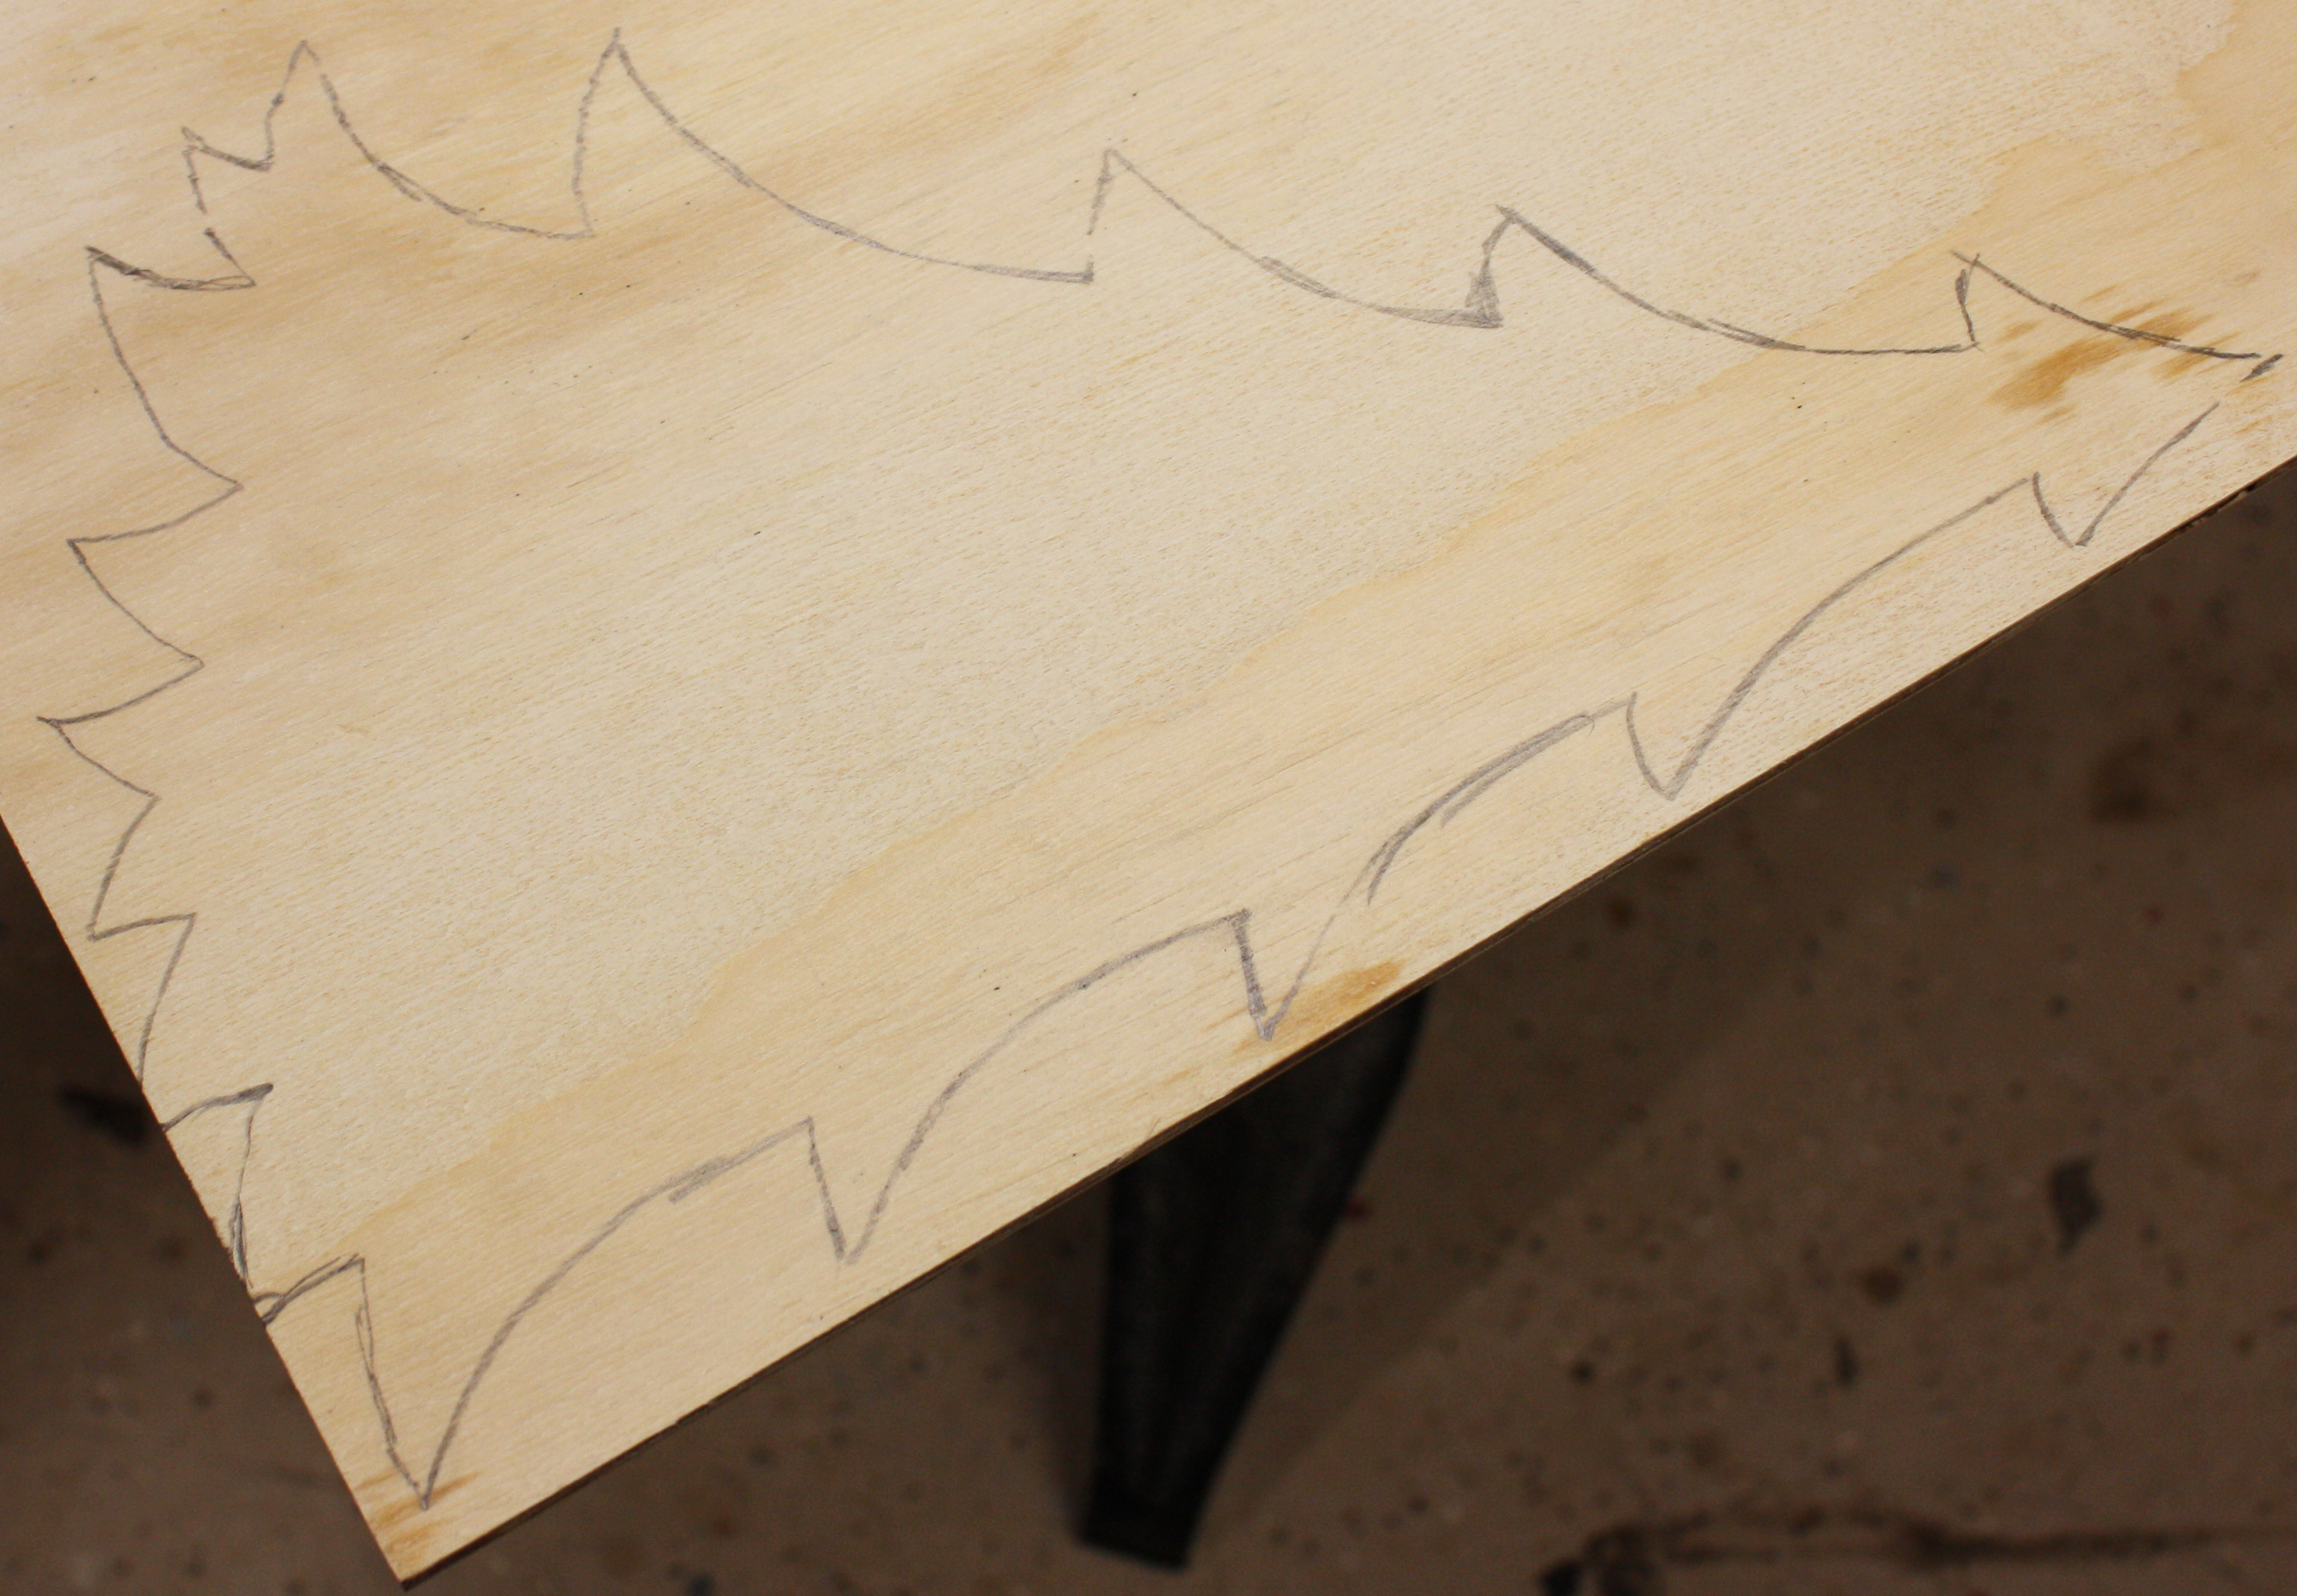
Trace patterns A – D on lumber or scrap wood pieces. Use the edge of the board whenever possible to save wood cutting time.
Pattern Piece G Adjustment
The directions from the BHG magazine were to trace pattern piece G onto 1/4″ plywood and cut out.
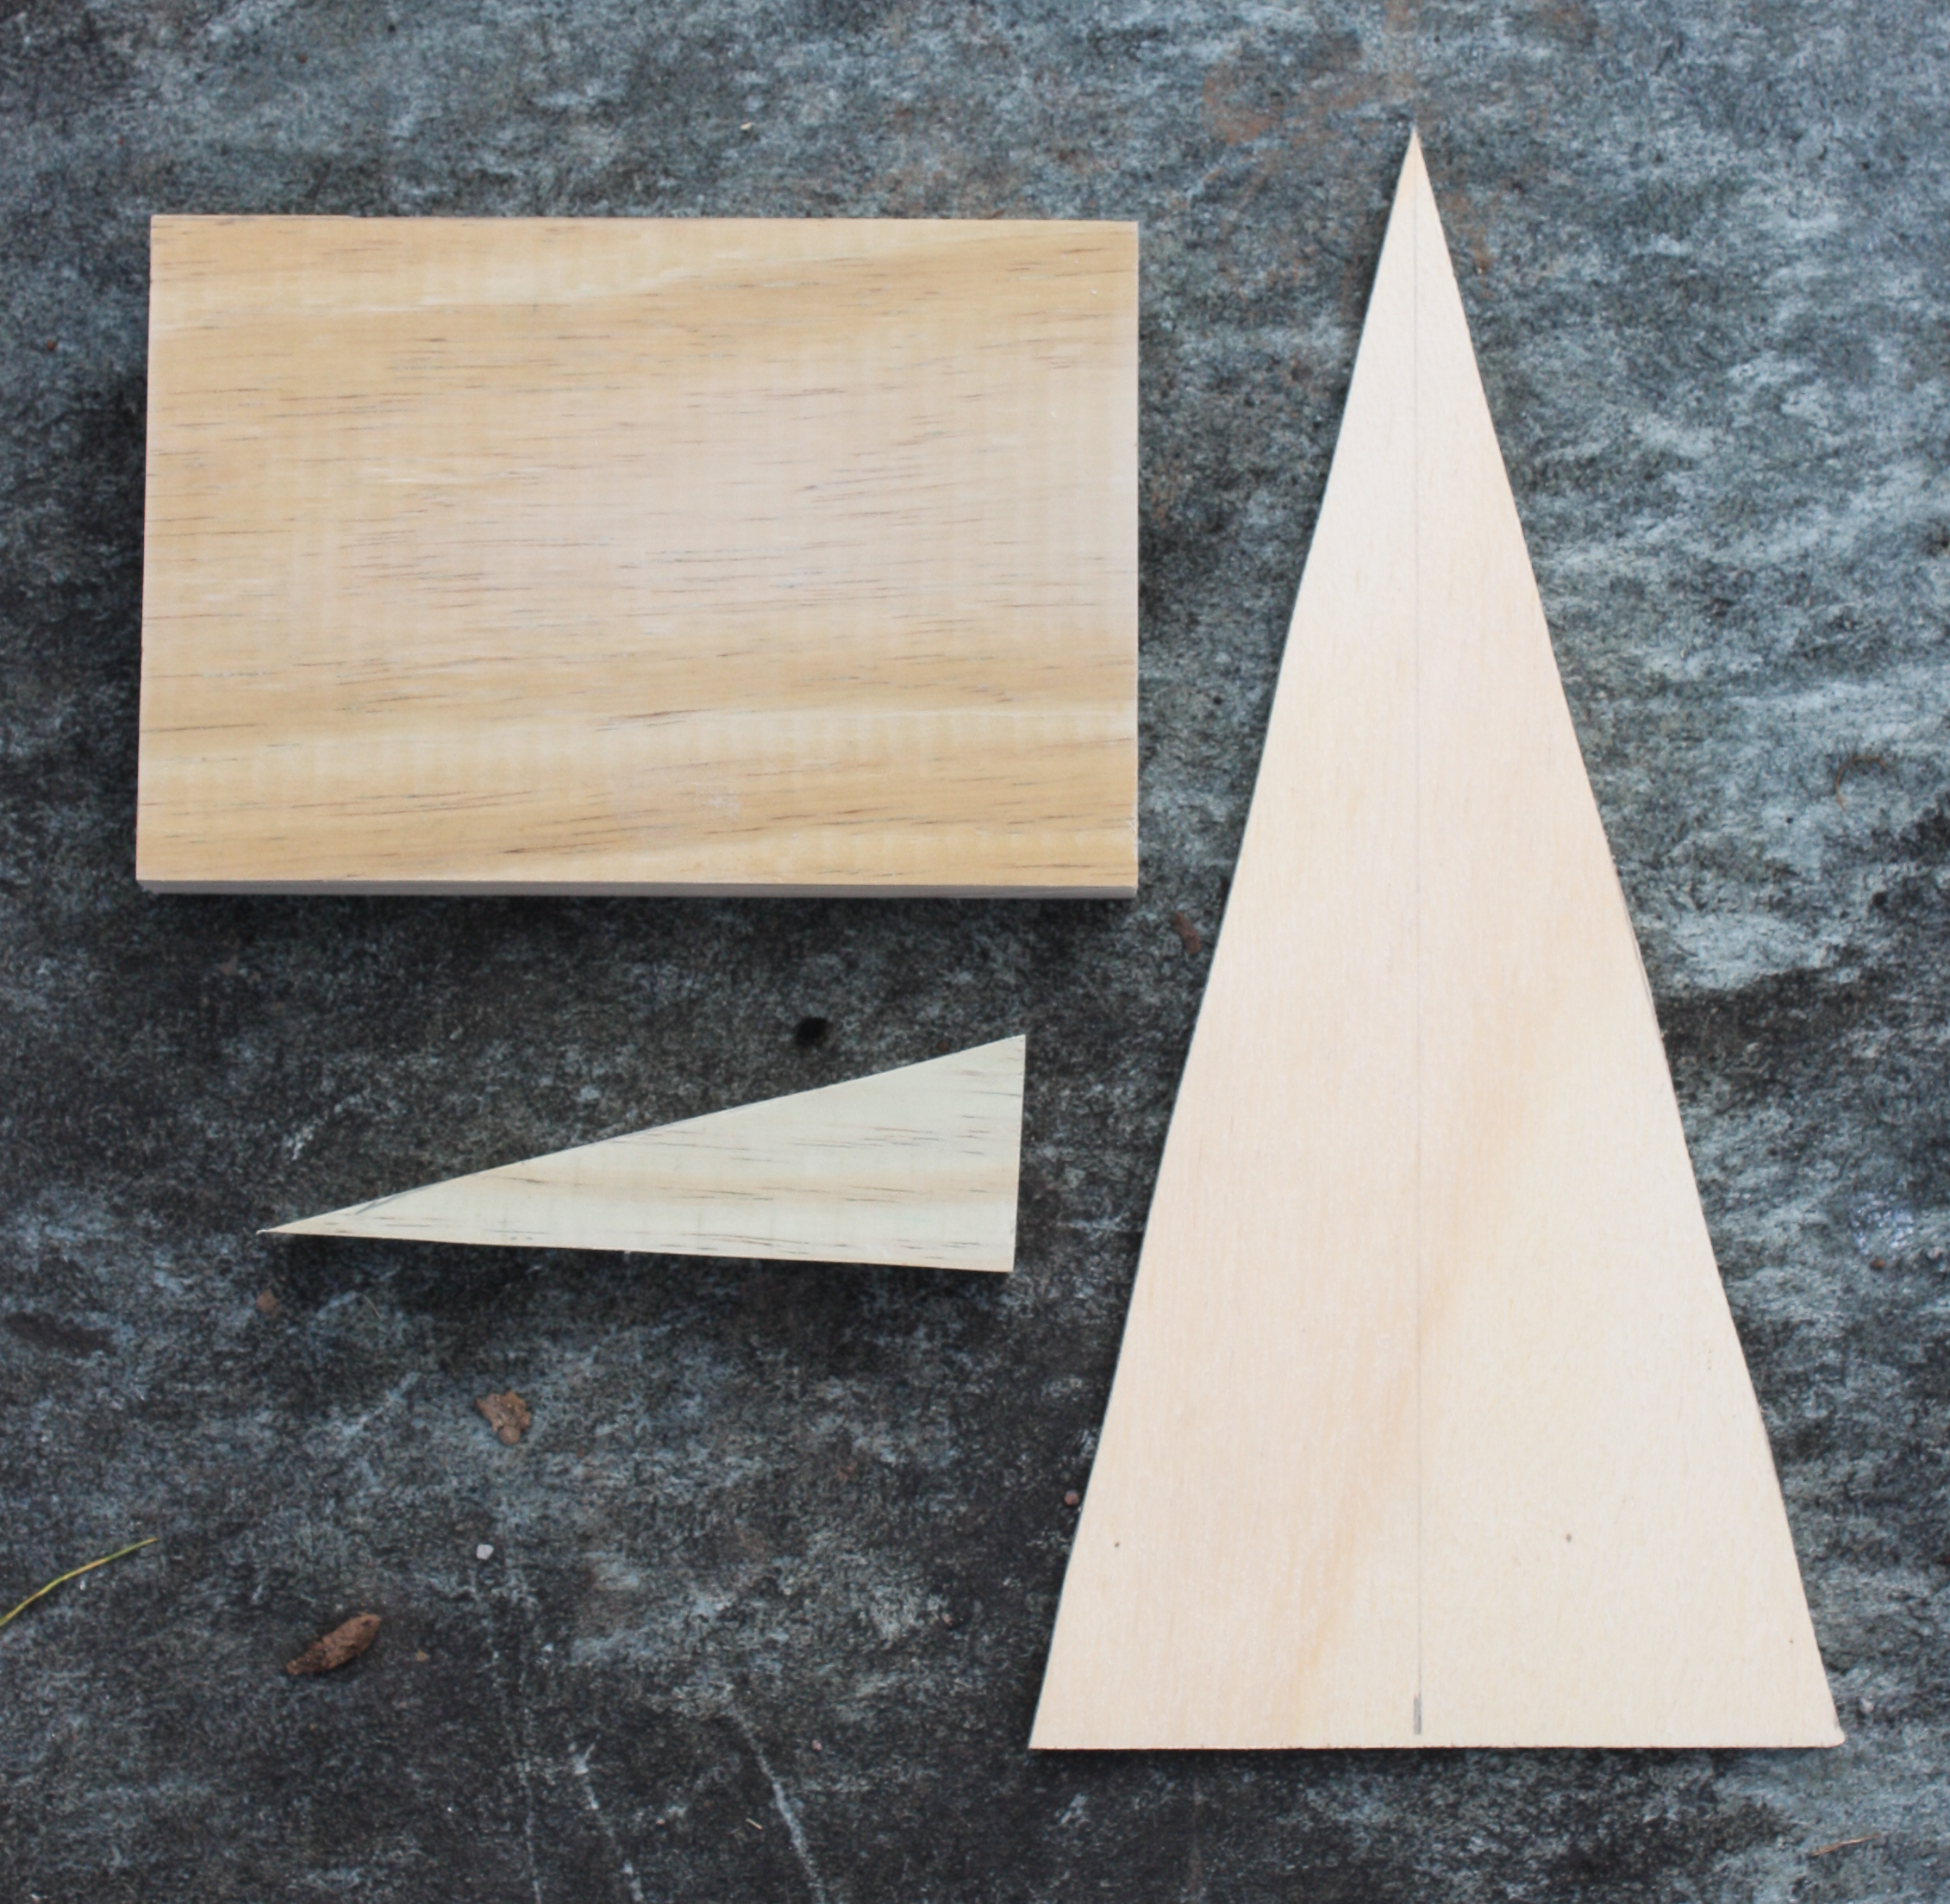
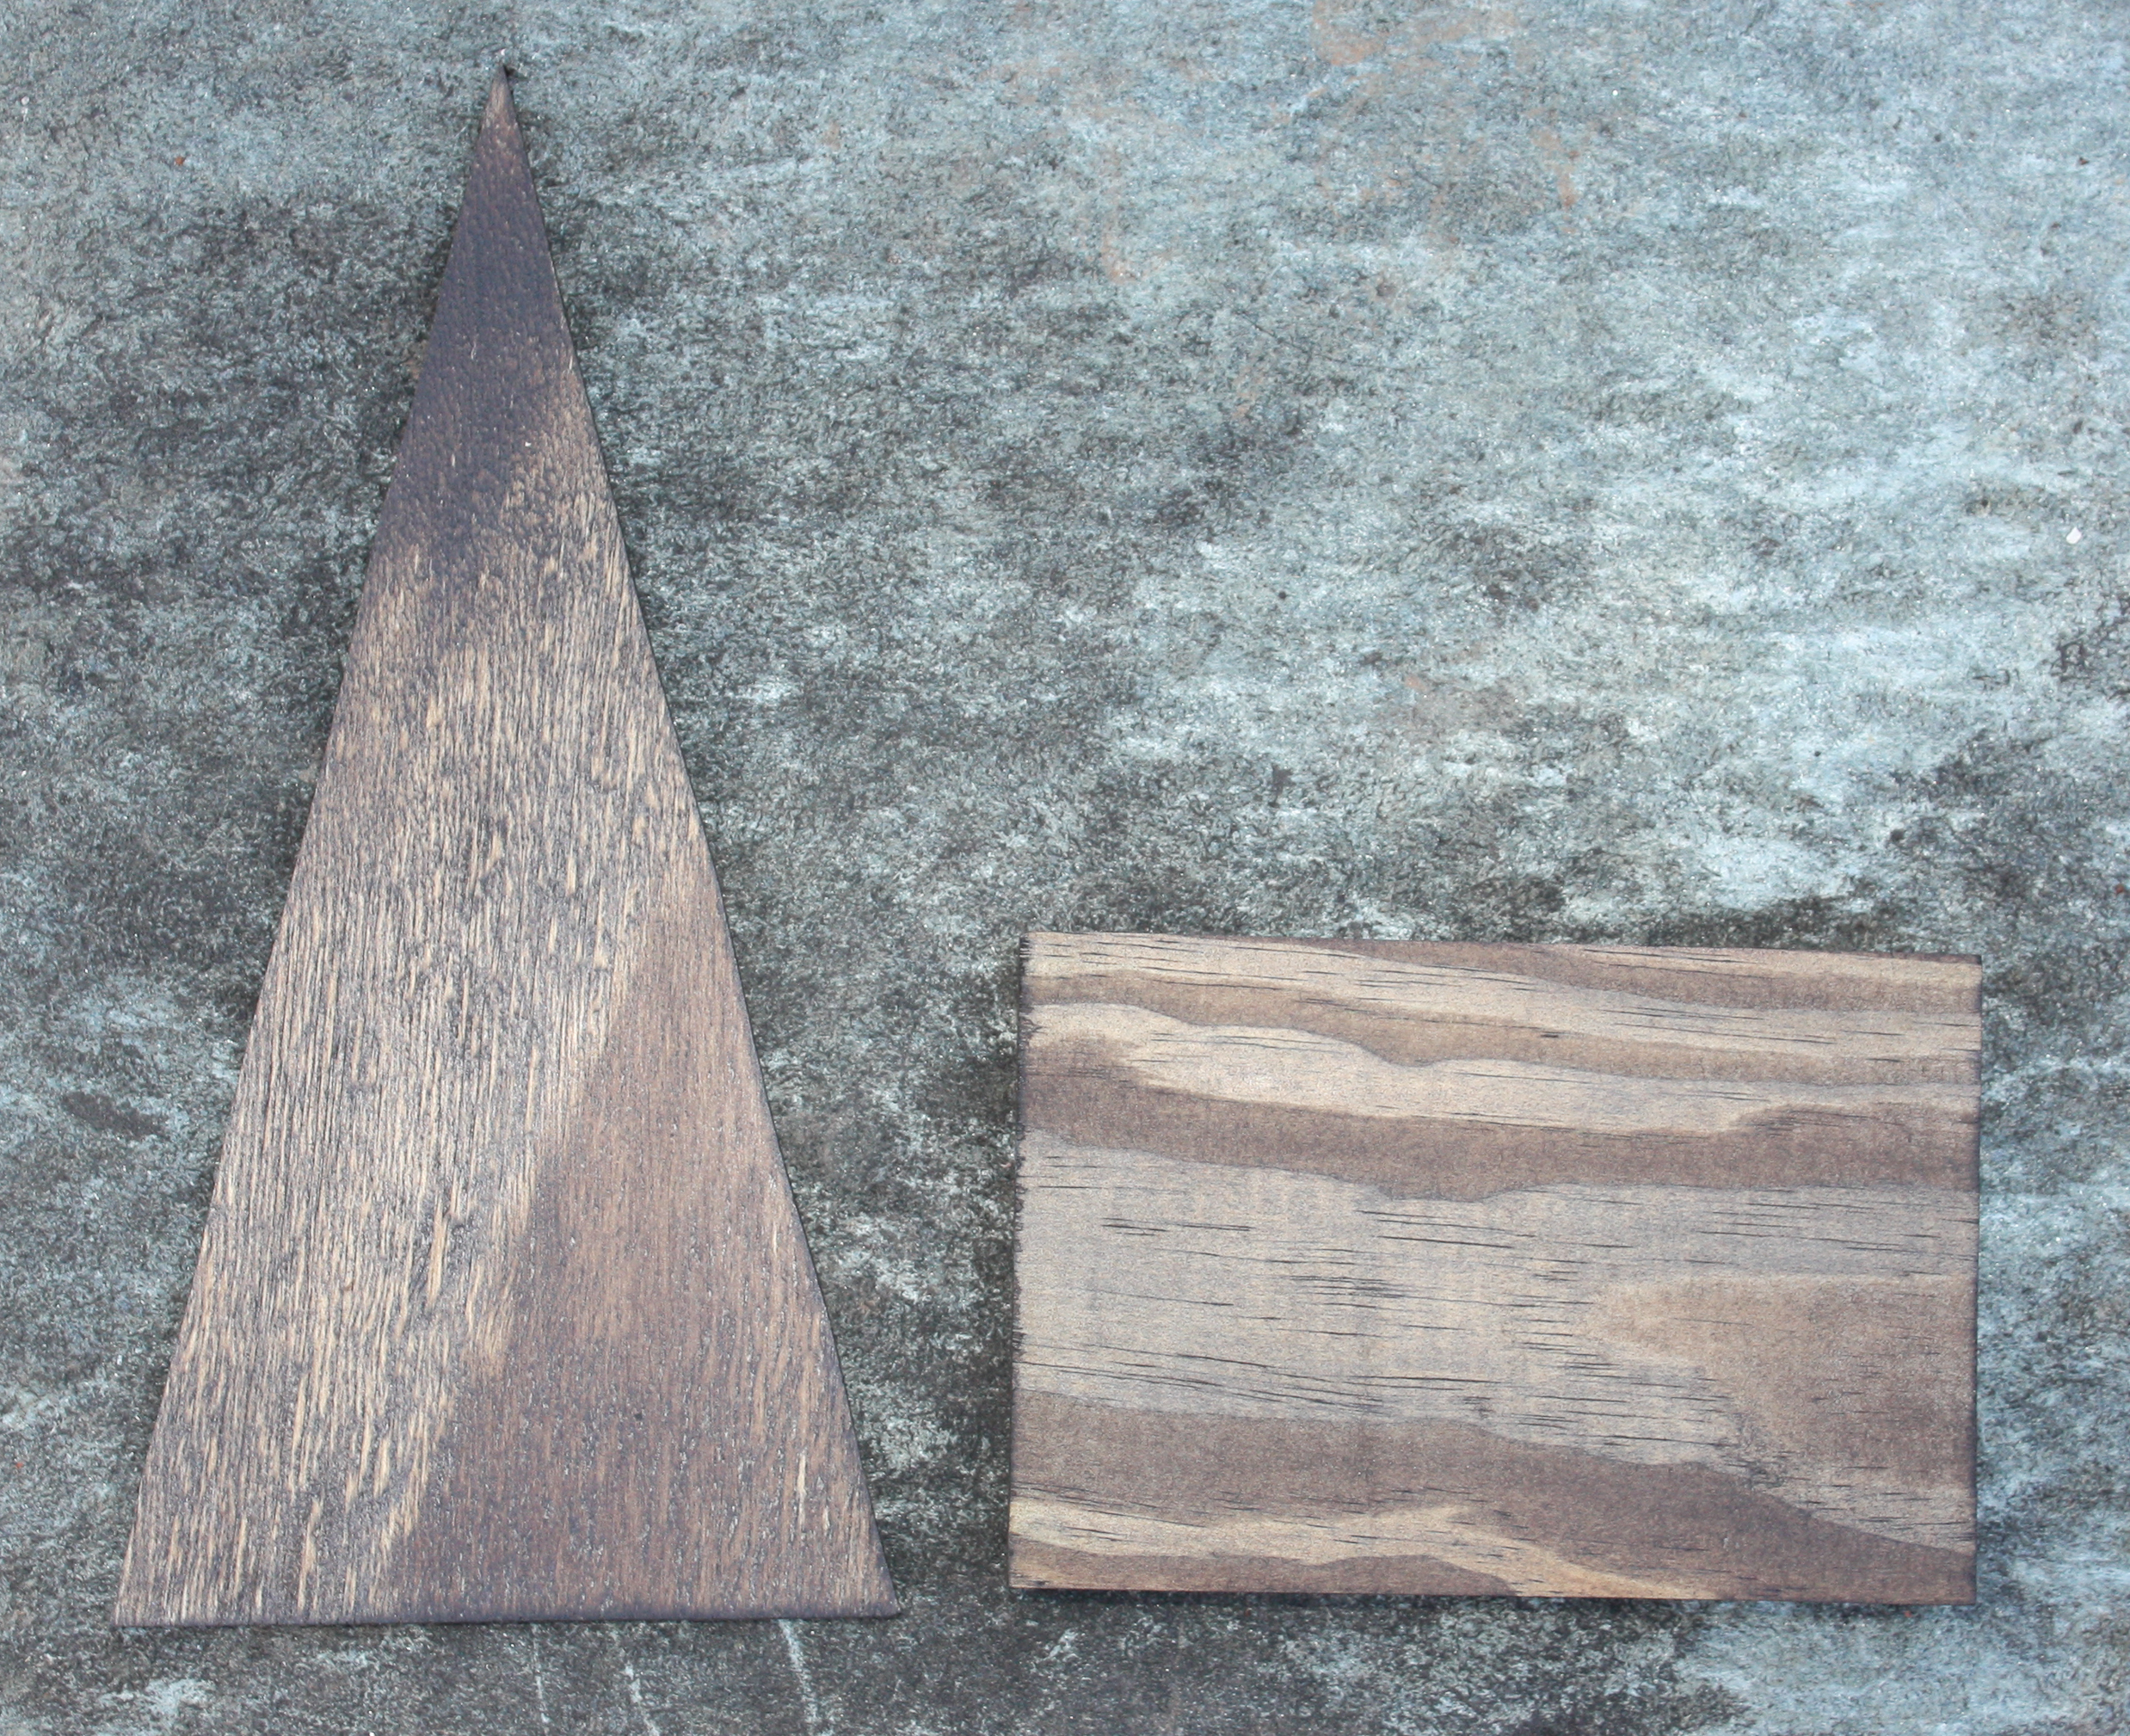
After cutting this piece out, I discovered that it is too large to be used. To make the project work, I had to cut it down to a 5″ x 10 3/4″ isosceles triangle.
So instead of cutting out pattern piece G, cut out a 5″ x 10 3/4″ isosceles triangle. (Shown in a few steps below.)
Use a Bandsaw or Jigsaw to Cut out the Wood Pieces A-D
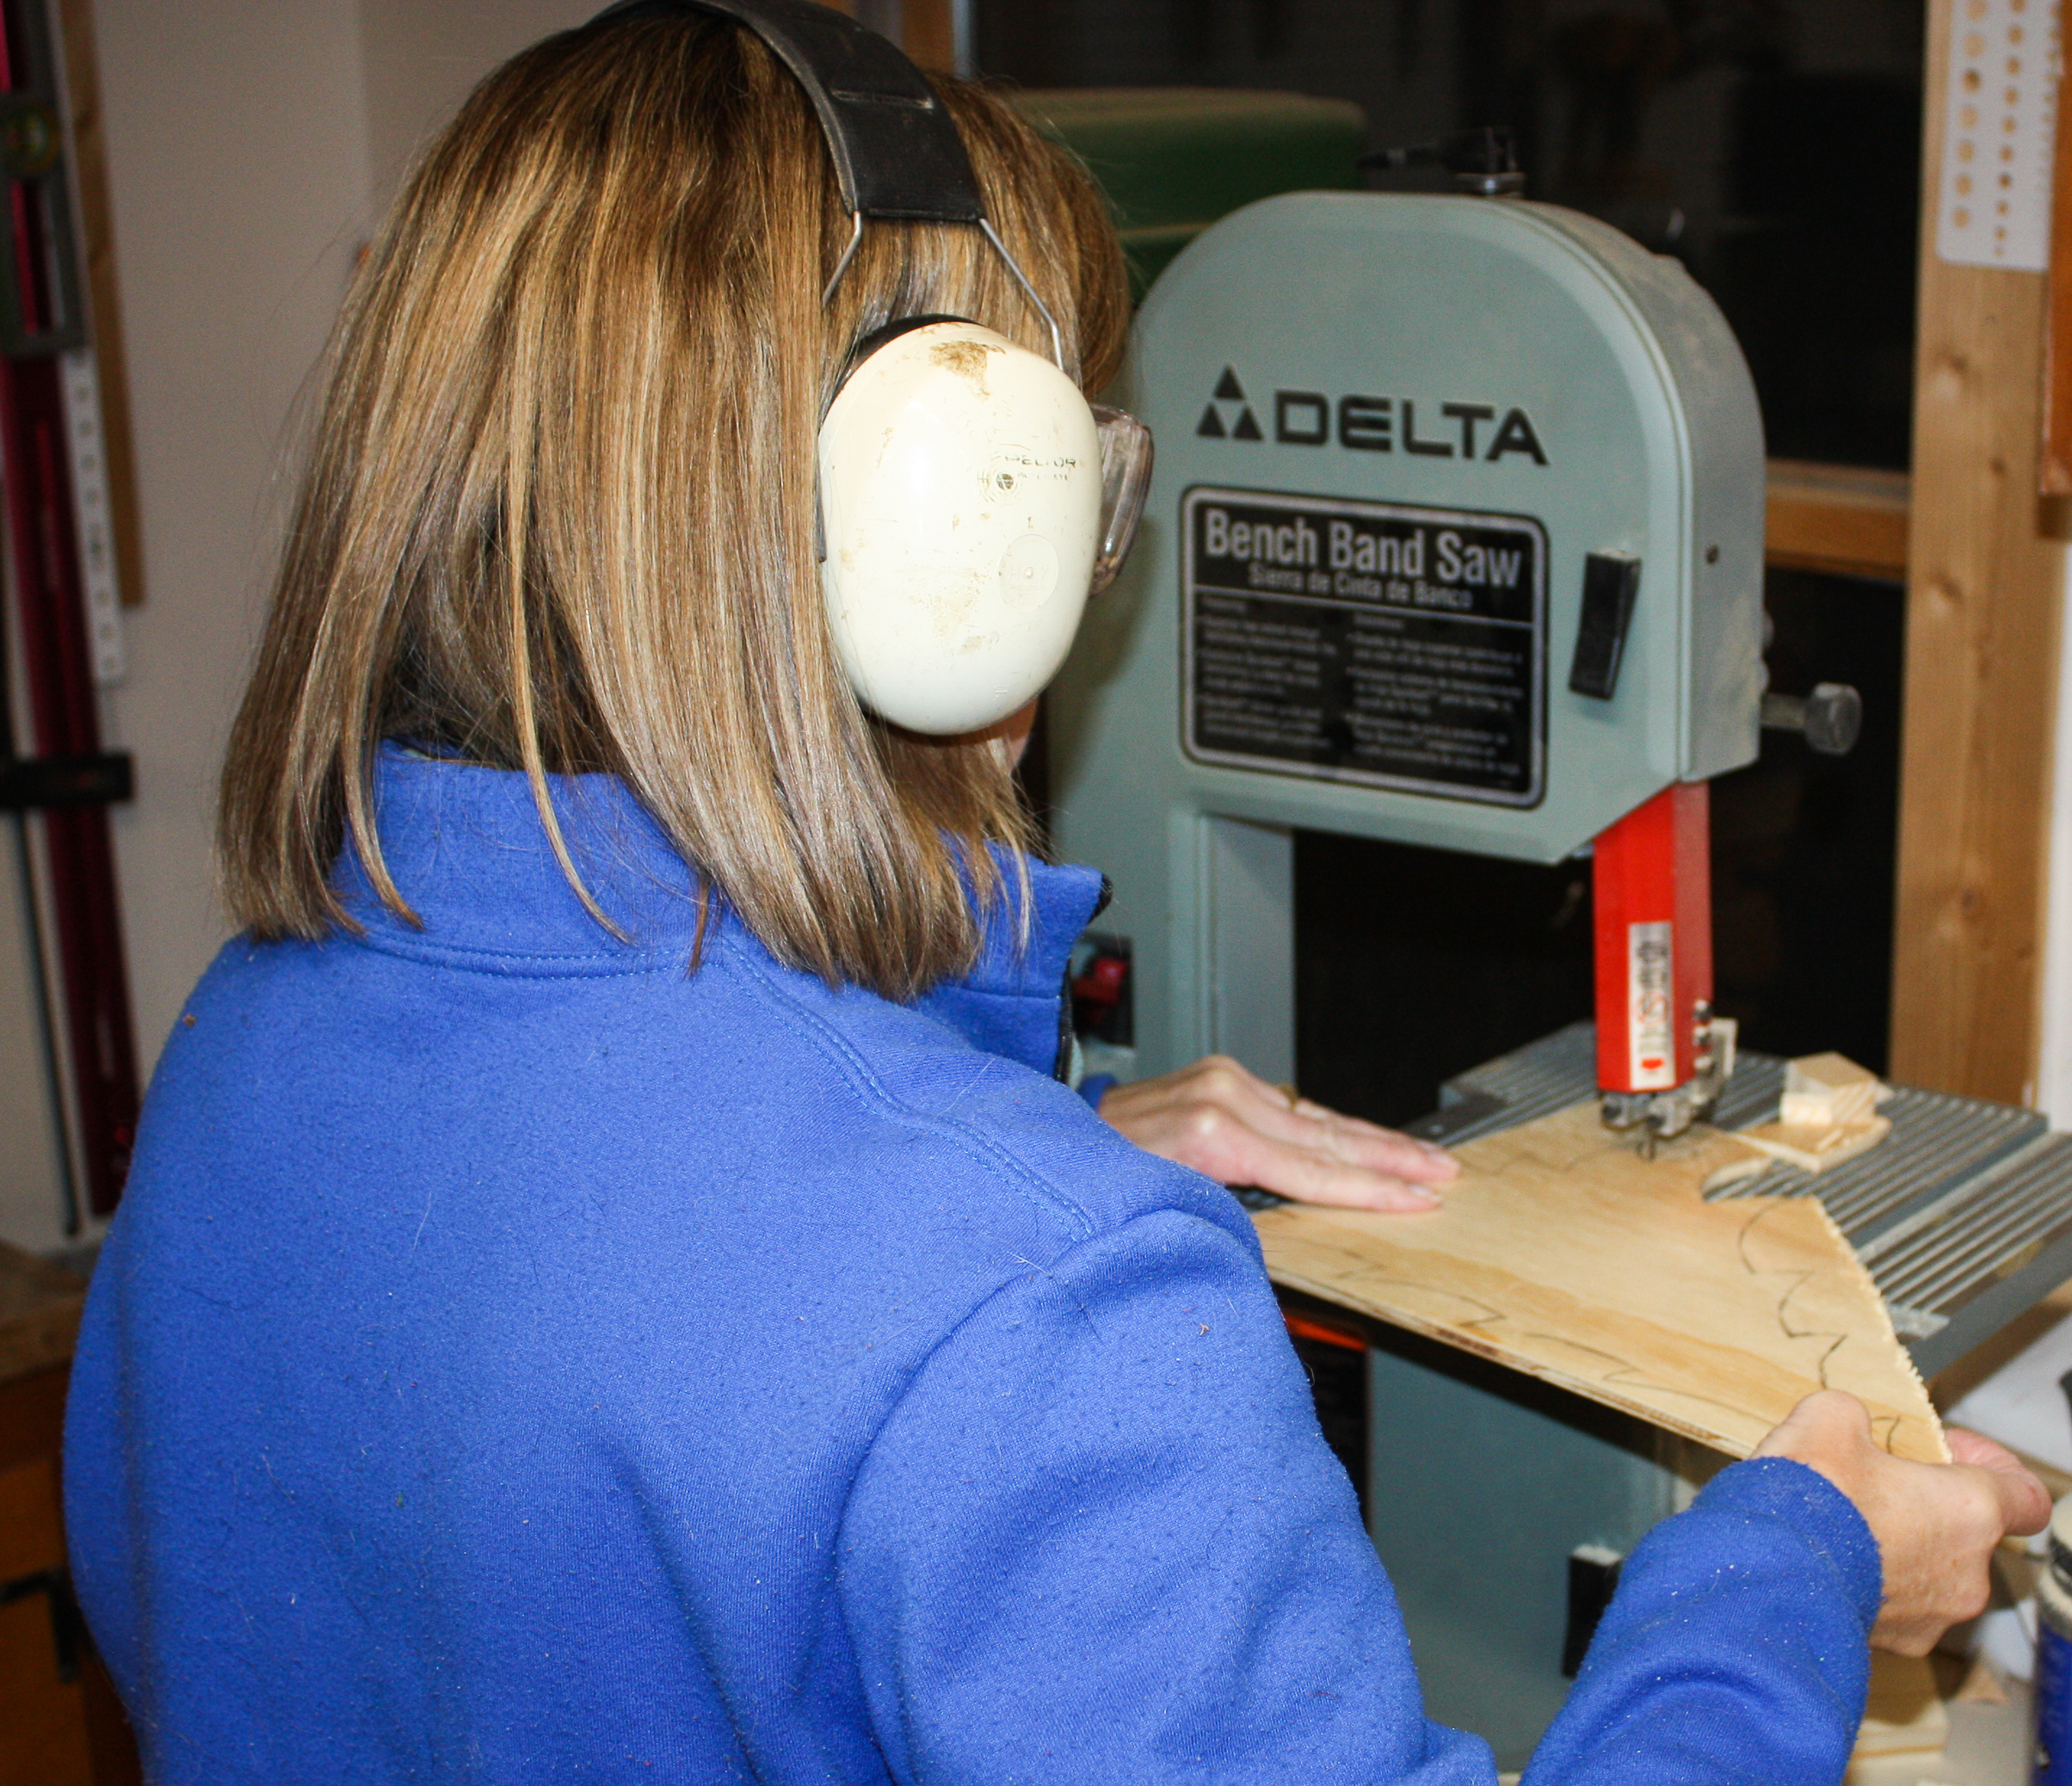
Cut pieces A-D using a jigsaw or bandsaw.
Cut Out Pieces E and F
Trace pattern pieces E and F onto a 1″ thick scrap of wood and cut out.
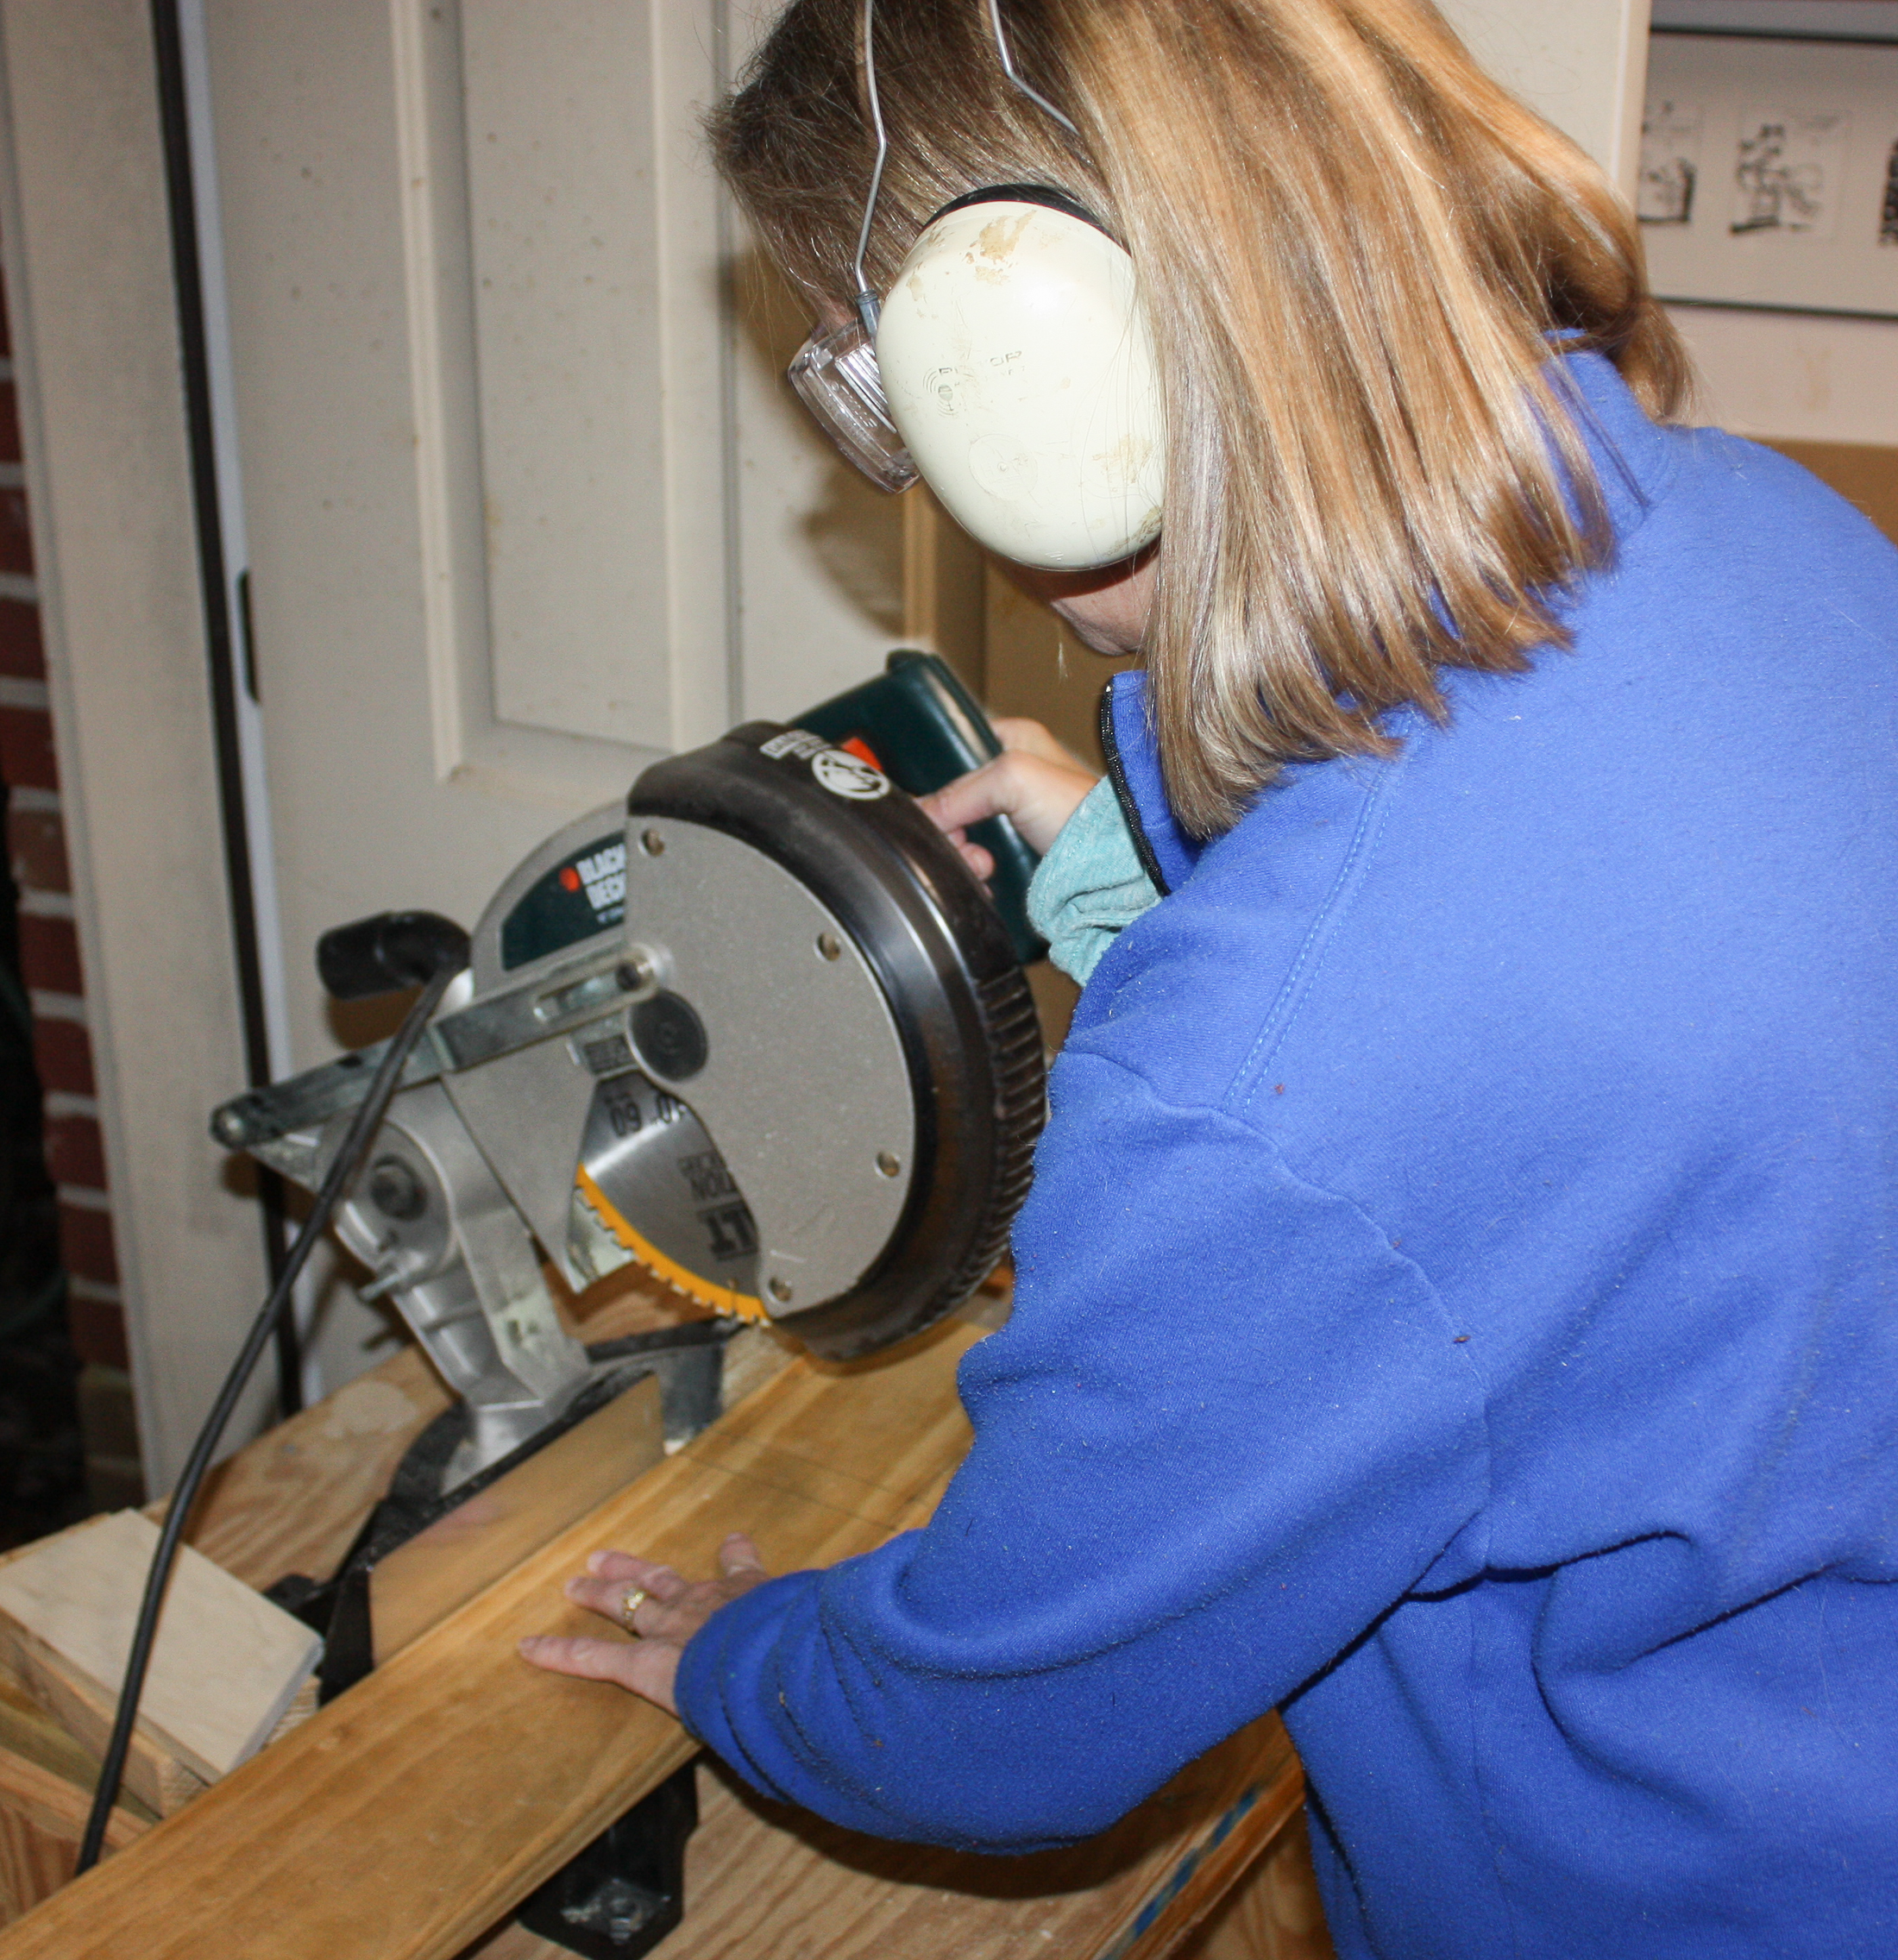
I used a scrap of deck board for these pieces. I cut piece E with the bandsaw and piece F using a chop saw.
Sand all Pieces
Sand all pieces using an orbital sander for the flat sides and 220 grit sandpaper for the edge details.
These pieces are for the base of the tree and the tree backing.
Here you see the 10 3/4″ isosceles triangle cut instead of pattern piece G.
Stain the Tree Pieces
Stain all of the pieces using desired stain color or colors. I used Minwax Dark Walnut.
Not shown is pattern piece E.
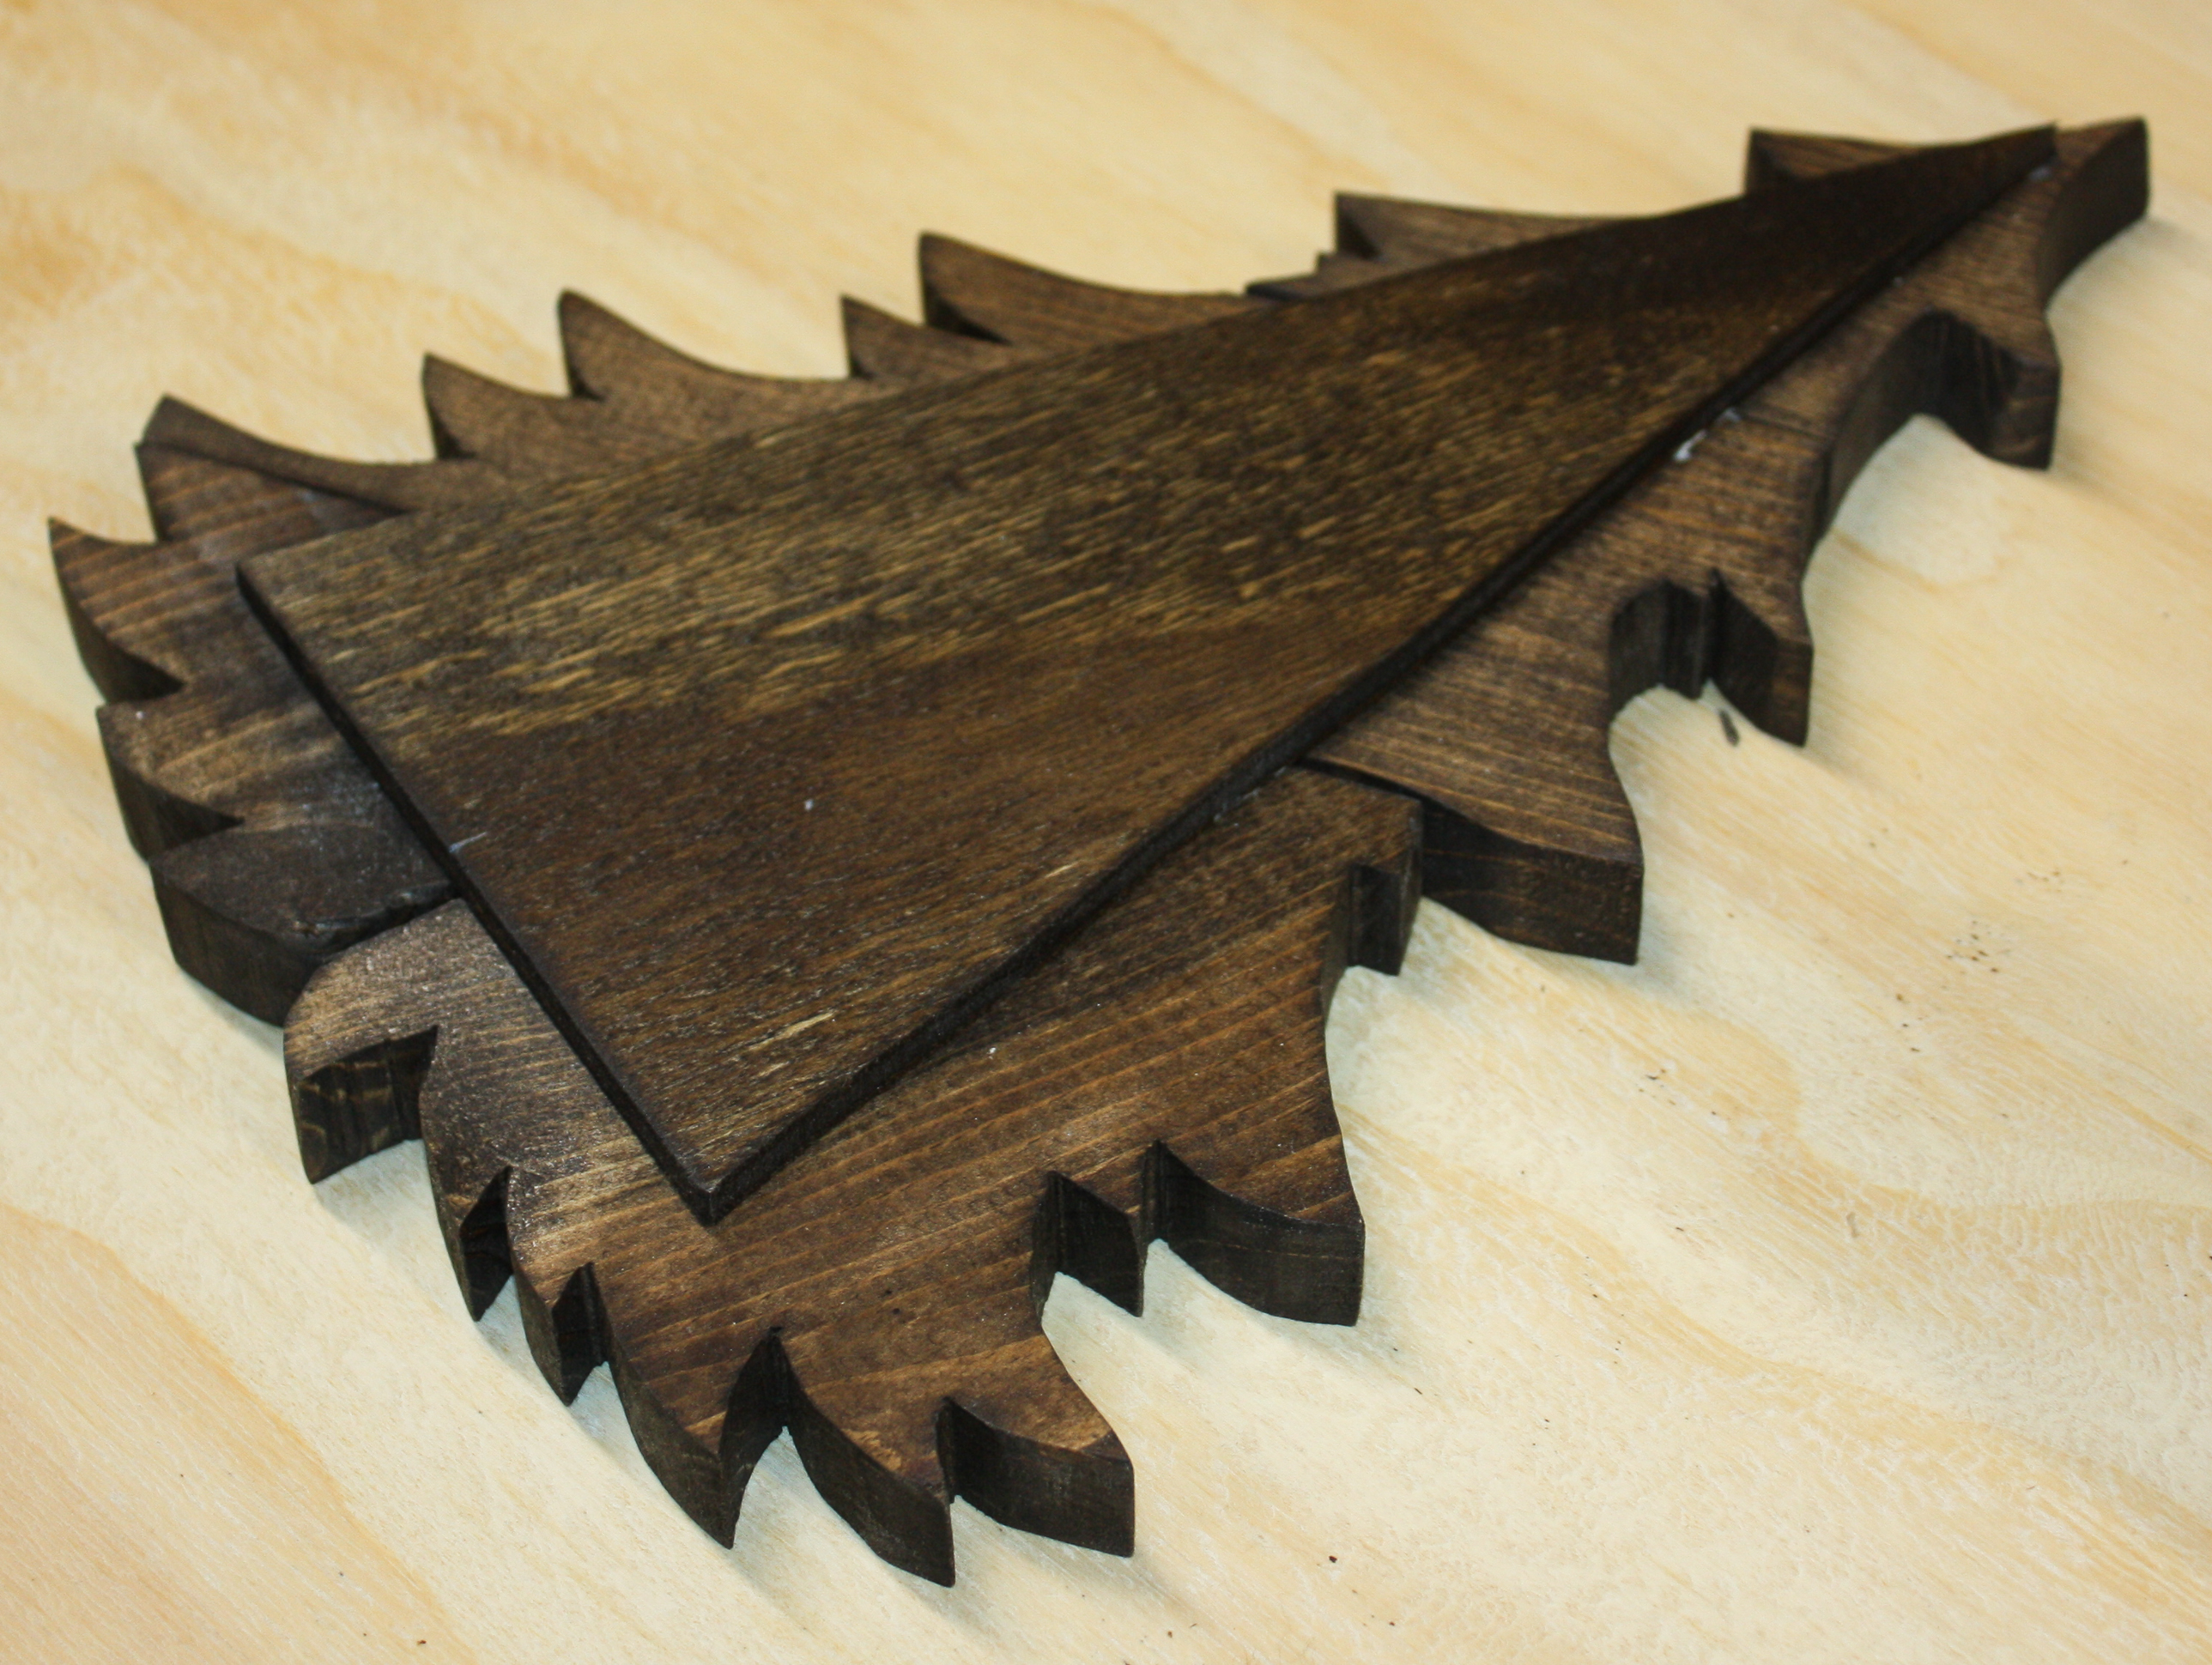
Assemble the Tree
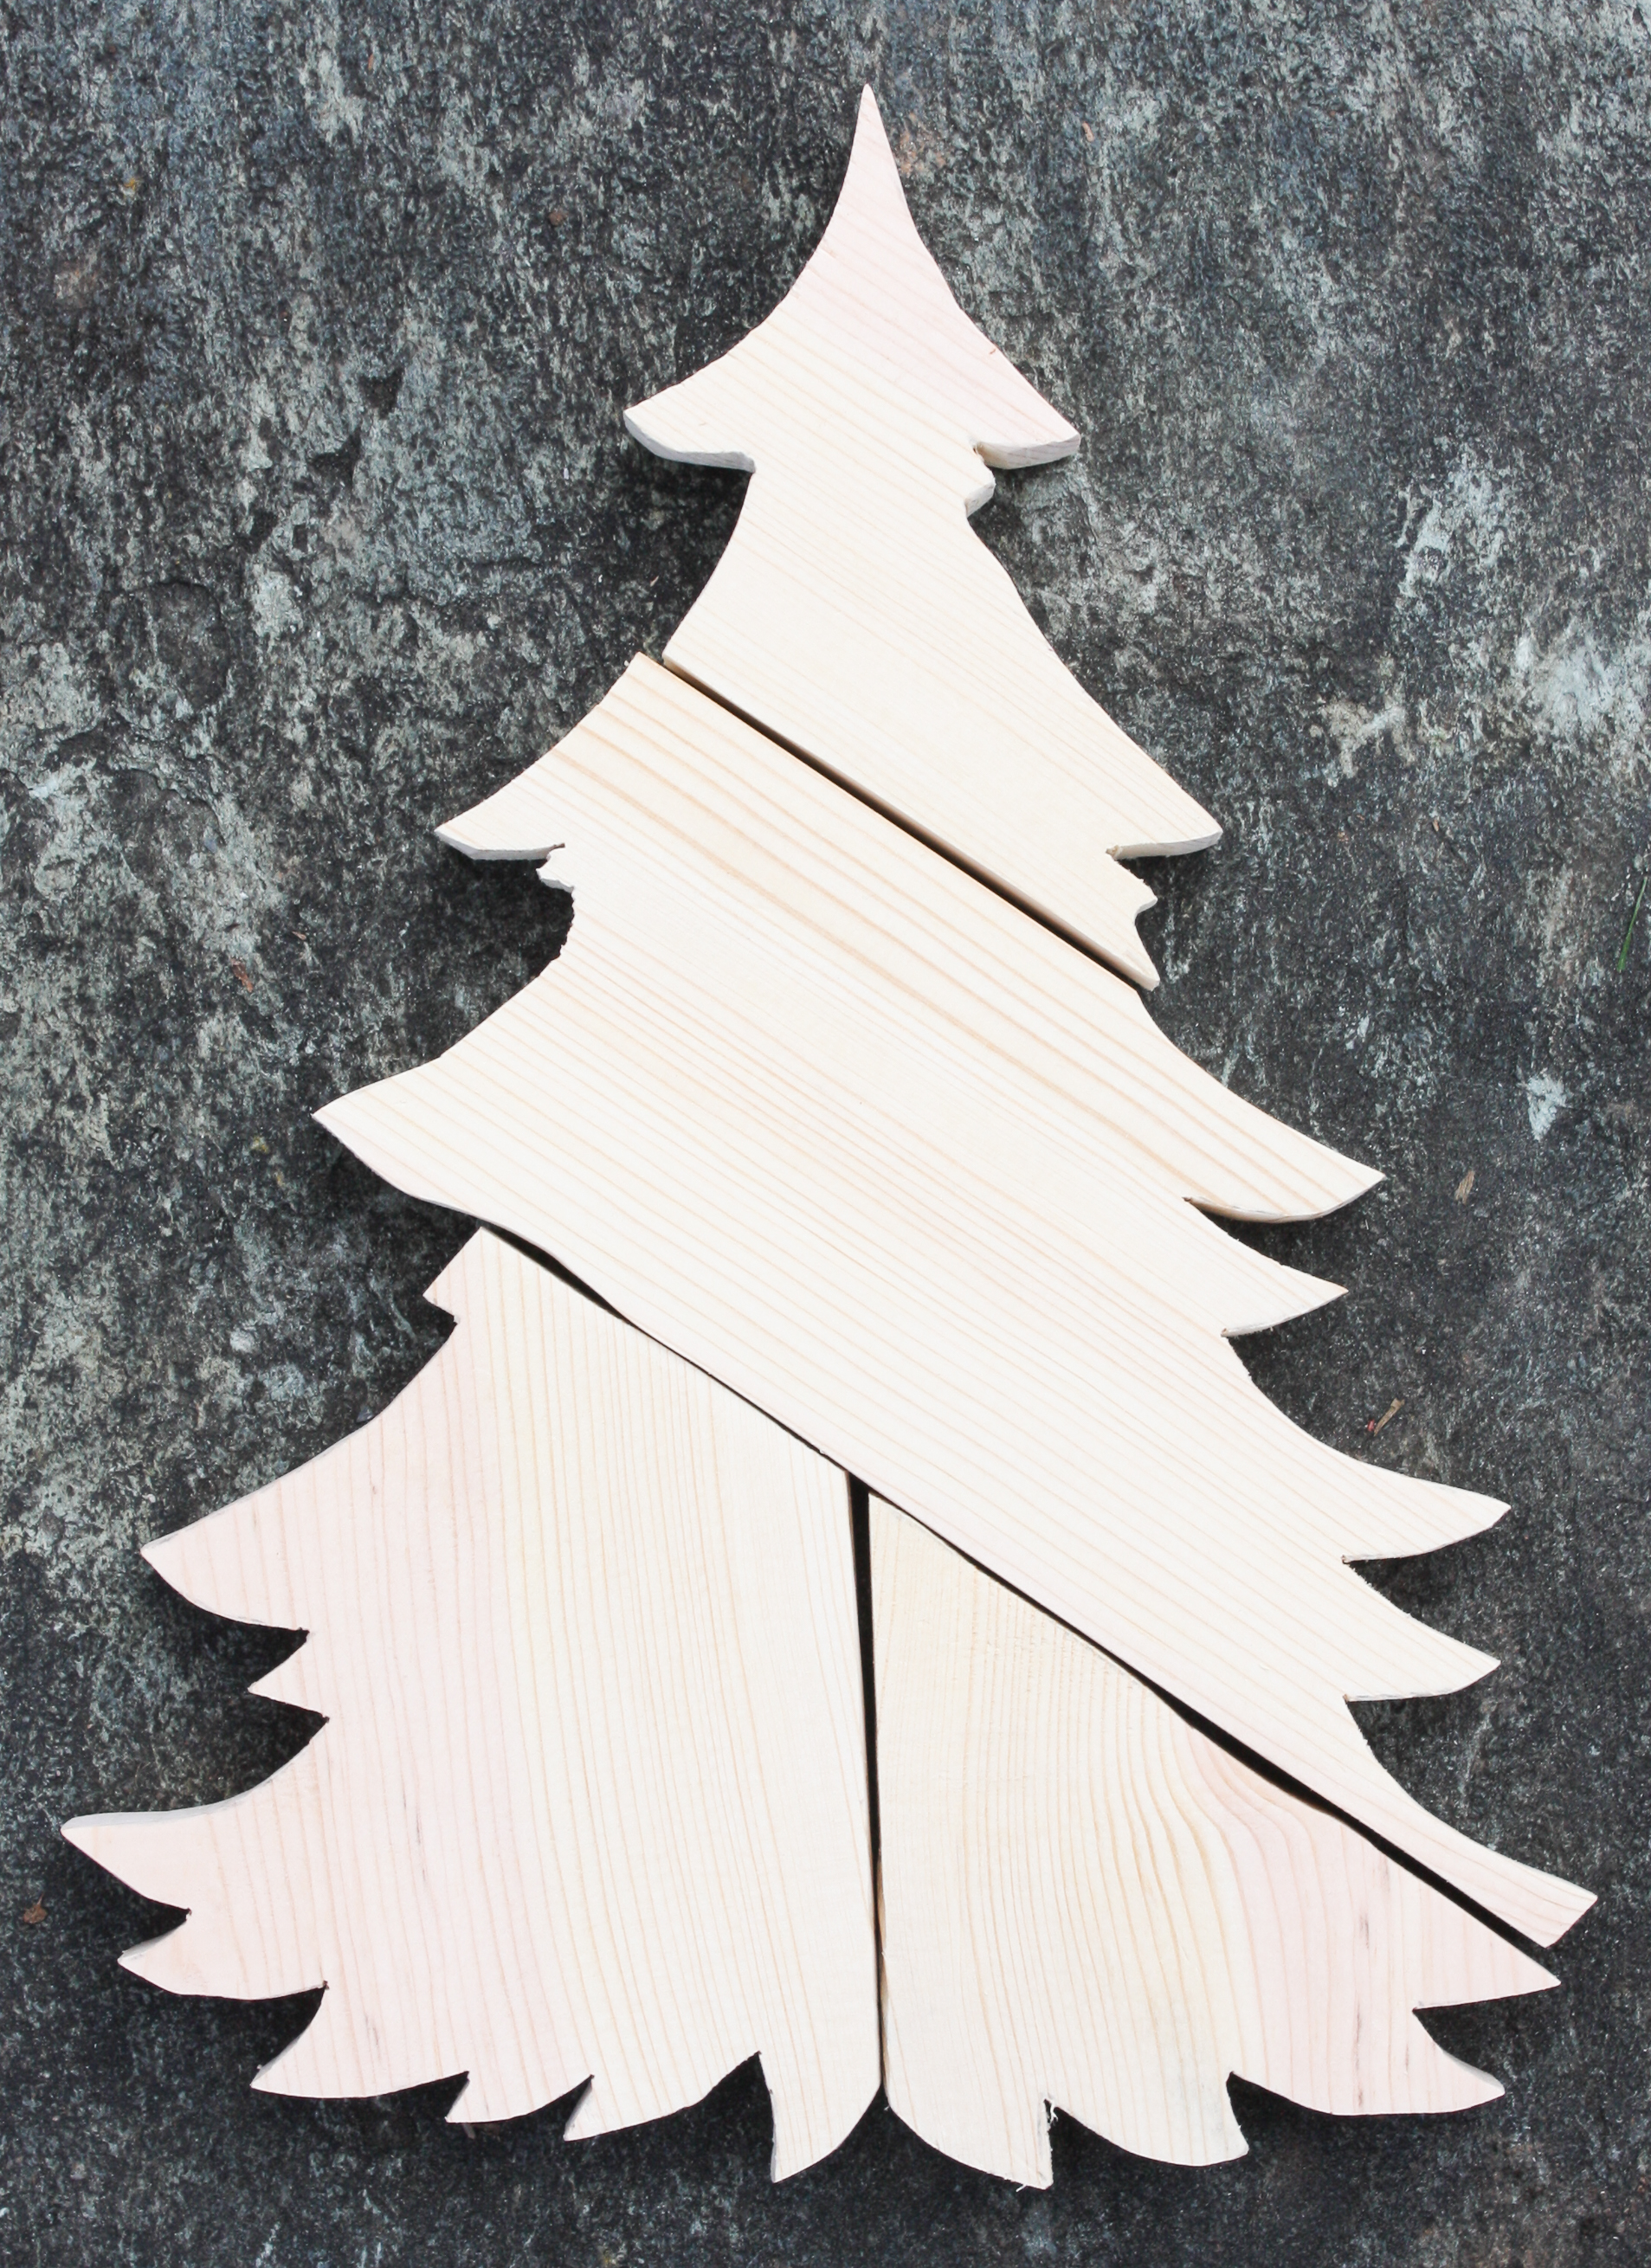
Position the tree pieces face down and glue the plyboard triangle to the back.
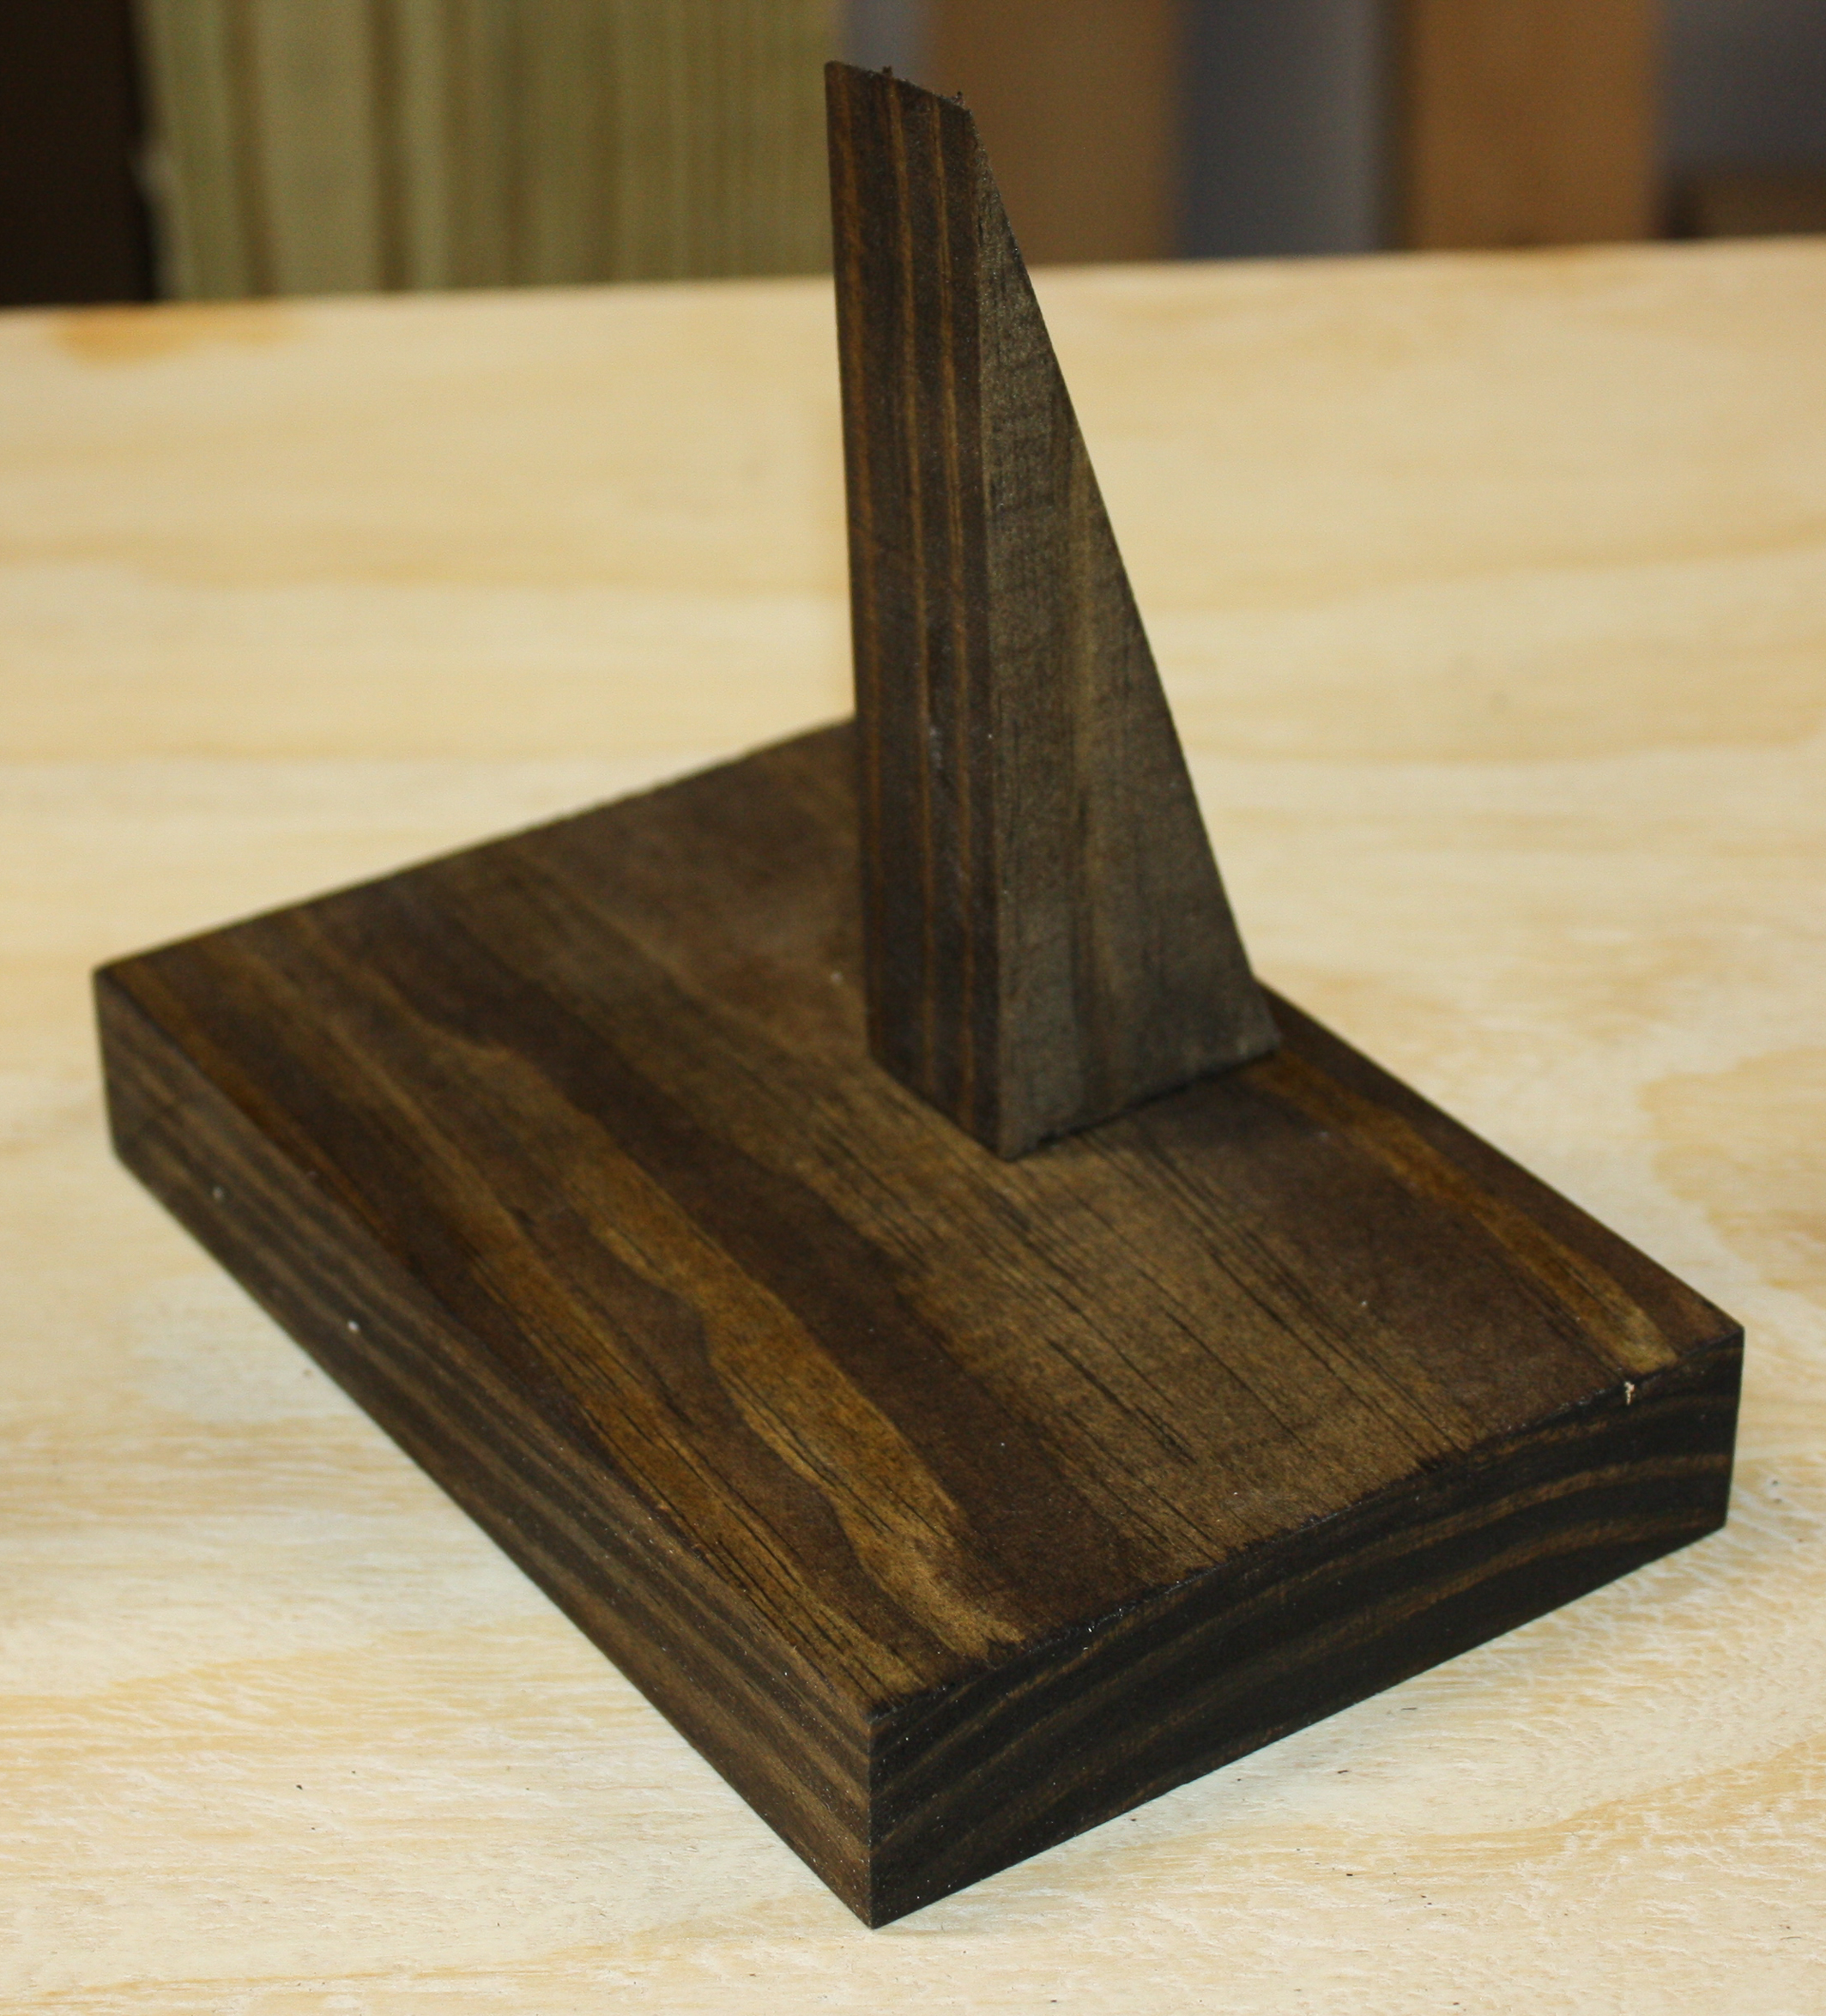
Glue pieces E and F together.
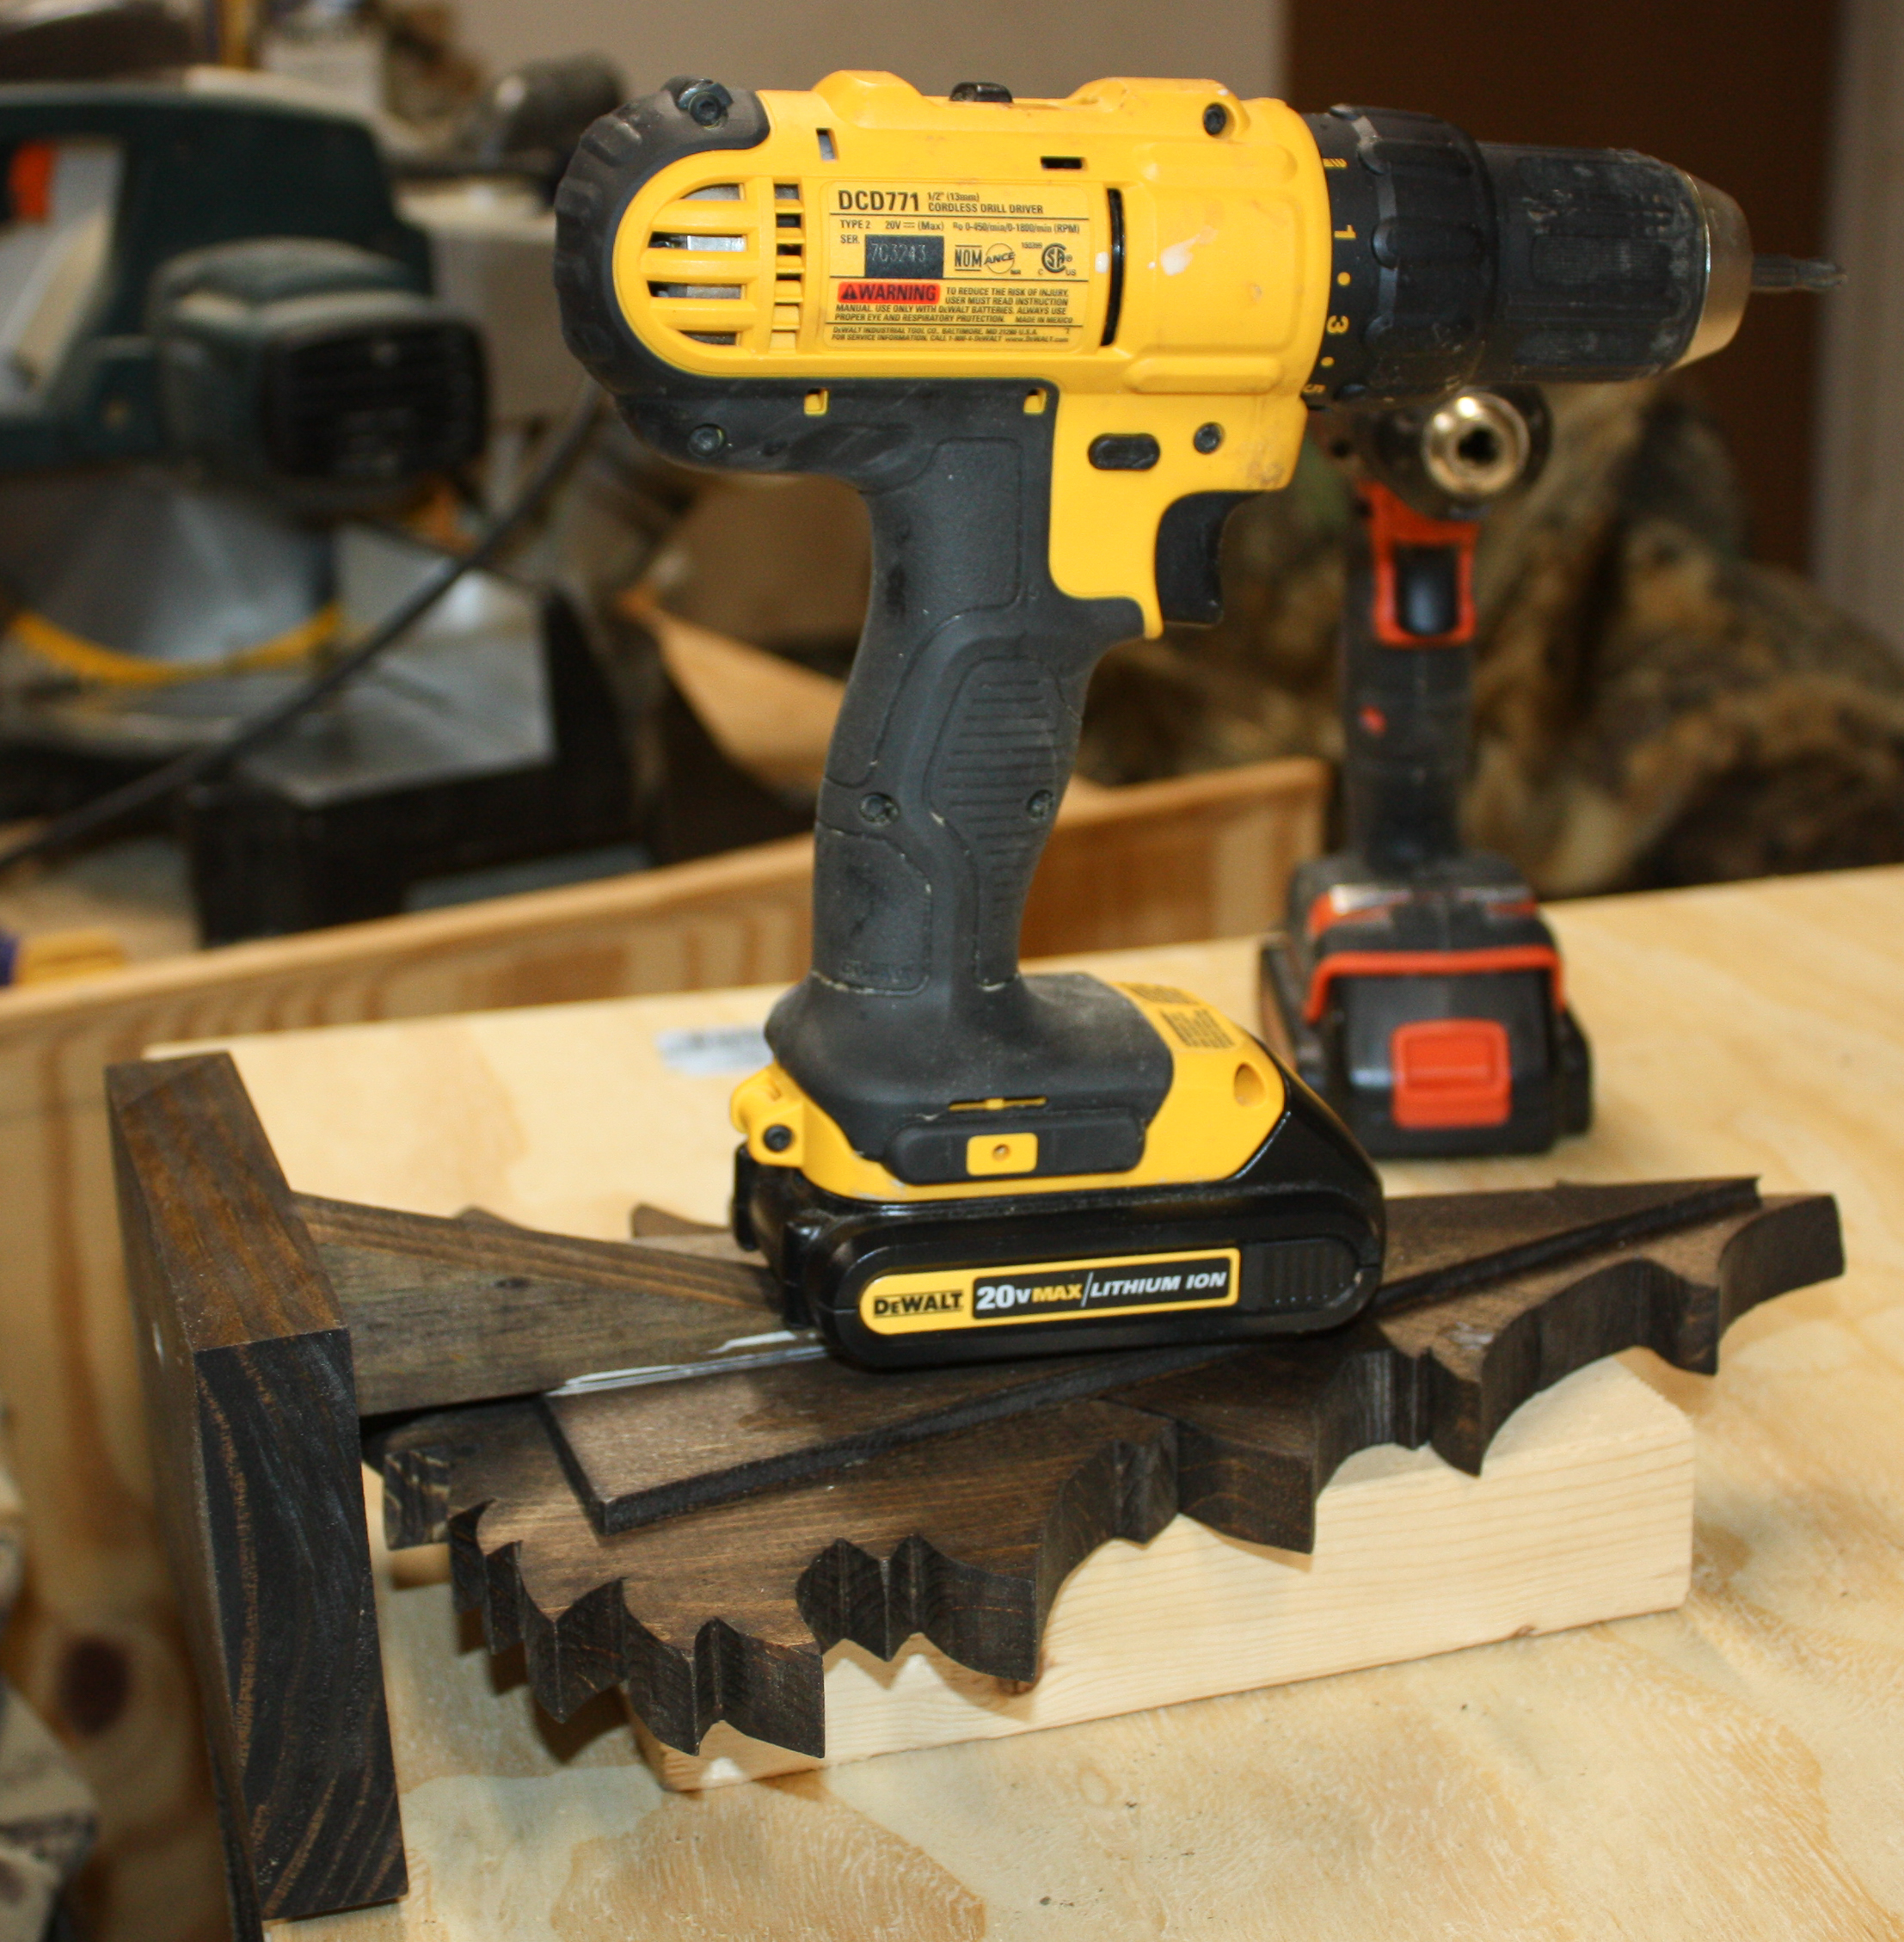
Glue the tree to the base. I used a drill to weigh down the pieces as the glue dried.
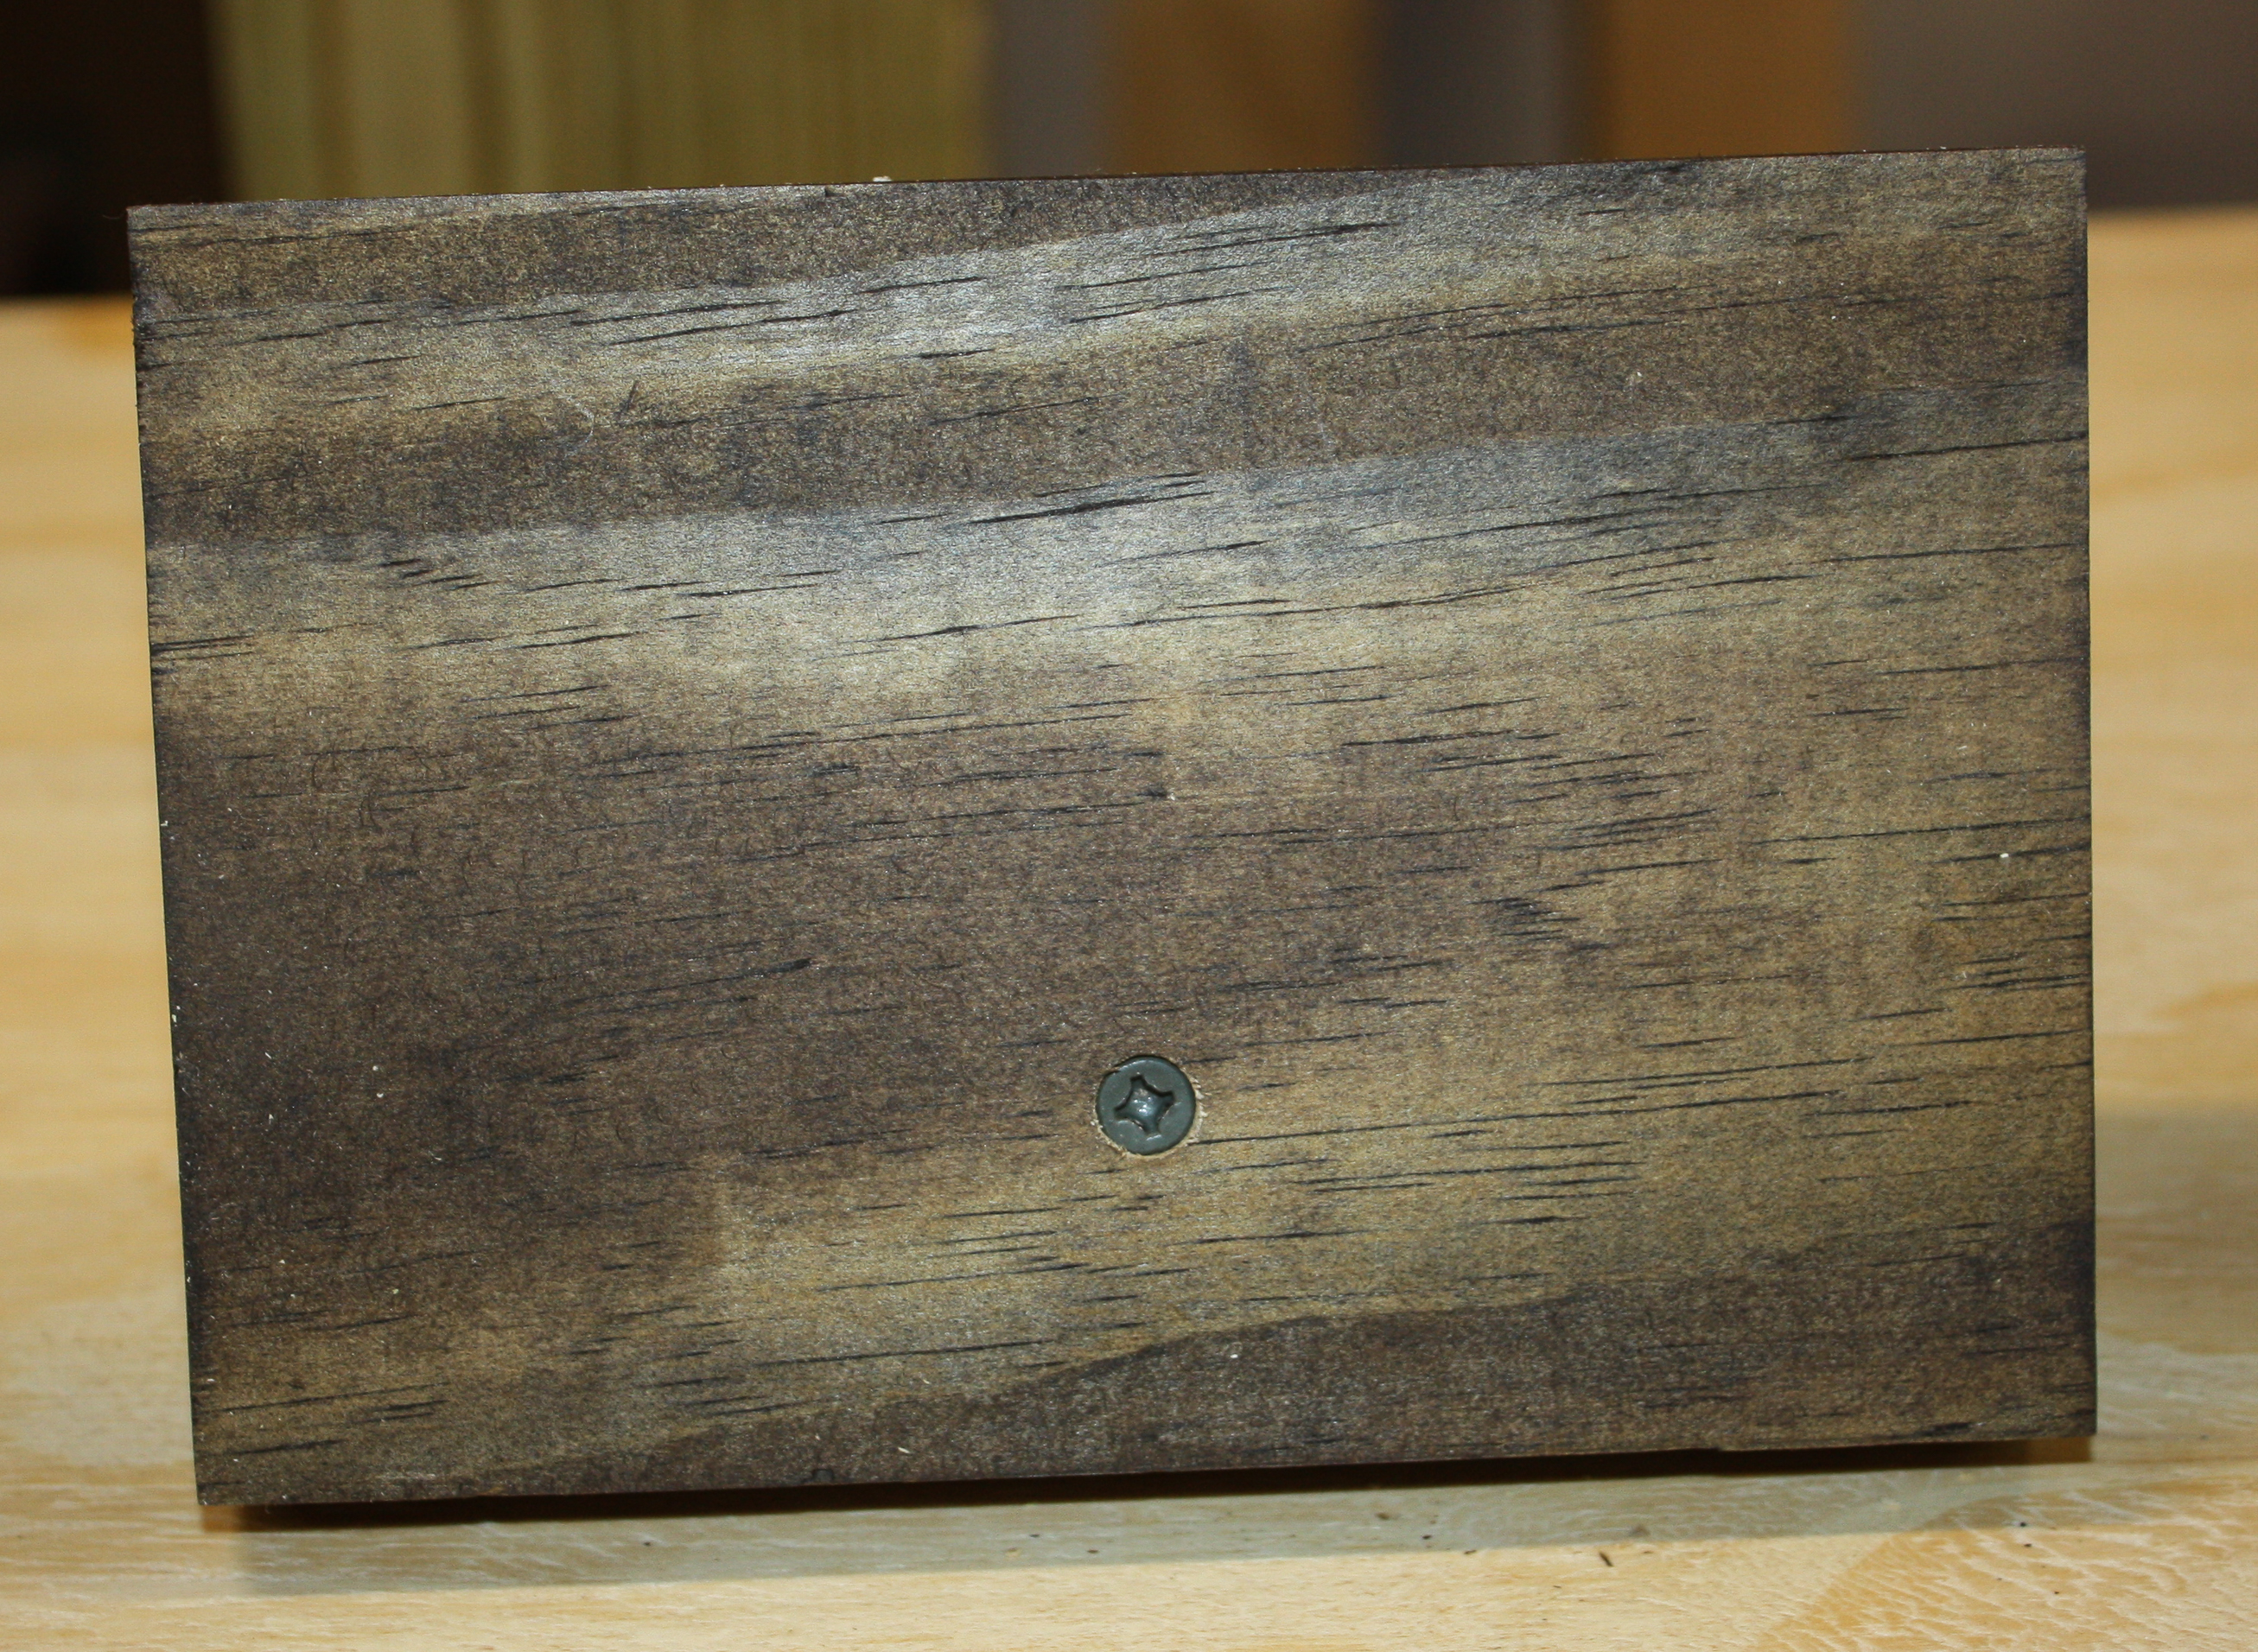
Screw the base to the tree trunk for added support.
Enjoy the Tree
A single tree can be enjoyed in almost any space in your home for Christmas decor.
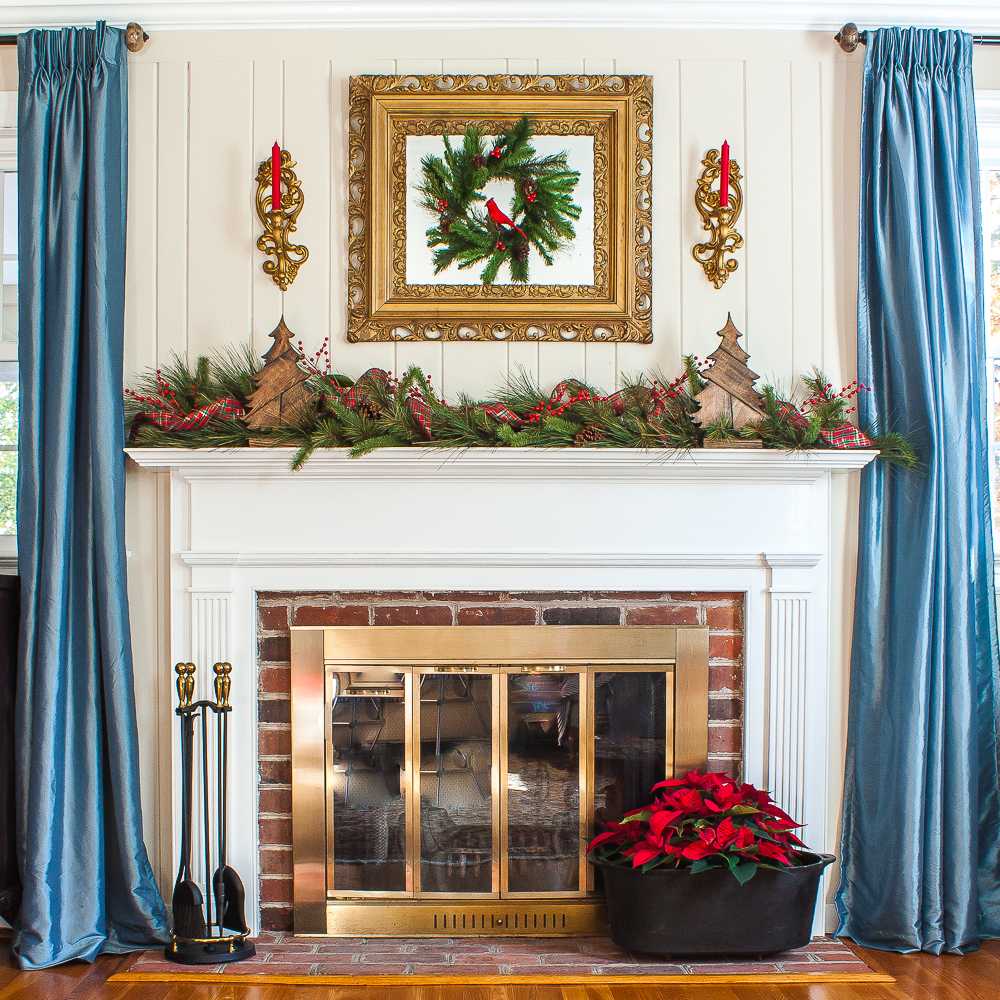
Don’t miss seeing how I used a pair of wood trees that I made on my Christmas mantel.
Beautiful Wood Trees for Sale
If you aren’t able to make a DIY wood Christmas tree, these tree are available on Etsy.
Secret Santa Projects from Past Years
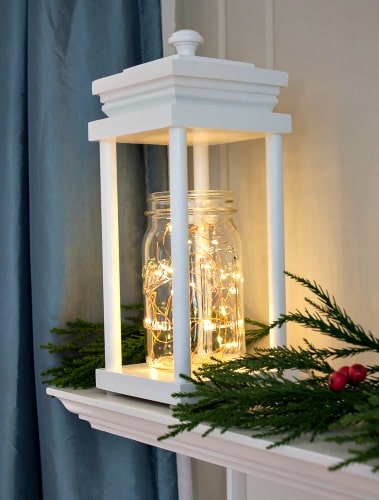
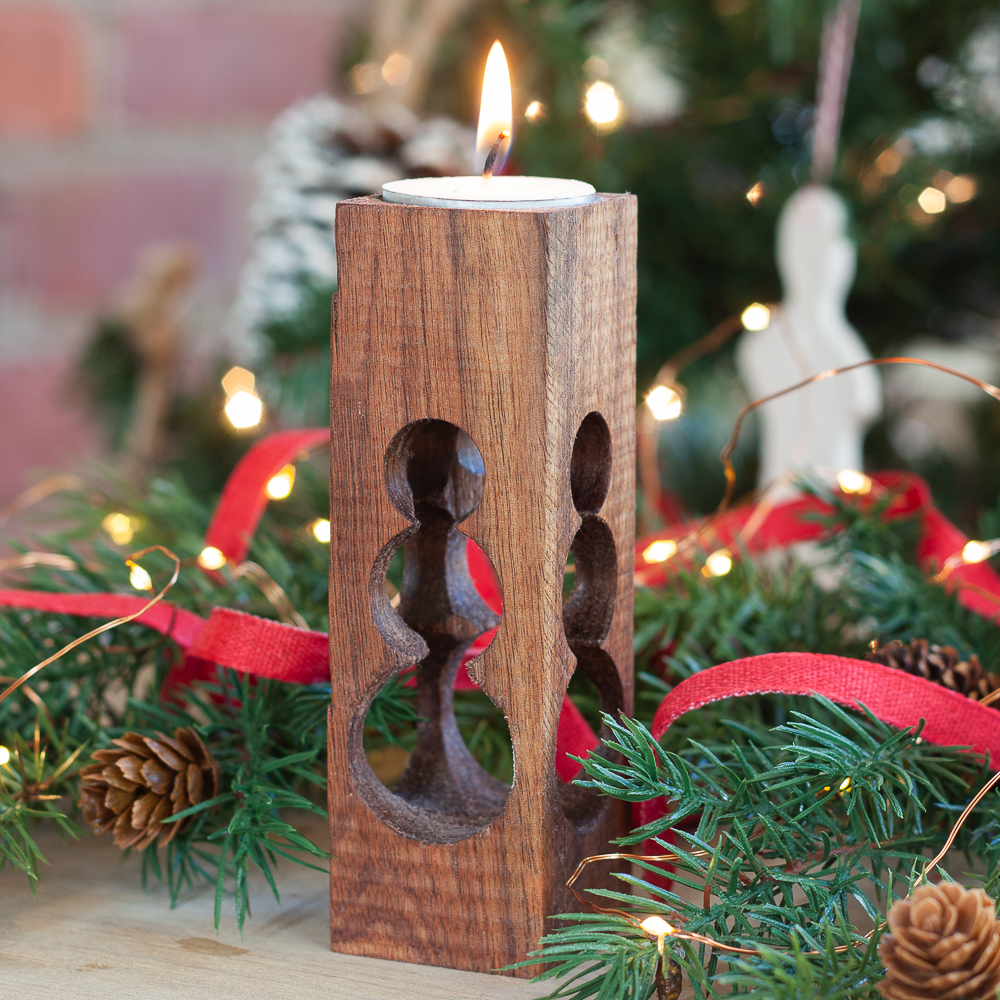
I participated in this fun challenge last year and made a DIY Wood Lantern for DeDe at Designed Decor.
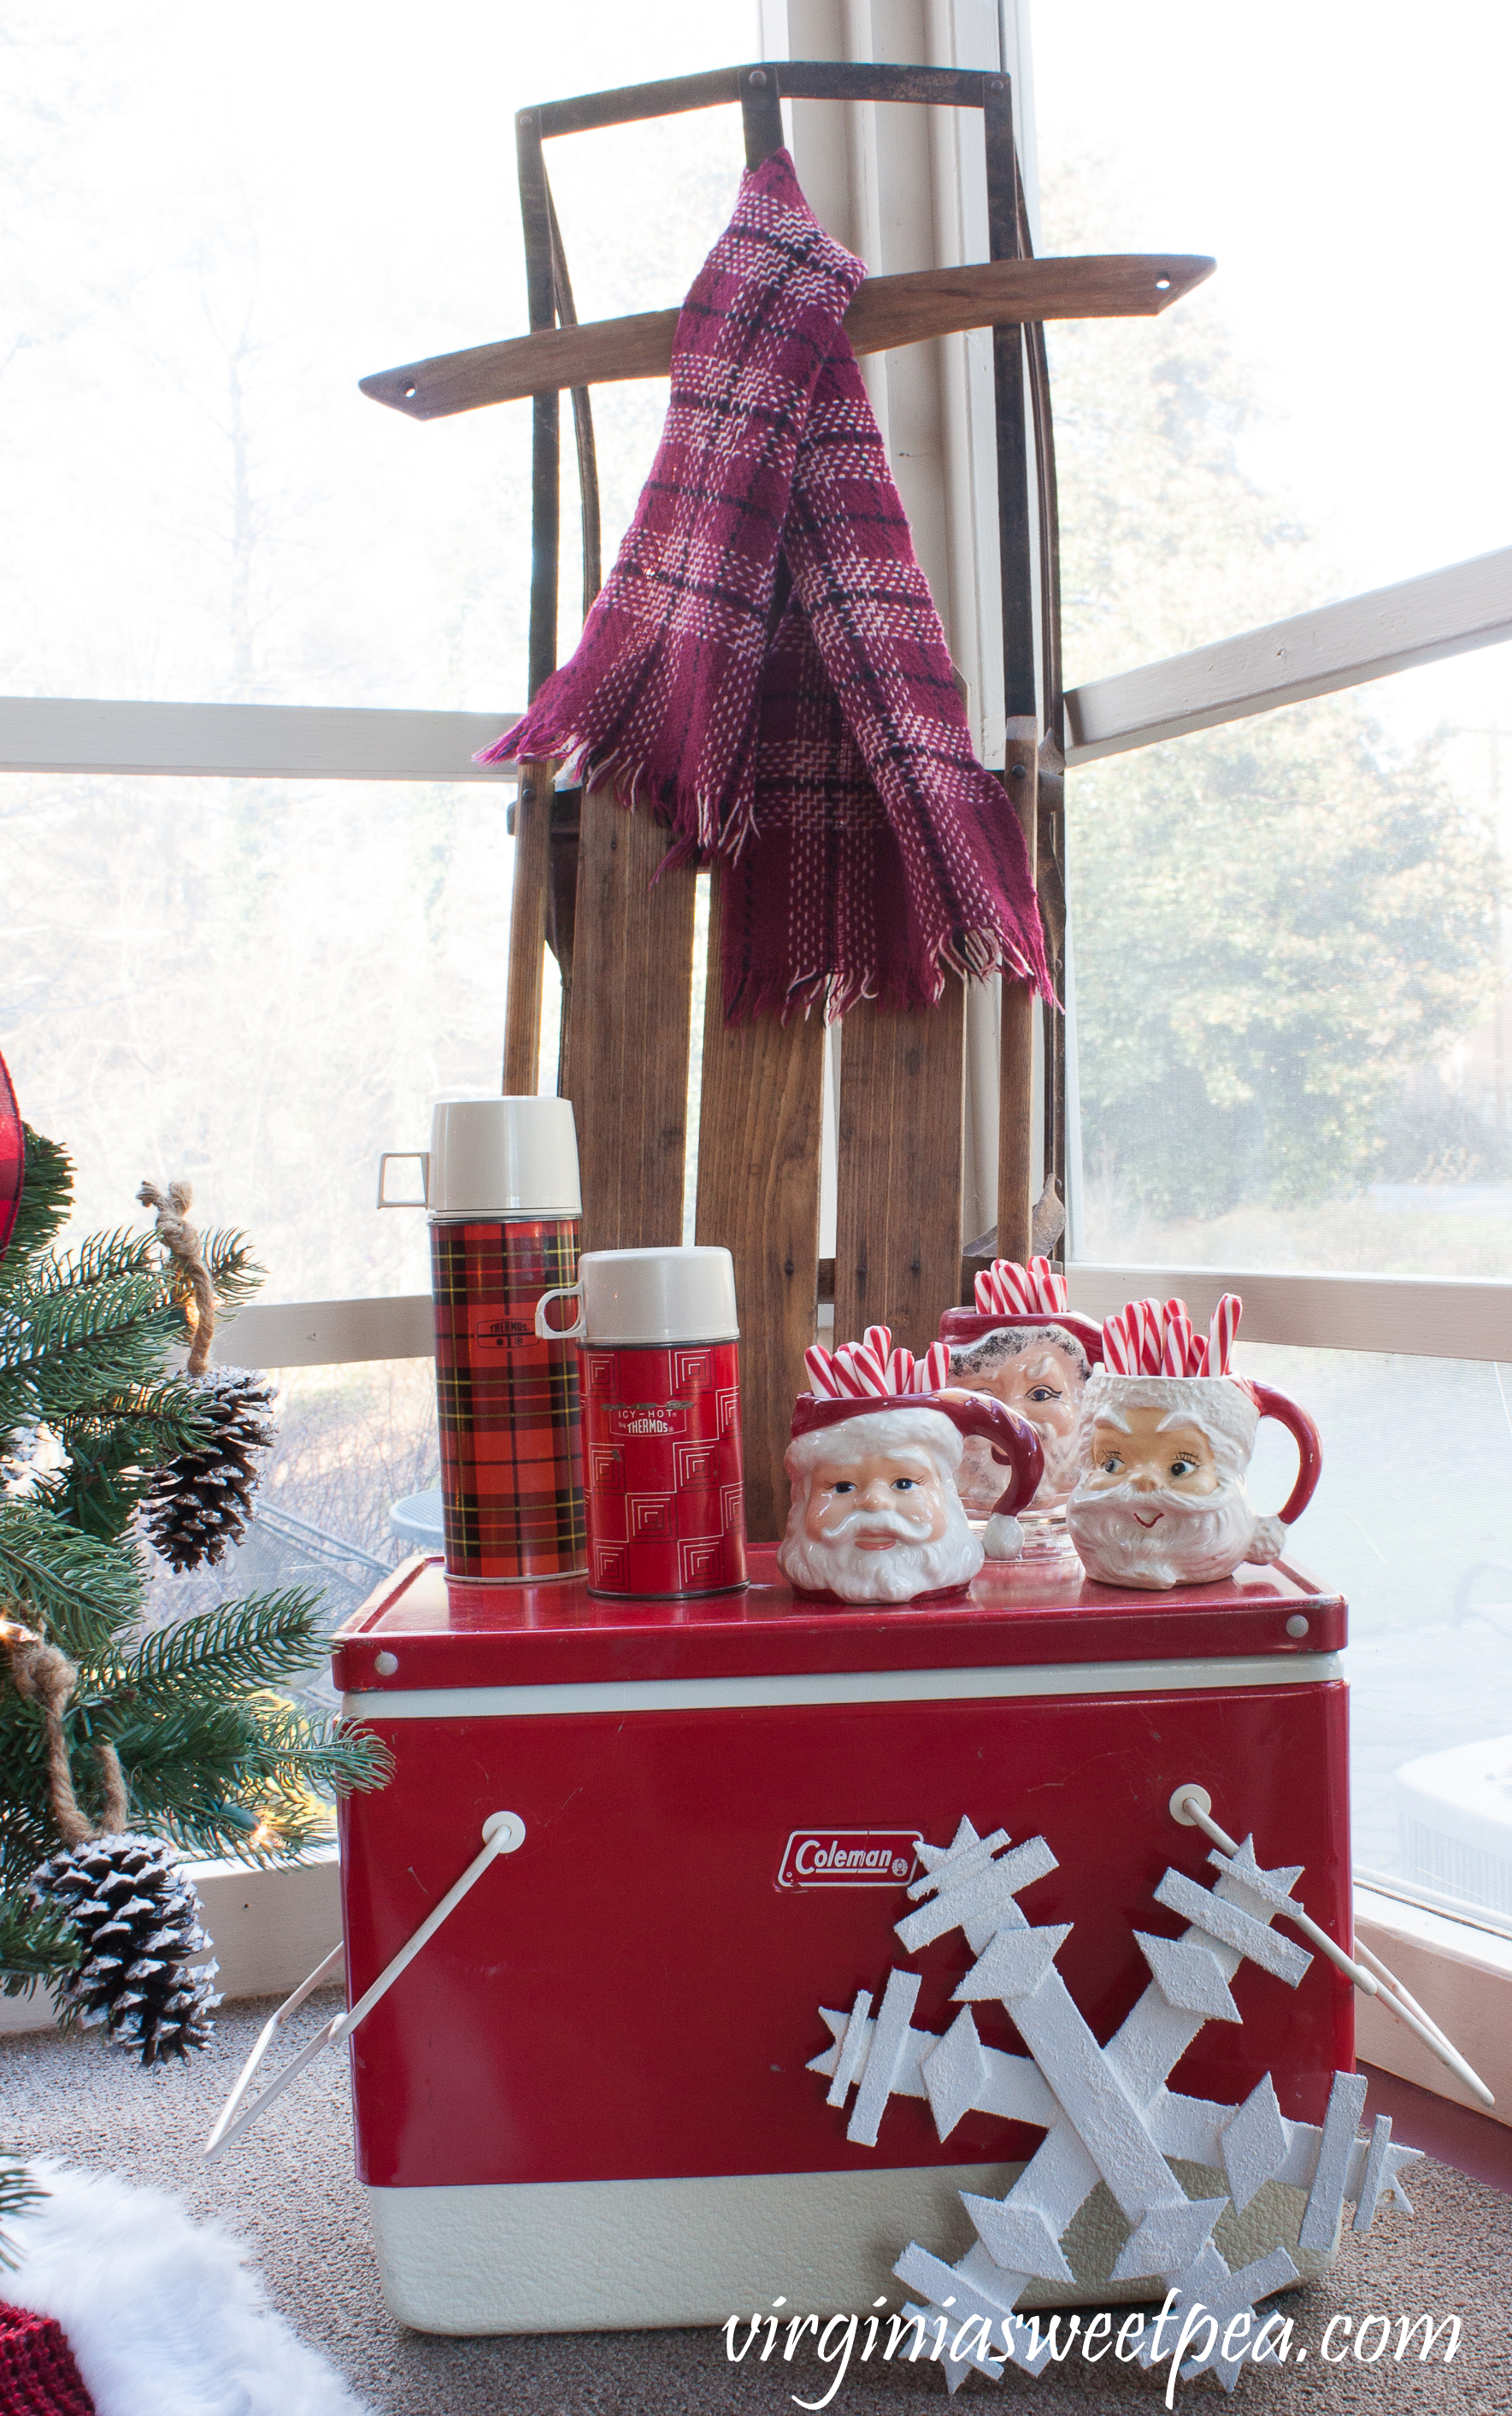
Last year Wendi from H2O Bungalow sent me a DIY Wooden Snowflake that I used as part of my Christmas porch decor.
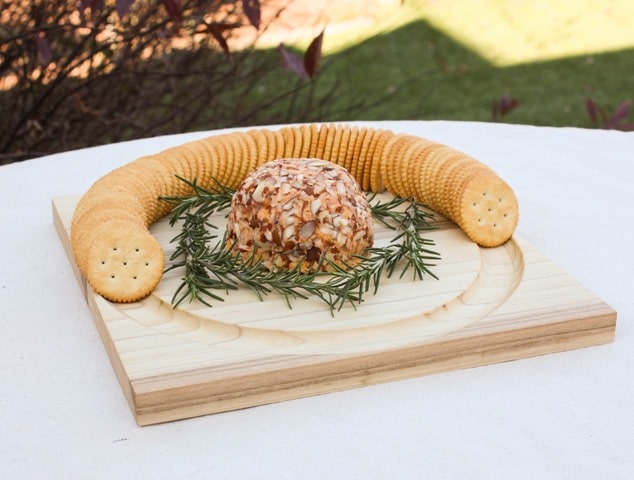
In 2016 I made a DIY Cheese and Crackers Serving Board for Karen at The DIY Bungalow. That year Jeanie from Create and Babble sent me DIY Pallet Wood Wall Art. You can see how I used it on my Christmas porch.
I can’t wait to see what everyone made this year and it’s going to be fun to try to guess which gift may be coming to me.
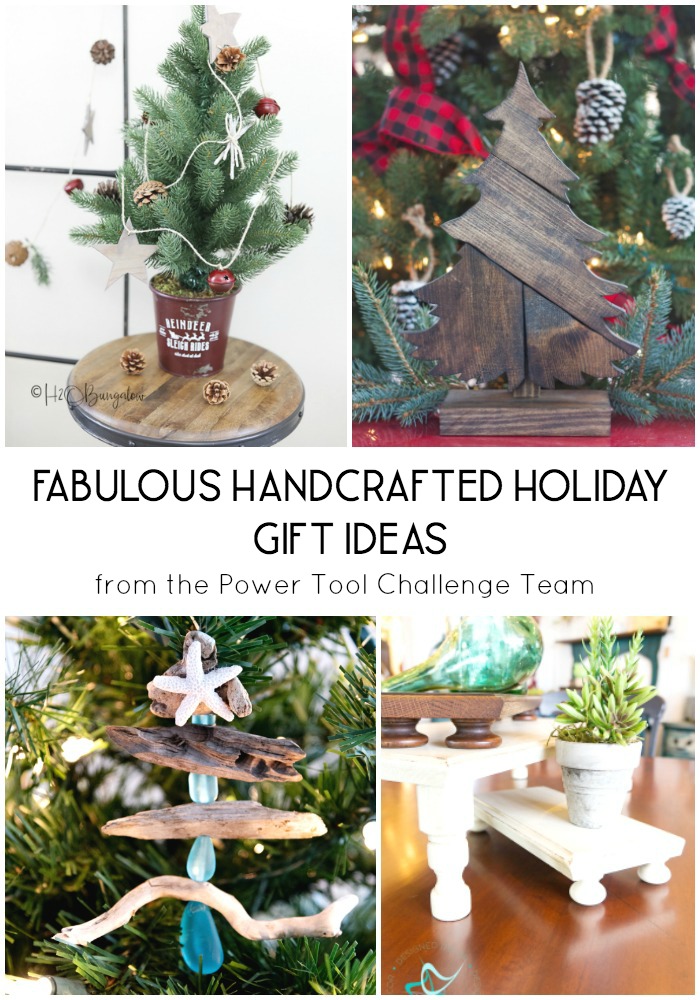
H2OBungalow – Simple DIY Rustic Garland
The Handyman’s Daughter – DIY Driftwood Christmas Tree Ornament
Designed Decor – Repurposed Drawer Front Display Riser




Paula, This is sooooo creative! I love how you did the patchwork to make it more interesting! I love it!
Paula the tree very creative I love how you put it all together
Thank you, Laura! I really like this tree and am in the process of making two more to use next year on my Christmas mantel.
Paula
Love the patchwork on your tree! This is such a cool project!! I’d love to make several of these of gifts too. Good job and Happy Holidays!
Thank you, Wendi! I had fun making it. I hope that you are having a great time in snowy Vermont.
Paula
Oh, I love your patchwork tree, Paula! I especially love the rustic charm of the dark stain. Pinned 🙂
Thank you, Marie! It was fun to make!
Paula
What a fun project! Thanks for sharing with us at The Blogger’s Pit Stop!
Love your patchwork tree! Fun!
Thank you, Beth! We had fun making it.
That is really different, nice and rustic with charm. Your patchwork Christmas tree will be featured in our next Blogger’s Pit Stop. Well done 🙂
Kathleen
Blogger’s Pit Stop
Your tree is fantasic! I love the stain color and the natural feel it has. Thanks for sharing.
This tree looks amazing. I will be trying this project. Thanks for sharing at the Snickerdoodle Create Bake Make Party.
love the fact that you were so graceful with that saw tto make such a lovely piece thanks for sharing
come see us at http://shopannies.blogspot.com
I love this design. I was blown away seeing this. I’m making it tomorrow. I don’t have wood stain but I do have white paint and several tints. Im thinking of doing maybe 4 or 5 in different colors to display in my window for Christmas. I currently have in my window a star made from pallet wood, painted a baby blue then sanded down to show the woods patina, with 140 LED Christmas lights on it. I can’t wait to try this design.
You never cease to amaze me with your talents Paula! I want to make one of these trees. Oh please, who am I kidding, I will never make one but want one something terrible! And who uses the word – isosceles?! Yes, I had to copy and paste it because I can’t even spell that! Love your cracker tray too! Thanks for sharing it in our FB group or I wouldn’t have seen it. Pinned! p.s. I know what tool to get for hubs this Christmas. :0
Can’t access the pattern wasn’t given a password. I did sign up for newsletters.
Hi, Susan! The password and link to the free printable library is at the bottom of every email I send. Please let me know if you need more help accessing it.
You know how I love my jigsaw, Paula, so this is right up my alley. Great project! Thank you for sharing at Party In Your PJ’s.
Thank you so much for the feature!
Pretty neat. I like homemade, and am pretty partial to wooden decorations.
Congratulations on being featured this week at the Homestead Blog Hop!
Laurie
Ridge Haven Homestead
Homestead Blog Hop
Thank you so much for the feature. I really appreciate it.