DIY Picture Frame Spring Wreath
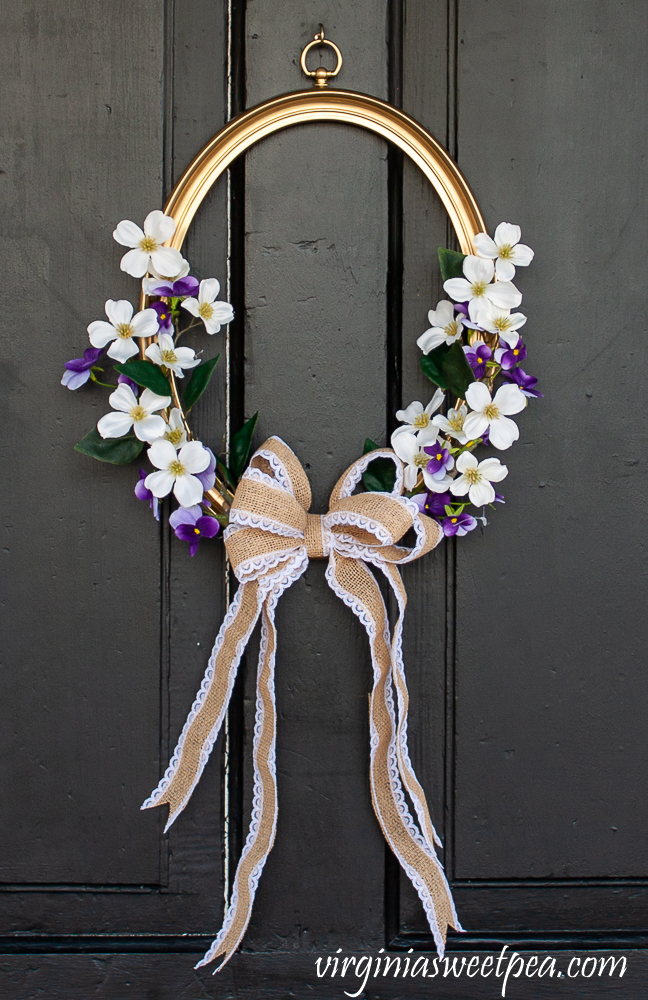
A long time ago I purchased a few picture frames at a yard sale and never used them. For this month’s Thrifty Style Team project, I used an oval picture frame to make a spring wreath.
Last month I joined the Thrifty Style Team hosted by Julie of Redhead Can Decorate for the first time and shared a DIY Milk Glass Lamp Makeover.
The Thrifty Style Team shares thrifty projects on the second Friday of each month. You’ll find links to all of the projects shared at the end of this post.

DIY Picture Frame Spring Wreath
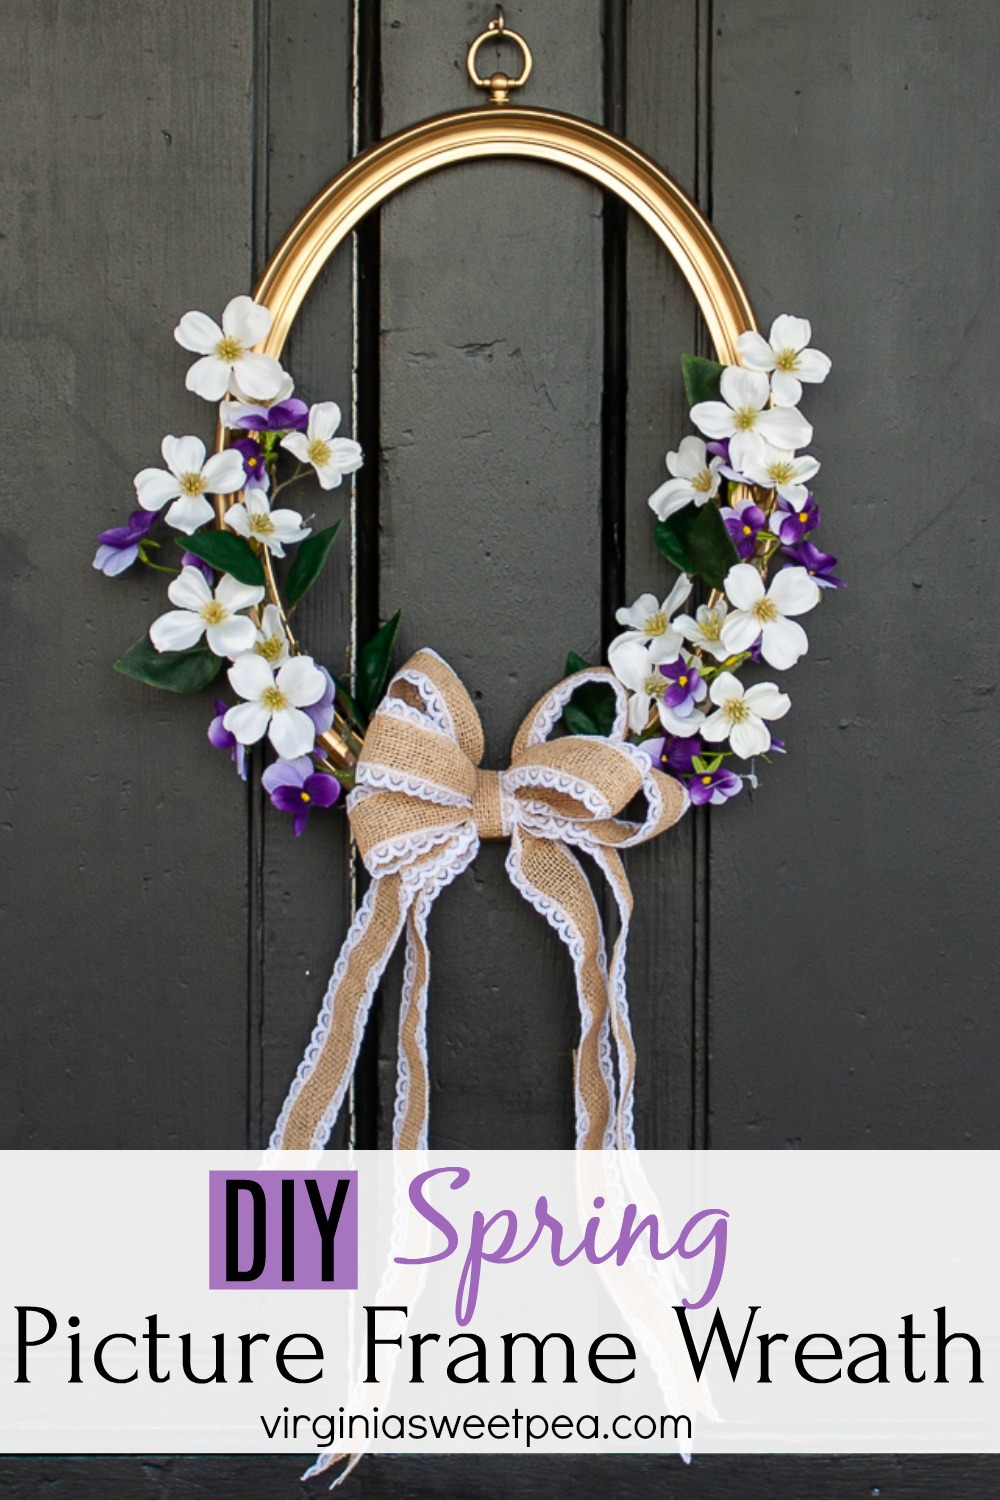
This is an easy project. All that is needed to make this wreath is a picture frame, spray paint, faux florals, a glue gun, ribbon, and floral wire to make the bow.
How to Make a Picture Frame Wreath
Picture frames are commonly for sale at thrift shops. Mine was purchased without glass, but if yours has glass, carefully remove it.
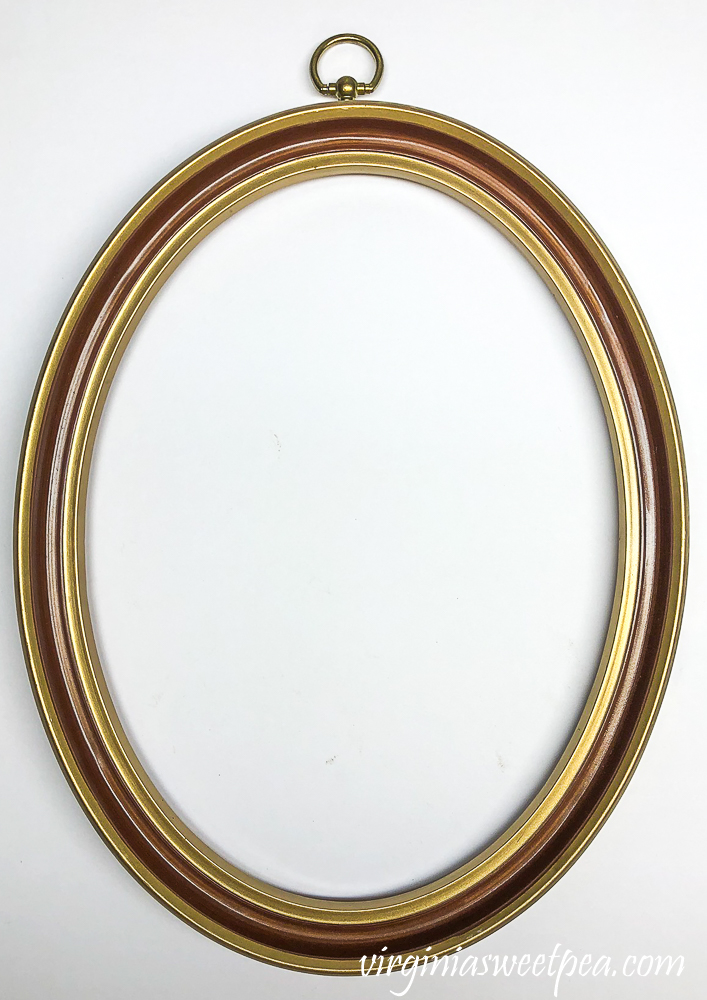
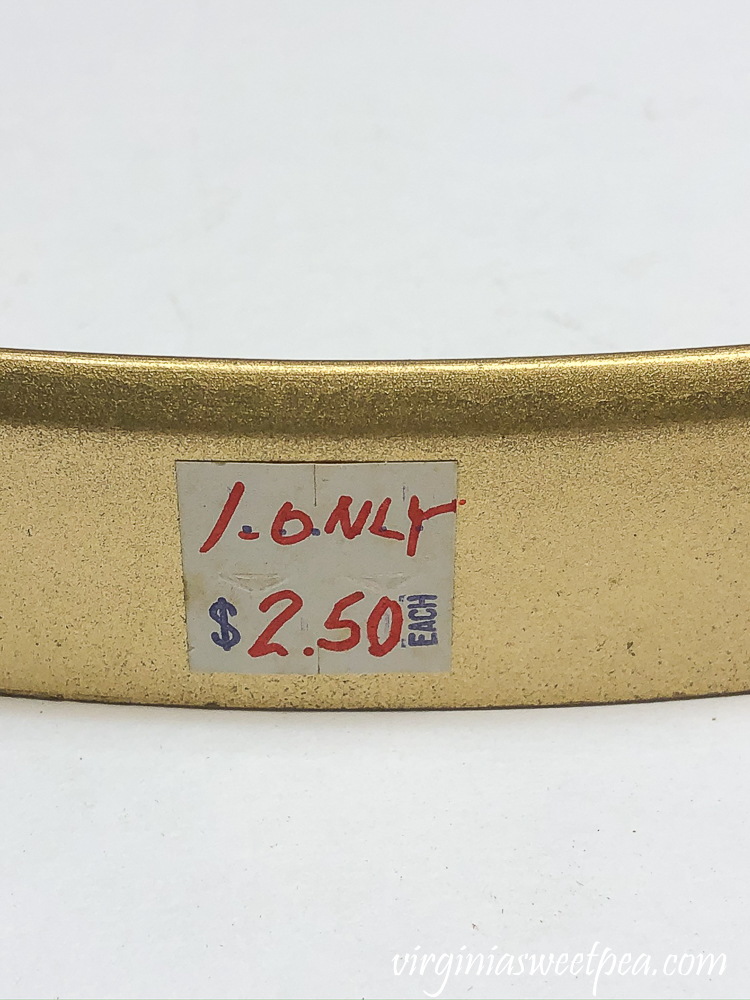
I paid $2.50 for this a few years ago and it’s been in my attic ever since, just waiting to be used.
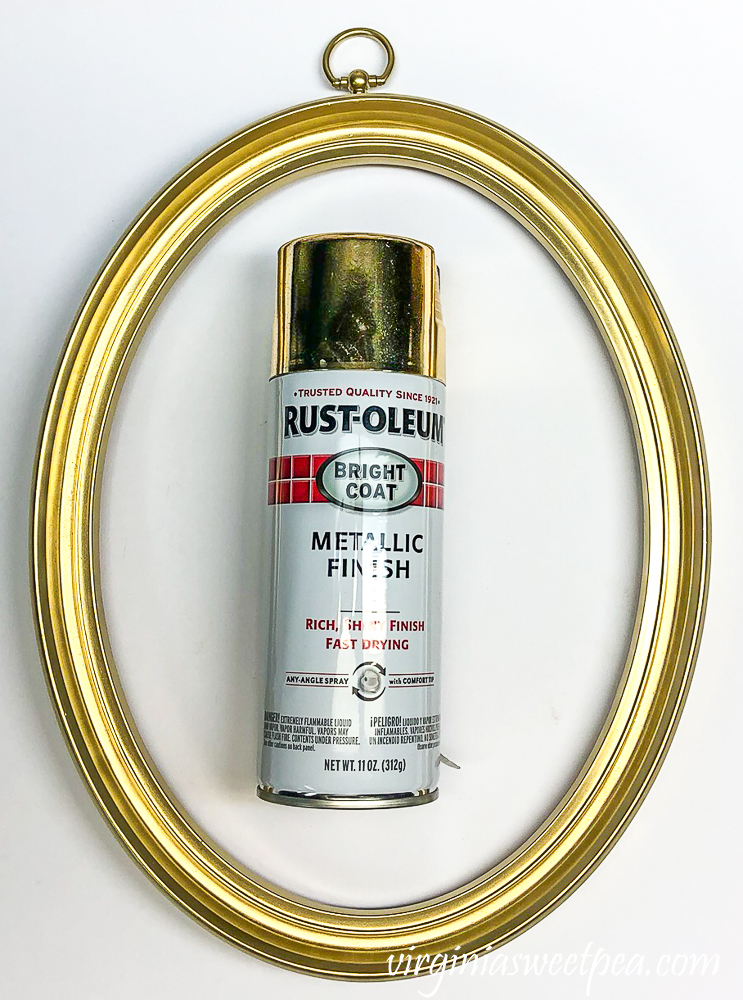
After wiping the frame down to get rid of the attic dust, it was painted with metallic gold spray paint.
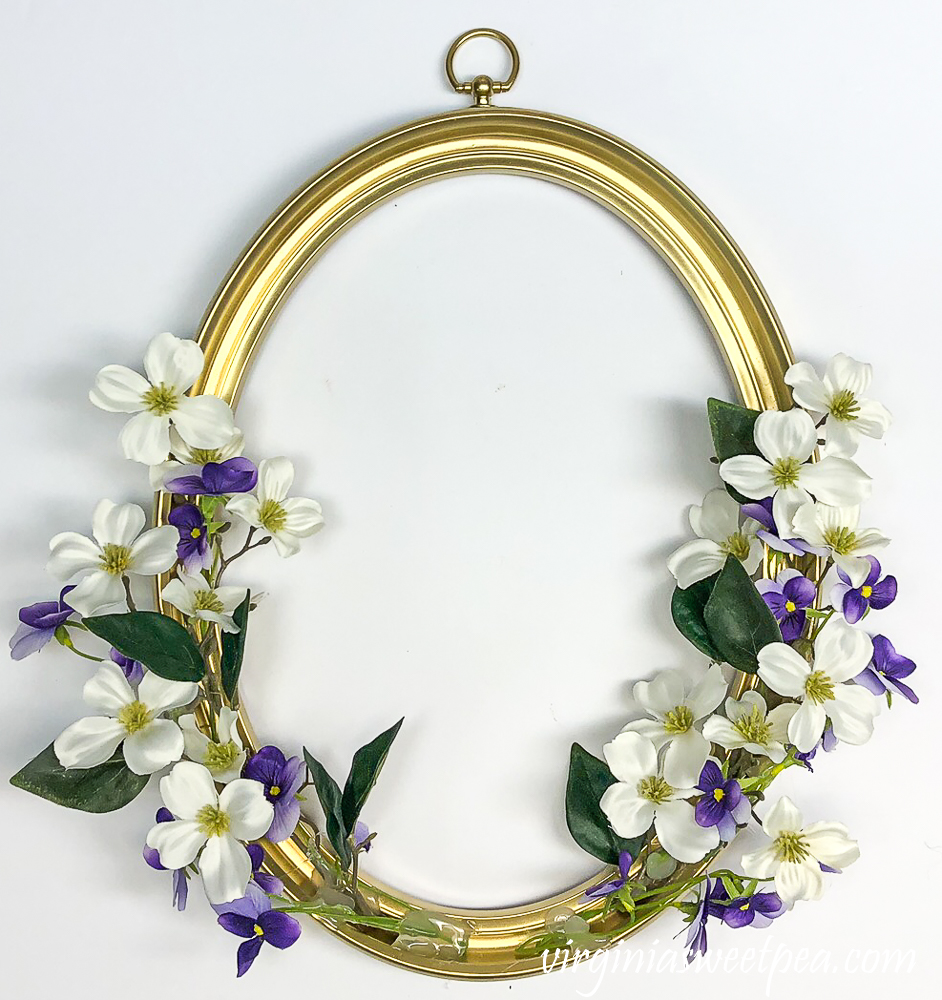
I then looked through my floral supplies and found some Dogwood and purple flowering branches. I didn’t use the Hydrangea stems.
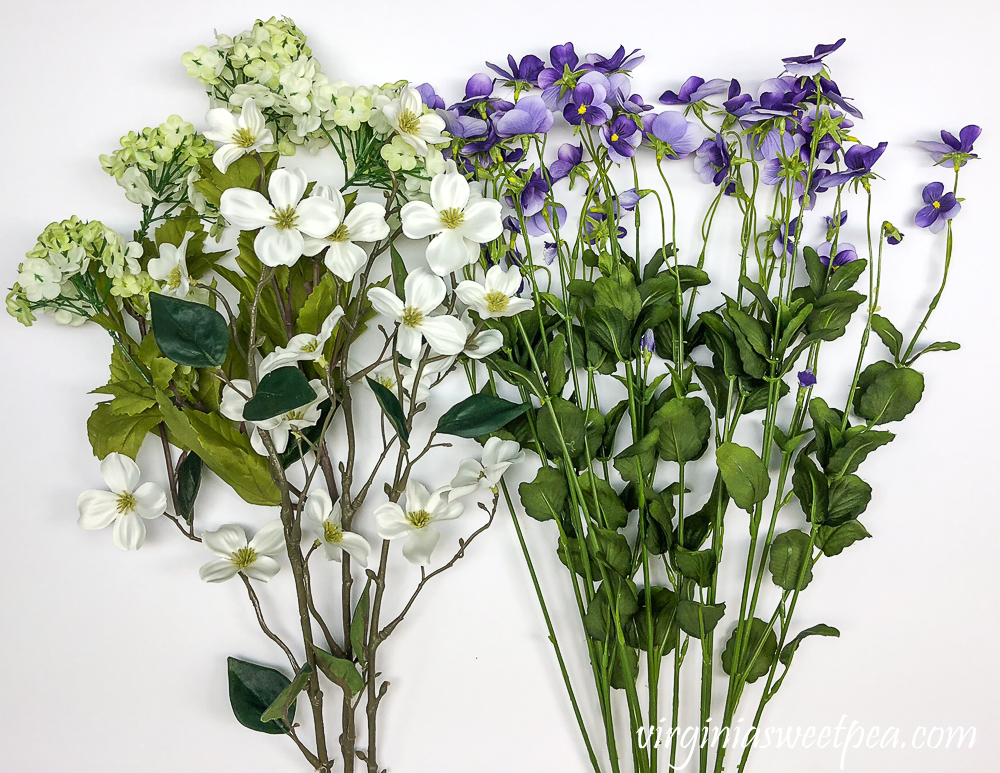
I cut short stems of both flowering branches and planned where I wanted to glue them along with the placement of the ribbon.
I planned on using this bow from my craft stash but ended up making another with burlap ribbon trimmed in lace.
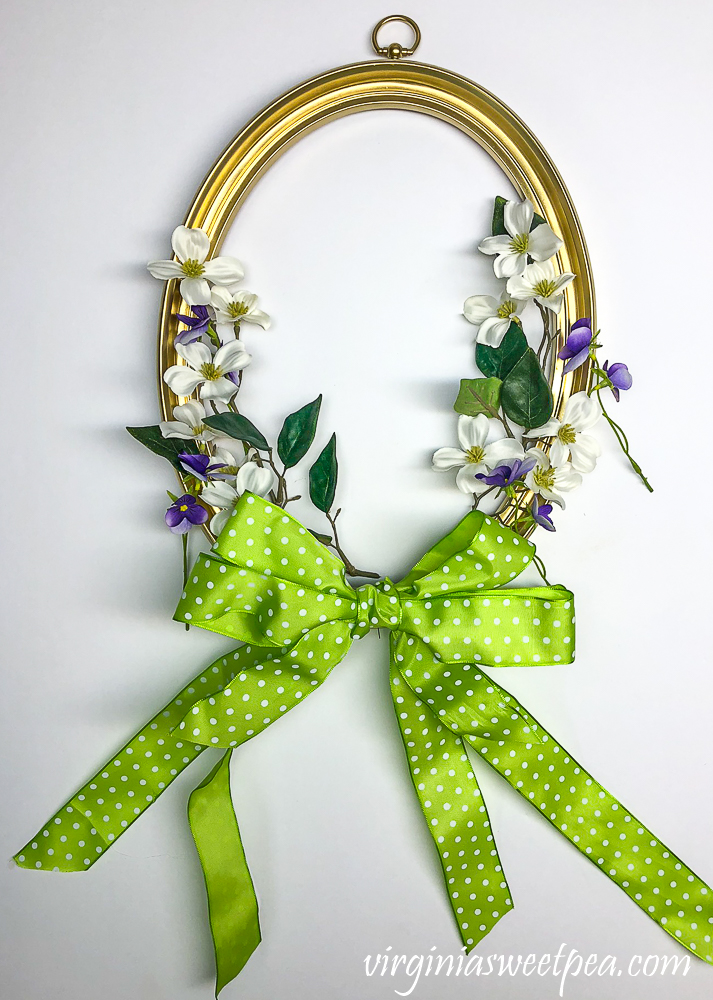
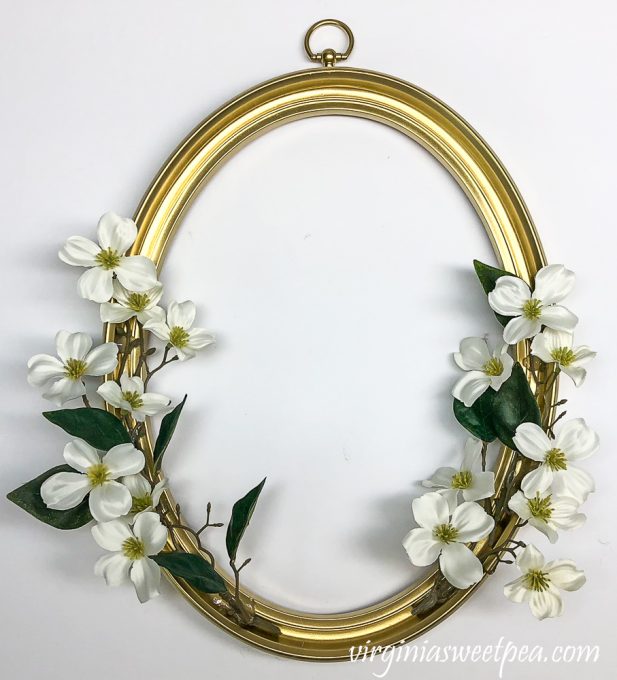
I then glued on the Dogwood stems.
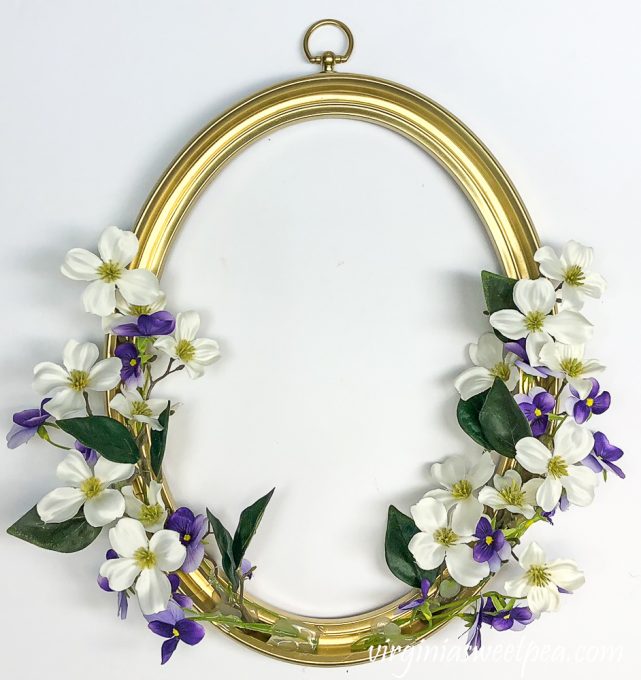
The purple flowers were then glued into place.
I glued my bow onto the frame but it also could be attached with floral wire.
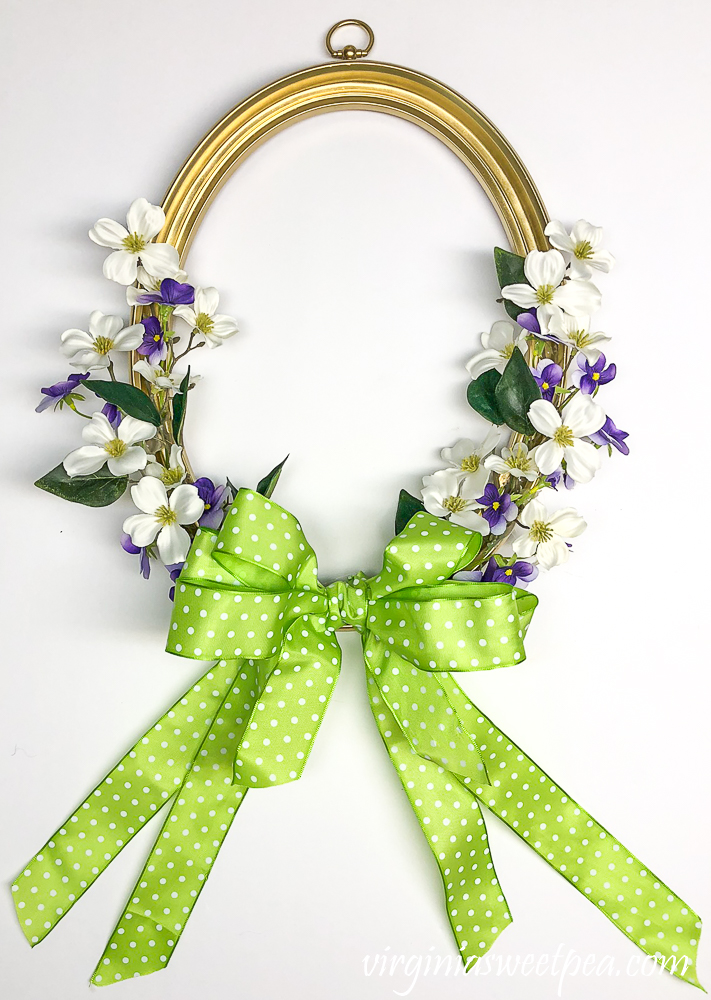
At this point, I had not spent a dime on this project since I had everything that I needed to make it in my stash.
I hung it on my porch and looked at it and it didn’t seem quite right. I looked at it the next day and still wasn’t satisfied with it, the bow just wasn’t right.
I texted my crafty friend to get her opinion and she agreed that the green polka dot bow was not right for this wreath.
After a trip to Michaels, I made a new bow using lace trimmed burlap ribbon and liked the new look much better.
Enjoying the Picture Frame Wreath
I visited my mom last week so that she could help me pick out furniture for our lake house basement.
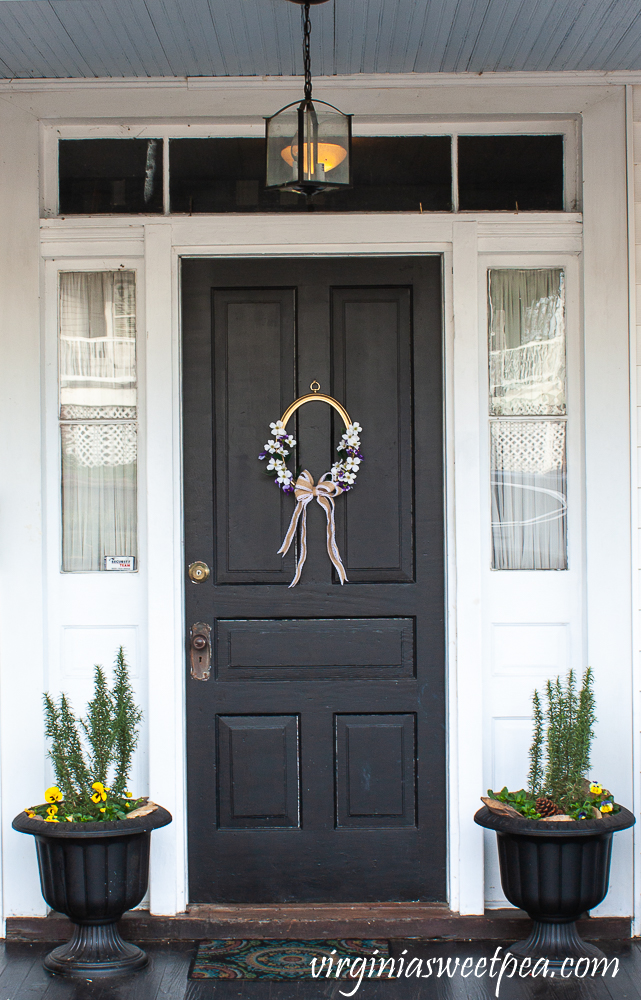
I knew that Mama’s front door was painted black and suspected that this wreath would look great hanging on it.
I was correct, we both loved how this wreath looked on her door.
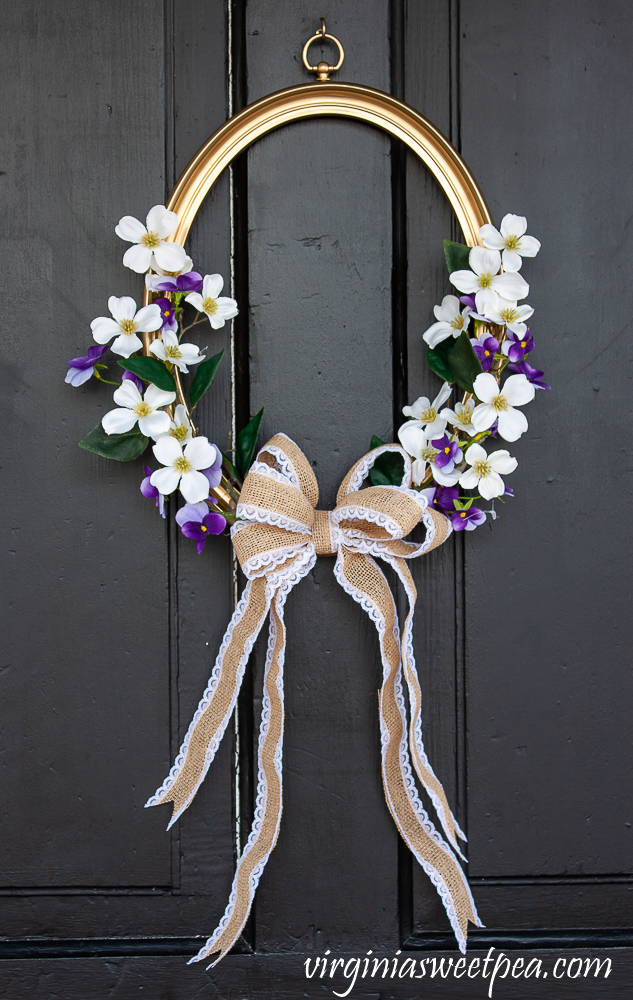
At my house, I had this wreath hanging on a brick wall on our porch. It definitely looks better on Mama’s door, so I talked her into keeping it.
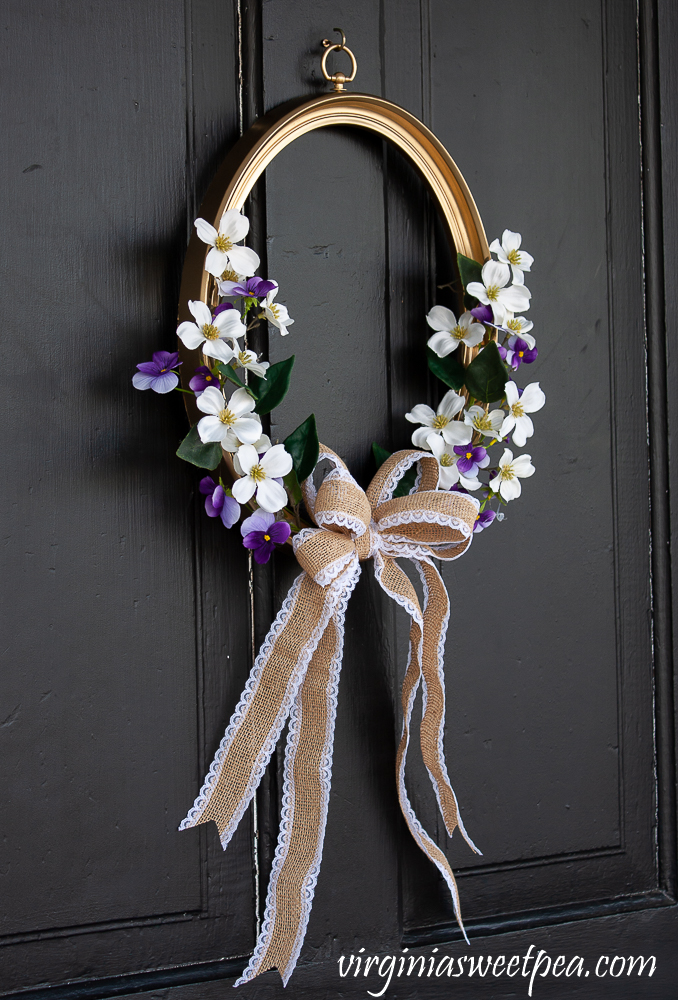
Dogwood is Virginia’s state flower, so it is appropriate to have a wreath with Dogwood on it for spring decor in Virginia.
Mama’s 1912 House
My mother completely restored her 1912 home. This home was built by my grandmother’s uncle and has been in the family since it was built. It was rented for many years and that resulted in some damage to it. My grandmother inherited the home in the 1970s and her sister lived there until she was in her 90s. Mama acquired it and started restoring it in 2009. When I say Mama restored it, I mean she did the work.
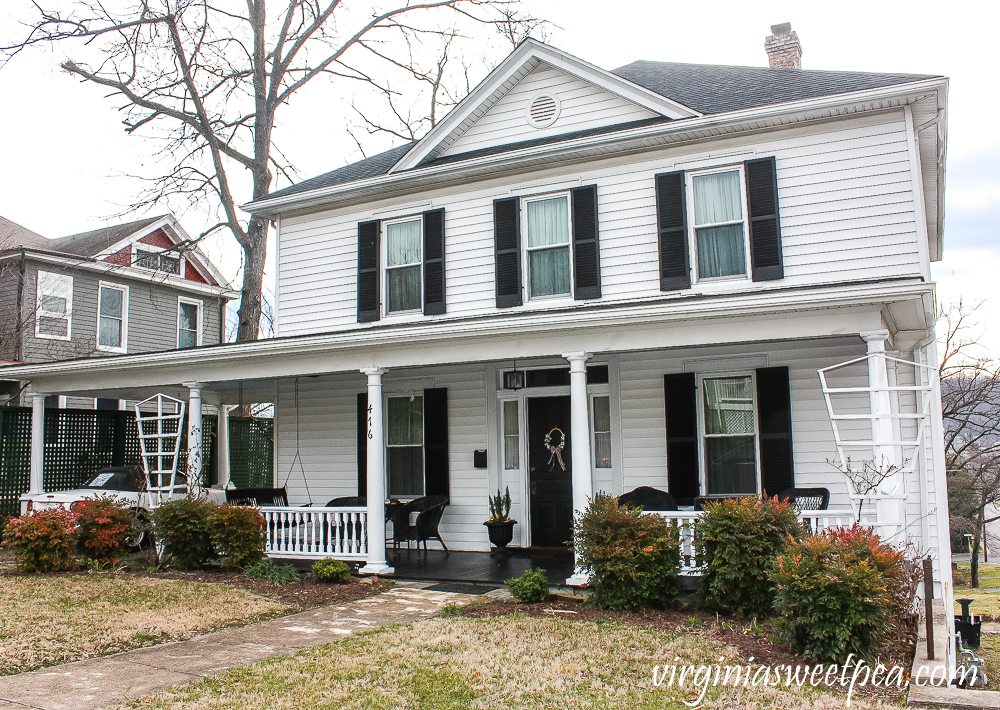
The original Model T Ford concrete tracks are still in her driveway.
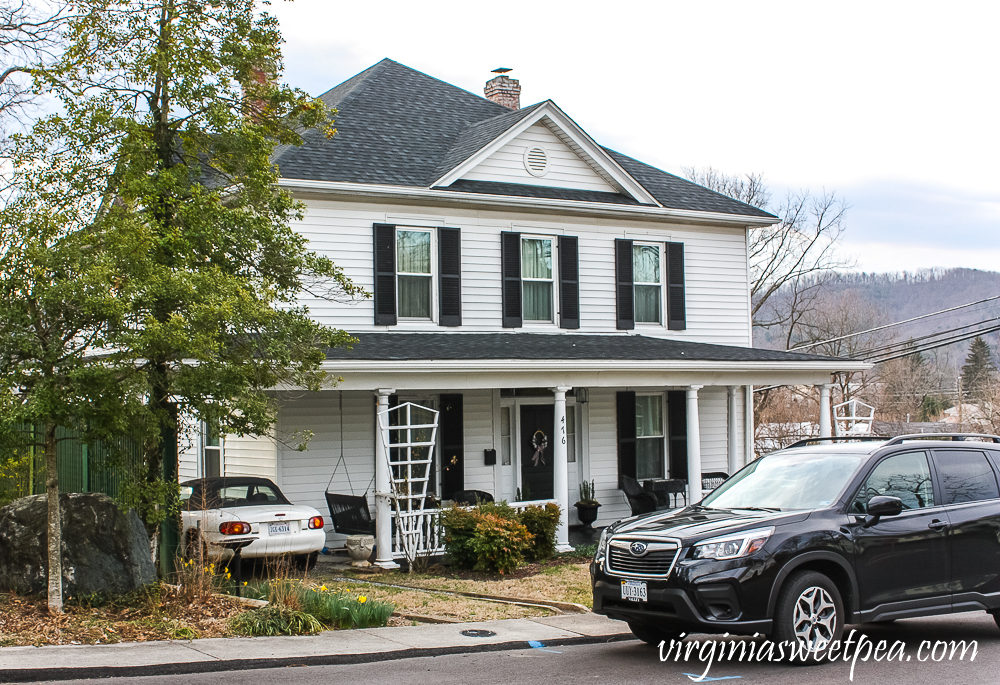
I went down a rabbit hole looking for posts that I wrote about my mom’s house as she restored it. If you like old house restoration, you may be interested in these posts.
- July 14, 2009 – History of the house and a before pictures.
- July 17, 2009 – Before pictures from when my great aunt still lived there and first stages of restoration.
- July 21, 2009 – Renovating
- August 1, 2009
- August 27, 2009
- October 19, 2009 – More renovating…So much scraping
- November 21, 2009 – Working on the basement (Was an apartment long ago.)
- February 15, 2010
- April 8, 2010 – Mama living out of the basement.
- May 5, 2010 – Why my mother is the best ever.
- May 24, 2010 – See china cabinet and piano original to the home returned there.
- July 21, 2010 – Look at those floors!
- August 17, 2010
- October 18, 2010 – Moving some things into place!
- November 5, 2010 – It looks like a home!
- December 3, 2010 – Mama cooks an entire Thanksgiving meal in a partially complete kitchen.
- November 7, 2011 – The kitchen
- November 10, 2011 – Neat pictures and documents on the stairwell
- Ideas for Decorating with Antique Frames – Interesting things hanging on the wall of Mama’s home.
After spending a few hours finding all of these old posts to share, I realize that it is time to do an update on my mom’s home. She is constantly working on this house and she has restored it beautifully.
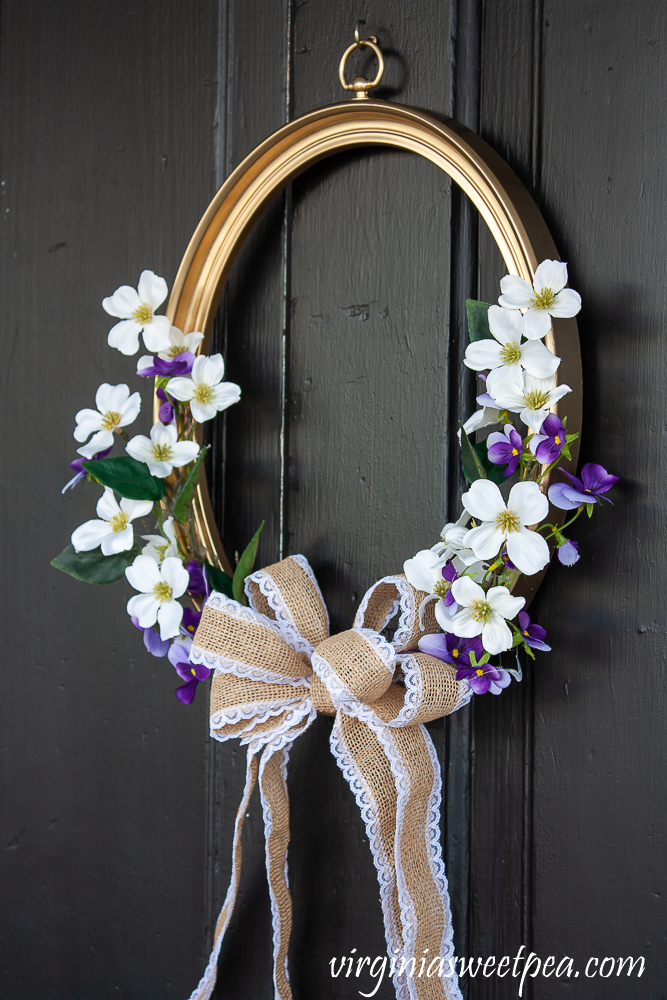
Back to the wreath! Here it is on Mama’s front door. If you are wondering why she has so many rocks in her planters, its because she has a terrible squirrel problem.
If you have a picture frame that you are no longer using, consider upcycling it into a wreath.

More Thrifty Projects to Enjoy
Now it’s time to enjoy the projects that the rest of the Thrifty Style Team is sharing today. Click on the links below to see each thrifty project.

Redhead Can Decorate – Repurposed Vintage Clutch Purse
The Painted Hinge – Vintage Trunk Makeover with Chalk Paint
DIY Beautify – Easy and Thrifty Decor Ideas for a Spring Table
2 Bees In A Pod – Easy DIY Wood Bead Garland
Jennifer Rizzo – Shop Your House Living Room Makeover
Postcards From The Ridge – 13 Ideas for Thrifty Wall Art & Decor
The Creek Line House – Affordable Gold Kitchen Hardware Update
The How To Home – Easy No-Sew Drop Cloth Curtains
The Tattered Pew – Repurposed Vintage Magazine Rack Ideas
Sweet Pea – DIY Picture Frame Wreath
What Meegan Makes – Thrifty DIY Moss Candle Holders
Salvaged Living – Wooden Bowl Decor Ideas
DIY Picture Frame Spring Wreath
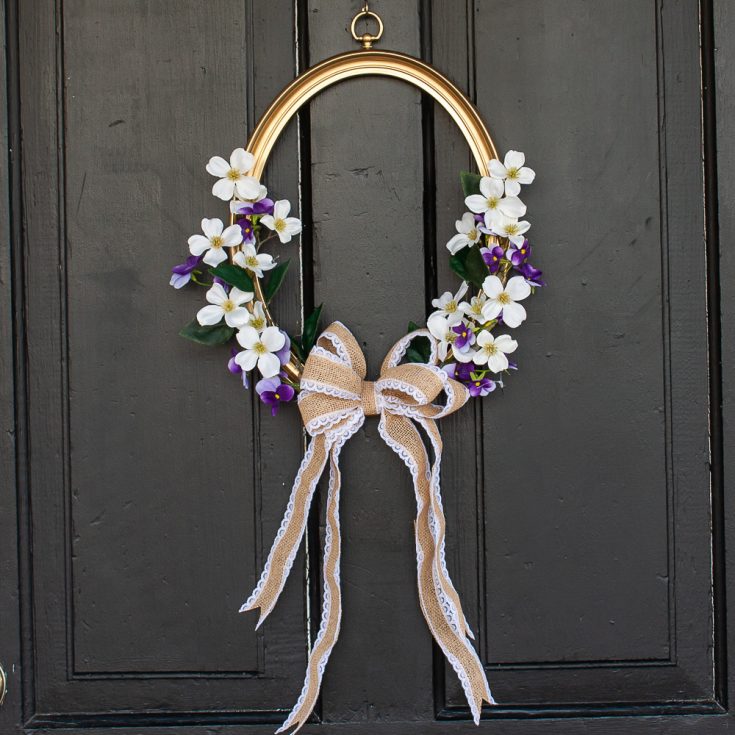
Use a picture frame to create a wreath for your home.
Materials
- Picture Frame
- Spray Paint
- Faux Florals
- Ribbon
- Floral Wire
Tools
- Glue Gun
Instructions
- Clean the frame if necessary and spray paint the desired color.
- Clip flowers with short stems and plan where they are to be glued.
- Use a glue gun to glue flowers and stems to the frame.
- Make a bow using ribbon and floral wire. Glue to the frame. (I originally used a green bow and then changed my mind and switched it to a lace-trimmed burlap one.
- Hang and enjoy! If your picture frame has a sawtooth hanger, make a hanger with floral wire and attach it to the sawtooth hanger.
Recommended Products
As an Amazon Associate and member of other affiliate programs, I earn from qualifying purchases.
-
CT CRAFT LLC Burlap with Lace Wired Ribbon - 1.5 inch x 10 Yards - Decorative for DIY Crafts and Gift Wrapping - White/Natural
-
Light Purple Sweet Pea Bush by Ashland®
-
White Mini Dogwood Stem by Ashland®
-
Rust-Oleum 327909 American Accents Ultra Cover 2X Metallic, Each, Gold
-
Rabbetworks Ornate Gold Oval Picture Frame 8x10
-
Oval Mahogany Picture Frame 8"x10" with Glass








Love your ingenuity! What a beautiful wreath! Thanks for sharing a diy project anyone’s budget would allow.
Thank you, Sue! This is definitely a budget-friendly wreath. I appreciate your sweet comment!
Paula
Paulina, I just took the whole tour of your Mom’s house from beginning work to just before Thanksgiving in 2011, I believe. What an amazing undertaking she did! To tackle all that pretty much by herself (of course with yours and Mr. SP’s and Mike, etc. help, too) boggles my mind! What a trooper, but when we have something that means soooo much to us, we gladly will tackle it and sleep some other time!! Beautiful, beautiful results! Those floors, that woodwork, everything is just beautiful! (PS, I love the wreath!)
Thank you, Karolyn! I read this comment to my mom this weekend and it really made both of our day. My mom is one determined lady to take on that house restoration.
Paula
Paula,
Thanks for the inspiration! I add plates to the center of frames. Never thought about this idea, love it.
Enjoy your Sunday!
Cindy
Adding plates to the center of a frame is a great idea, Cindy! I need to remember that.
Paula
Your pretty spring wreath looks real nice on your Mama’s front door. I clicked a link to your milk lamp makeover (which looks awesome) and saw Aunt Fanny. There’s an Aunt Fanny in our family tree, also. I love those old names people had way back when. Then I started on the links to your Mama’s home makeover. Now I’ve got to come back so I can read all those links. Your posts are always like reading a good book.:) Visiting from Craftastic Monday.
Thank you so much, Allyson! Isn’t it funny that we both had an Aunt Fanny? That is a name that hasn’t been used in a few generations! I am glad that you enjoyed seeing my mom’s house renovation. I need to do an update on what her home looks like now.
Paula
I love this original and creative idea for Spring decorating! Your mom will enjoy this for a LONG time. I love visiting your blog for fresh ideas.
Thank you, Meegan! I think my mom will enjoy her new wreath for many years to come.
Paula
Oh, this is so sweet! What a smart idea to repurpose a frame as a wreath! Pinned!
Thank you, Julie! Another plus is that I removed one item from my filled to the brim attic crawl spaces. (We live in a cape cod and the attic storage is under the eaves in the two upstairs bedrooms.)
Paula
Very cute idea, It turned out beautiful!!
Thank you so much!
Paula
I love how you used a picture frame for this wreath. It is a refreshing take on a front door wreath! It really makes it so unique!
Thank you so much, Pamela! I had fun making this.
Paula
I love this. I have dogwoods on my wreath on my front door, too. Such a beautiful idea to use a frame! And will have to follow all of the transformation of your mother’s home.❤️
Thank you so much, Leslie
What a great way to reuse that’s frame. Dogwood flowers are so pretty. I have a tree in my yard. Thanks for sharing your project and another great story!
Thank you so much, Kim! I also love Dogwood flowers and they should be blooming very soon here in Virginia.
I never thought of using a picture frame for a wreath!! Love it Paula!!
Thank you so much, Jennifer! My mom has it on her door now and really enjoys it.
From your U.K. readership:
Love the wreath, it would cheer me up every time I looked at it! Happy Easter to you all!