DIY Rope Word Art
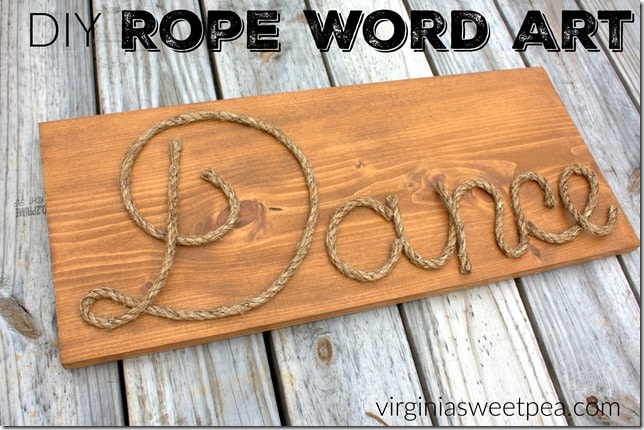
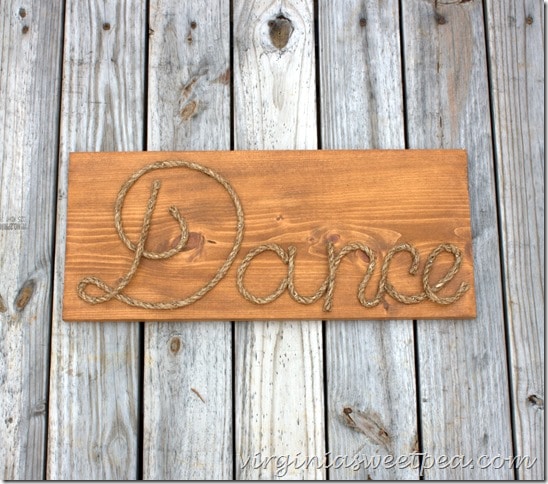
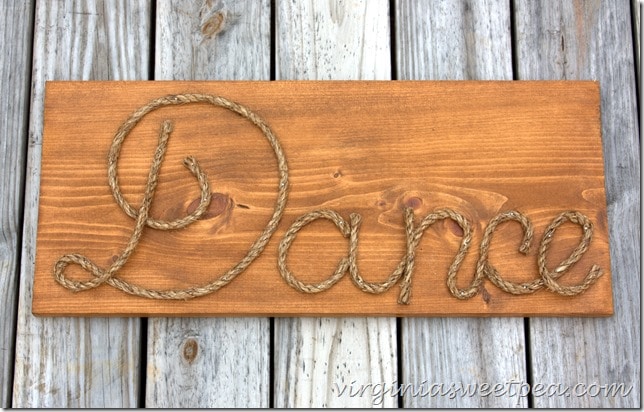
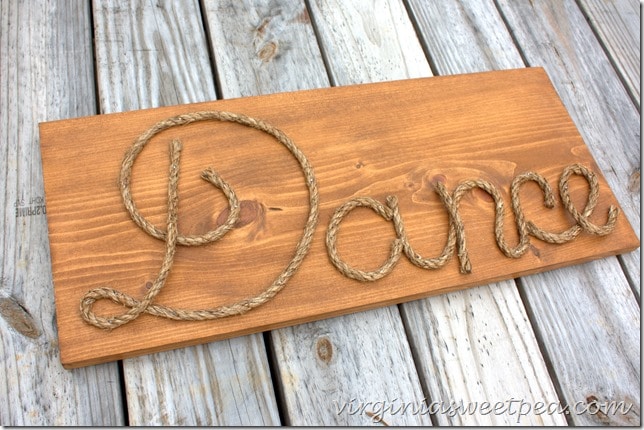
My niece recently had a birthday and I wanted to make something special for her. She’s a dancer, so I thought she might like something she can hang in her room that expresses what she likes to do most in the world: dance.
The DIY Rope Art I made for her can be customized for any word that fits your personality or interests. You could also spell out a name or an inspirational message, such as “Imagine” or “Dream.”
How to Make DIY Rope Word Art
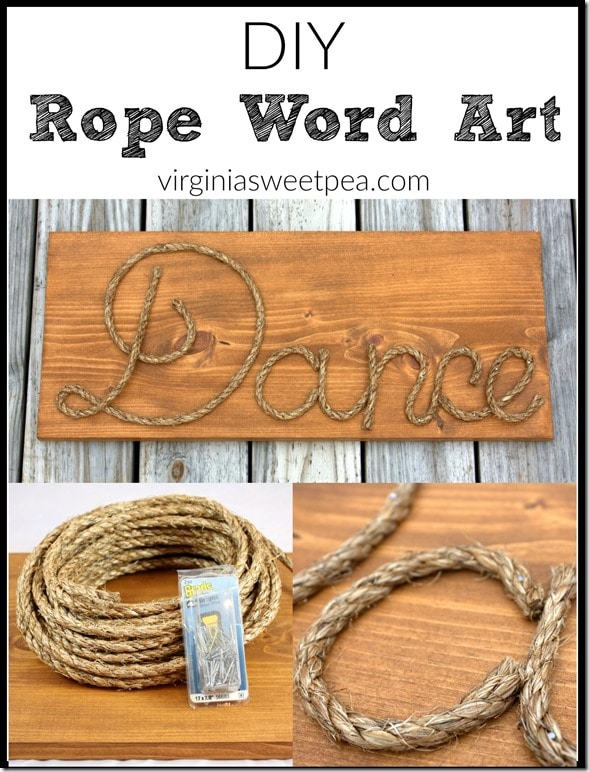
Materials
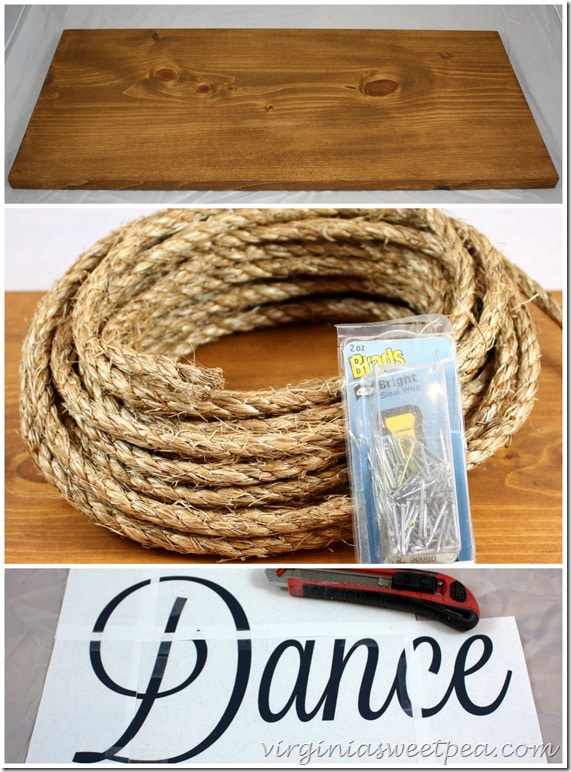
Board cut to the length you desire and stained or painted
Brads – I used 17 x 7/8”.
Hammer
Printout of your word in a cursive font
Saw tooth hanger or eye hooks and picture-hanging wire
Procedure
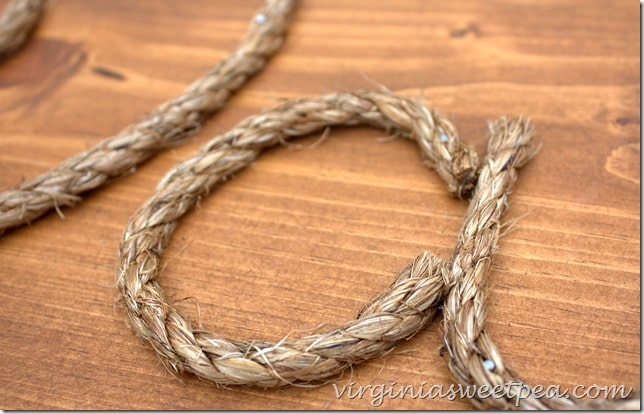
Examine the cursive print out of the word and decide the approximate placement of each letter. Nail the rope to the board where the first letter begins.
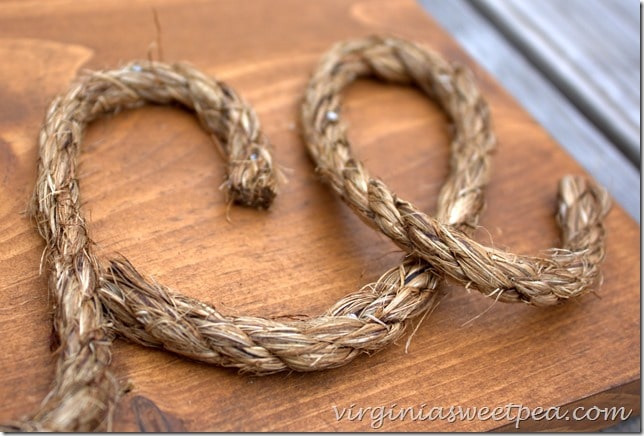
Using the printout as a guide, bend the rope to form each letter. Nail the rope into place as you work. Cut the rope with a utility knife where a letter ends or where needed to form a letter.
After the word has been formed, trim fraying pieces of rope with scissors .
Add a picture hanger to the back of the DIY Word Art. Hang and enjoy!
If you like this project, please pin it to Pinterest for others to discover!
My niece loved her gift which made me a very happy aunt!

Love this idea Paula and pinned it to my Wedding Board. My daughter is getting married in August outdoors and we’re doing Rustic DIY wedding so signs like this would be perfect behind the head table, at the guest table, and the list goes on. Thanks for the inspiration!
This is so cute! I bet your niece loved it! From all that you’ve told me about her she definitely sounds really into dance so this seems like the perfect personalized gift!!
How do you keep the ends of the rope from fraying?
The type of rope that I used hasn’t frayed. If you used a nylon type rope you can heat the ends to seal them. I’ve done this using the gas burner on my stove.
Paula
This is such a cute idea! I love how it turned out. I think it would be perfect for a party … maybe the word dance has me thinking that! 😉
Such a thoughtful and beautiful gift! It can be used in almost any setting! <3
This is such a cute idea and adds that personalized touch to a room.
Thank you! I made this one for my niece but have also made two more: Eat and Relax.
Paula
Where do you buy the stencils?
Hi, Colleen! To make the stencil, I found a font in Word that looked like cursive and then typed “Dance” into the document. I then switched it to landscape view, and enlarged the word. After that, I saved the document and then uploaded it to Block Posters (free to use) and enlarged it to fit the board. (You may have to print it a few times to get the size just right.) Hope this helps!
Paula