DIY Under Bed Storage Drawer
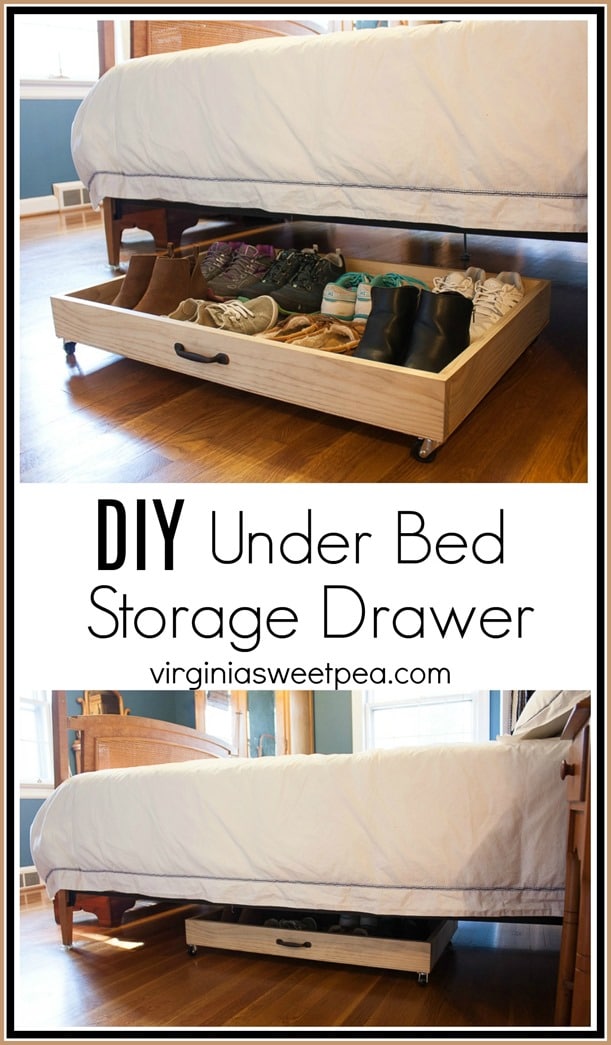
Utilize the space under your bed with a DIY Under Bed Storage Drawer.
Have you been working on organizing your home in the new year? Our 1950’s home has small closets and a constant problem for me is shoe storage. It doesn’t help that my feet are large and my shoes take up so much space. I made a DIY Under Bed Storage Drawer that has helped with my shoe storage problem.
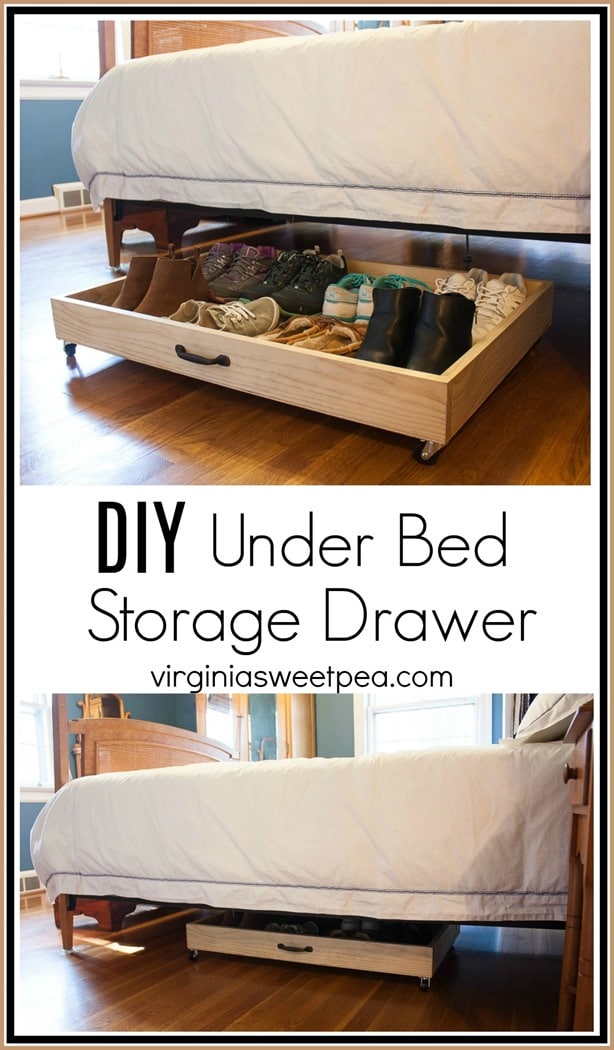
My drawer holds eight pairs of shoes and easily slides under our bed. This project was an easy DIY and I’m so happy with the end result.
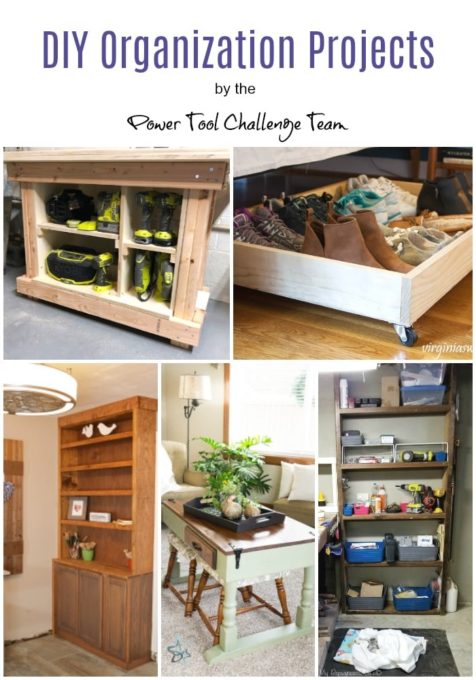
Today the Power Tool Challenge Team gals are sharing organizing projects. See all of the projects shared at the end of this post.
How to Make a DIY Under Bed Storage Drawer
Supplies
- 1 – 1/4” Lauan 2×4 Plyboard Sheet
- 2 – 1x4x6 Pine Boards
- 4 – 1 1/2” Swivel Wheel Casters
- 1 – Cabinet Pull
- Kreg Jig
- Wood Stain
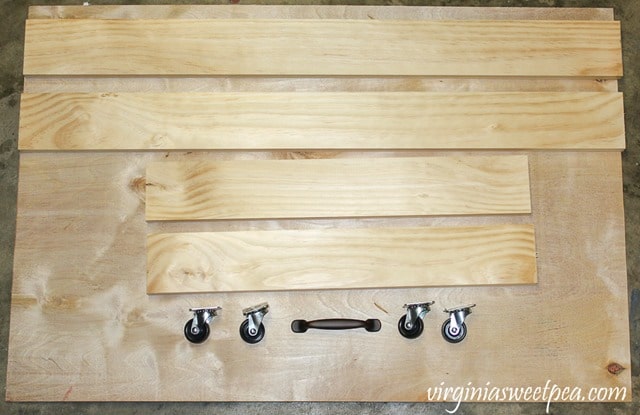
Make the Cuts
First decide the size drawer you’d like to have. My drawer is 2’ x 3’. When deciding the size, I started by measuring my shoes to figure out how large the drawer would need to be to hold eight pairs.
- Plyboard – Cut to 2’ x 3’
- Pine Board – Cut 2 pieces to 36”
- Pine Board – Cut 2 pieces to 22 1/2”
Make the Drawer Box
The drawer box was assembled with pocket holes made using a Kreg Jig.
Clamp the two 36” drawer sides to a workbench.
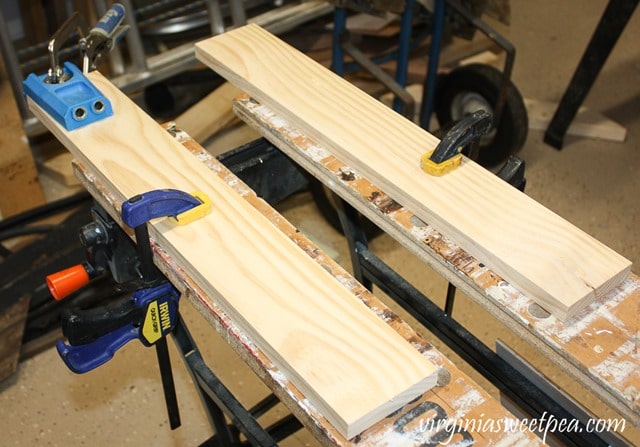
Use a Kreg Jig to make a pocket hole on one side of the board. (I only drilled into the jig’s left side.)
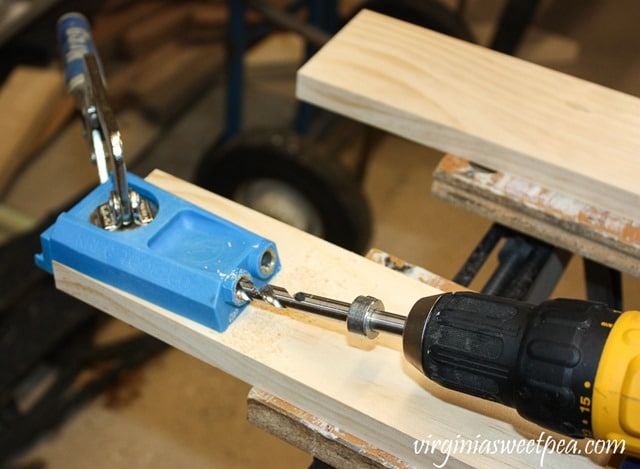
Move the Kreg Jig to the opposite side and drill into the jig’s right side.
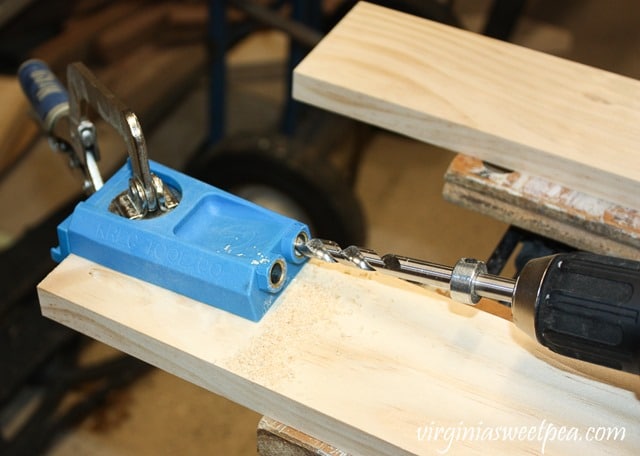
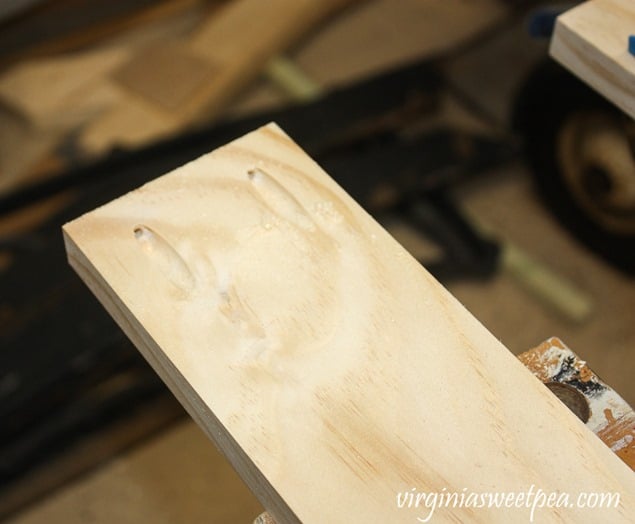
Turn the board around, clamp into place, and make two more pocket holes.
Assemble the Drawer Box
Clamps and clamping squares helped to keep the box square as the sides were screwed into place. We use clamping squares for nearly every woodworking project that we complete!
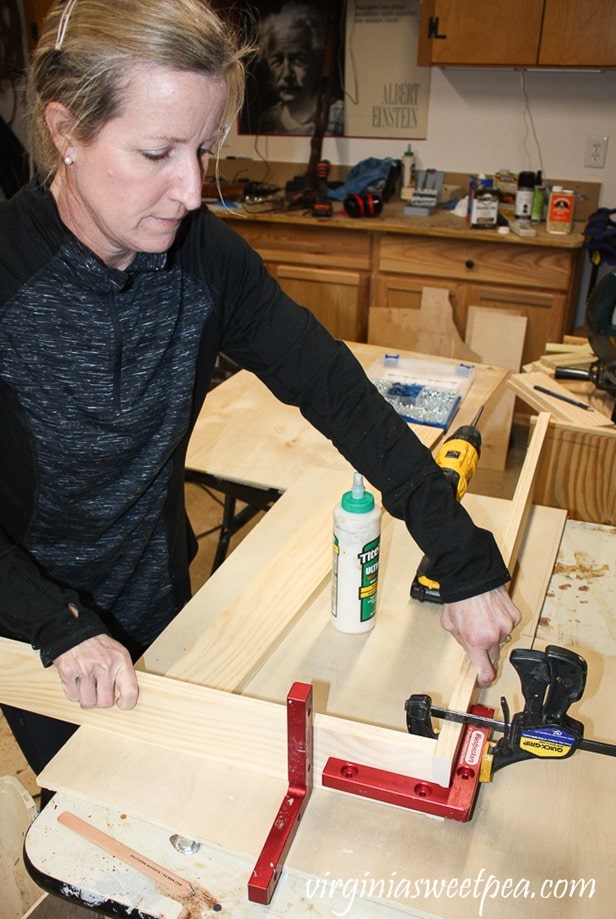
I ran a bead of glue down each side before the screws were inserted for added strength.
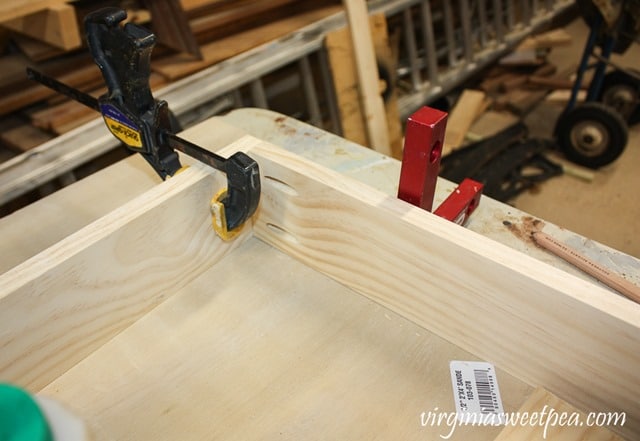
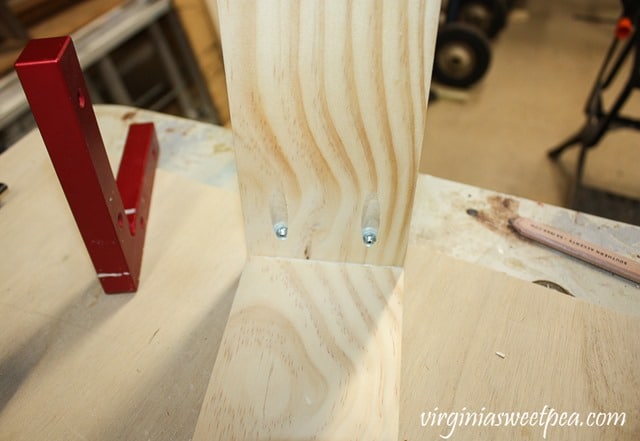
Now the sides of the drawer are complete!
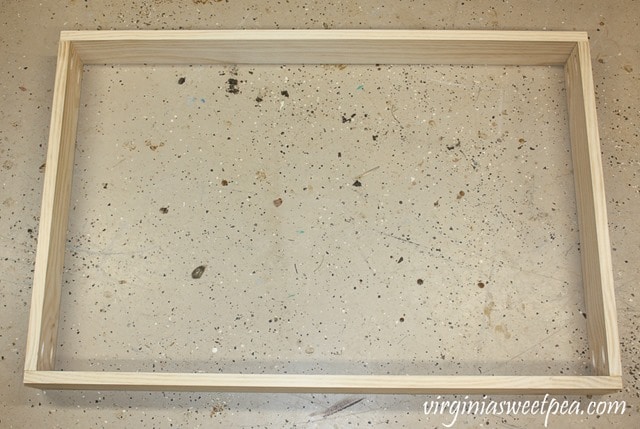
Attach the Drawer Bottom
Run a bead of glue along the bottom edge of the drawer box.
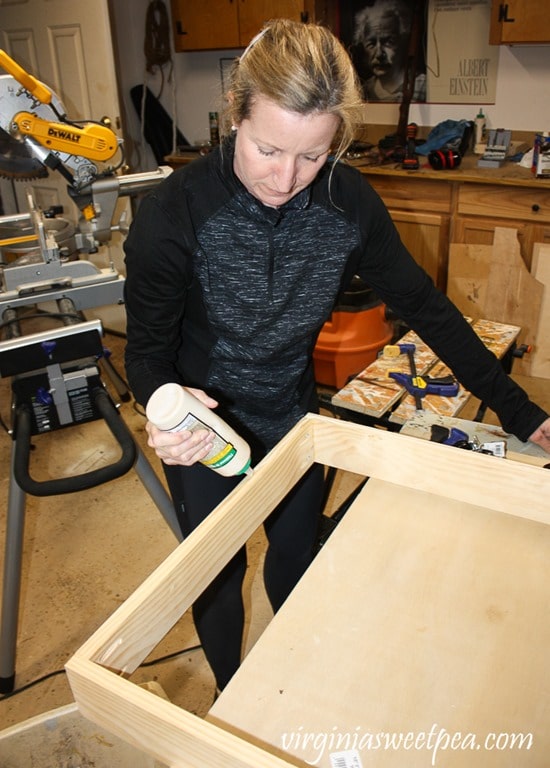
Lay the drawer bottom in place and clamp.
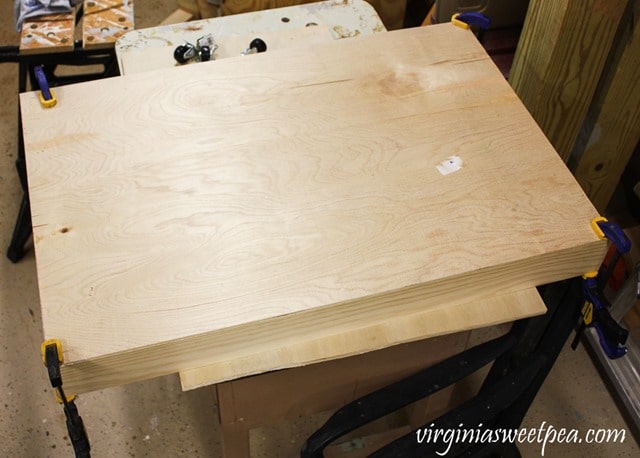
Nail into place.
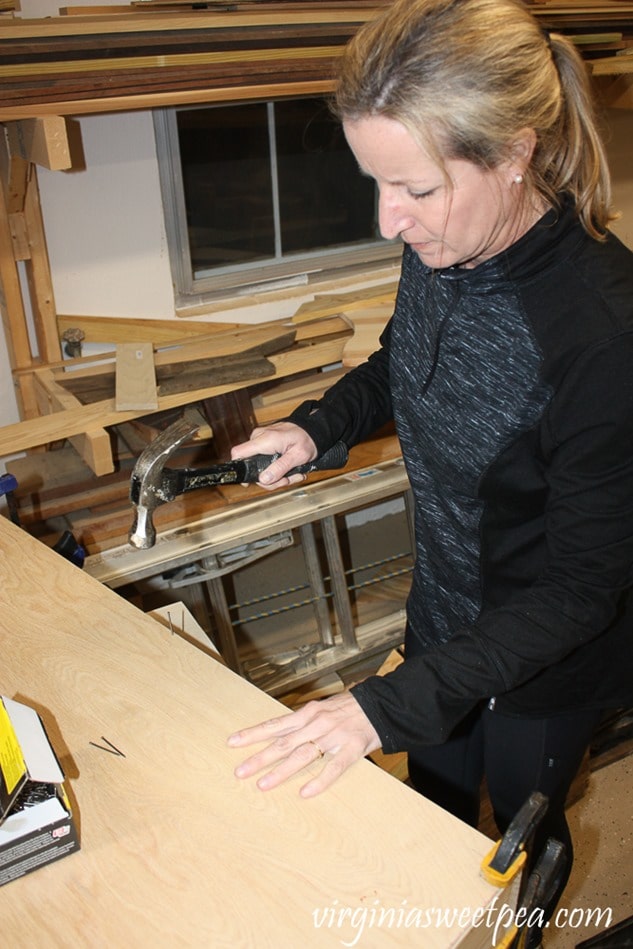
Now the drawer box is finished!
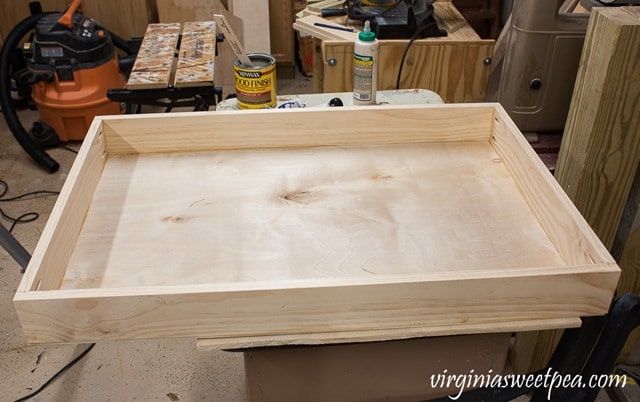
Stain
I used Minwax stain in Weathered Oak on this drawer. When I used this stain on the Farmhouse Tray that I made in April, it gave the wood a beautiful aged look. The pine sides of this drawer didn’t absorb the stain very well so the stain effect is subtle.
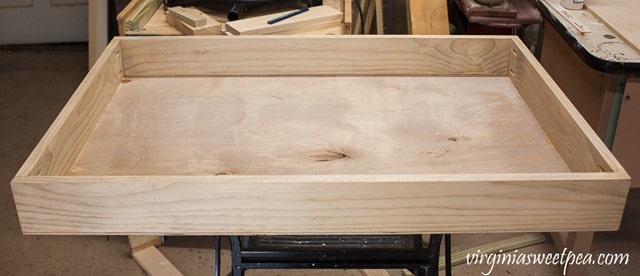
Add the Casters
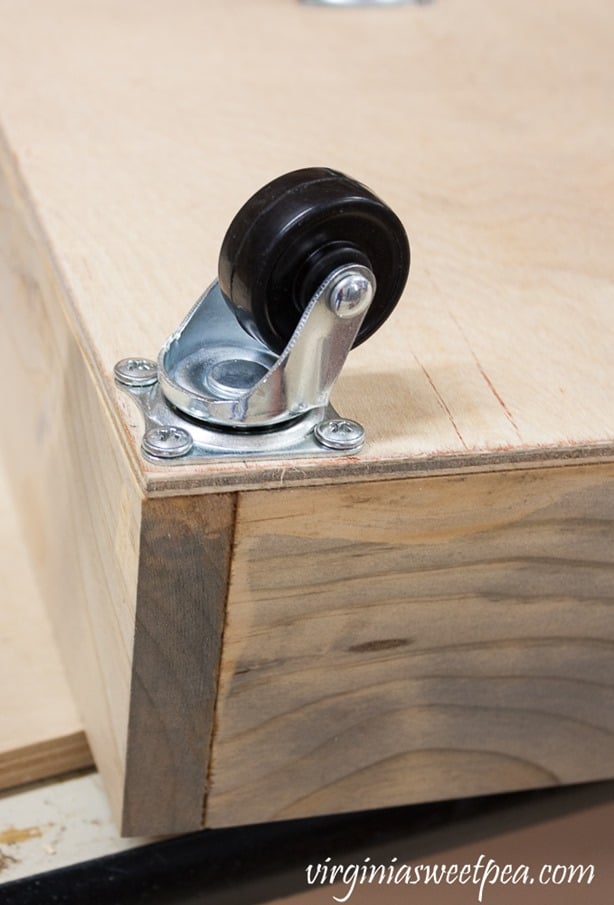
Mark the holes for the caster.
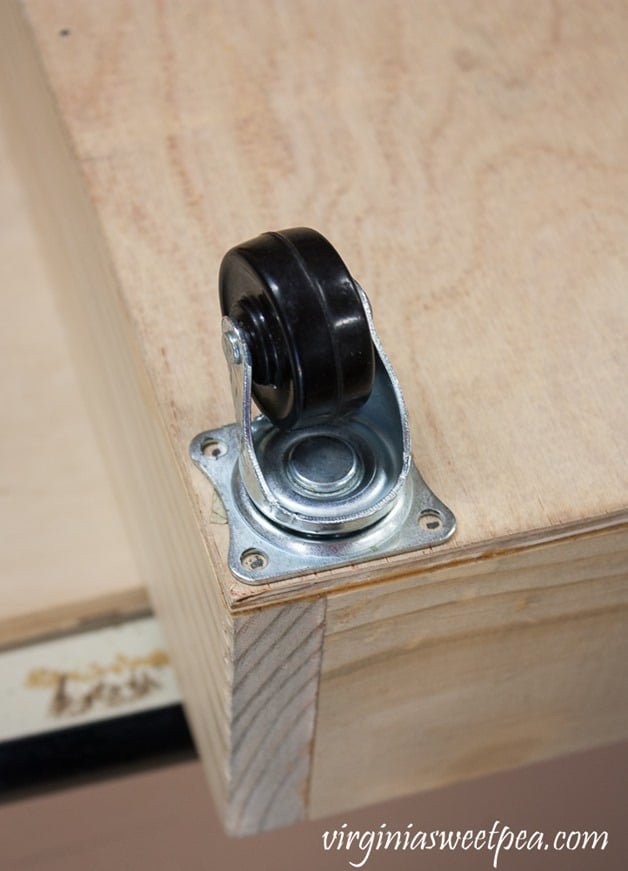
Note that I only used three of the four holes.
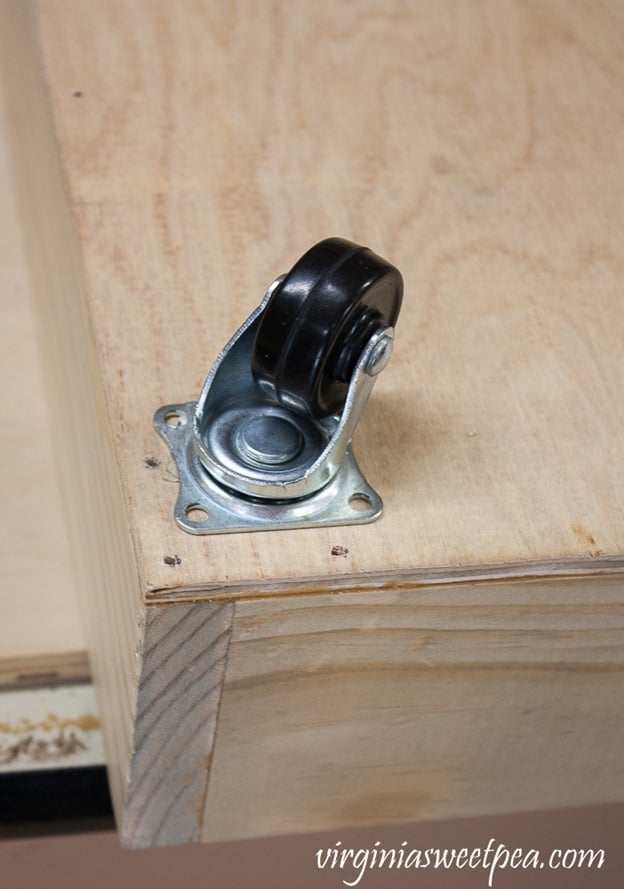
Drill pilot holes and then screw the caster into place.
Add the Drawer Pull
Center the drawer pull on either a long or short side of the drawer. I chose to center it on a long side. A woodworking rule with a center scale is so handy for tasks like this. It finds the center with no thinking or measuring involved! My brain so much appreciates the ease of using this tool.
Put the woodworking rule on the drawer with the zero in the center of the rule where the drawer center appears to your eye.
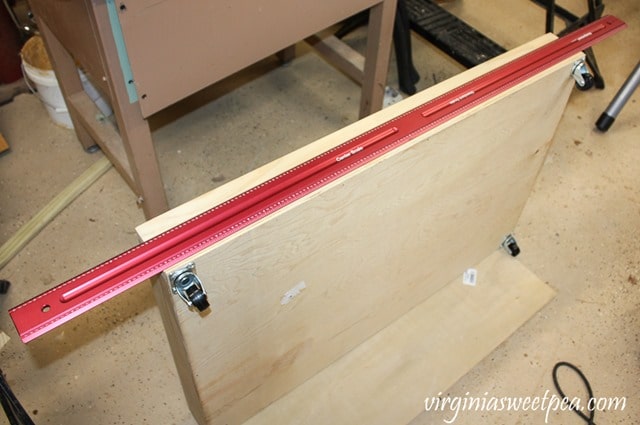
Then move the ruler until you see the same number on both ends. Here you can see 18 on the left side of the drawer.
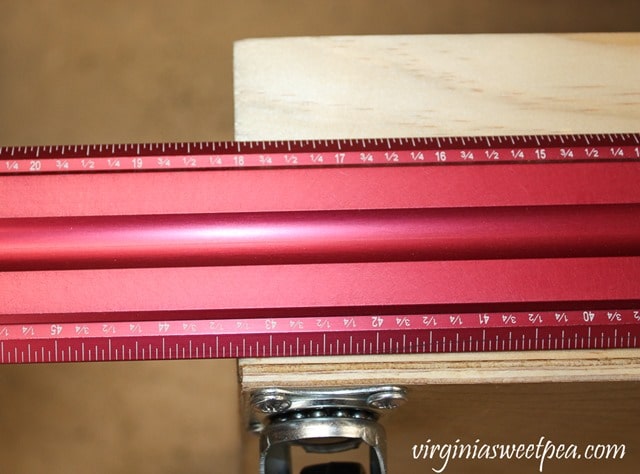
And I see 18 on the right side of the drawer. That means 0 is perfectly in the center!
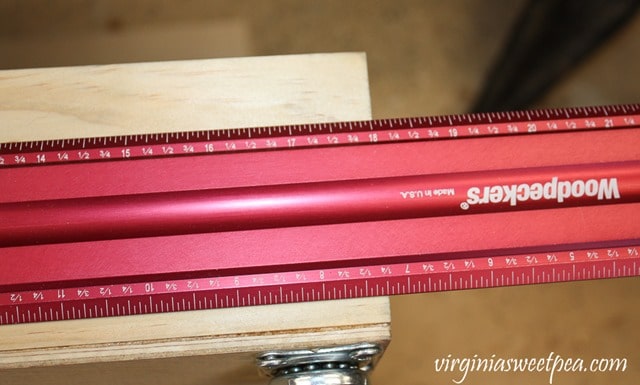
Now that 0 perfectly marks the center of the drawer, position the drawer pull into place so that it is centered.
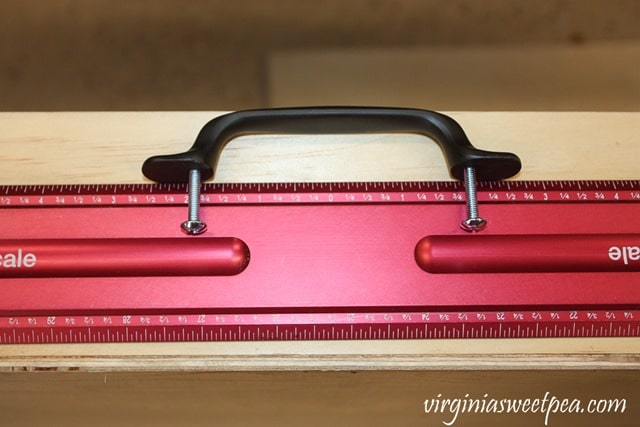
Mark the holes for the drawer pull.
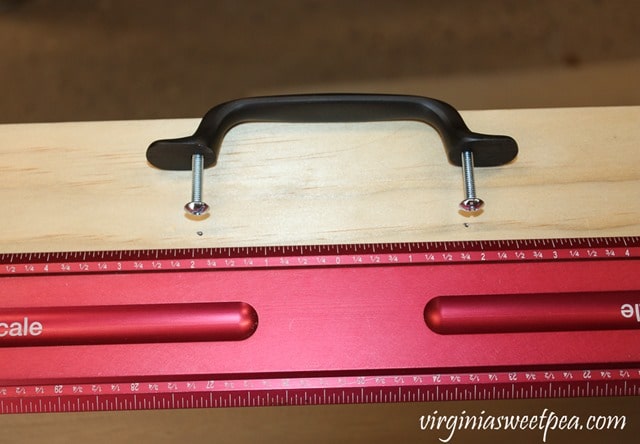
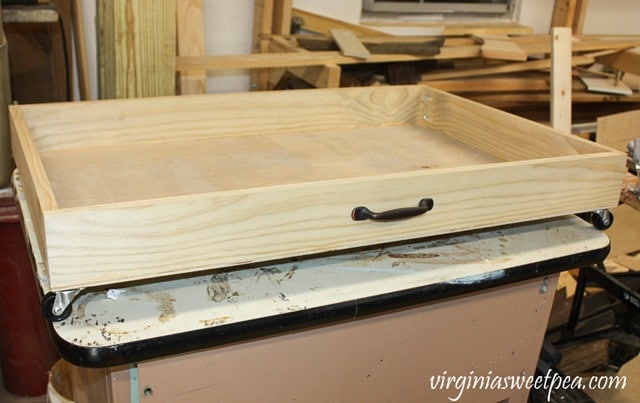
Drill pilot holes and then screw the pull into place. The drawer is now ready to be used!
DIY Under Bed Storage Drawer in Use
I couldn’t wait to fill my DIY Under Bed Storage Drawer with shoes. This storage drawer keeps my shoes handy and having eight pairs of shoes out of my tiny closet gives me more storage space.
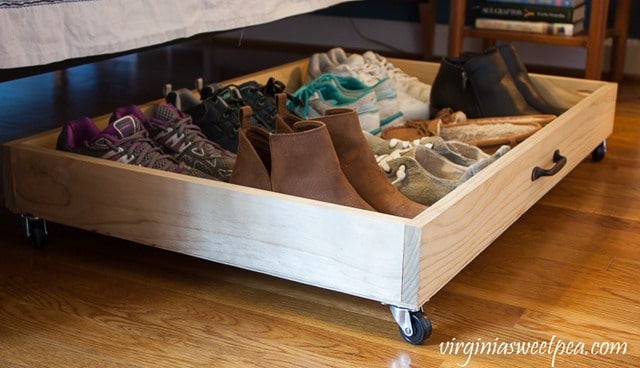
The swivel casters make this drawer easy to slide in and out from under the bed.
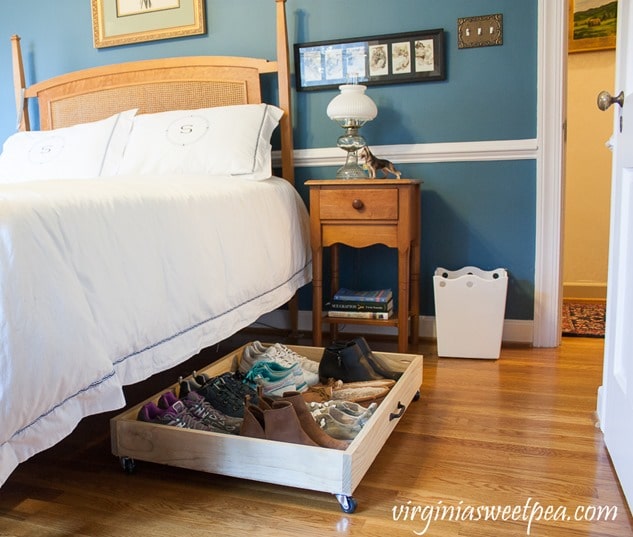
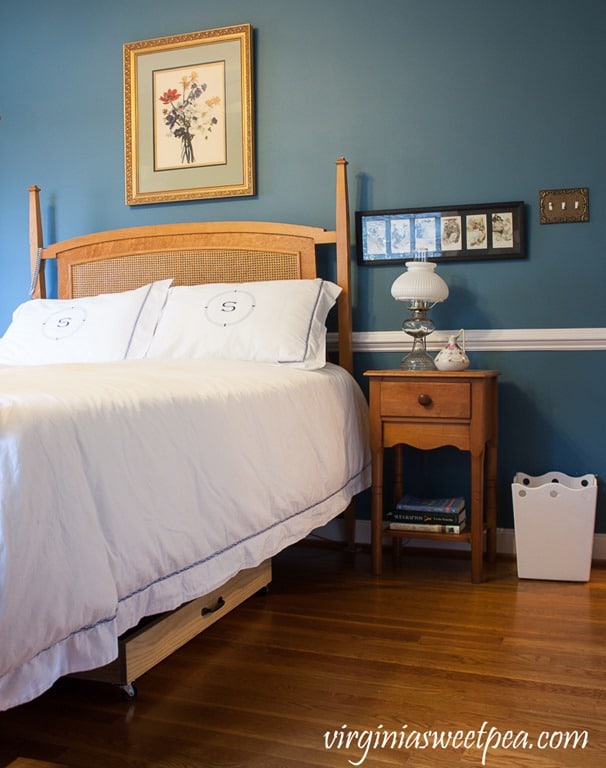
The drawer isn’t easily seen when pushed under the bed. If we had a bed skirt, it would be completely hidden.
If you would like an under bed storage drawer but don’t want to make one, here are a few available to purchase.
Be sure to visit the Organization Projects made by my Power Tool Challenge Team friends this month. Click on the links to visit each project. You are sure to find a project or two that you’d like to make for your home!
Create and Babble – Simple DIY Workbench
H2OBungalow – How to Build Built In Bookcases with Cabinets
Designed Decor – Puzzle Game Table
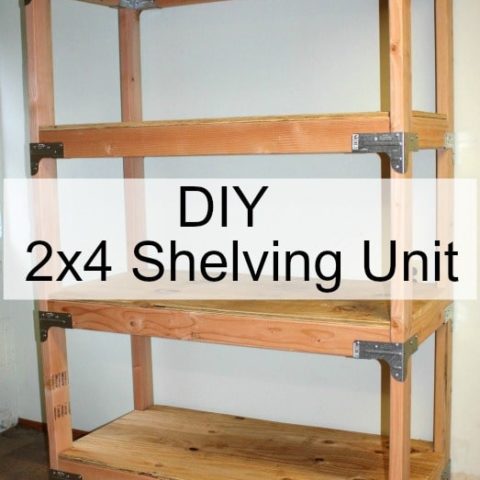
My Repurposed Life – Easy Build Storage Shelf
I would love for you to pin this post to Pinterest for others to discover!
Favorite Projects
If you liked this post, check out more popular projects.



Paula, What a great way to get a room organized and hide some storage! I can see the light stain color and it is fine!
Great project and really easy to make!! I wish my bed was taller so I could put a couple of these under my bed.
I love this project! We struggle with shoe storage too…too many shoes and not enough storage! LOL I’d love to make a few of these for under our bed. Good project! Pinned 🙂
i just found your blog spent the whole evening reading about your moms redoing her home.please post more pictures of the finish project
Oh this is a fantastic project! Thank you for the whole tutorial. I never have enough room in my closet for the shoes. I always have to change out the seasons. It’s ridiculous. HMM…..giving me lot of ideas for all over my house! pinned!
What is that red tee square looking thing. Where did you get it and how much? Thanks, J.
Paula what a great inspiration I will have to try it one of these days and thank you for your personal blog
Wow you are super smart for doing the business! Lack of enough storage is a big problem for us. The way you showed how to find out storage space is magnificent. Thanks for sharing!
What a great idea! I love the idea of under-bed storage, but using plastic bins never appealed to me. This sliding tray is not only practical but also looks great. Thank you so much for the detailed tutorial.
Thanks for joining the Grace at Home party at Imparting Grace. I’m featuring you this week!
I love this idea! Great use of space underneath the bed! I’ll have to get my husband to make me one of these! #wowmewednesday
Very impressive!
You are so clever and such a great idea. We can never have too much storage and under the bed is a perfect place. Thanks for sharing at #BloggersPitStop. Have a great weekend.
This is quite clever and practical and so many beds today are high enough to accommodate a large drawer such as your DIY project. THanks
These are some great tips! I love it:)
I think this under bed drawers are the best solution for storage. You did excellent work!
What a great idea! The step-by-step tutorial is excellent. Thank you Paula.
I love this!! This may be a shoe solution for me that still allows roll out for vacuuming under the bed. Thanks for the inspiration, friend!
Not sure which I like more, the fact this drawer is so easy and handy or that I don’t see a speck of dust anywhere on your floors! Put a pillow in that and Sherman would love it. Well, maybe a slightly larger one but our dogs don’t mind squishing themselves into anything. 😉 Great tutorial. Pinned
We purchased large drawers to match a twin bed set we have, but they are large and hard to pull out! I love that you made your own and put a handle for ease in pulling out! You’re so handy with tools!! Donna
I am lucky to have a husband who guides me through the process. I come up with the idea and he comes up with a plan for how to make it.
What a wonderful idea. Thank you for sharing. Blessings.
Visiting from Imparting Grace #12&15
Thank you so much, Paula. It’s nice to meet another Paula!
Love this idea, Paula! Thanks for sharing at Vintage Charm!
Paula, this is such a great post, and particularly good for this time of year. Thanks so much for joining the Grace at Home party–I’ll be featuring you this week, so that more people can learn from you!