DIY Wine Rack – Display Your Favorite Wines
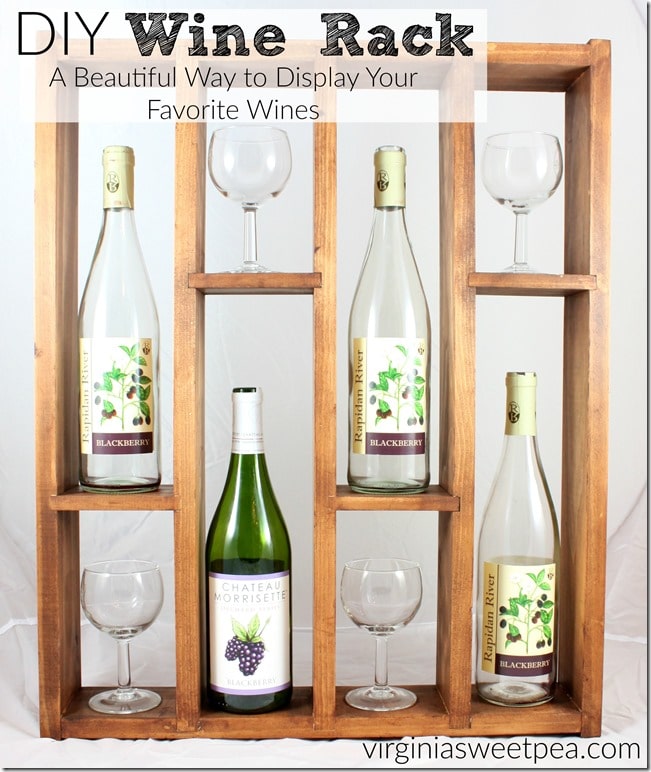
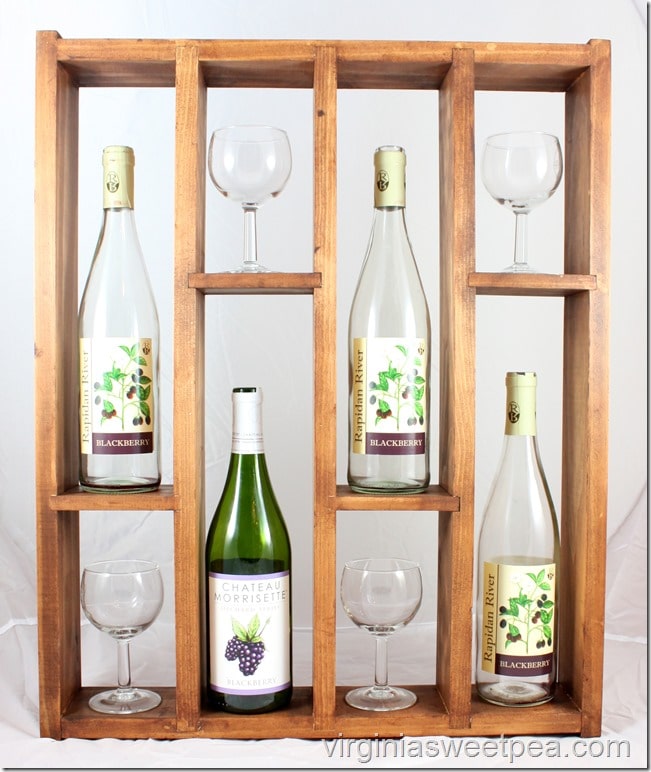
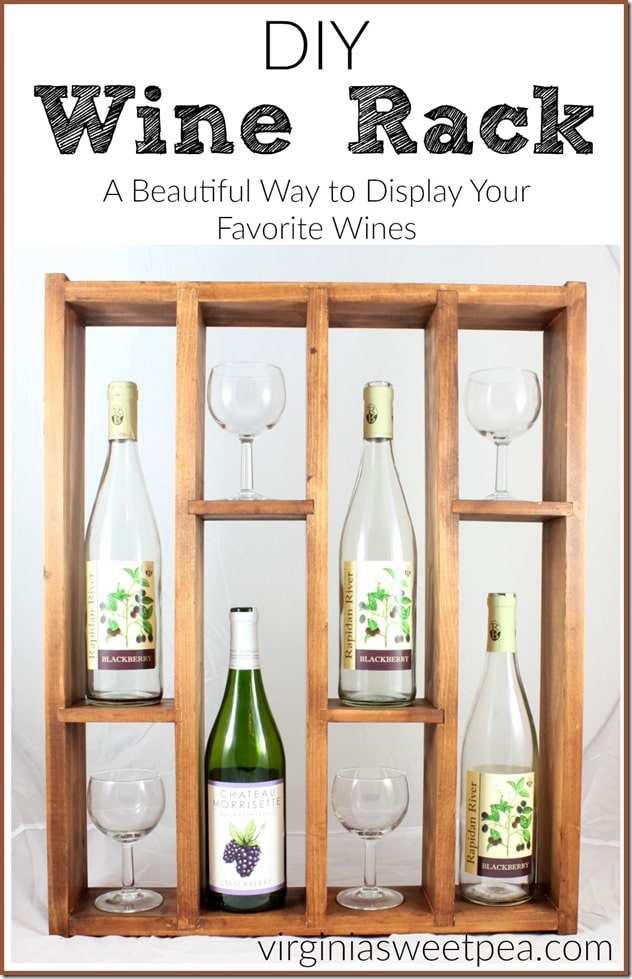
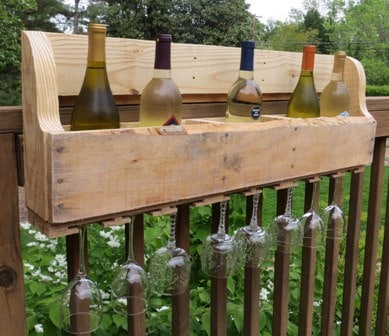
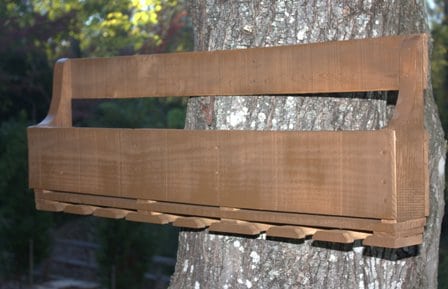
A former student who is now a friend asked us to make a wine rack for her sister as a Christmas gift. After seeing the inspiration picture, Mr. SP designed his own version and we built two wine racks in a few hours.
Why did we build two? We figured if we were going to the trouble to make one, we may as well make two. Our friend’s sister got one as her Christmas gift and the other is ours to enjoy.
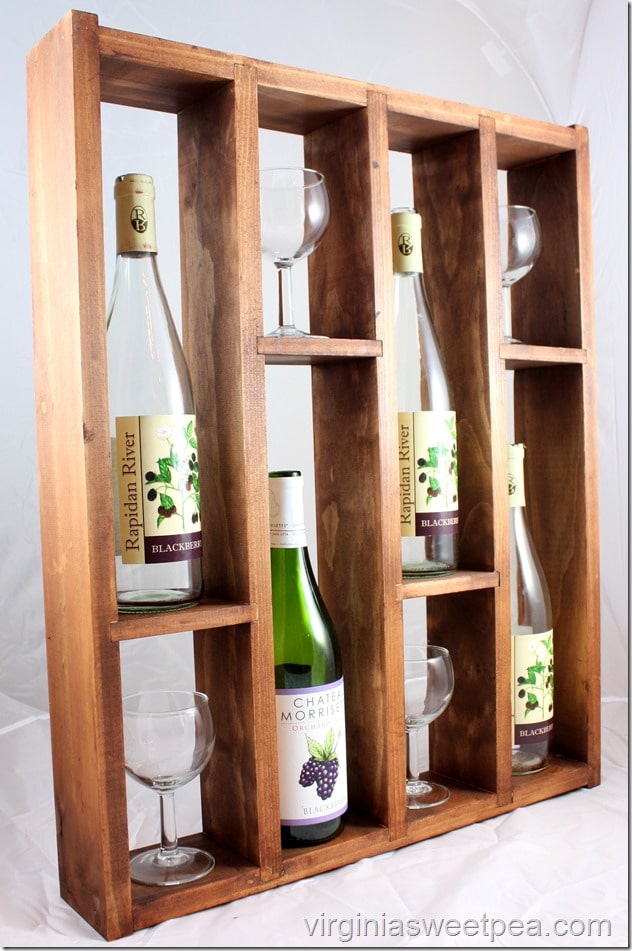
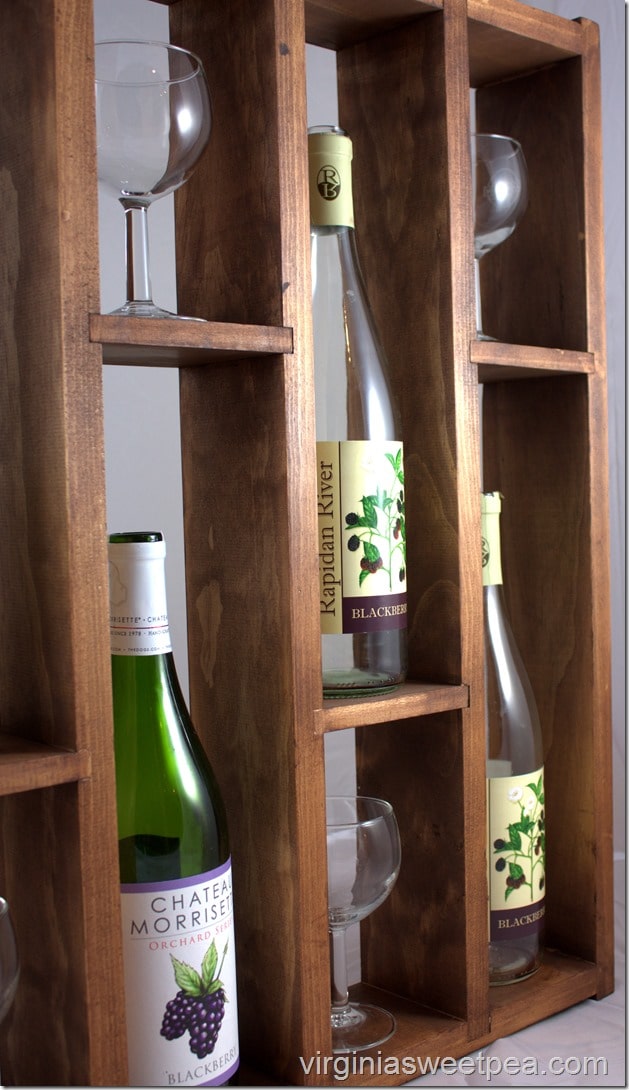
How to Make a DIY Wine Rack
Step One
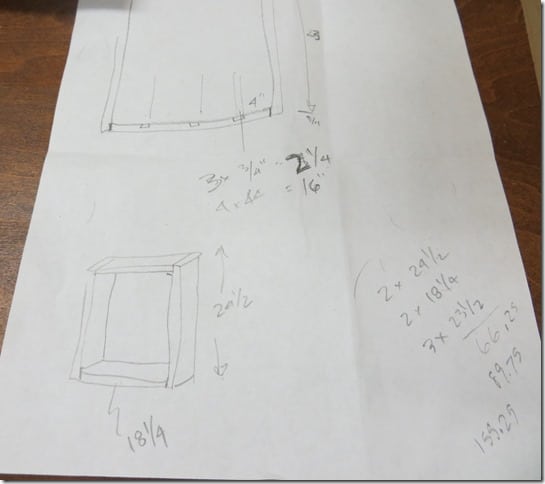
I quickly drew out the plan on scrap paper to determine the dimensions of the wine rack.
Using a chop saw or circular saw cut the following pieces (for one wine rack):
From a 4” x 3/4” pine board:
2 – 24 1/2” pieces for the wine rack sides
2 – 18 1/4” pieces for the wine rack top and bottom
3 – 23 1/2” pieces for the middle dividers
From a 4” x 1/2” pine board:
4 – 4 1/2” pieces for the shelves
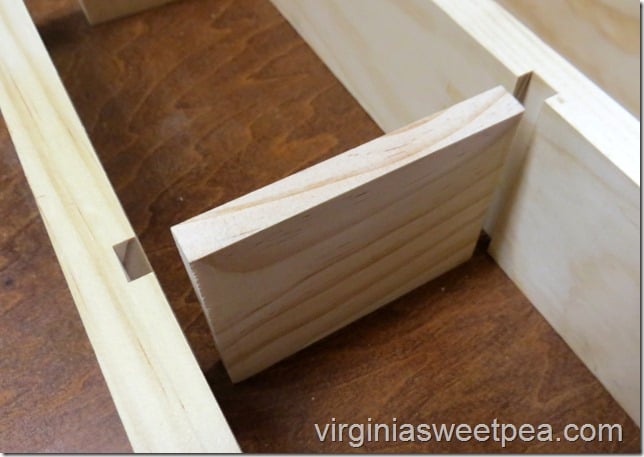
Here you can see the top, bottom, sides, and middle divider pieces cut to length and put in approximate position. The middle boards are to be attached with dados cut into the top and bottom boards with 4” between the vertical boards. The two outside boards are to be butt jointed to the top and bottom horizontal boards.
Step Two
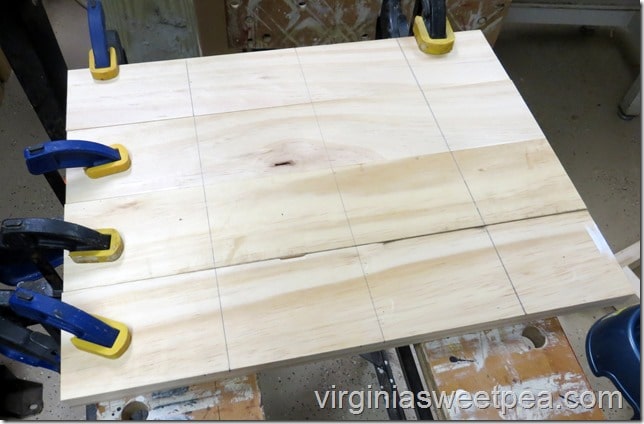
Clamp the top and bottom pieces together to route the dados for the middle dividers to rest into. We have four boards clamped together because we made two wine racks.
Use a wood rule to draw parallel lines every four inches. The lines represent one edge of the intended dado cut.
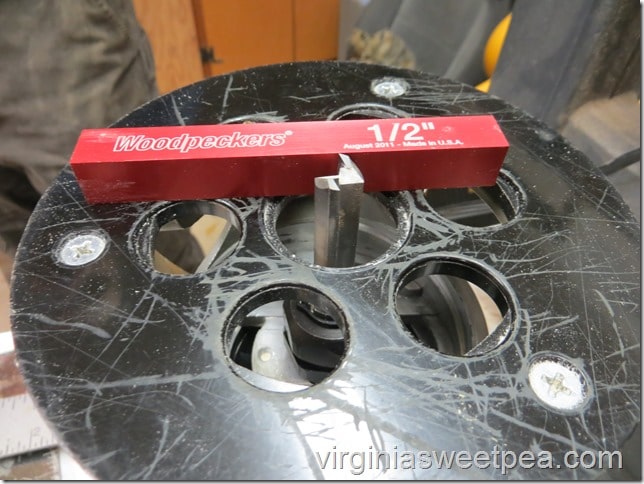
Using a 1/2” dado bit, set the router bit depth to 1/2”.
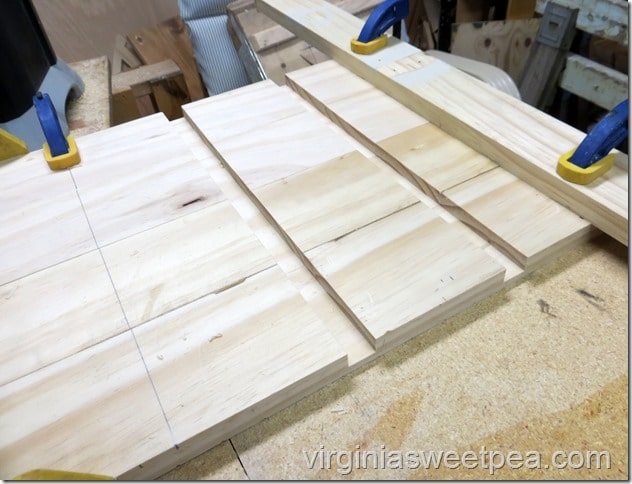
Route along the pencil lines. Two passes of the router were necessary to make the 3/4” dado with the 1/2” bit. The first pass was completed, then the fence was moved 1/4” to make the second pass. The dados were cut so that there is 4” of space between each.
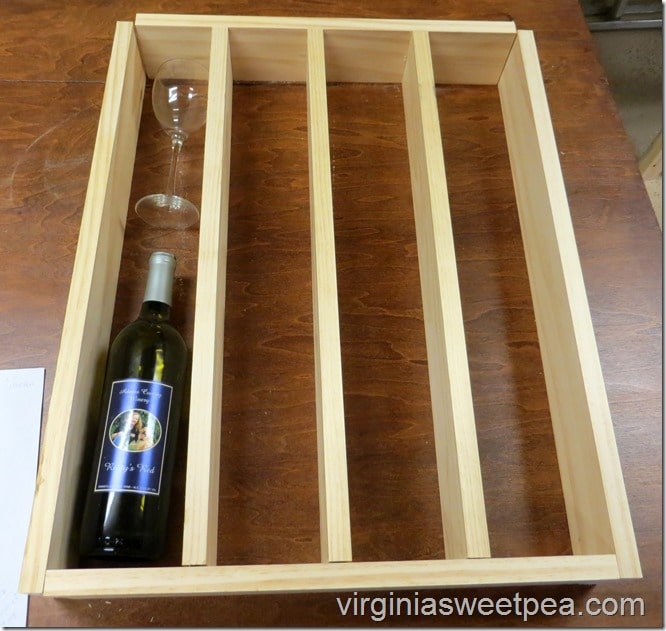
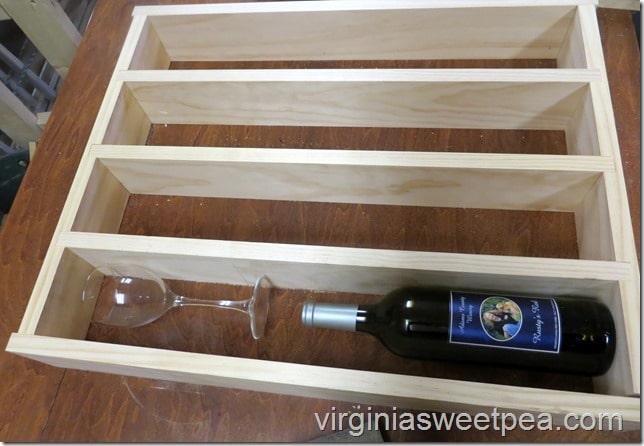
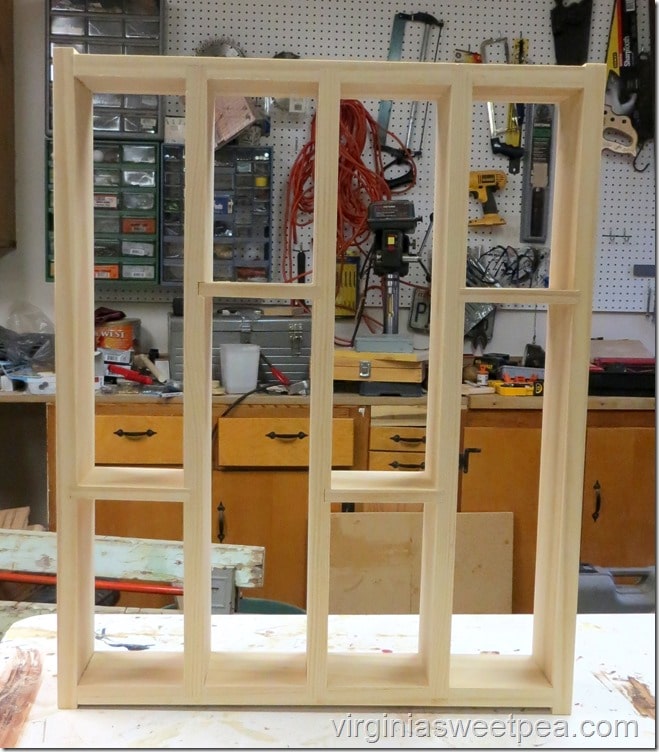
It’s looking good, so far! The pieces are shown dry fitted before the shelf dados are routed. The glass and bottle are used to determine the placement of the shelves.
Step Three
Route lines for the shelf holders.
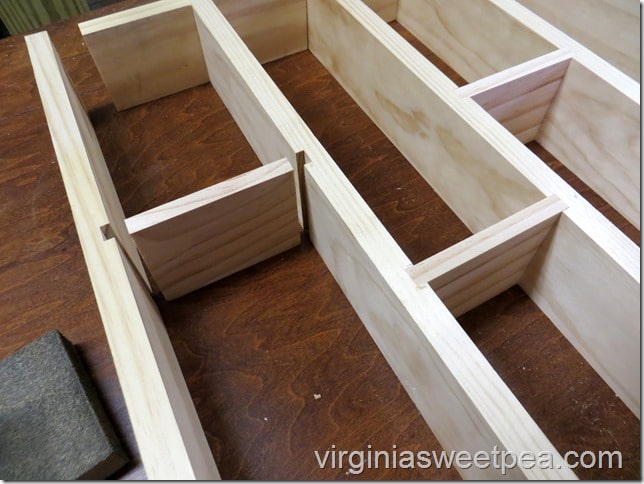
Similar to the process for routing the dados for the top and bottom, the shelf dados were all cut with the boards laying flat. The depth of the shelf dados are 1/4”. One pass with the router for all 5 vertical boards for one set of shelves. Then only the three middle boards were flipped over to route the other side to make the interior shelf dados.
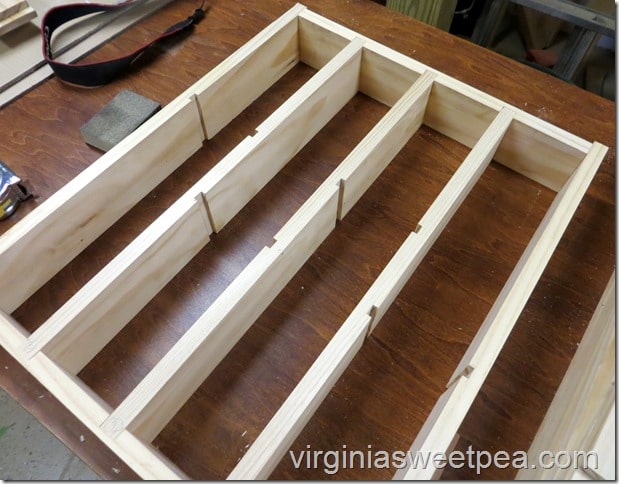
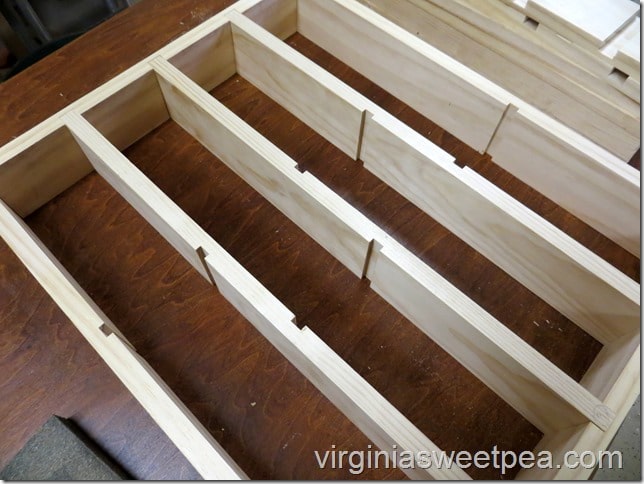
These two photos (above and below) show the dry fitting of the top, bottom and vertical pieces after routing the shelf dados.
Accounting for 4” between the vertical boards and two 1/4” dados, the shelf pieces were cut to 4 1/2” each.
Step Four
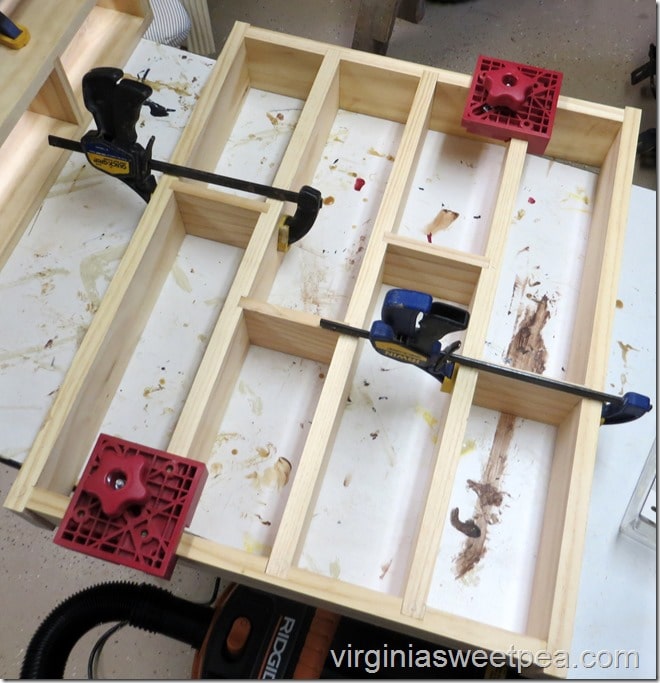
Assemble the wine rack and glue all pieces into place. After dry fitting all the pieces together one last time, it was time to glue the wine rack together. In addition to glue, the outside vertical boards were nailed (using 2” finish nails) to the top and bottom boards to strengthen the butt joint. Box clamps were used to ensure that the rack remained square during setup.
Step Five
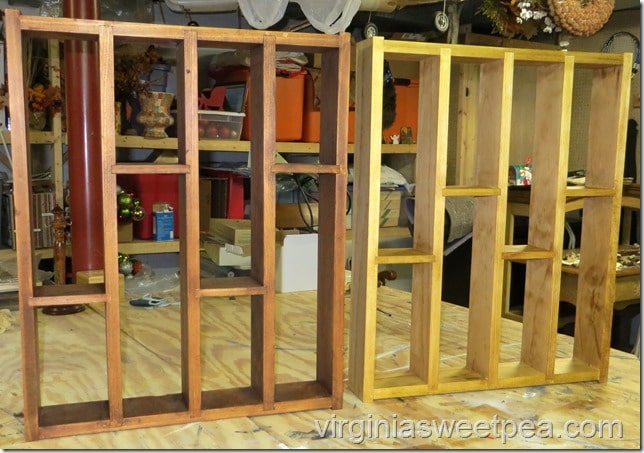
Stain the wine rack. I stained my wine rack (on the left) with Early American by Minwax. Our friend stained her sister’s wine rack (on the right) with a lighter stain and the can must have been empty after she finished because I can’t find the can and neither of us can remember the color.
Our friend was so pleased with her wine rack and her sister loved receiving it as a gift. I like that this design is free standing. Hangers could easily be added to hang the rack on a wall.
If you like this project, I would love for you to pin it for other’s to discover!


Ooo I love this!! So fun that it displays bottles and glasses! Definitely a smart idea to build two at the same time. How nice of you to do that for a friend!
Thanks, Megan! Our friend’s sister really liked this gift. Dave loves to design a project, so it was a fun one for us to complete.
Paula
Oh my goodness, I LOVE this. My hubby and I are big wine afficionados and this is such a great way to display bottles 🙂 Thanks so much for linking up at The DIY Collective! We hope to see you next week 🙂
Thank you, Erica! It is a fun way to display bottles. I had the glasses turned sideways for the pictures but they are all marked with local wine festivals. I’ll turn the labels around when I’m actually using this. I’ve got your party added to my list and I’ll be back next week.
Paula
Hi Paula! Great design and turned out great! You and the Mister are so talented.
Thanks so much for sharing at AMAZE ME MONDAY!
Blessings,
Cindy