DIY Wood Lanterns for Christmas
A DIY wood lantern is an easy to make project that can be used decoratively in just about any place in a home in any season.
Today my Power Tool Challenge Team friends are sharing Holiday Inspired projects. This is a fun challenge because we each make a gift for another team member but we only know the recipient of the gift that we made.
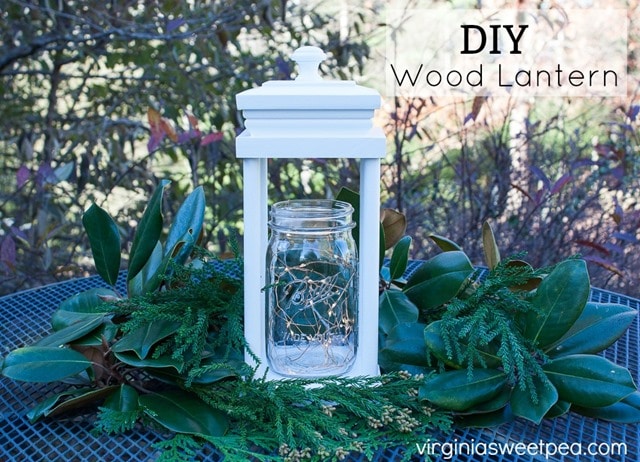
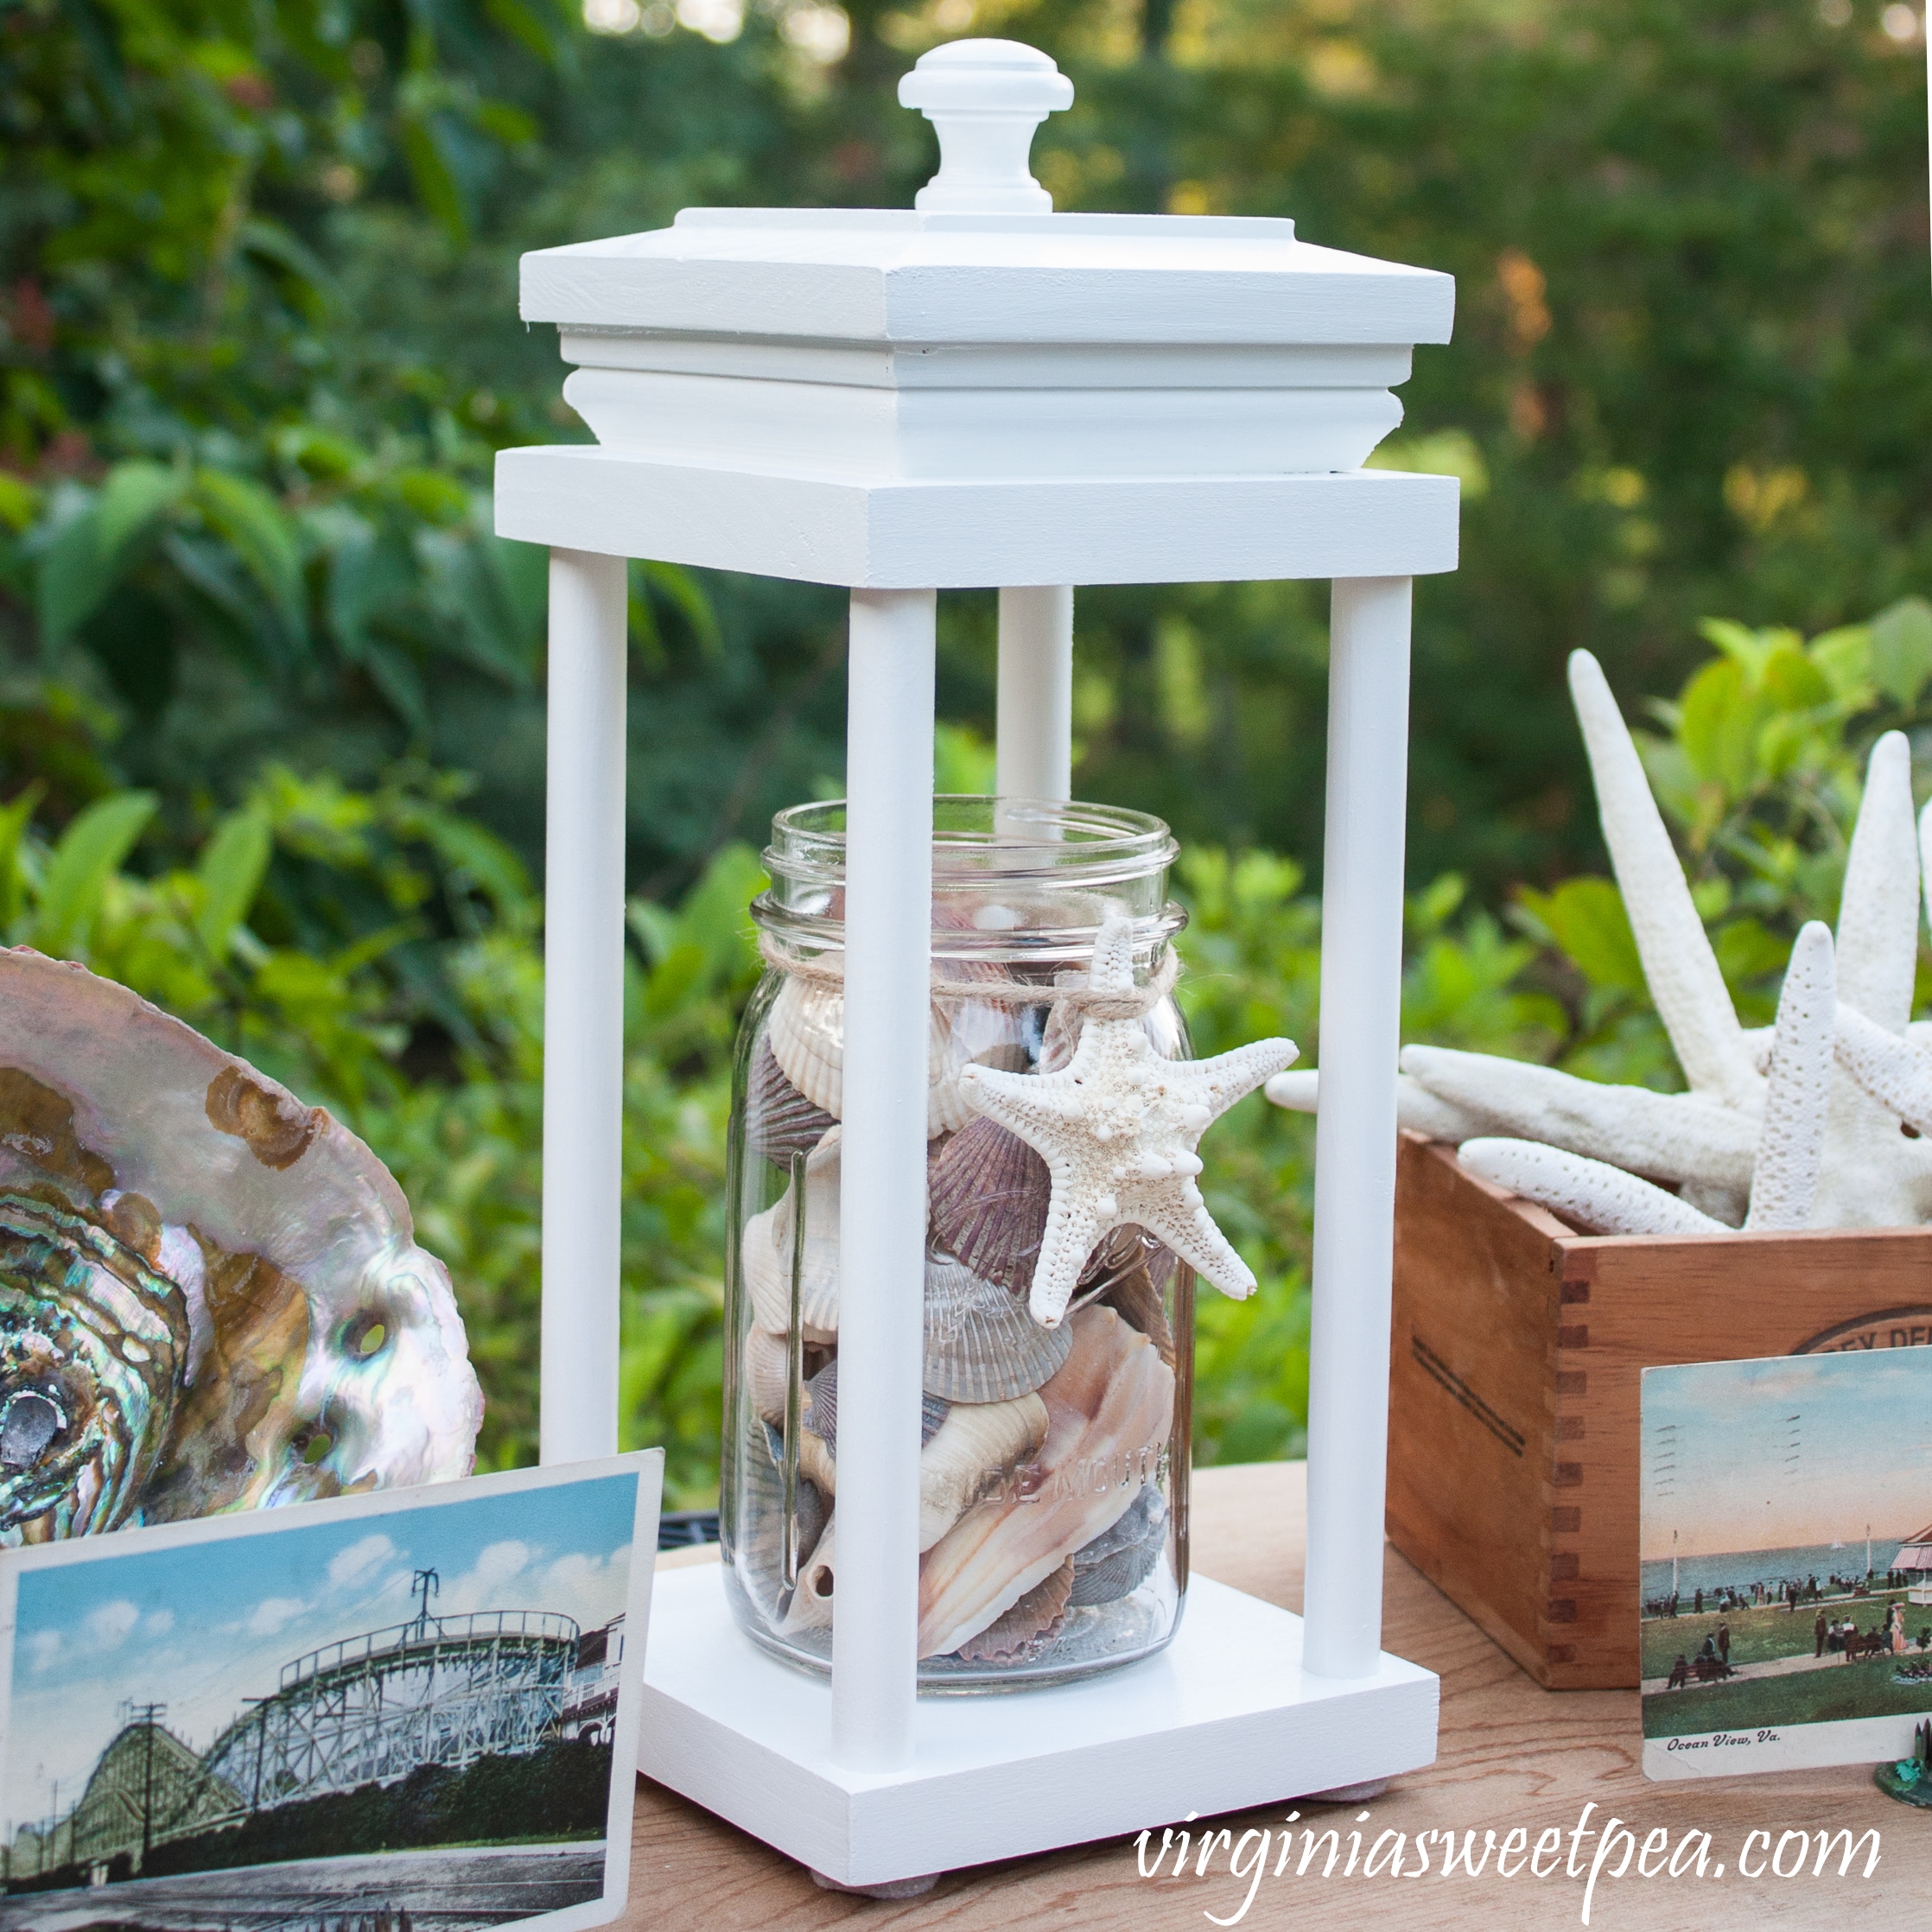
I made three DIY wood lanterns, two for my mantel, and one to send to my secret partner. She won’t know who her partner is until this gift arrives in the mail. I hope she’ll like it!
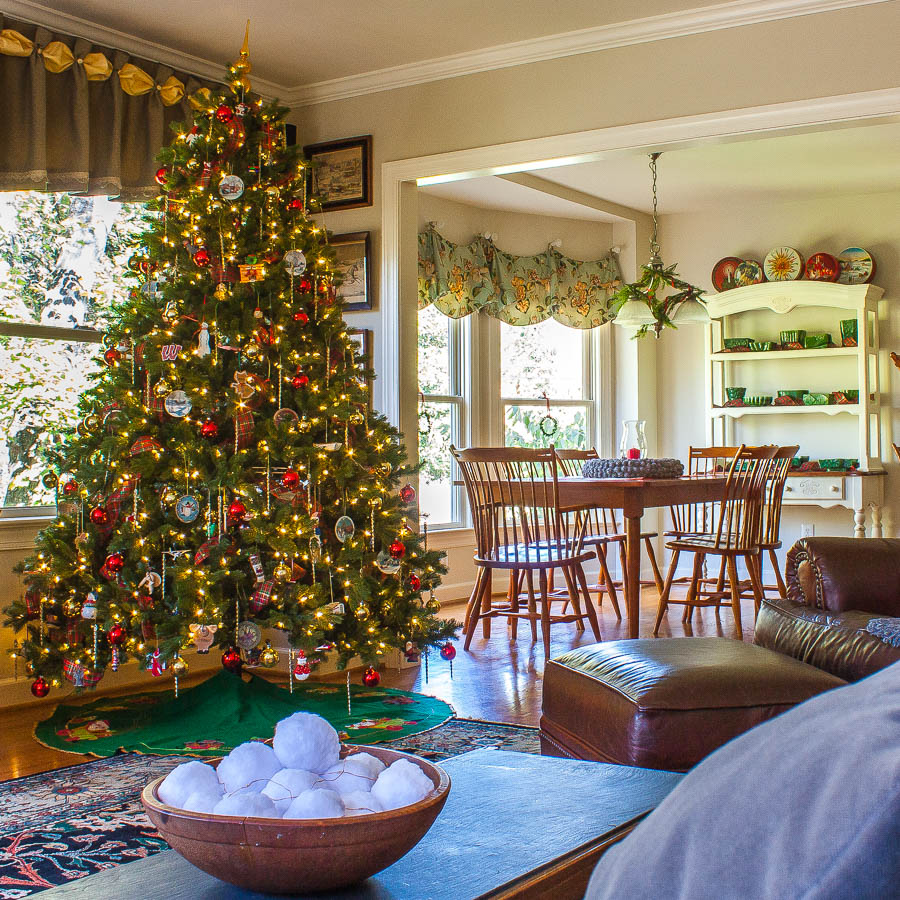
I’m already enjoying my lanterns in our decorated for Christmas living room.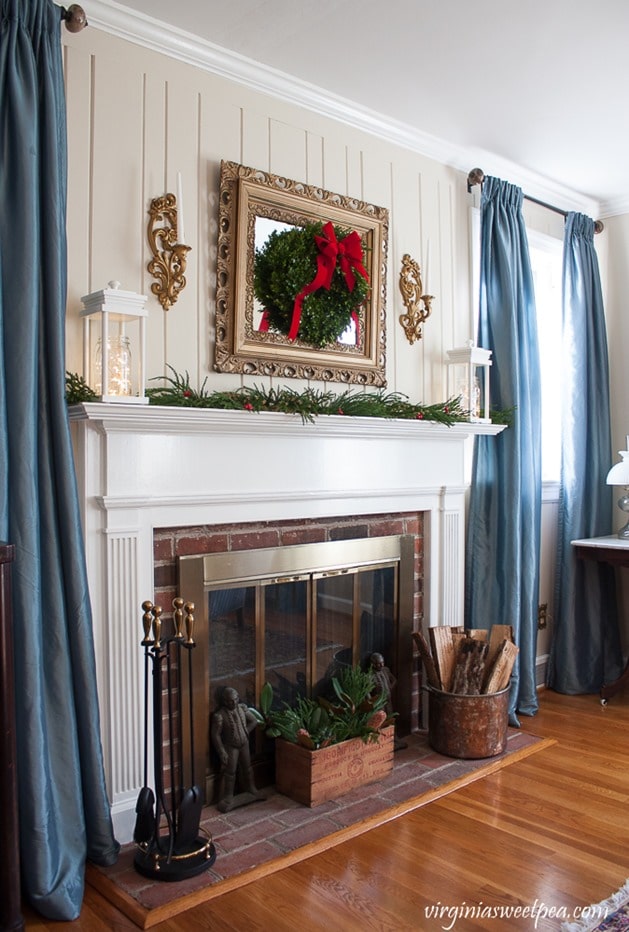
My living room got a mini makeover this fall with new paint. I used Benjamin Moore White Dove on the trim and Clay Beige on the walls. This is the first time my mantel has been decorated since I painted this room. You can see more of this room’s vintage inspired Christmas decor here.
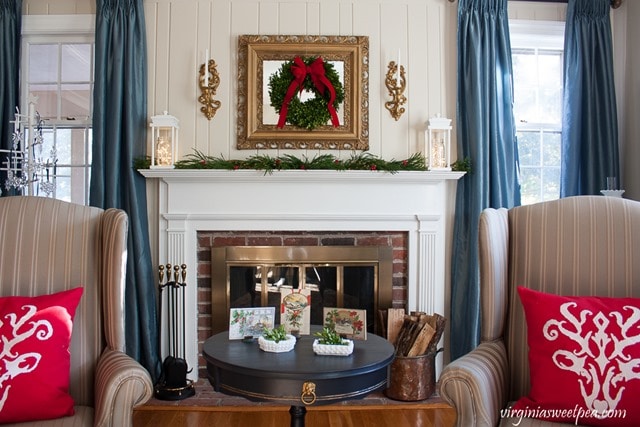
I participated in this fun challenge last year and made a DIY Cheese and Crackers Serving Board for Karen at The DIY Bungalow. I can’t wait to see what everyone made this year and it’s going to be fun to try to guess which gift may be coming to me. Last year Jeanie from Create and Babble sent me DIY Pallet Wood Wall Art. You can see it in use this year at the base of the sled on my Christmas porch.
How to Make a Wood Lantern
Making a DIY wood lantern is an easy woodworking project. Grab a few supplies and before you know it, you’ll have a lantern to use and enjoy.
Supplies
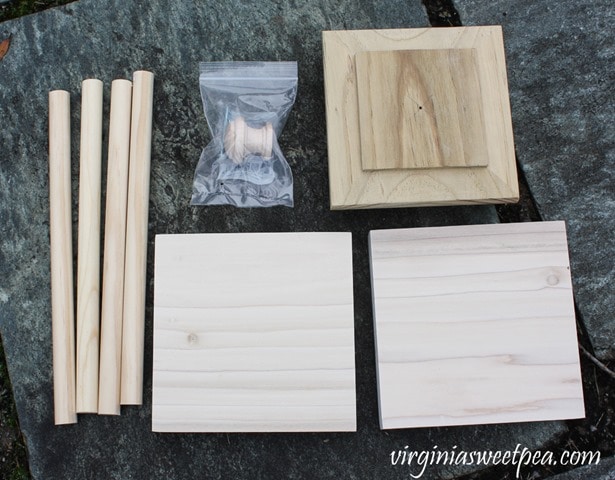
1” x 6” board cut to 5 1/2” x 5 1/2” – Need Two
1/2” dowel cut to 10” – Need Four
Circular Saw or Sliding Compound Miter Saw
Drill and/or Drill Press
Procedure
Cut the Lantern Top and Bottom
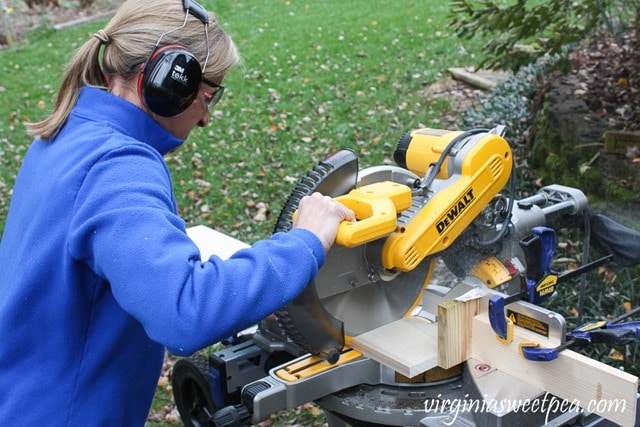
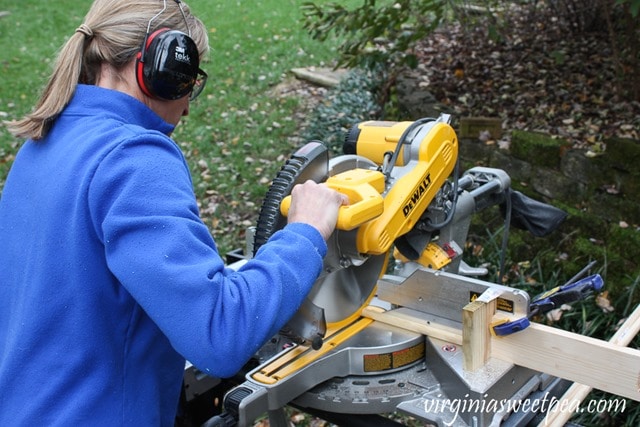
I used scrap pieces of a 1” x 6” to cut two pieces 5 1/2” x 5 1/2”. I set up a stop block so that I only had to measure 5 1/2” one time.
Cut the Dowels for the Sides
Cut four dowel pieces 10” long. (The stop block was moved to 10” for this step.)
Drill Holes for the Dowels
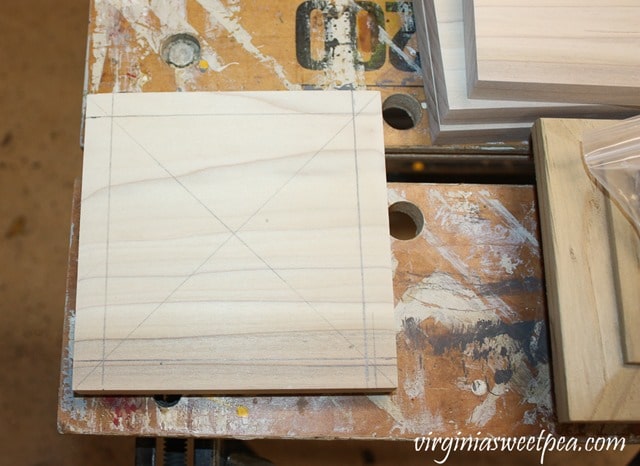
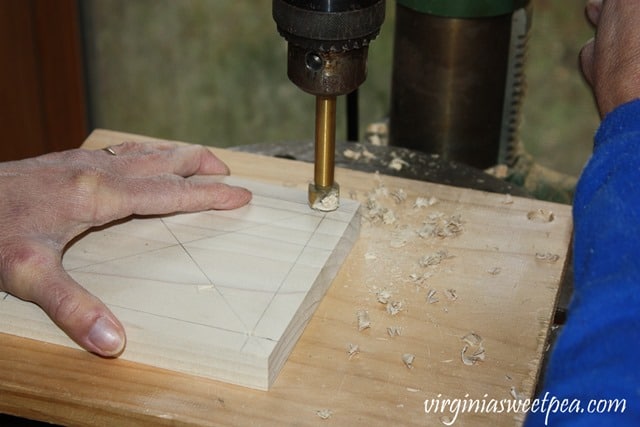
I decided that the best placement for the dowels was 1/2” in on each side. I marked the wood so I would know the exact location for each pilot hole.
Use a drill press to drill pilot holes for the dowels.
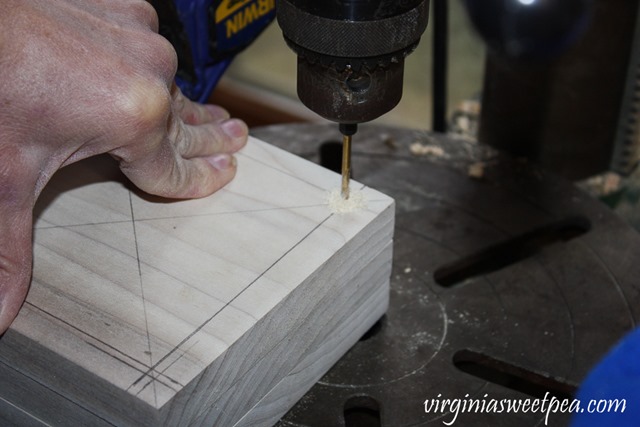
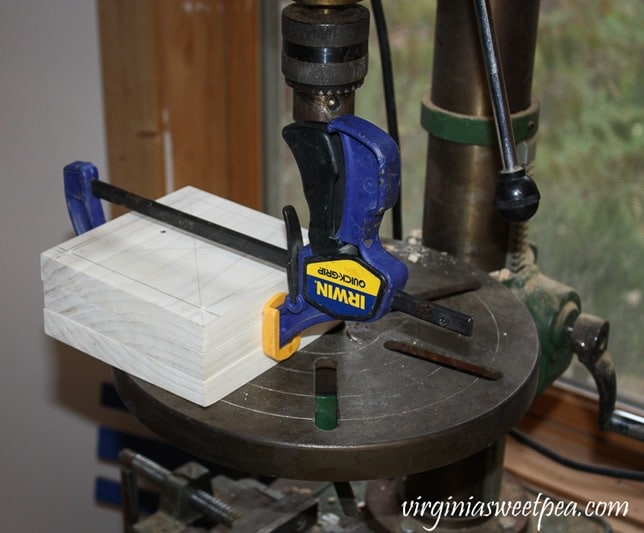
I quickly realized that if I wanted to successfully drill three holes at a time then a clamp was necessary.
Then use a 1/2” Forstener bit to drill the holes.
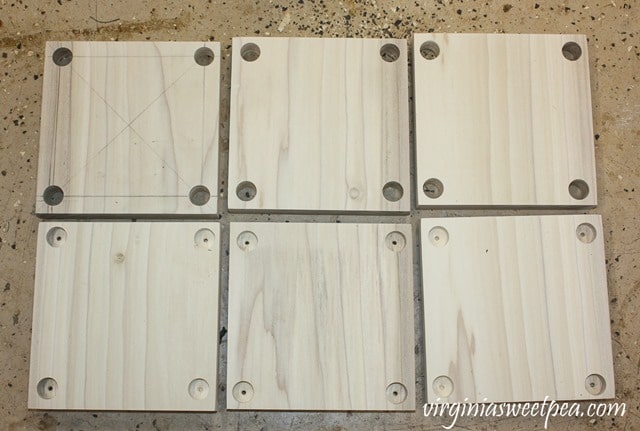
I drilled holes all of the way through for the lantern bottom pieces and 1/2” deep for the lantern top pieces. I made three lanterns, so that’s why there are six pieces shown in this picture.
Attach the Knob to the End Cap
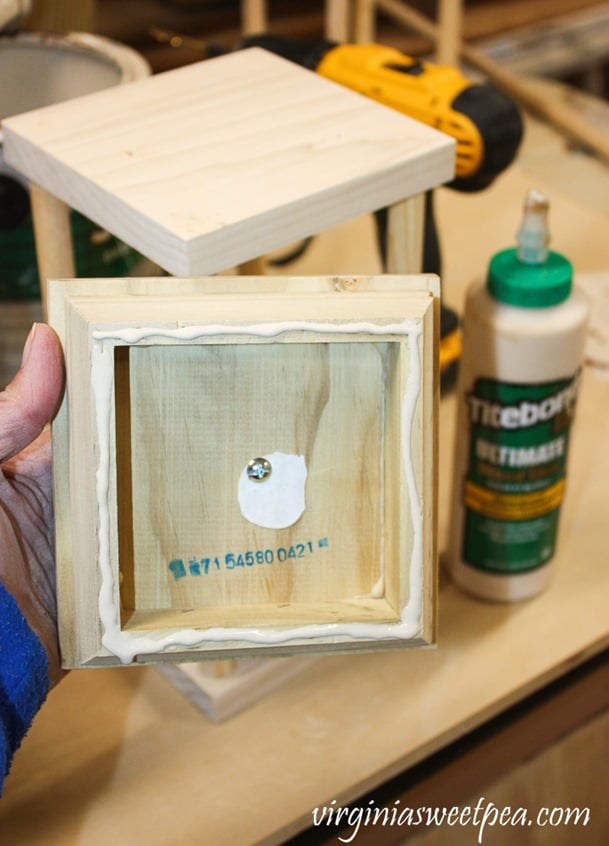
First mark the center of the end cap. I used an aul to make an indentation and then drilled a pilot hole for the screw.
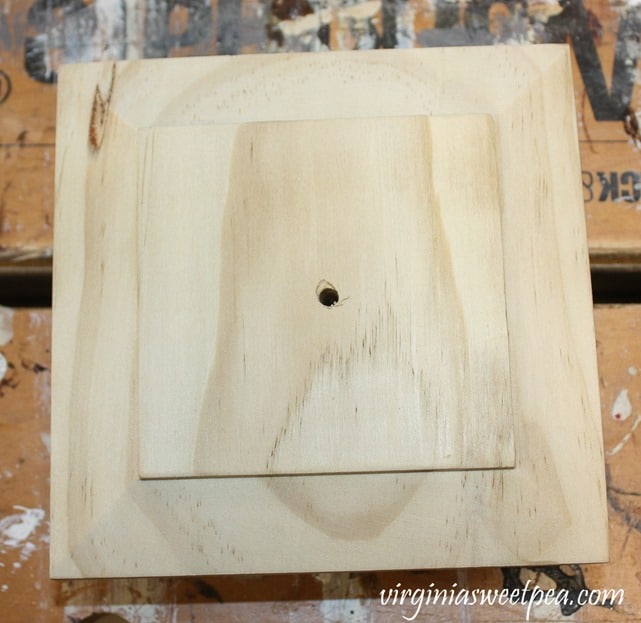
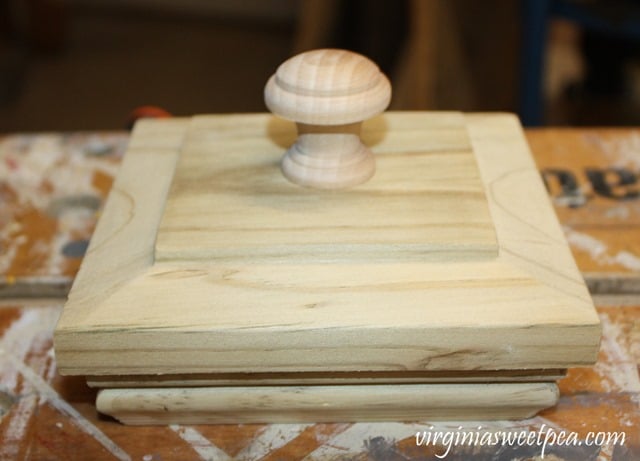
Screw the knob into place.
Assemble the Lantern
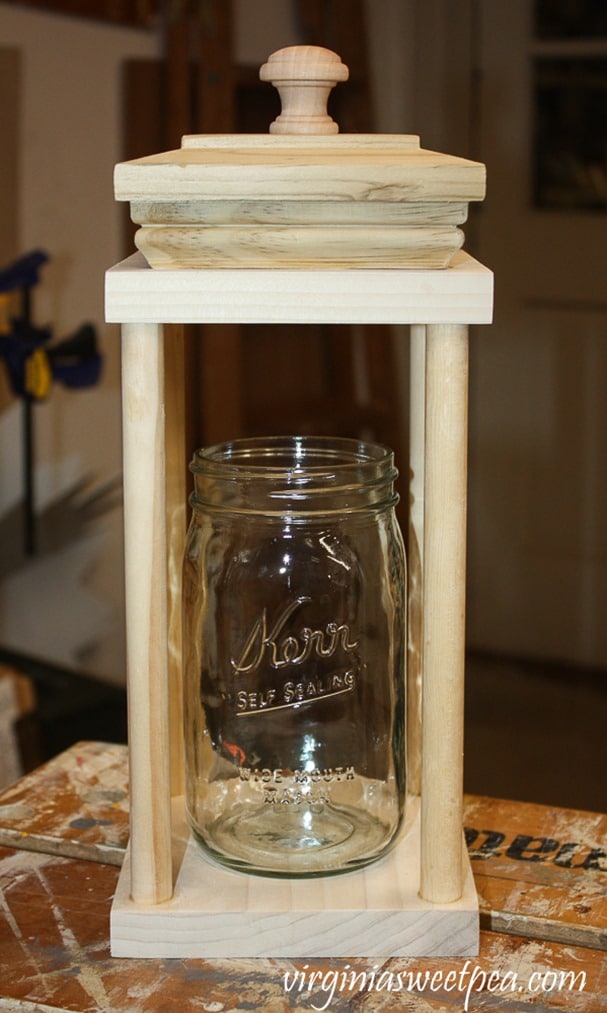
I first did a dry fit of the pieces to make sure that my measurements were correct. After a successful dry fit, the pieces were then glued together.
I started by gluing the dowels to the lantern bottom.
Tip: Keep a damp rag nearby to wipe up oozing glue.
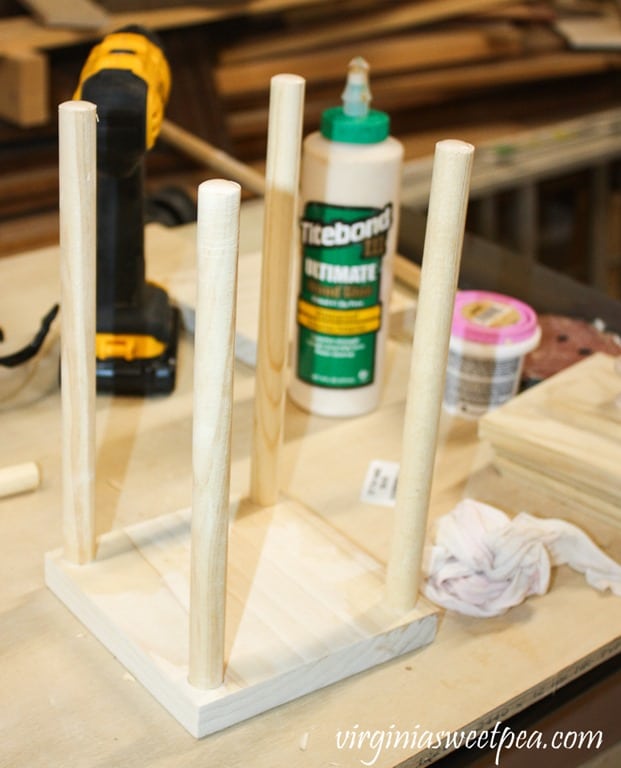
Then glue the top to the dowels. Finally, glue the end cap in place.
Paint the Lantern
After the glue dries, paint the lantern. I used Benjamin Moore White Dove in semi-gloss that I had leftover from painting the trim in my living room. It took three coats to fully cover the raw wood.
Add Lights to the Lantern
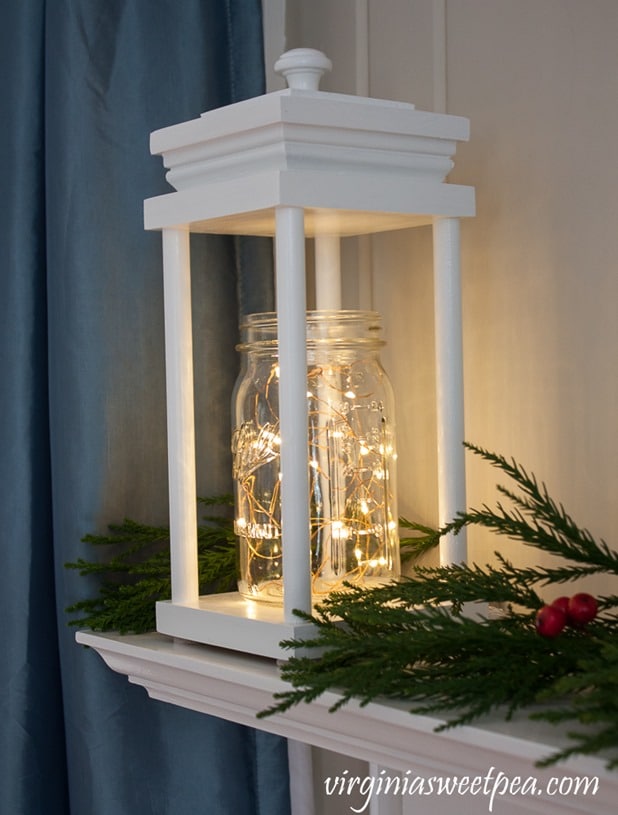
I used quart sized Mason jars for my lanterns with 50 count copper mini LED lights inside. I purchased mine at AC Moore but this set from Michael’s is very similar. The lights use two double A batteries which I hid behind the lanterns on my mantel.
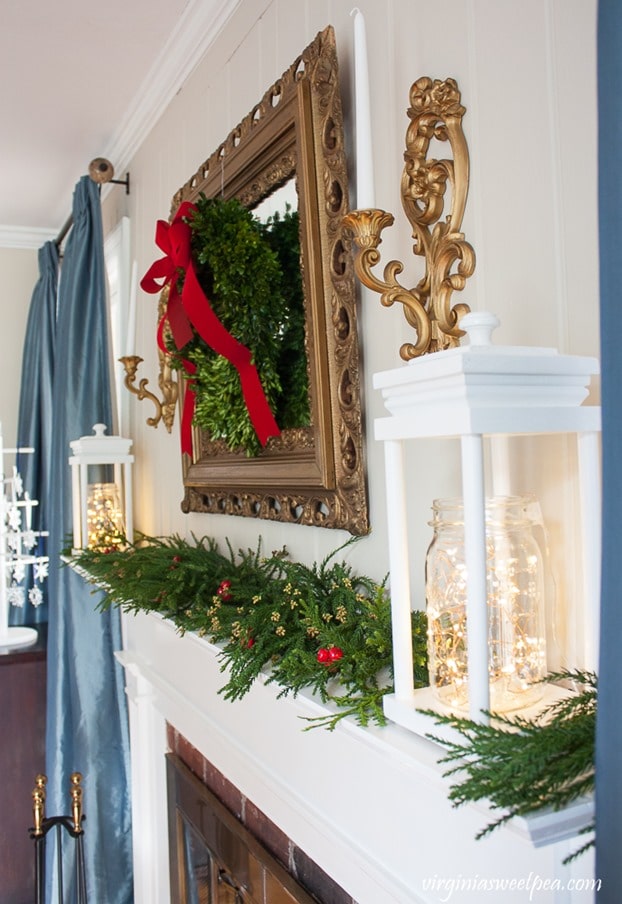
The lights are so pretty at night. Since the lights are LED, I’ve left them on since I decorated the mantel.
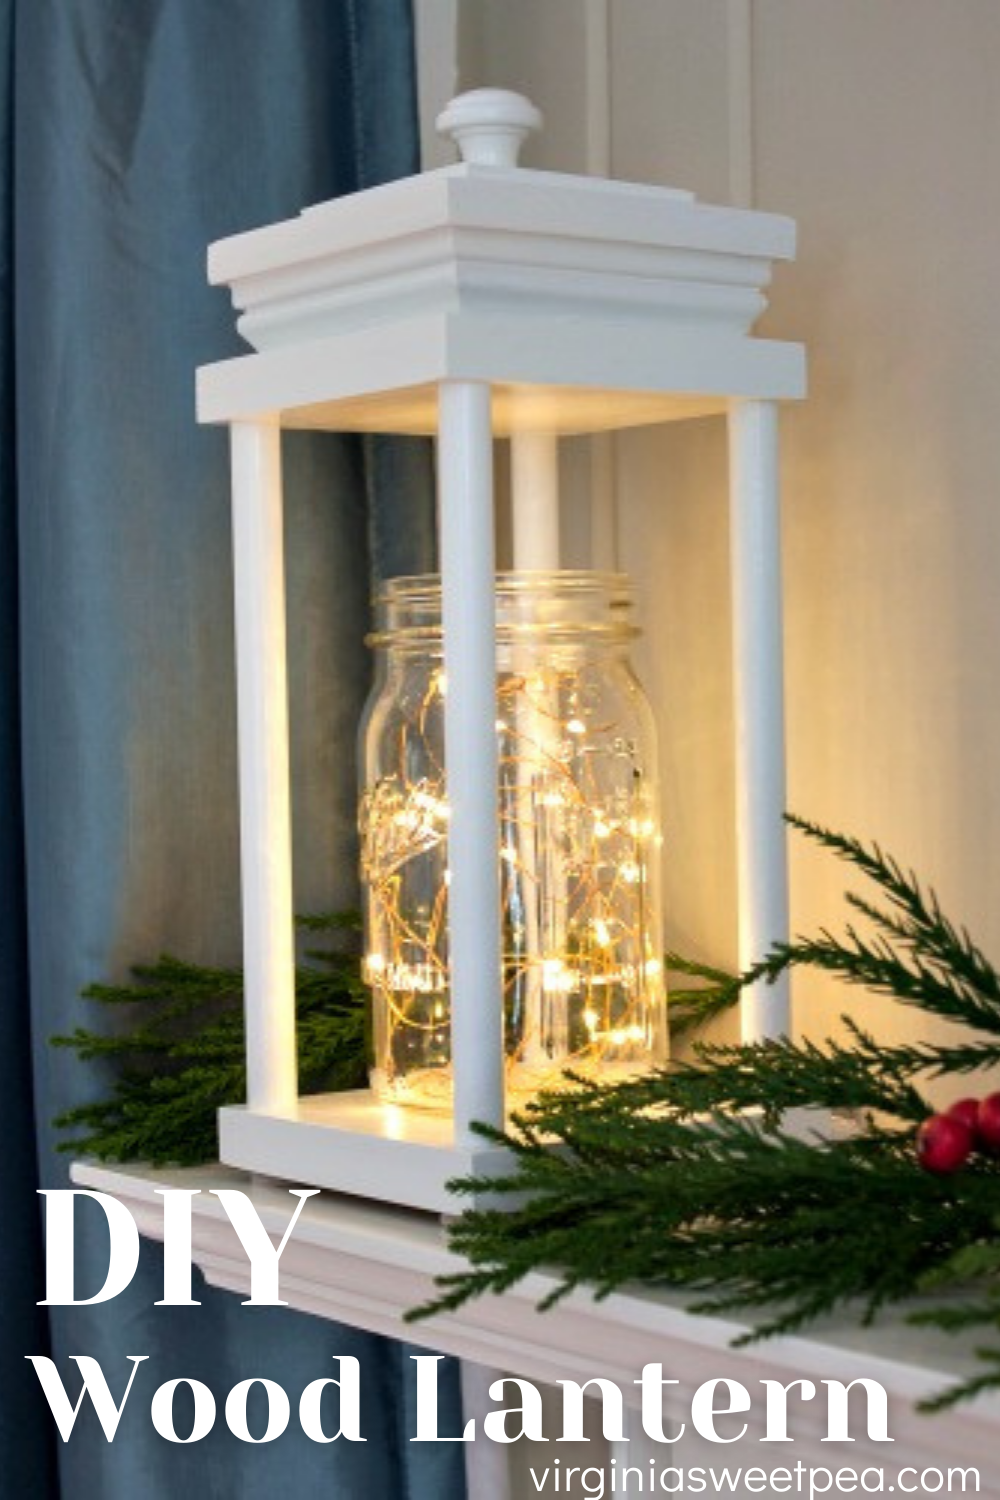
I would love it if you would pin this DIY Wood Lantern post for others to discover on Pinterest.
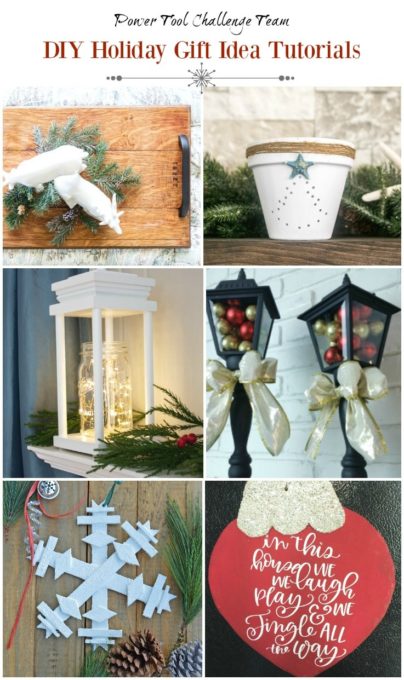
Now it’s time to see the holiday projects made by my friends. You just might see a project or two that you would like to make for yourself or as a gift for a friend or family member.
Designed Decor – Repurposed Wood Serving Tray
Domestically Speaking – Coastal Terra Cotta Christmas Lantern
Virginia Sweet Pea – DIY Wood Lanterns for Christmas
My Repurposed Life – DIY Christmas Lanterns Made from Porch Lights
H2OBungalow – DIY Large Wooden Snowflake
Create and Babble – Oversized Wooden Magnetic Christmas Ornament



What a great idea!! I had to pin this
Just beautiful!!!
CUTENESS!!! What a great build!
OMG! These are great! I now need a drill press! I love the layers and detail that you put into these lanterns!
These are absolutely gorgeous! Crazy creative too my friend. How fun that you put all the pieces together to make these. They look fabulous on your mantel, especially with your holiday greens. Pinned 🙂
Paula,
Oh my! I love how you put these lanterns together. I don’t have a drill press. I’ve known for a long time I want one, but now I know I NEED one!
Great tips, beautiful job! I love that you made some for yourself because when you make something you love, it’s tough to give it away. 😉
pinned!
gail
Paula, your power tool creations are always awesome, but these take the cake! I’ll bet your secret friend is going to be blown away by her gift!
Paula, I love how your lanterns turned out and with your instructions they are pretty simple to make! Love the fairy lights in the mason jars ~ very pretty!!!
Thank you for sharing how you made these with us,
Barb 🙂