Easy DIY Decorative Lantern
It’s been a few months since I’ve participated in a Power Tool Challenge. This month’s theme is lanterns and I’m glad to join in to share an Easy DIY Decorative Lantern that you can make to use for decor in any season.
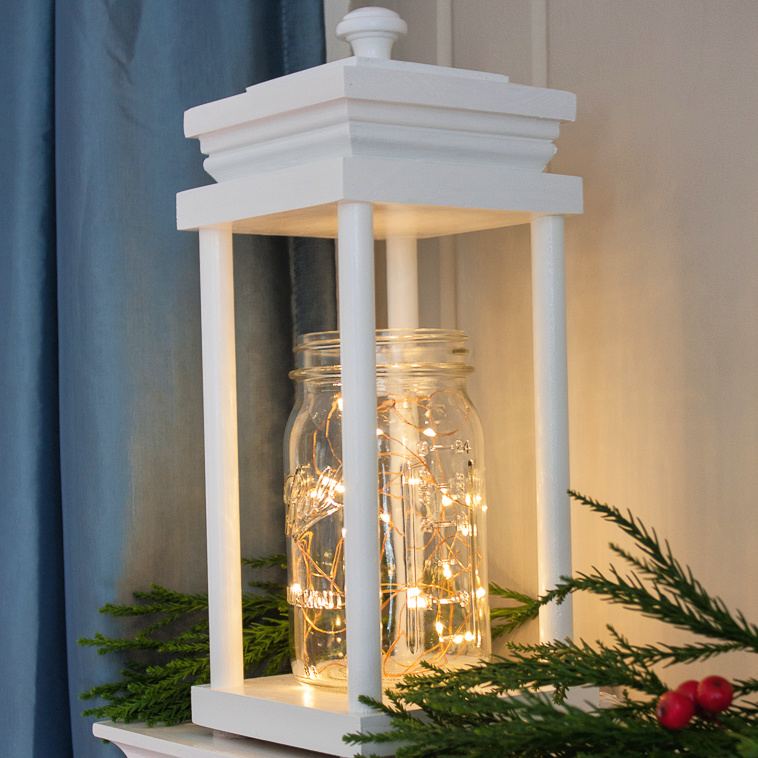
I actually made a set of these lanterns for last year’s Christmas mantel. They’ve been on my mantel ever since and I change the Mason jar filler for the season.
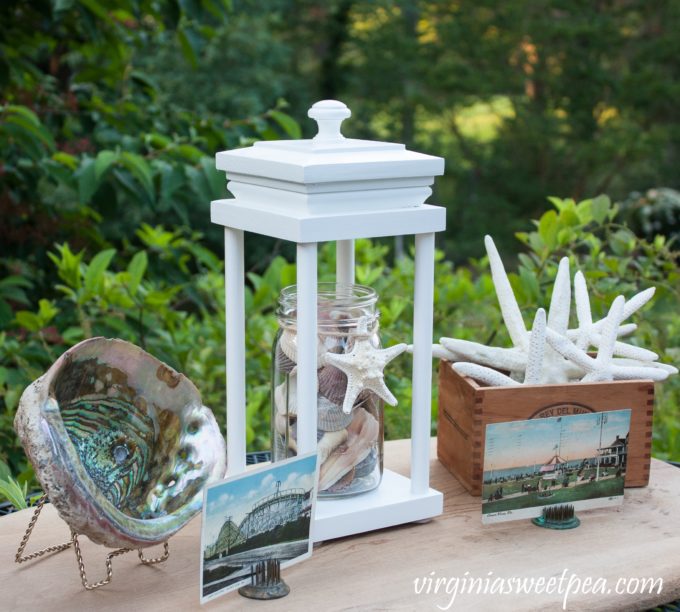
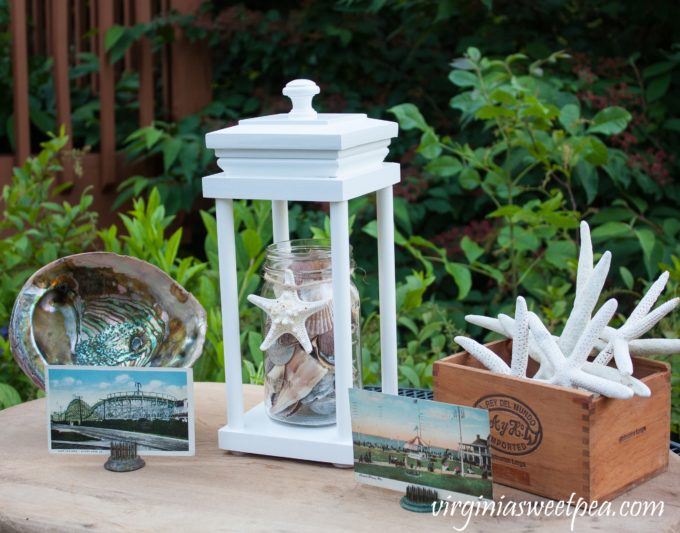
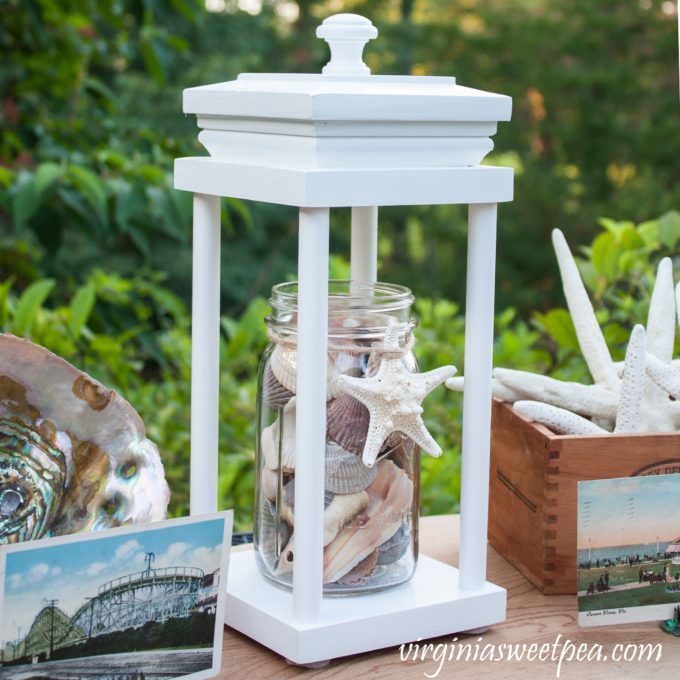
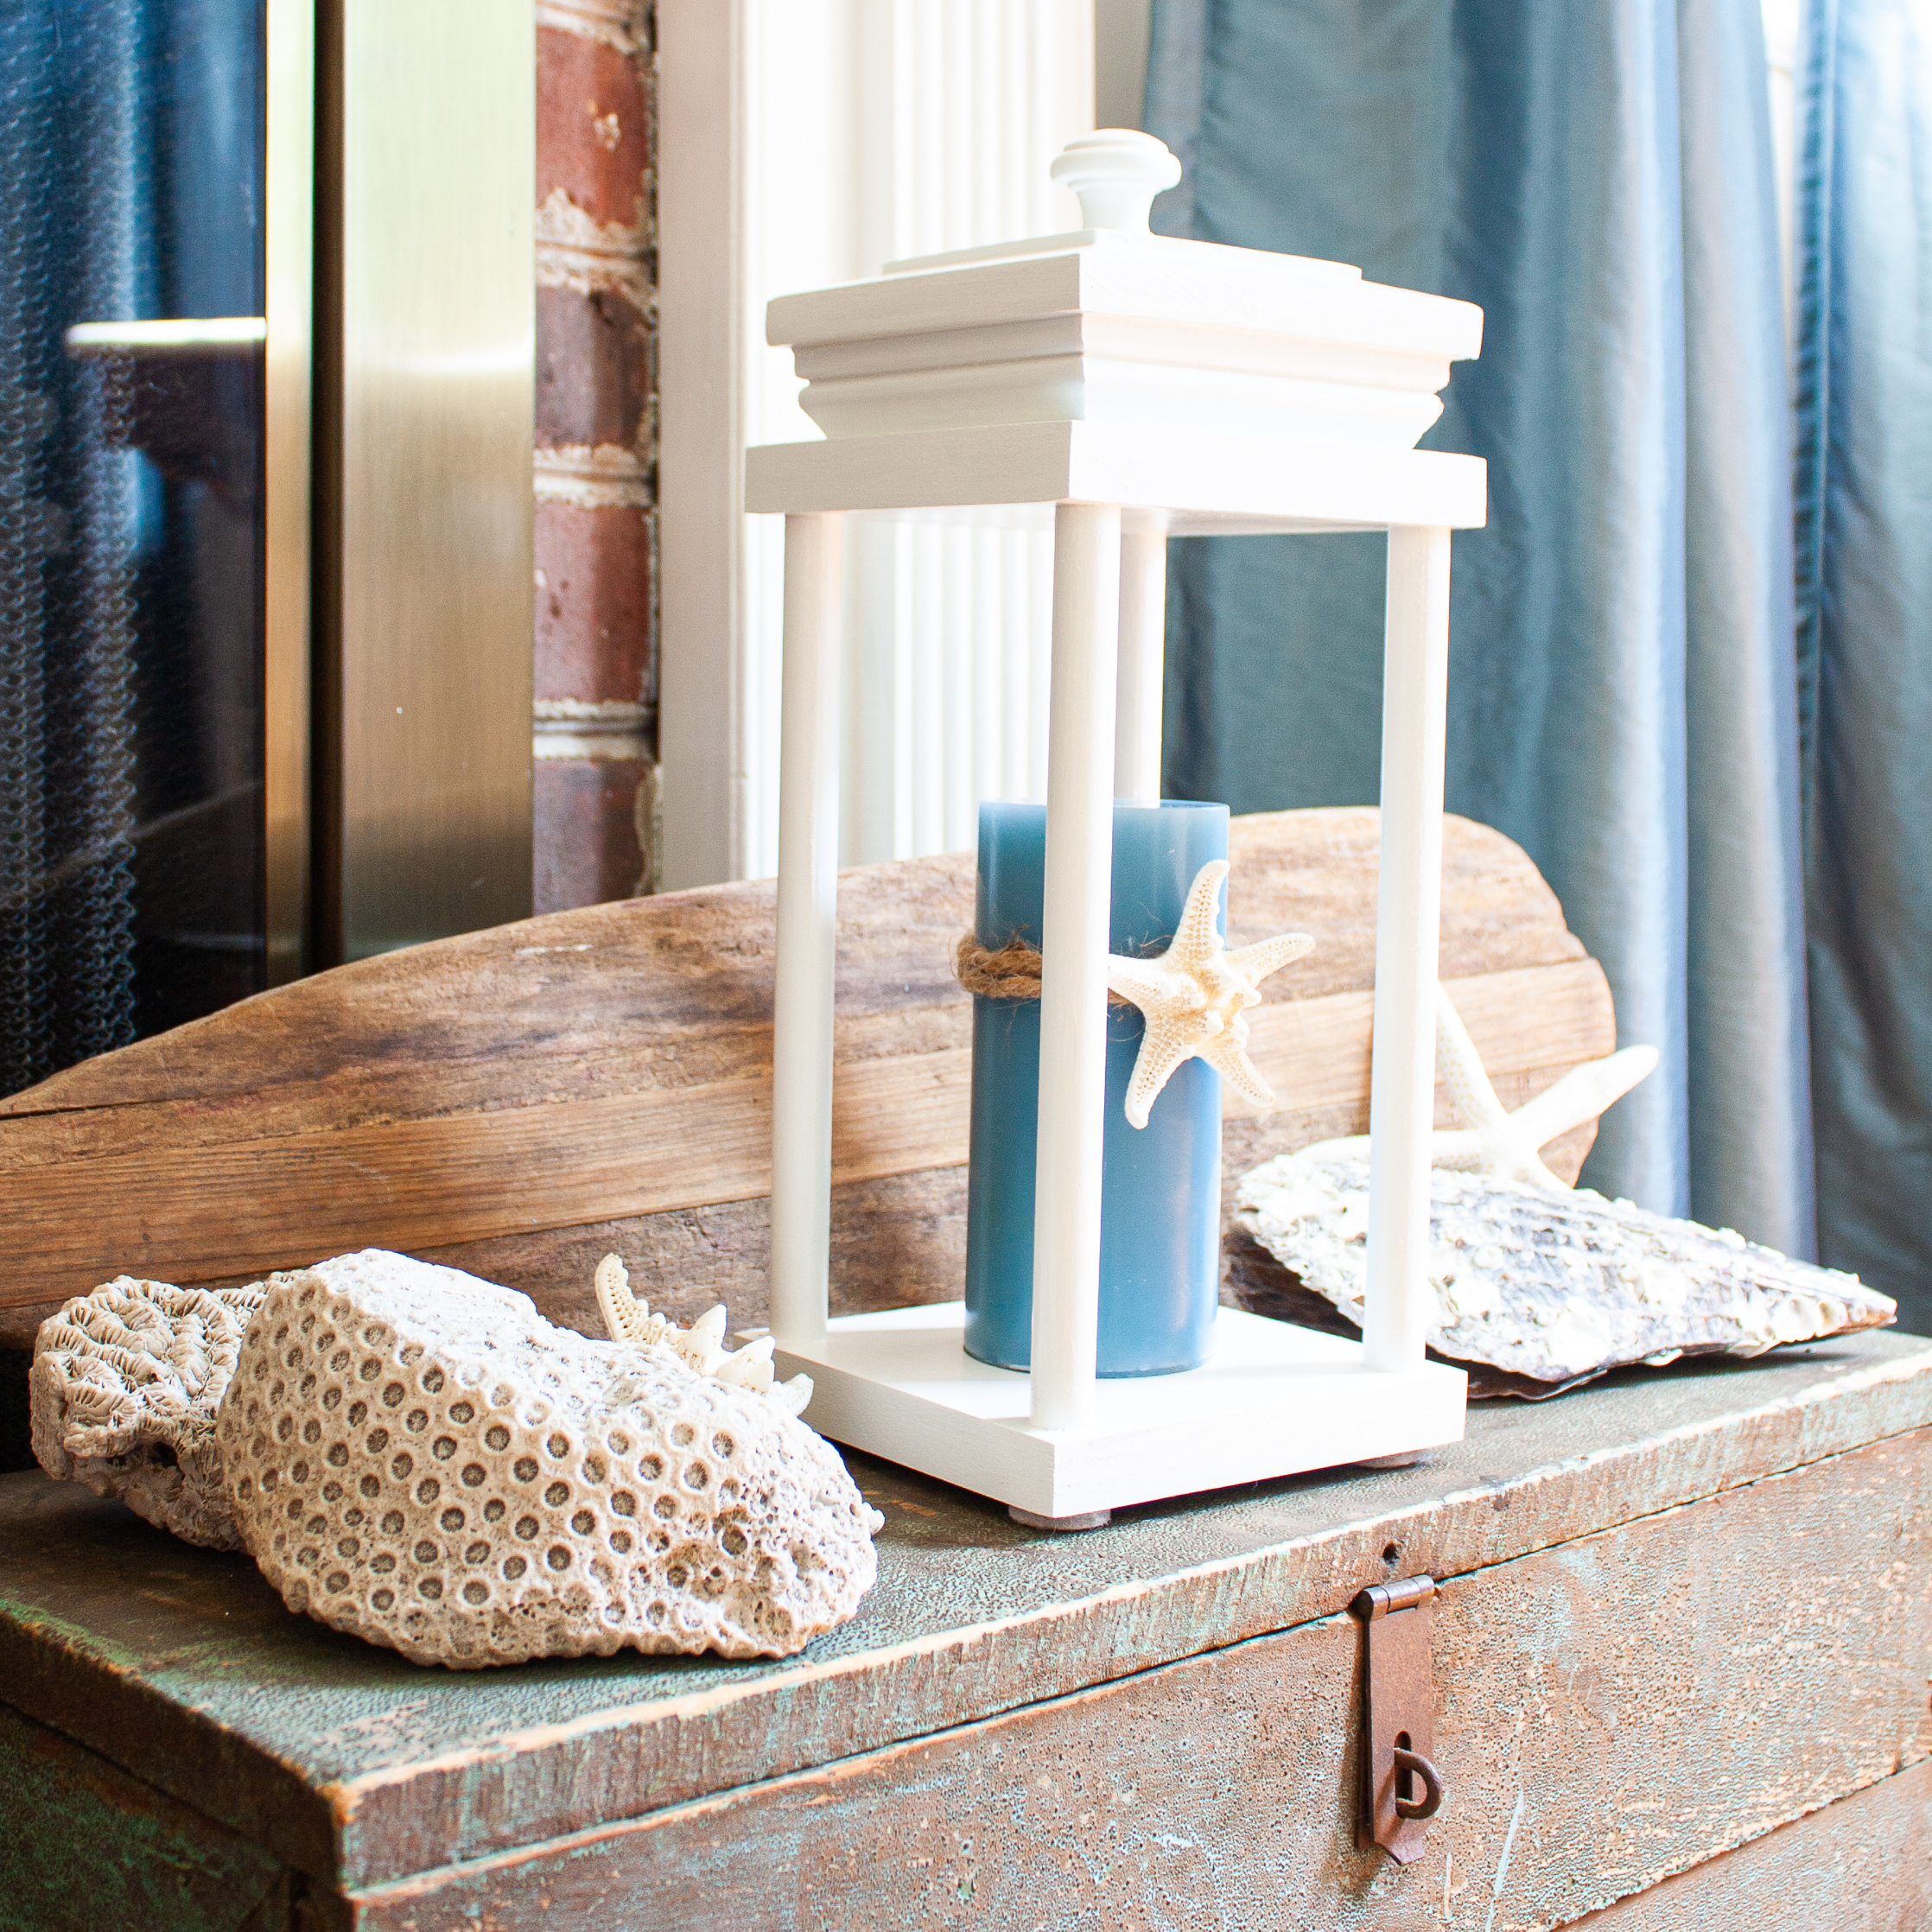
My living room is currently decorated for summer with vintage beach decor. I took this picture outside but you can see how I’m using all of these items inside here.
I can’t wait to see what my Power Tool Challenge friends made for this month’s lantern challenge. You’ll find links to all of the lantern project at the end of this post.
How to Make a Easy DIY Decorative Lantern
Supplies
Affiliate links are included in this post. For full disclosure go here.
1” x 6” board cut to 5 1/2” x 5 1/2” – Need Two
1/2” dowel cut to 10” – Need Four
Circular Saw or Sliding Compound Miter Saw
Drill and/or Drill Press
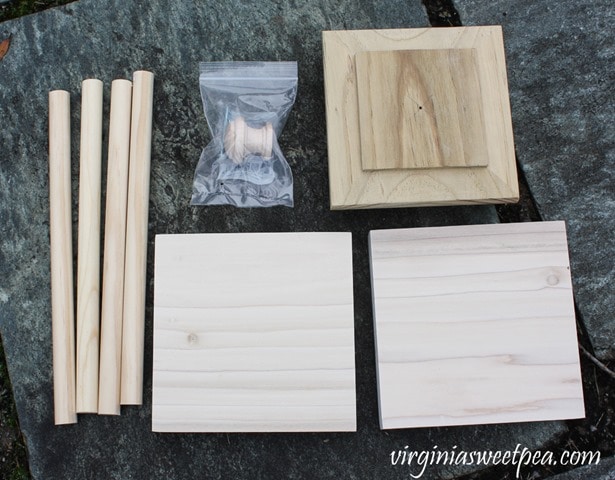
Procedure
Cut the Lantern Top and Bottom
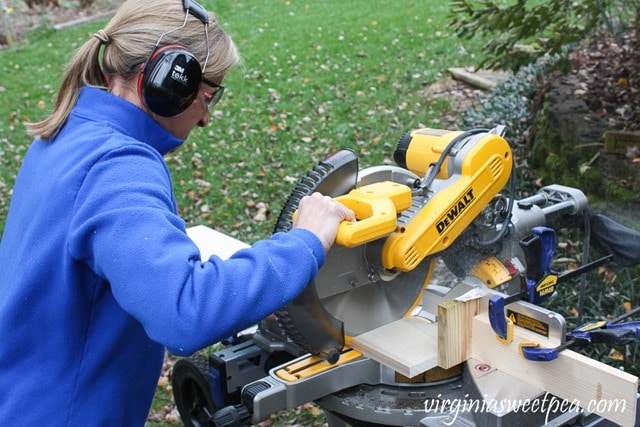
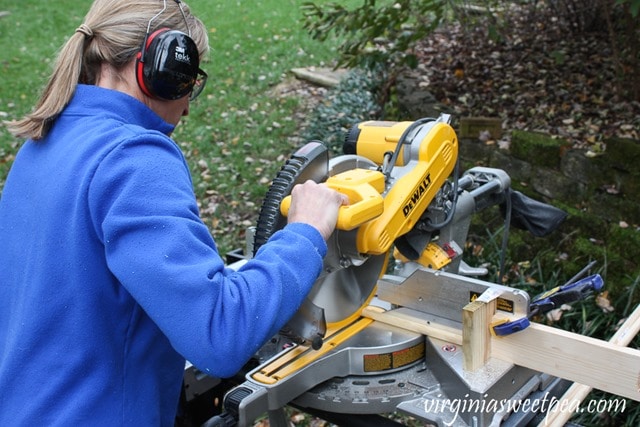
I used scrap pieces of a 1” x 6” to cut two pieces 5 1/2” x 5 1/2”. I set up a stop block so that I only had to measure 5 1/2” one time.
Cut the Dowels for the Sides
Cut four dowel pieces 10” long. (The stop block was moved to 10” for this step.)
Drill Holes for the Dowels
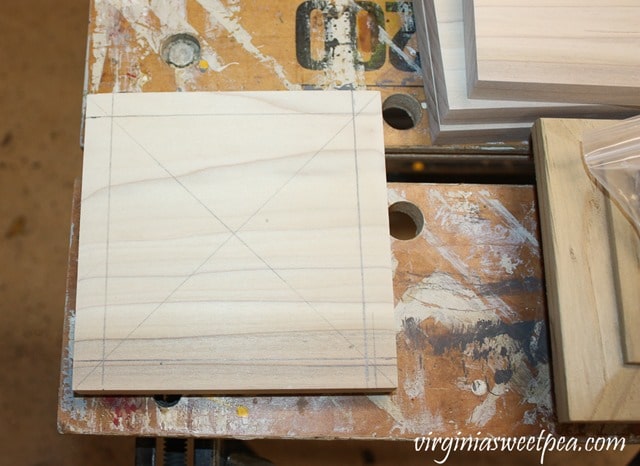
I decided that the best placement for the dowels was 1/2” in on each side. I marked the wood so I would know the exact location for each pilot hole.
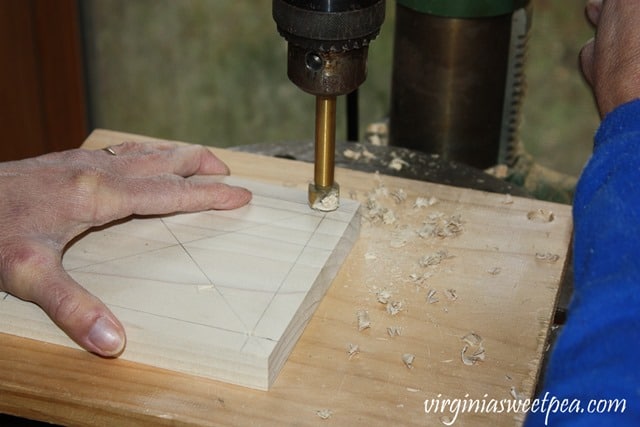
Use a drill press to drill pilot holes for the dowels.
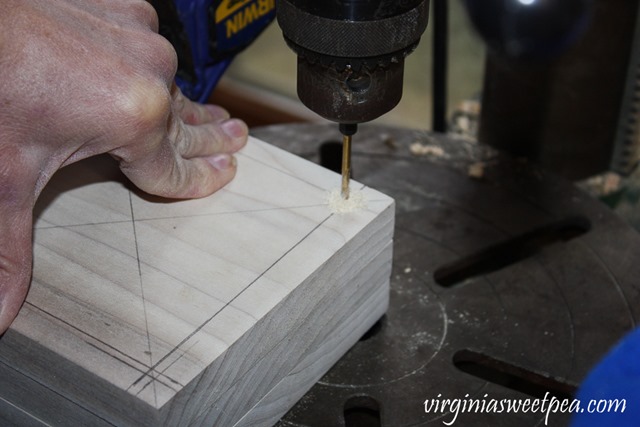
I quickly realized that if I wanted to successfully drill three holes at a time then a clamp was necessary.
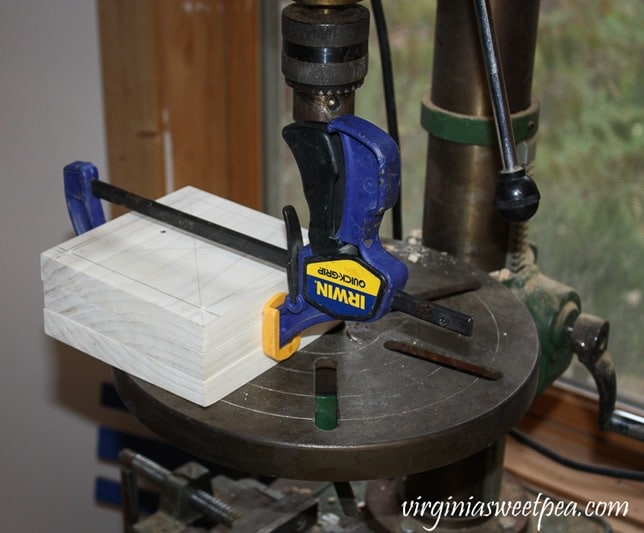
Then use a 1/2” Forstener bit to drill the holes.
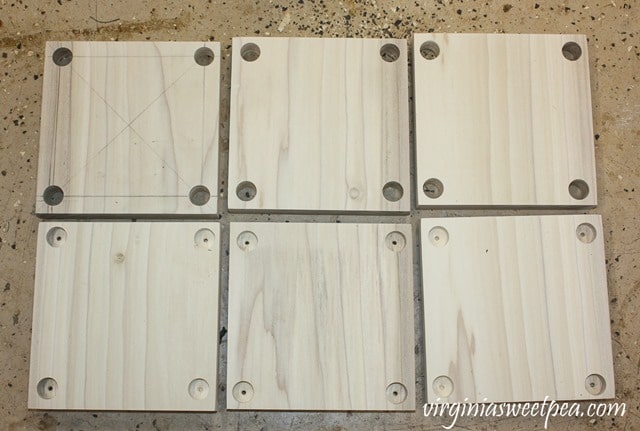
I drilled holes all of the way through for the lantern bottom pieces and 1/2” deep for the lantern top pieces. I made three lanterns, so that’s why there are six pieces shown in this picture.
Attach the Knob to the End Cap
First mark the center of the end cap. I used an aul to make an indentation and then drilled a pilot hole for the screw.
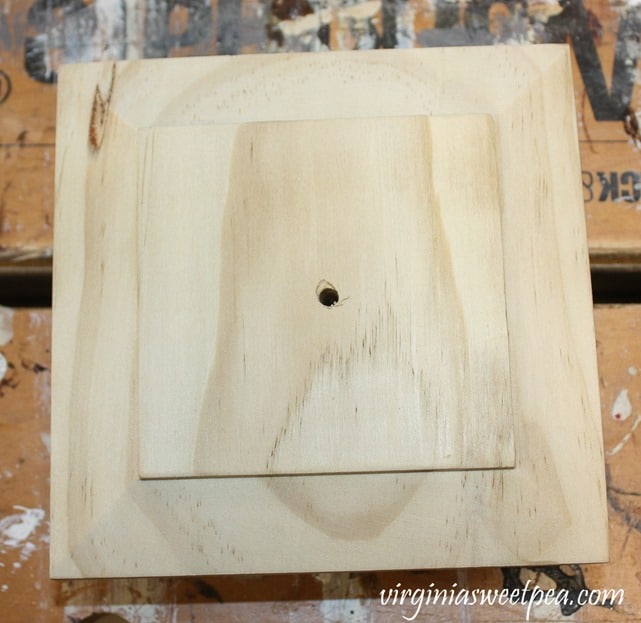
Screw the knob into place.
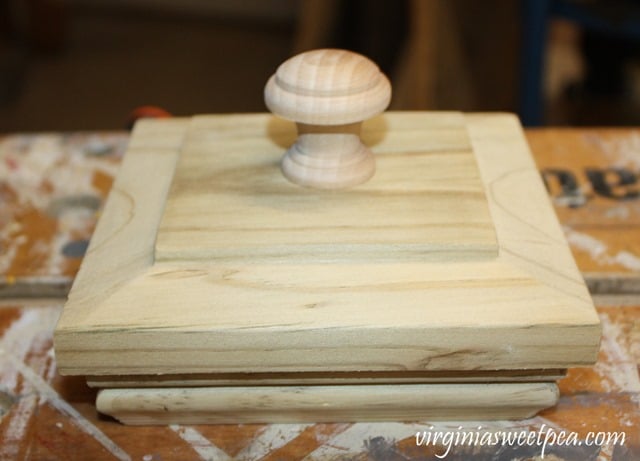
Assemble the Lantern
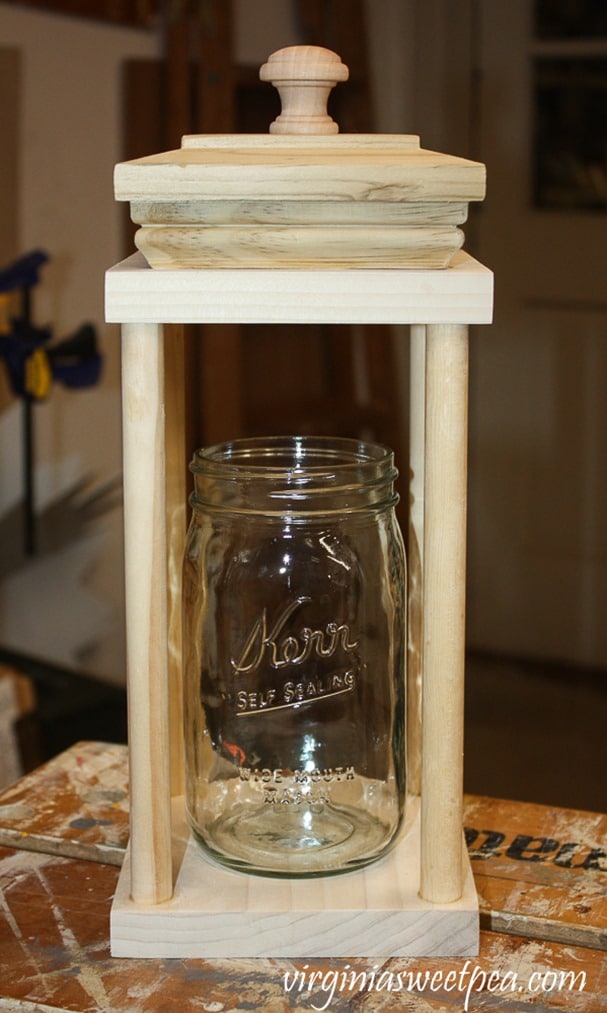
I first did a dry fit of the pieces to make sure that my measurements were correct. After a successful dry fit, the pieces were then glued together.
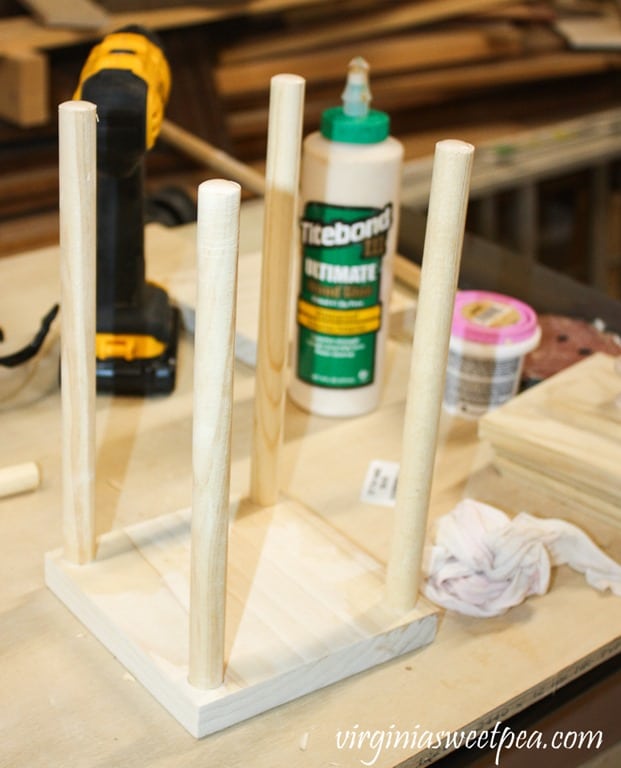
I started by gluing the dowels to the lantern bottom.
Tip: Keep a damp rag nearby to wipe up oozing glue.
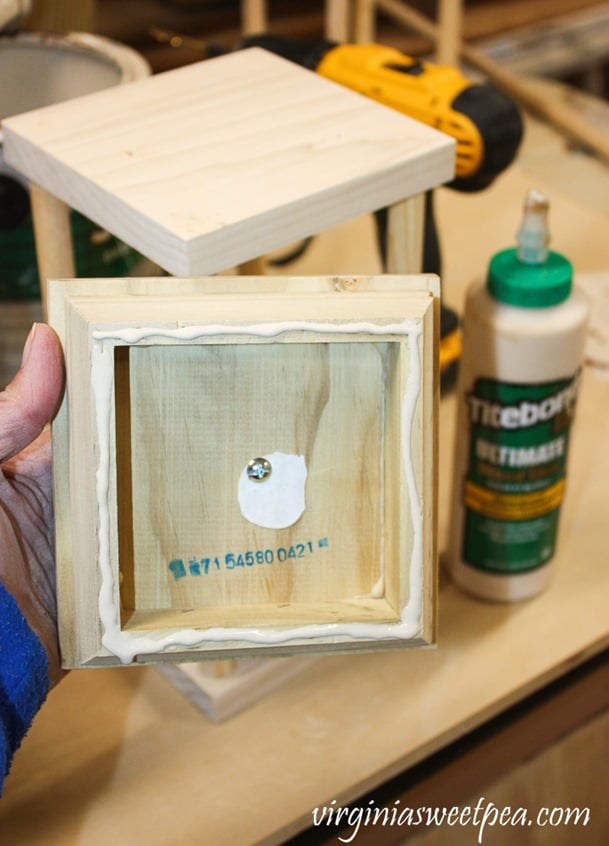
Then glue the top to the dowels. Finally, glue the end cap in place.
Paint the Lantern
After the glue dries, paint the lantern. I used Benjamin Moore White Dove in semi-gloss that I had leftover from painting the trim in my living room. It took three coats to fully cover the raw wood.
Fill the Mason Jar with Decor for the Season
Summer
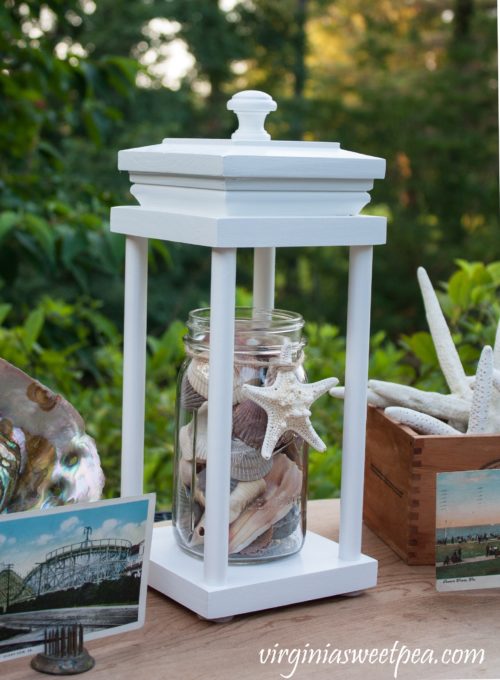
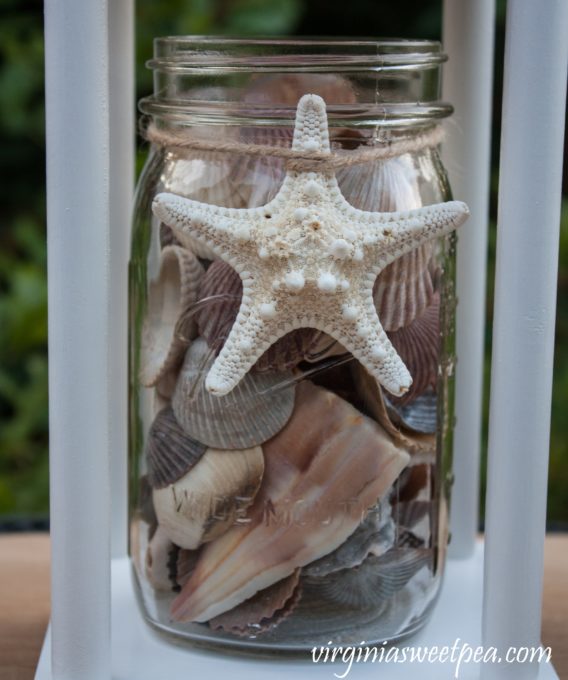
For summer I filled the jars with seashells and tied a starfish to each jar with twine. My living room is decorated for summer with vintage beach decor and these lanterns fit in with the theme.
Winter
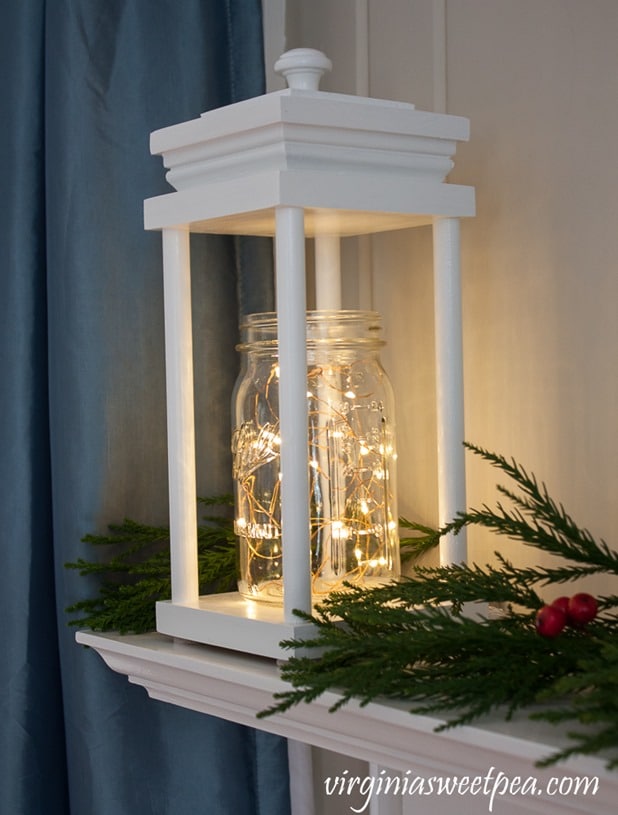
For winter I filled the jars with 50-count mini LED lights. The lights were so pretty at night and since they were LED, I left them on day and night until the batteries needed changing.
Enjoy the Lantern
I’m loving the summer look for my lantern.
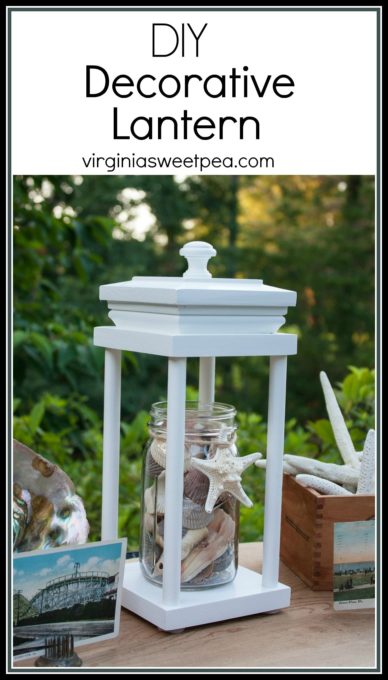
I would love it if you would pin this post for others to discover on Pinterest.
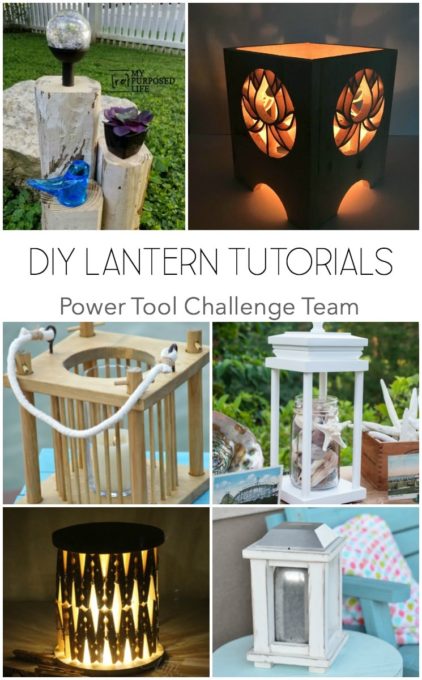
My talented Power Tool Challenge Team friends have also made lanterns. Enjoy checking out all of their versions by clicking on the links below.
My Repurposed Life – Landscape Timer Solar Light
Just the Woods – Scroll Saw DIY Lantern
H2OBungalow – DIY Wood Lantern Tutorial
The Kim Six Fix – Clothespin Lantern
Her Tool Belt – Wood and Mason Jar Solar Lantern


Such a cute idea! Thanks for sharing! – From the Blogger’s Pit Stop
We have a room that we want to re-do with a nautical theme, and this would be such a great addition!
It looks so beautiful and such a creative idea. Thank you for sharing this. Cheers!
Paula, I love projects like this that can be adapted to use all year round.
Thank you for sharing this fun DIY at Create, Bake, Grow & Gather this week. I’m delighted to be featuring it at tomorrow nights party and pinning too!
Hugs,
Kerryanne
Thank you so much for featuring my lantern!
Paula
Paula,
Cool lanterns! they are so versatile. Super tutorial with lots of great tips.
Pinned!
gail
I love coastal style DIY’s! Thanks so much for linking up TFT! I am featuring you at the party this week!
https://followtheyellowbrickhome.com/july-summer-vibes-at-thursday-favorite-things/
This is such a creative idea! This is the kind of interior design that can be displayed all year round. Can’t wait to make one my own. Thanks for sharing how it’s done. Love lots, xoxo