Easy Photo Transfer Pillow
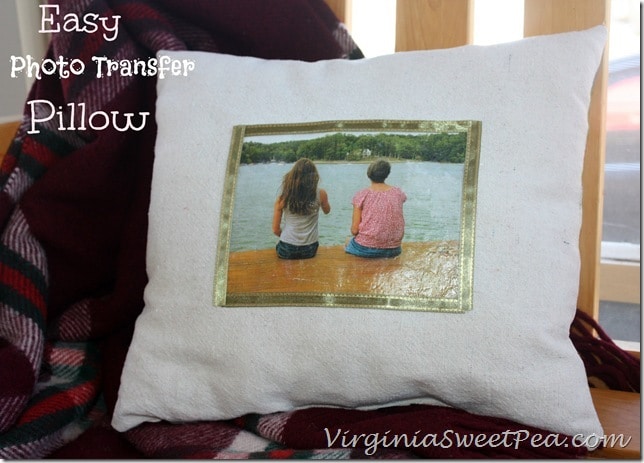
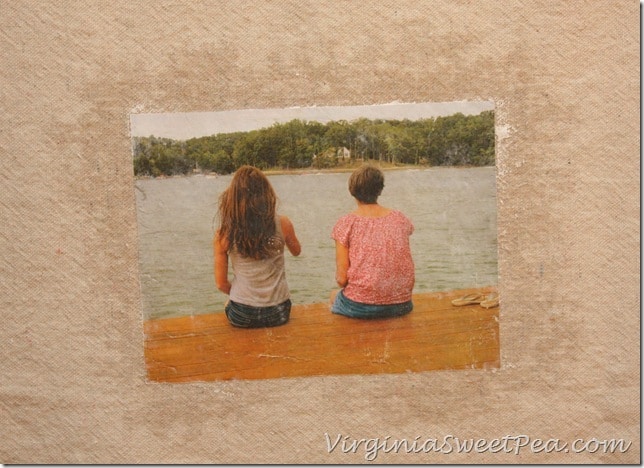
Last year we spent many memorable weekends at the lake with family. At the end of the summer I took a picture of my mom and niece sitting at the end of the dock admiring the view. I love this picture and have been waiting for the perfect opportunity to use it for a craft project.
I have used Mod Podge for many craft projects over the years and jumped when I got the chance to try a new-to-me product, Mod Podge Photo Transfer Medium. This new product allowed me to transfer a printed picture to fabric which was then sewn into an easy pillow. If you missed my haul video, be sure to check it out to see all of the goodies I received.
How to Make an Easy Pillow with a Photo Transfer
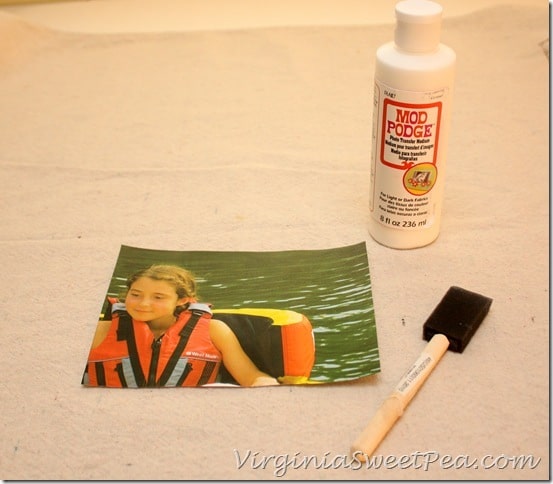
1. Assemble Supplies: Mod Podge Photo Transfer Medium, sponge brush, photo printed in reverse with a toner printer, fabric, ribbon, fabric glue, sewing machine, and basic sewing notions.
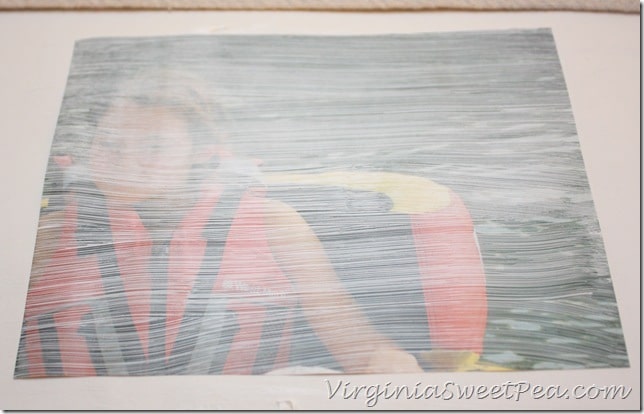
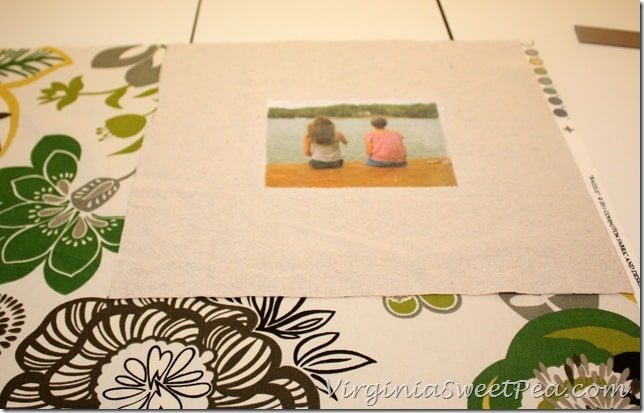
2. Squeeze Mod Podge Photo Transfer Medium on the picture and spread with a foam brush. The Mod Podge should be 1/16” thick. (Note the picture below needed more Mod Podge. This was one of my first tries and it wasn’t thick enough. I had success with a 1/16” coat.)
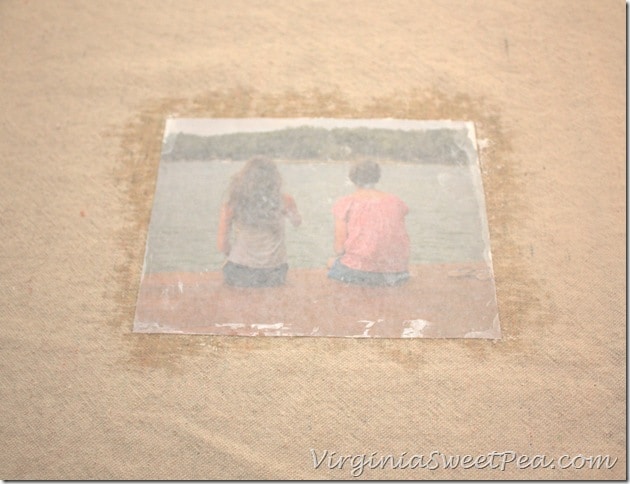
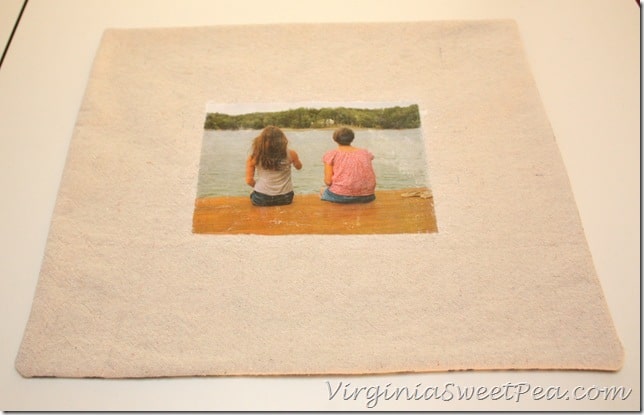
3. Place photo face down on fabric and allow to dry for 24 hours. After 24 hours, use a sponge to dampen the paper thoroughly. Wait two minutes and then use the sponge (wring it out well) and your finger to remove the paper.
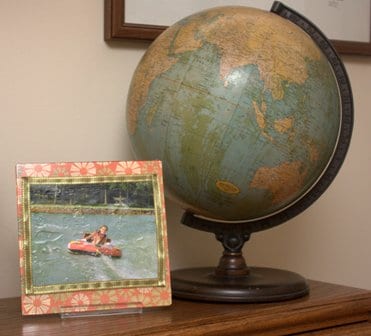
My picture transferred with a vintage look that I really liked.
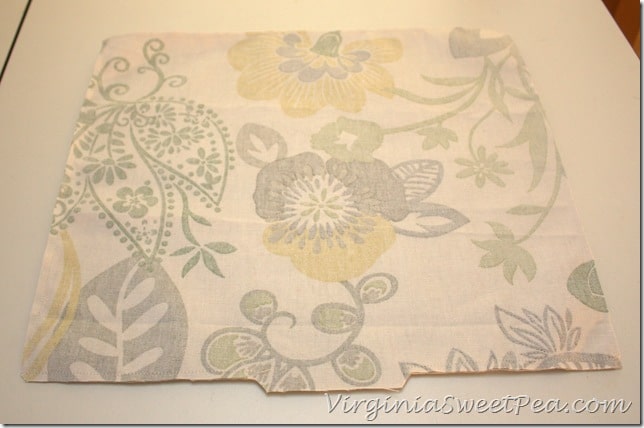
4. After the fabric dried, I carefully applied a coat of Mod Podge Gloss to give it a bit of a sheen. When this was dry, I cut a decorative back the same size as my pillow front.
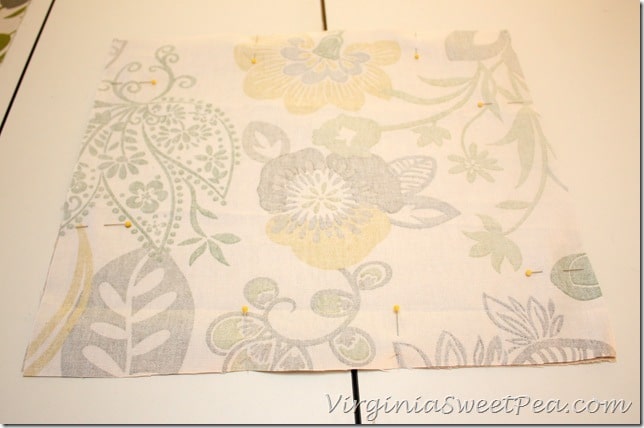
5. Pin the pieces right sides together.
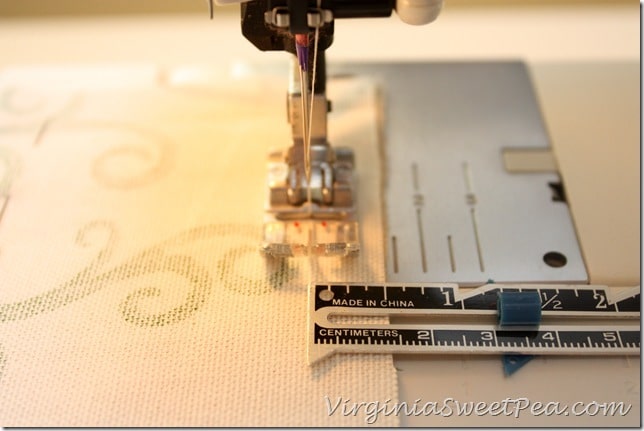
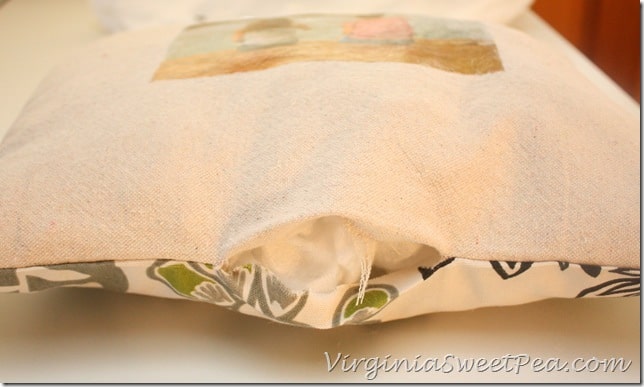
6. Sew together using a 1/2” seam allowance leaving a 3 – 4” unsewn area for turning the pillow right side out.
7. Trim the pillow edges and corners. Do not trim the area for turning.
8. Turn the pillow right side out and press.
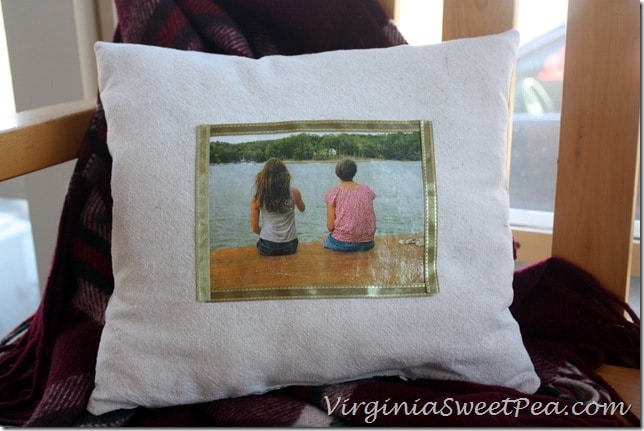
9. Stuff the pillow and stitch closed. I glued ribbon around the picture to hide a few spots where the photo transfer medium leaked onto the fabric leaving a few white spots.
I can’t wait for my mom to see this. I have a feeling that she will want her own version!
This pillow was easy to make and could be customized for any recipient with a special photo or fabric choice to match a holiday or décor.
Be sure to visit again this week as I have a second project to share using Mod Podge Photo transfer medium!
For craft inspiration consider:
Follow Plaid Crafts on Twitter
Like Plaid Crafts on Facebook
Follow Plaid Crafts on Pinterest
Visit Paint Me Plaid
This post was written as part of a campaign with The Blueprint Social. All opinions are my own.
Sharing With:
Grace at Home at Imparting Grace
Weekend Bloggy Reading at Serenity Now
Tutorials and Tidbits at Stone Gable
Inspiration Gallery at Designs, Diapers + Dining
Keep Calm and Link Up at Chase the Stars



Love it! Our great niece has been staying with us for awhile, and will be going back home in a few weeks. Would love to make her something like this to remember her time with us 🙂
Thank you for this tutorial. I have always been fascinated by the idea of photo transferred to fabric. I had no idea it could be so easy. I’m going to pin this and also share it with my camera club.
I like your pillow a lot! Nice project.
Cute!
Love it Paula! Pinned it!
What a sweet idea Paula!
Wow – your pillow turned out so well! Thanks for the great step-by-step to make this pillow, including showing us how to use the Mod Podge Transfer Medium! Pinning this one, most definitely!
This is just precious, Paula! I wish I had your sewing skills! xo
That’s really great! Love that product … I can’t wait to try it.
So easy and fun project! You’ve got a nice fabric too! Thanks for sharing!
So pretty!! This looks super easy to make – I will try this product for sure! What a sentimental pillow to have in the home!
What a great idea – this would be perfect for my girls to bring to their camp friends!!
Kelly
Paula, I’m enjoying these *neat* photo craft posts! Keep ’em comin’ ;P
xo,
RJ
Great seeing all the different ways to use the photo transfer medium.
A real nice project, but what did you mean print your picture in reverse….I didn’t understand that part. Can you email me please with what you mean! Sorry, don’t mean to sound ignorant but I just don’t understand that part! Thanks so much!! Sandy
When you print your image there should be an option to “reverse” or “mirror” the image.
Got your message!! Thank you so much for taking the time to explain!! Much appreciated!! Sandy