Felt Floral Napkin Rings
When I was a child, I remember my mom and grandmother making felt floral napkin rings as party favors. I never forgot them and always wondered how they were made.
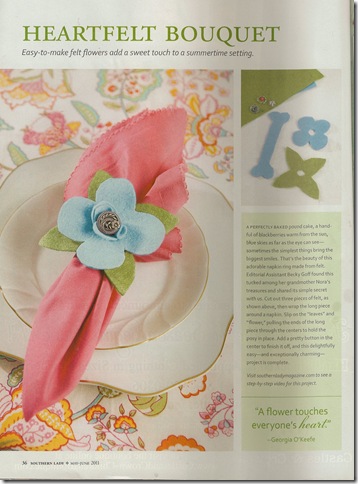
This spring in Southern Lady Magazine, there was a feature on these cute napkin rings that I so fondly remembered, but no instructions. Following the picture in the magazine, I figured out how to make them.
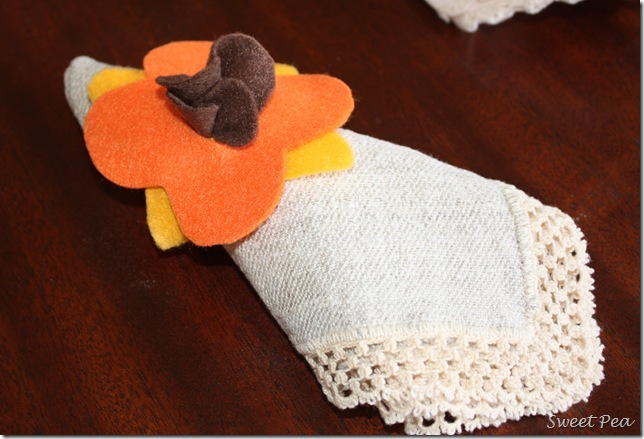
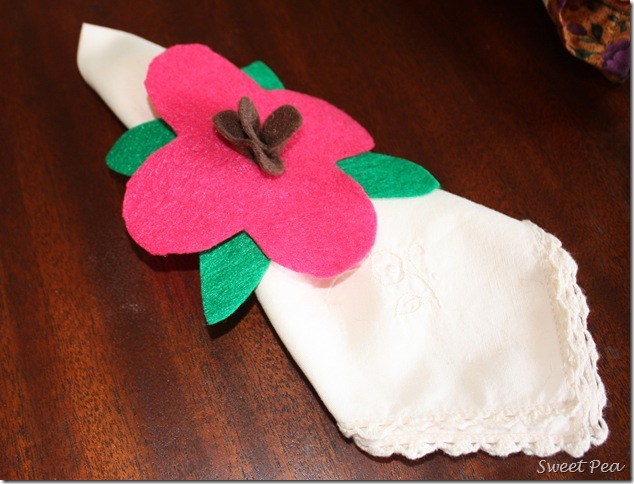
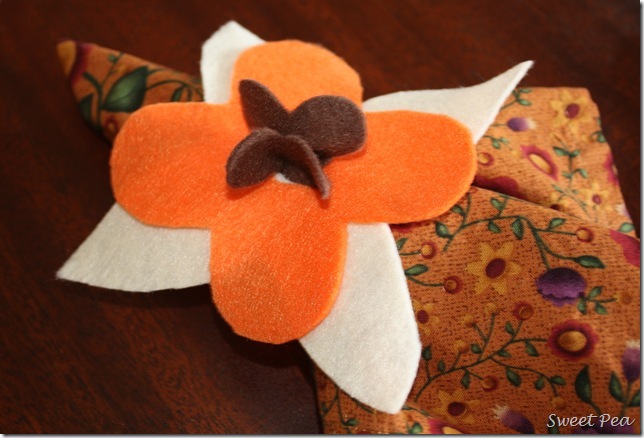
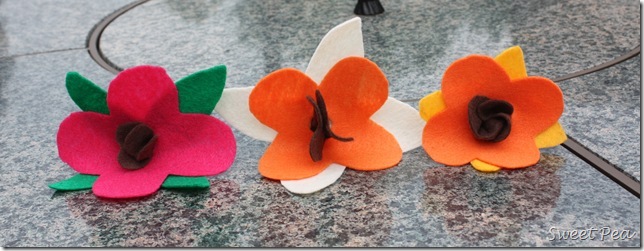
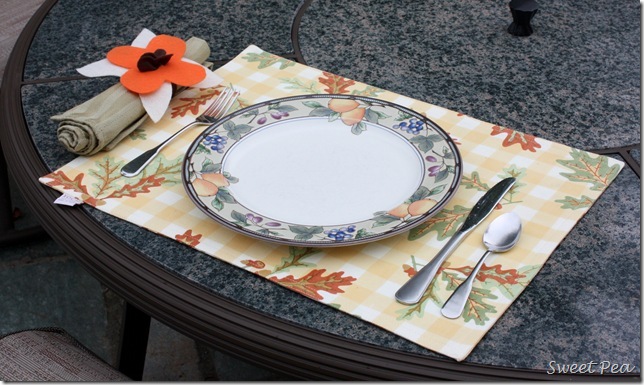
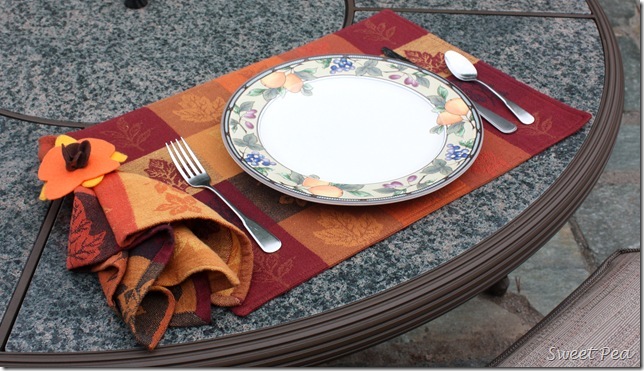
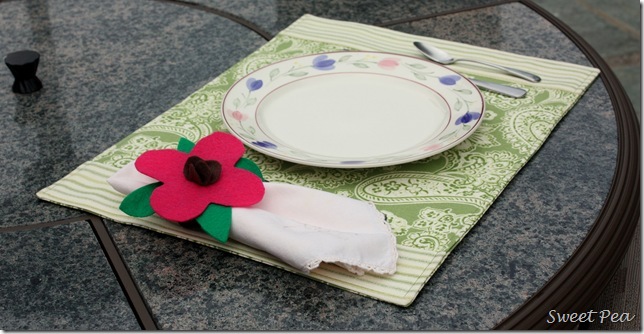
I played around with felt and came up with these three samples.
Aren’t they fun? Would you like to make some? I thought you would!
Supplies Needed:
Felt in colors of your choice
Scissors and/or rotary cutter
Ruler
Sewing pins
Make the Napkin Ring:
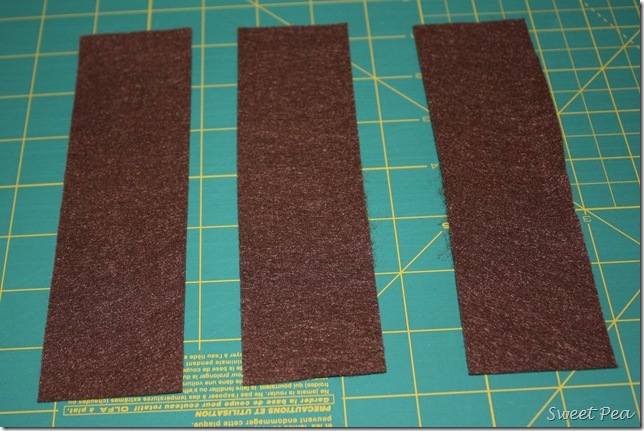
Make the napkin ring which also becomes the center of the felt flower by cutting 7” x 2” strips. (My pictures show three strips. Cut as many strips as you need to make your desired number of completed napkin rings.)
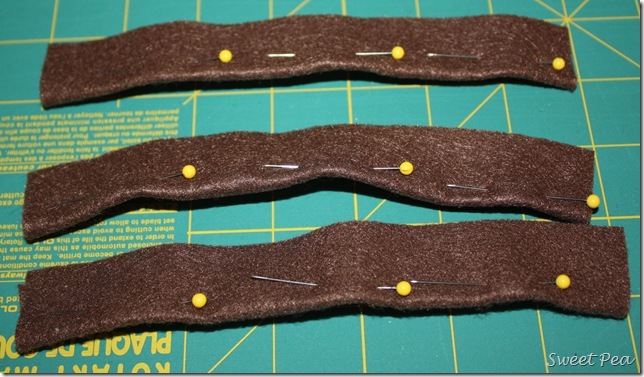
Fold each strip in half and secure with pins. This will make cutting the felt much easier.
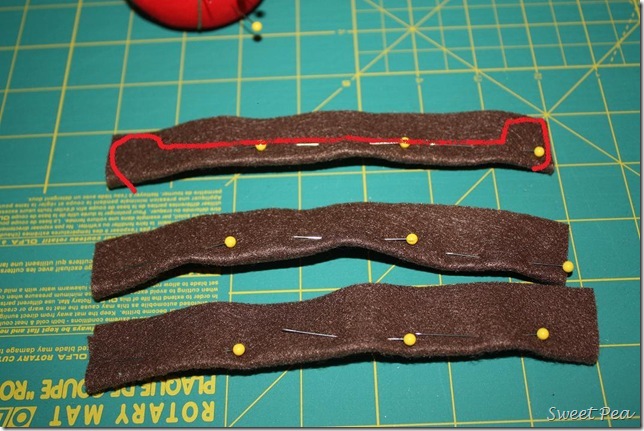
Cut a heart shape on each end of the strip, stopping a little less than half-way through the width of the strip. Then cut from heart to heart. This is difficult to explain, so I roughly sketched in red how you should cut but be aware that the heart on the right doesn’t look so much like a heart.
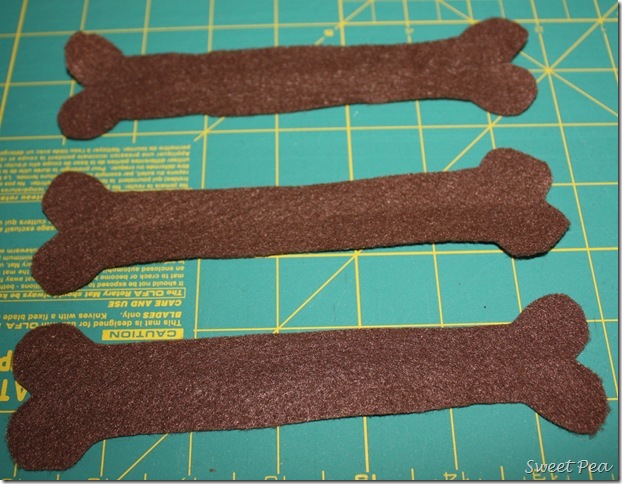
They should look like this once cut.
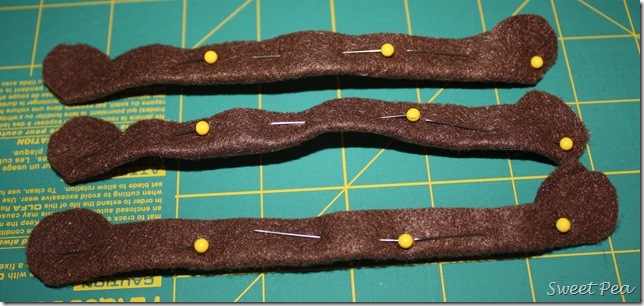
And should look like this when you open each strip. (Kind of like a bone!)
Make the Flower:
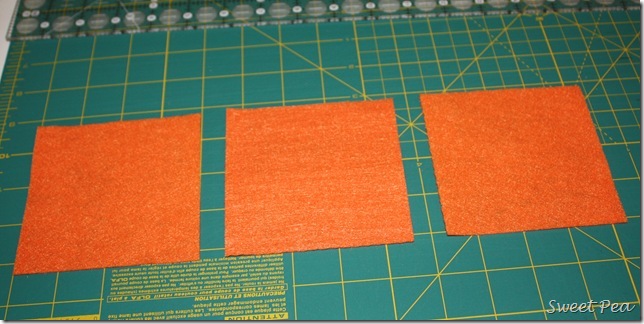
Cut a 4” square for each flower.
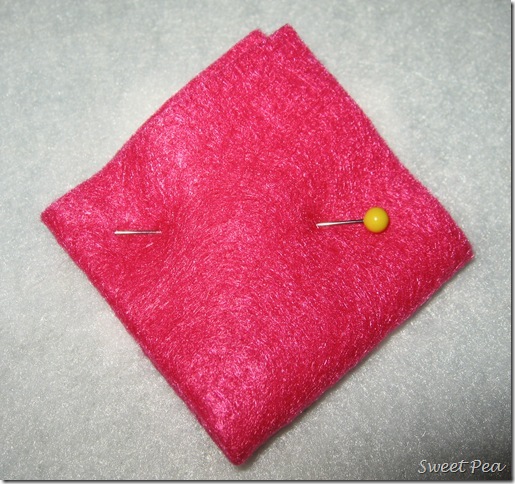
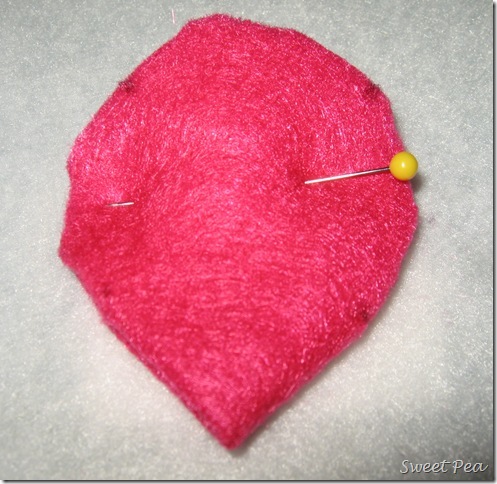
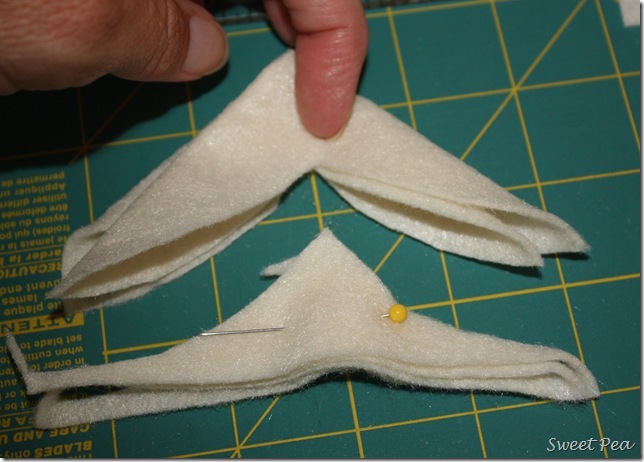
Fold the square into fourths and pin. (Sorry for the color switch.)
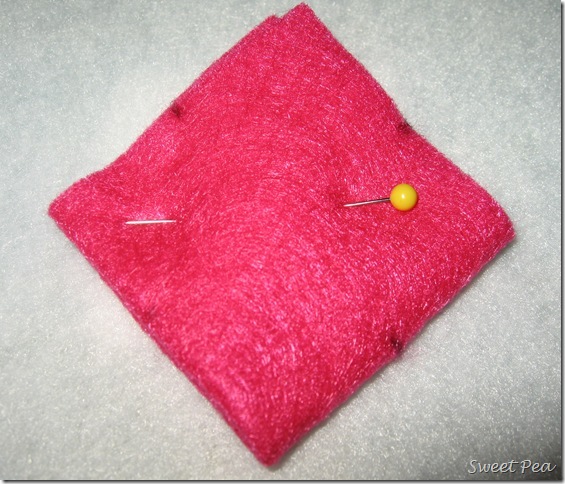
Cut a half circle starting from the halfway point of one side and ending at the halfway point next to it. (Cut from black dot to black dot.)
Do not make a half circle on the side that contains all of the folds.
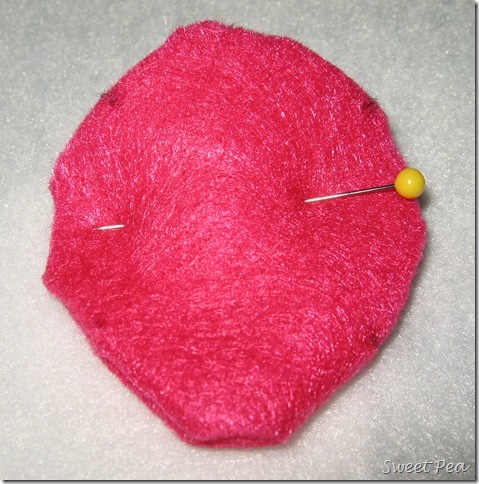
Now make a small clip across the folded end.
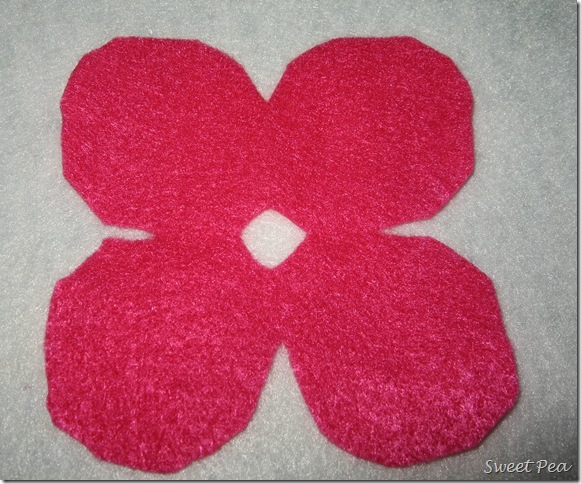
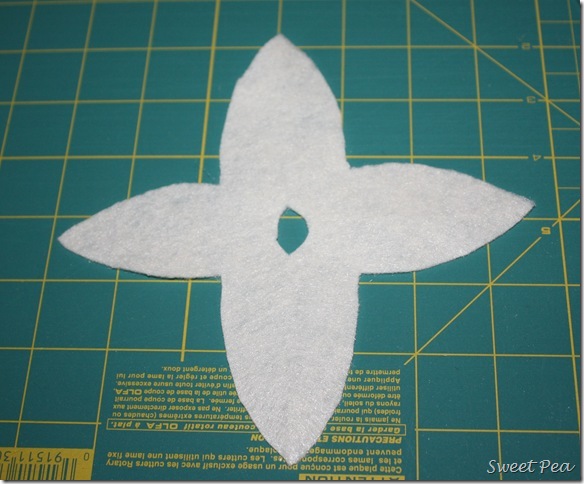
It should look like a flower when you open it up.
Make the Sepals:
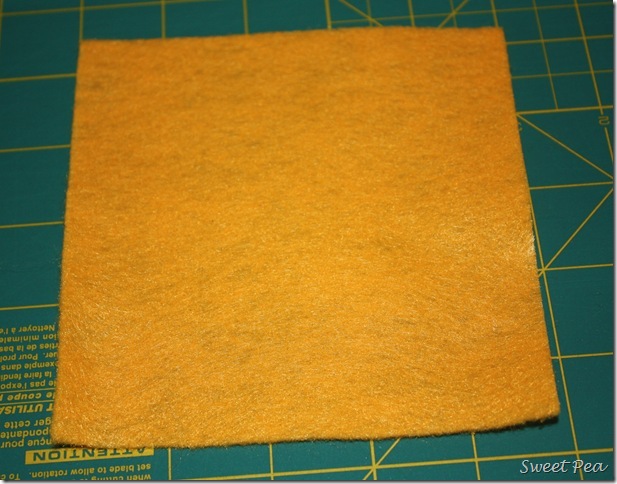
Cut a 4 1/2” square for each sepal. In nature these are green but feel free to choose any color you wish.
Fold the square into fourths and pin. Cut a sailboat shape out as shown below. (Another felt color change..I made quite a few versions.)
Cut off the folded tip to make a hole in the center and it should look like this.
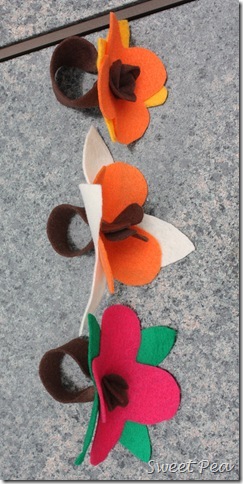
To assemble the flower, place a flower on top of the sepal, lining up the holes in the center. Wrap the napkin ring part around a napkin and then bring the ends through the lined-up holes and you’re done.
Felt is inexpensive and this idea could be used to coordinate with the season. Here I’ve used two for a fall place setting and one for a summer one.
Felt floral napkins rings make a great table favor. Pink or blue could work for a baby shower or all white could be used for a bridal shower. You could even make them in your school colors for a team dinner.
I need to make a set that matches!

Great tutorial and super cute! It looks like a fun project!
Love the project! Just caught up on your blog. So sorry that you have not been able to play tennis and run! Hope everything is back to normal soon! Carla
very very cute!
mindofmr.blogspot.com
Thanks for the tutorial. I have some felt napkin rings that look like poinsettias.
Cute! Thanks for the tutorial. I like the fact that you can color coordinate 😀
Great tutorial, you make it so detailed that even I can understand it. LOL
Chris
Paula they are adorable! Thank you for showing us.
Great tutorial, Paula- it’s so straightforward and easy to follow. I can tell you’re a teacher!
These napkin rings are so pretty. It would be fun to make several sets for all the holidays.
Paula – what a trip down memory lane this was. My kids and I made these years ago when they were small. We did red and green for Christmas and later brown tones for Thanksgiving and pink and green for Apple Blossom. My Mom kept them for years, but I’m pretty sure I pitched them when I went through her stuff. I might need to make them now with my granddaughter.
So stinkin’ cute! Love this tutorial. Thanks for sharing!!!
Cool post!
http://initialed.blogspot.com