Glogging 101 :: Lesson One
Last week I posted about Glogging and shared a sample Glog about our recent beach weekend. Today I’m starting a “how-to” series on Glogging. I hope that this will be both informative and helpful.
Glogs are fun to make for anyone and are extremely useful for students. Instead of making an old-fashioned poster to take to school for a project, a Glog allows the student to do the project on-line. A boring book report becomes exciting when presented in the form of a Glog. Glogs can also be done just for fun and posted to Facebook, Twitter, or a blog.
Today’s lesson will show you how to get started.
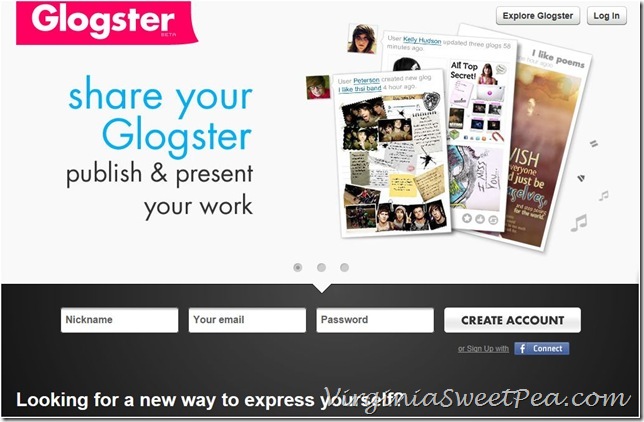
First, go to Glogster. You will get a screen that looks like this. Make a nickname, type in your email, create a password, and then click “Create Account.”
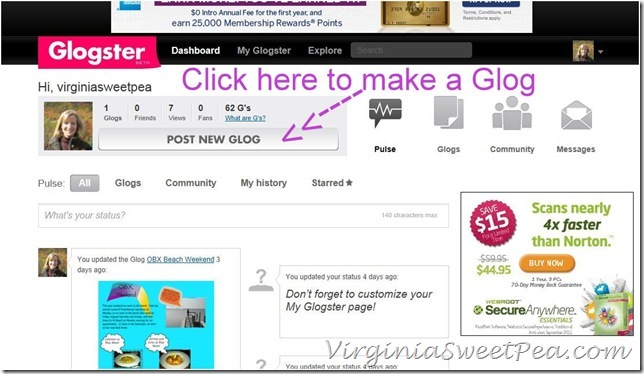
Once you are logged in, you’ll get a screen like the one pictured below. Your Dashboard is where you control your Glogs; “My Glogster” is where you can look at all of the Glogs you’ve created; and “Explore” is where you can find Glogs that others have created.
You can choose to add a profile picture and some basic information about yourself.
To make a Glog, click on “Post New Glog.” You aren’t posting it, only creating it, so don’t panic. At this point you are creating and only you can see it.
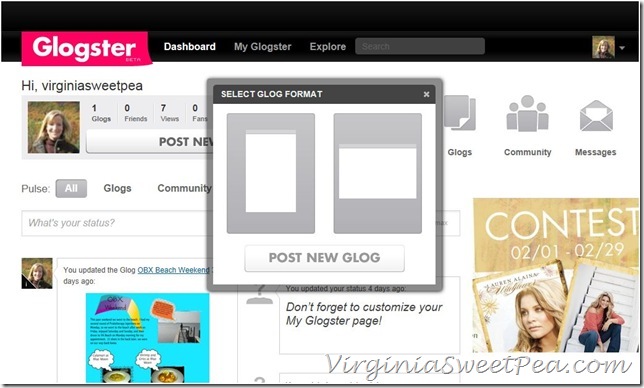
Select your format, portrait or landscape. I picked portrait.
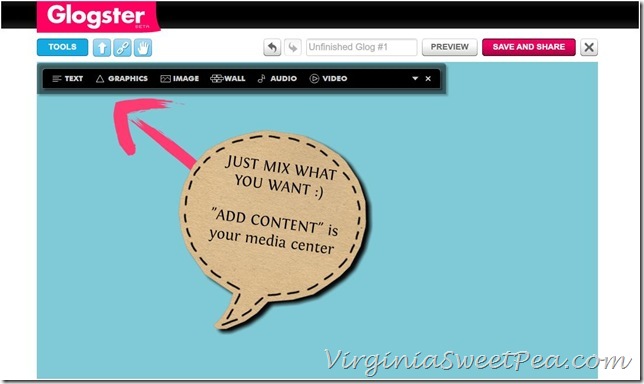
Your screen will look like this.
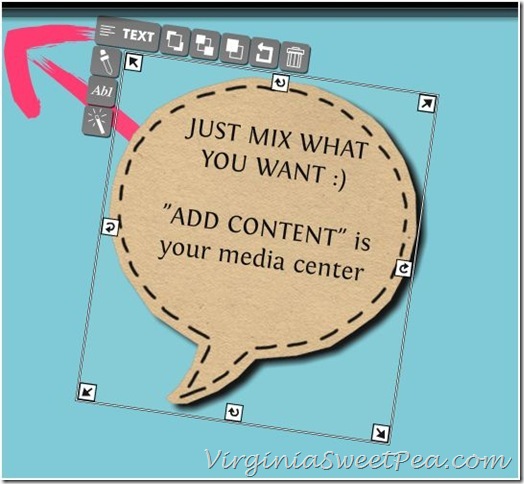
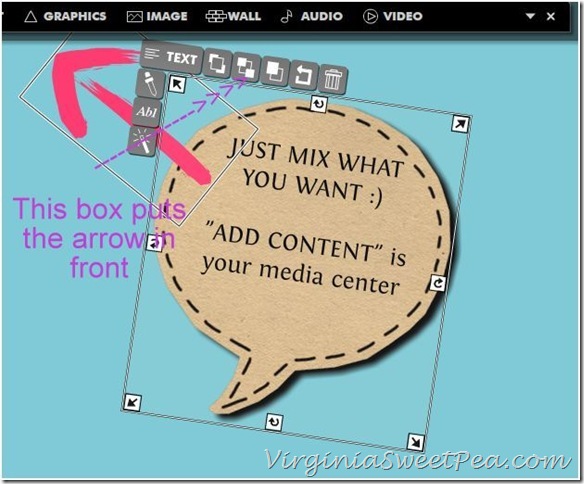
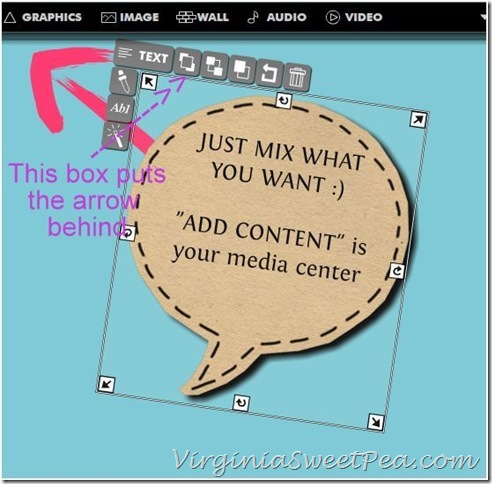
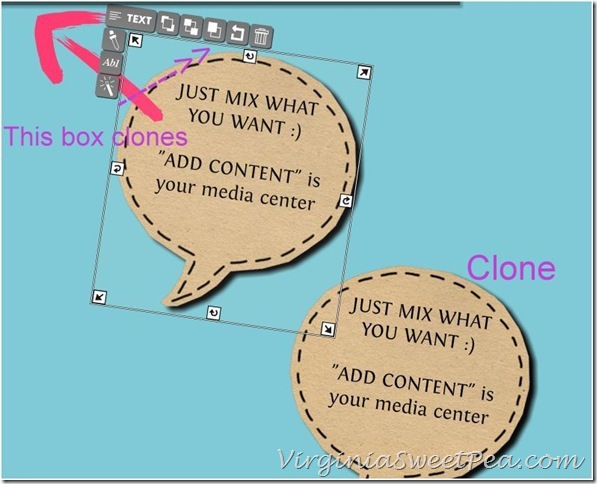
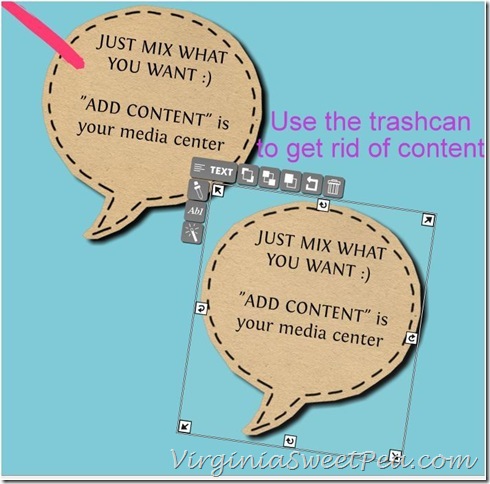
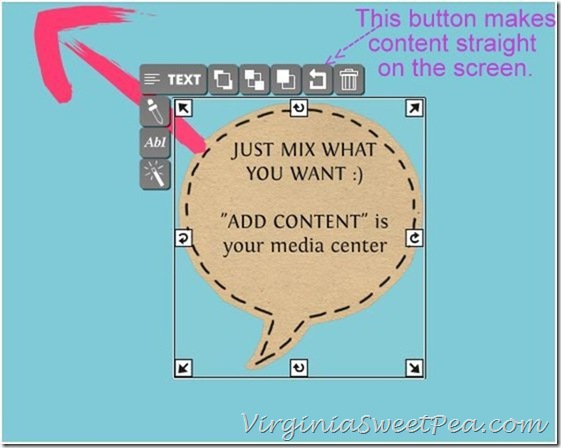
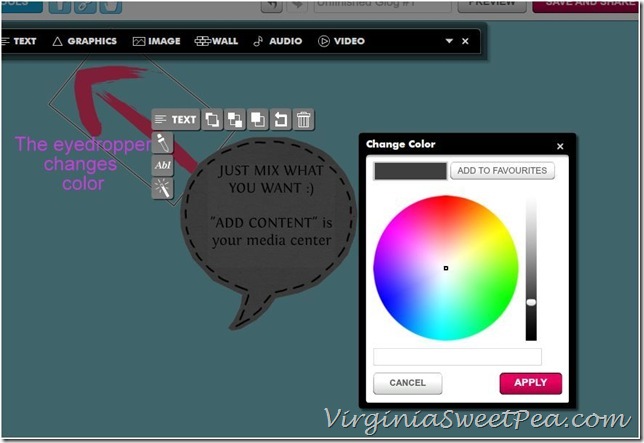
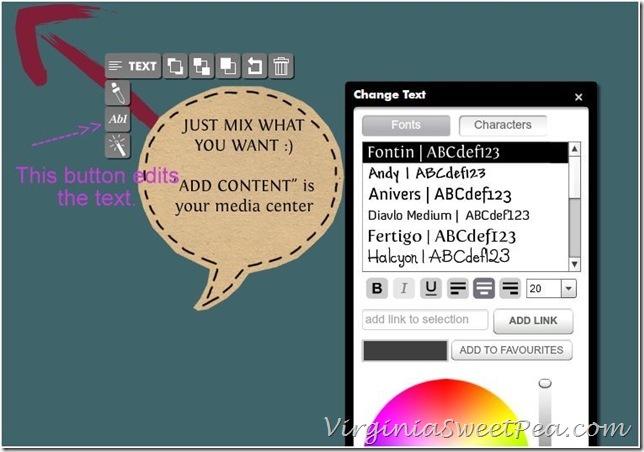
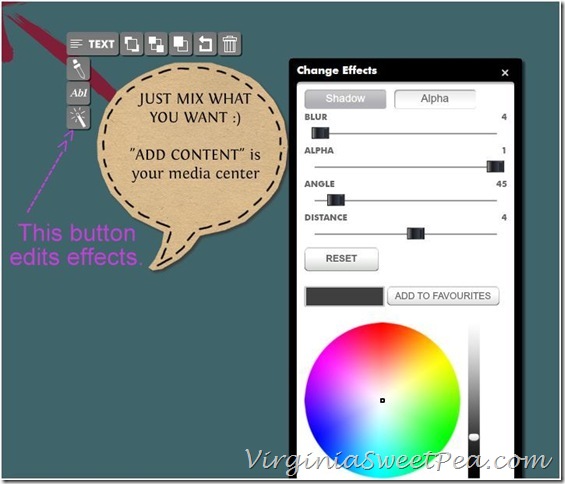
You can keep this and edit it, or delete it and start with a blank screen. I usually delete it and start with a blank screen, but in the lesson I want to show you what all of the buttons do, so I’m keeping it for now. Click on the brown “Just Mix What you Want” button and you’ll get icons to change it like shown below.
Use the trashcan icon to get a clean Glog screen.
In the next lesson, we will add content.
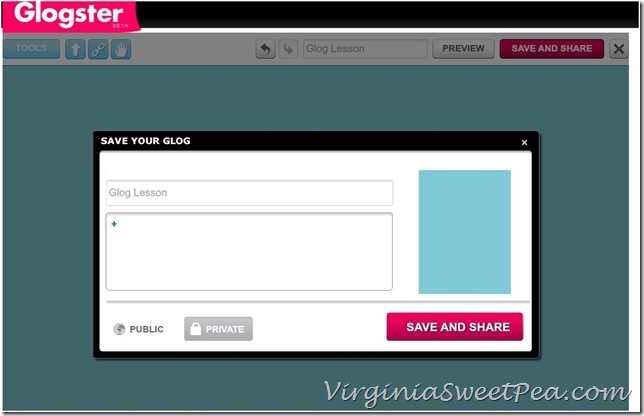
Let’s save what we’ve done. Click on the “Save and Share” in the upper right corner of the screen.
You’ll get a screen like you see below. Give your Glog a name and be sure to click on “Private” until your Glog is complete.
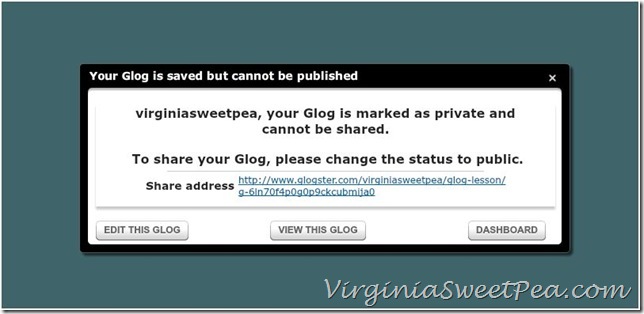
You’ll get a screen like the one below. You can continue editing, view your Glog, or go back to your dashboard to work on another Glog.
I clicked on “Edit This Glog” which took me back to the Glog I was working on. To continue working on it, scroll to the bottom and click on “Tools.”
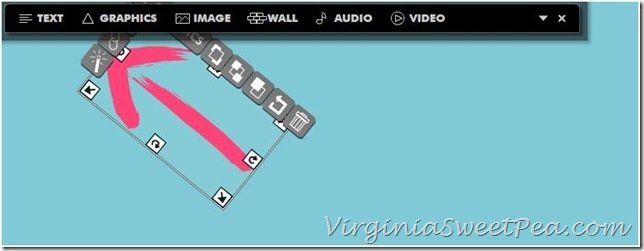
From there you can design away. In the next lesson we will talk about the buttons that you see below.
Thanks for joining me for Glogging 101. If you have children, I encourage you to let them try Glogging. It’s fun and can be educational at the same time.
I hope you’ll join me next week for the next lesson.
Sharing With:
Tutorial Tuesday at Hope Studios
Tutorials and Tips Party at Home Stories A2Z
Saturday Seven Party at Postitively Splendid



I am so impressed with this idea ! I had my hubby sit down and look at both of your posts! It really looks like fun! ♥
Girlfriend, this is all I need….another fun activity online! I already have lots of ideas of stuff I can create for work! 🙂
Nice tutorial, Paula!! Those are hard to do with all those screen shots and adding extra text. Glogging looks like a great resource!
How cool is that! I’m sure Carson and I could use that homeschooling. She made a powerpoint presentation for her last project and presented it to 500 students in an assembly at an Elementary school. This sounds even cooler that powerpoint. Thanks for the tutorial! Carla
This sounds like fun. This was a very detailed tutorial Paula, good job!
How fun, Paula! I’d never heard of Glogging before. Thanks for the details!
xo,
Stef
Great tutorial. I’m going to file this away for homeschool needs. Thank you! Found you from Sat 7 Party at Positively Splendid.
Cindy @ Apron Strings and Apple Trees