Glogging 101: Lesson Two
If you are new to this series, you might be wondering, “What in the world is a Glog?”. A Glog is an on-line poster that can be viewed via Glogster, printed, or shared by social media. Schools have their own special version but a public one is also available. Glogs allow you to add text, graphics, audio, and video all to one page for easy viewing. Kids love it and actually look forward to doing a report instead of dreading it.
In lesson one we learned how to set up a Glogster account and how to use some of the glogging tools. In today’s lesson, we’ll learn more about tools.
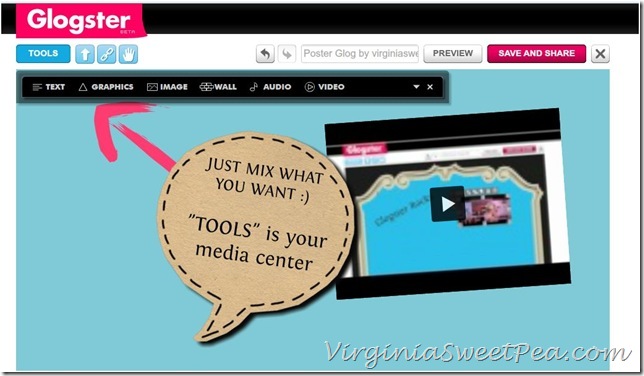
In the first picture I have selected a poster style glog after clicking, “Create New Glog.” Today we’ll learn about the buttons you see in the black bar: text, graphics, image, wall, audio, and video.
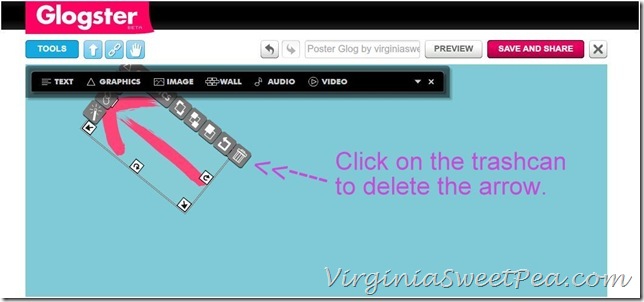
You can edit the text and video screens that automatically come up by clicking on them or delete them by clicking on each one and then clicking on the trash can.
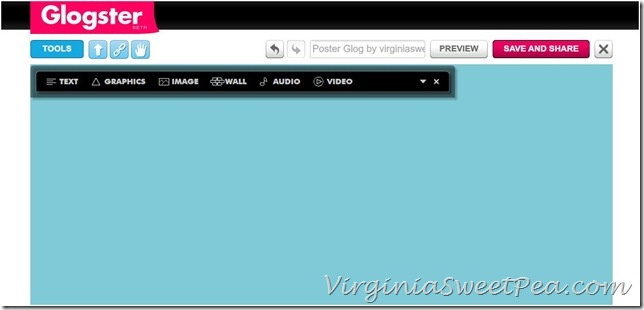
Now I have a clean glog screen.
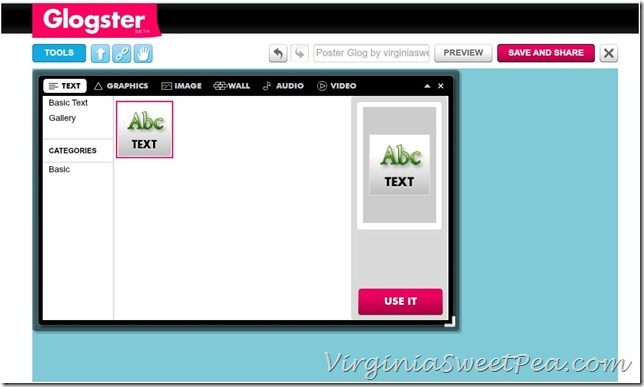
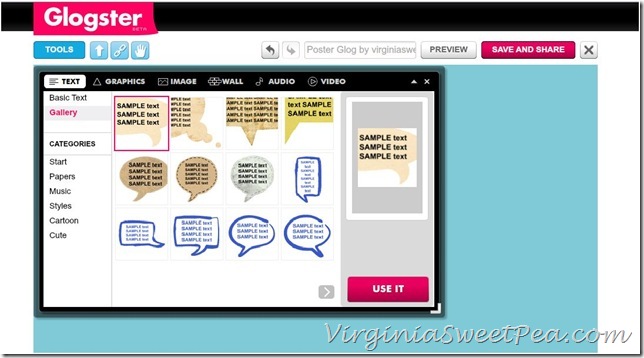
Click on the “Text” button to add text. Notice that you have two choices: basic text or gallery. Basic text adds plain text without a graphic. If you click, “Use It”, you can then change the font, size and color.
Click on “Gallery” and you get a variety of graphics to use with your text.
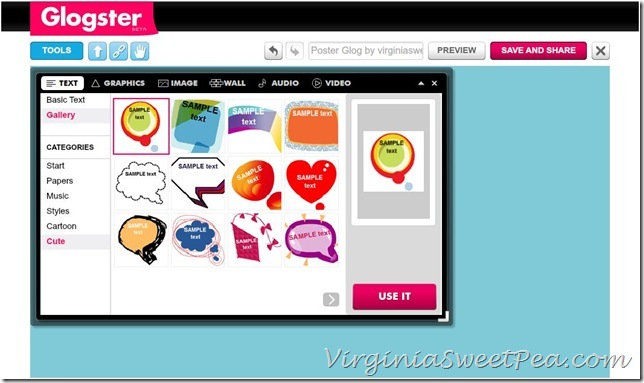
Under categories, there are six styles from which to choose: start, papers, music, styles, cartoon, and cute. Cute is shown below. Click on the grey arrow at the bottom of the screen to see more cute styles. Pick the one you want and then click, “Use It”.
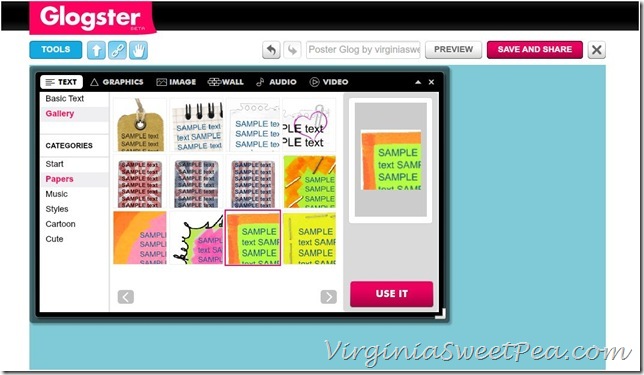
Below you can see that I am on the “Paper” choices.
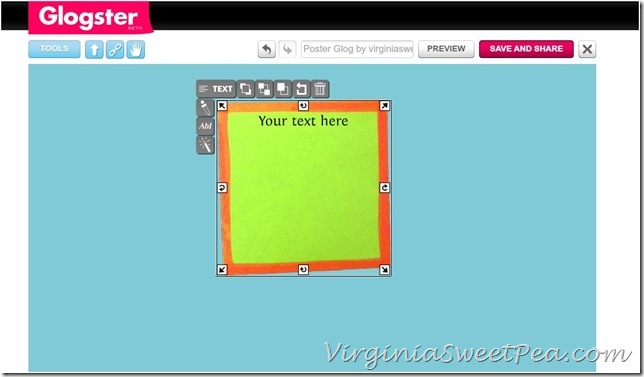
After I clicked “Use It”, this is what I see on my screen. See lesson one for how to use the buttons that you see surrounding the text box.
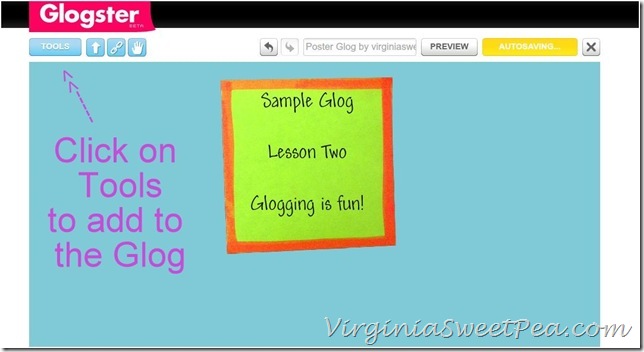
Click on “Tools” to get the button back to continue to edit your glog.
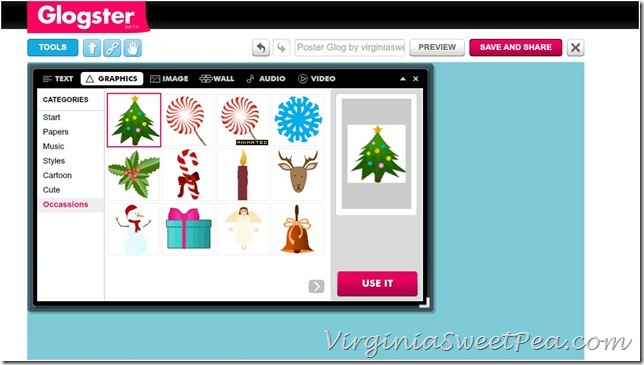
The “Graphics” button allows you to add fun graphics to your glog. There are seven categories from which to choose: start, papers, music, styles, cartoon, cute, and occasions.
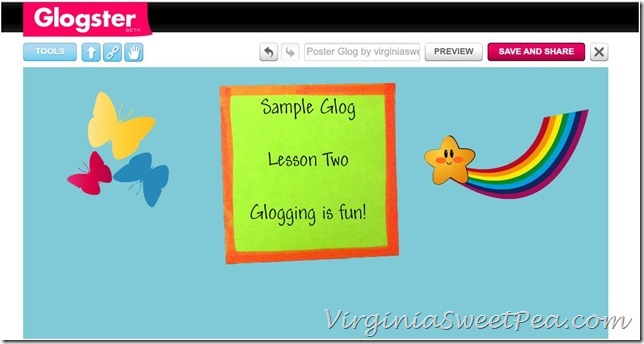
I added butterflies and a rainbow. Some of the graphics are animated which is much beloved by children.
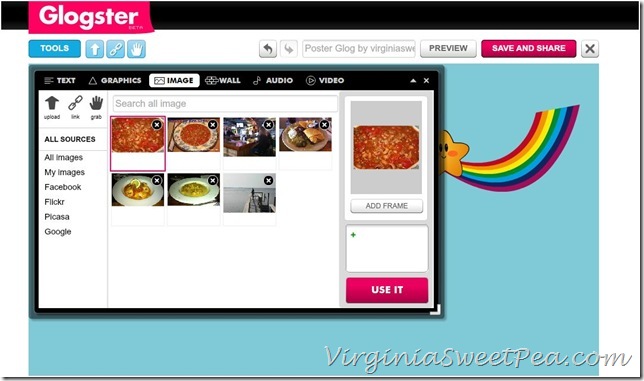
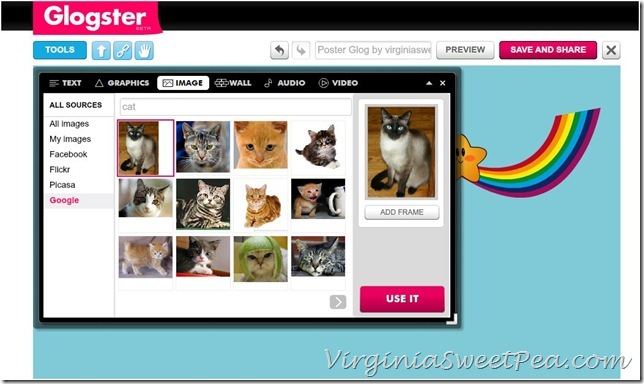
“Images” allows you to add photographs to your glog. Any picture that you’ve previously uploaded will appear. You can keep them in your library or click on the x to delete them. Here you see my black eye pea chili and OBX good eats pictures are still in my library.
Images can be added from Facebook, Flickr, Picasa, or Google. I clicked on Google and searched for a cat.
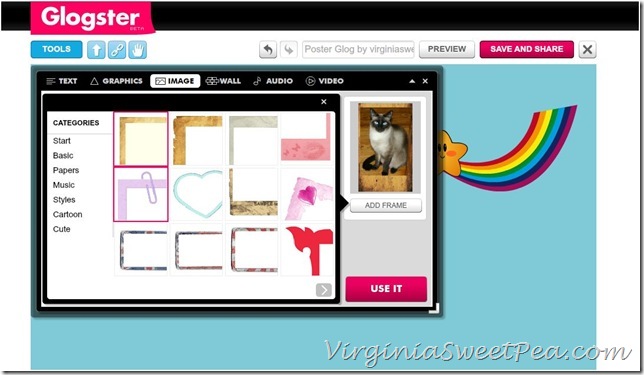
A frame can be added around a picture by clicking on “Add Frame” found below the cat picture. Frames gives you another set of choices: start, basic, papers, music, styles, cartoon and cute.
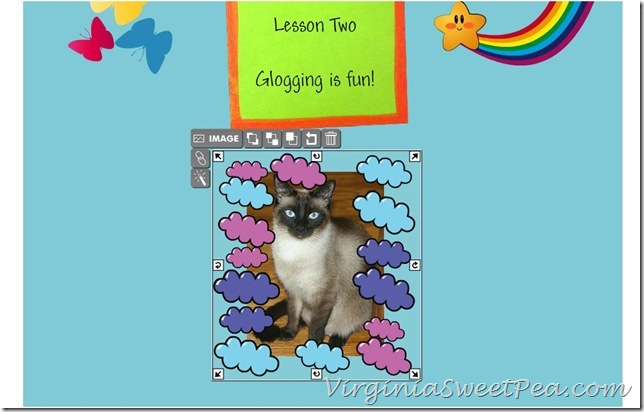
Click “Use It” and your picture appears on your glog, ready to be edited.
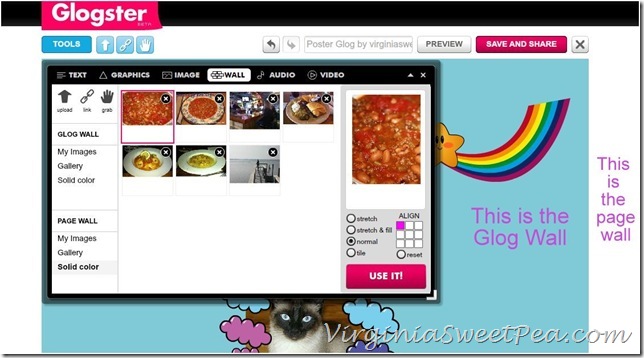
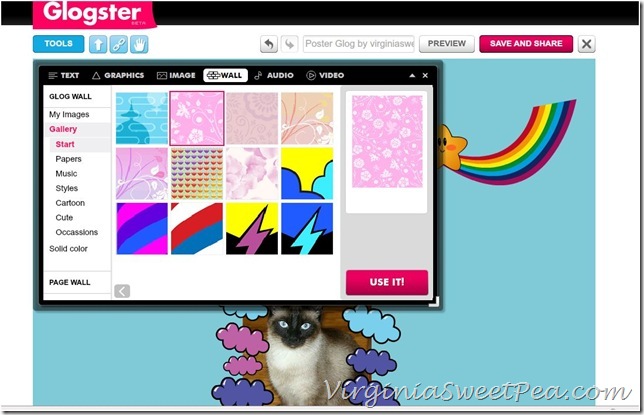
The “Wall” button is an important one. I would recommend using this button when you first start your glog but for this lesson wanted to introduce the tool buttons in order. The glog wall is your glog background. Below it is blue. The page wall is the background on the edge of your glog. (See notes below.)
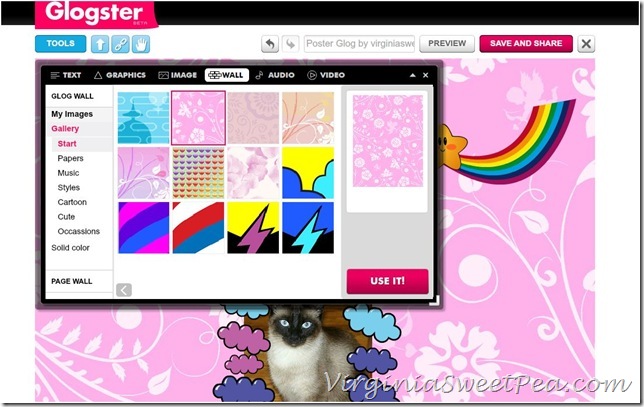
For the glog wall you can use an image, select a pattern from the gallery, or pick a solid color. Below you can see choices from “start” under “gallery.”
If you don’t like what you’ve chosen, it can be changed.
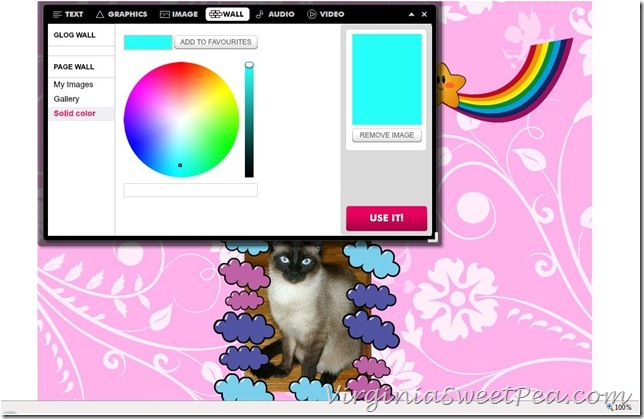
Clicking on “Page Wall” gives you similar choices for the edges of your glog. I chose a sold blue color.
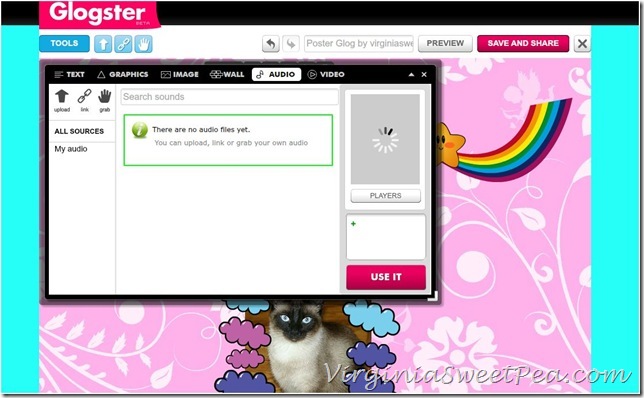
The “Audio” button allows you to add sounds to your glog. (I hate this feature for presentations, but my students love it!)
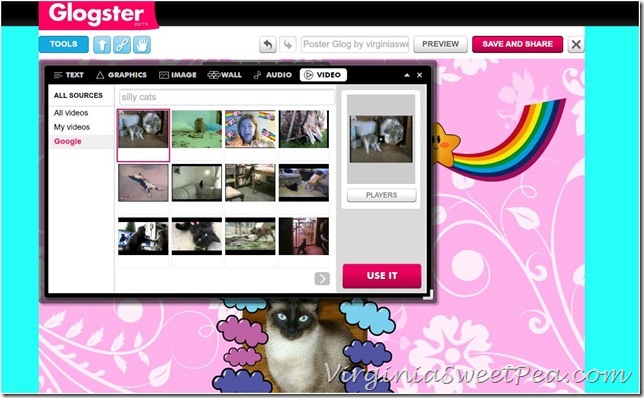
The “Video” button allows you to add video to the glog either with your own video or one found on Google. Here I searched on “Silly Cats” to find a fun video to add to my sample glog.
From the picture above: “Tools” brings back the tool bar; “Preview” lets you see what you glog looks like so that you can adjust the spacing, etc.; and “Save and Share” saves your glog.
Thanks for joining me and I hope that you now know understand the basics of Glogging. If you have a child in school, I promise that they will love this and find it extremely useful. It’s fun and creates a very nice product to present.
Click here to see my final product on Glogster.
Sharing With:
Weekend Blogging Reading Party at Serenity Now



I’m sure your students are having fun with this. But don’t show their parents — they might start doing their kids’ projects again!
Ooh, I like that you can add in different backgrounds. That is cool!