Holiday Ornament Display–Learn How to Make Your Own!
Thank you to The Home Depot for sponsoring this post.
Last week I shared with you that The Home Depot has an upcoming workshop where you can learn how to make a Holiday Ornament Display. If you like this project as much as I do, be sure to sign up for the workshop to learn how to make your own.
I’ve teamed up with some blogging friends for a Virtual Party where we will share our versions of this project and hopefully inspire you to make one for your home. You’ll find links to all of the projects shared at the bottom of this post.
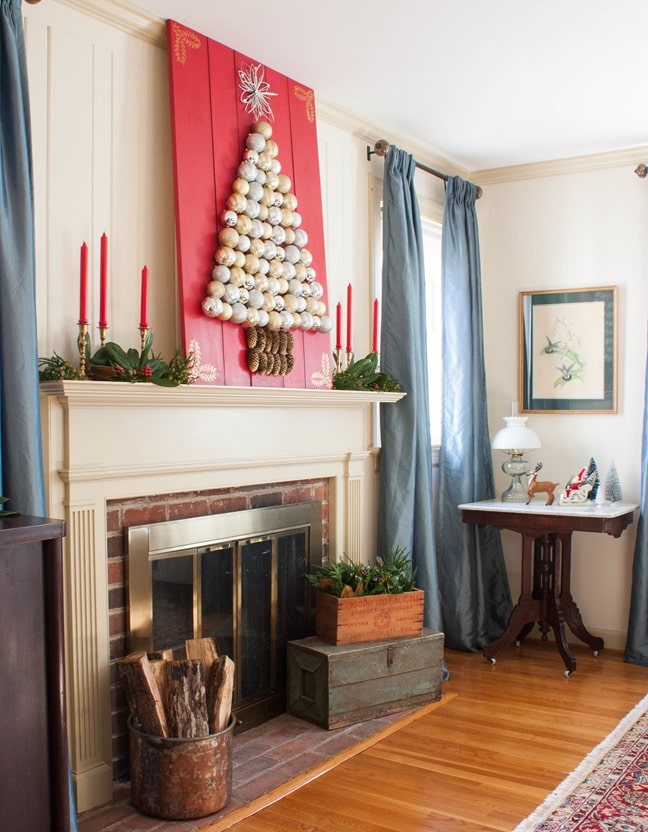
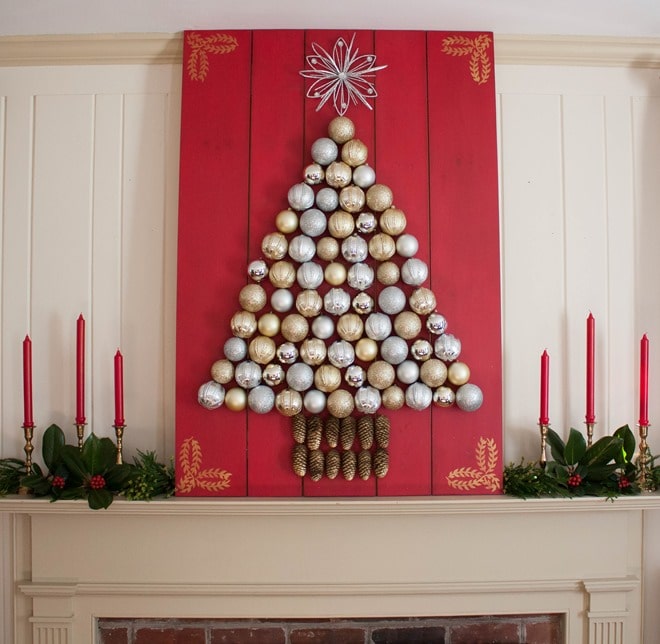
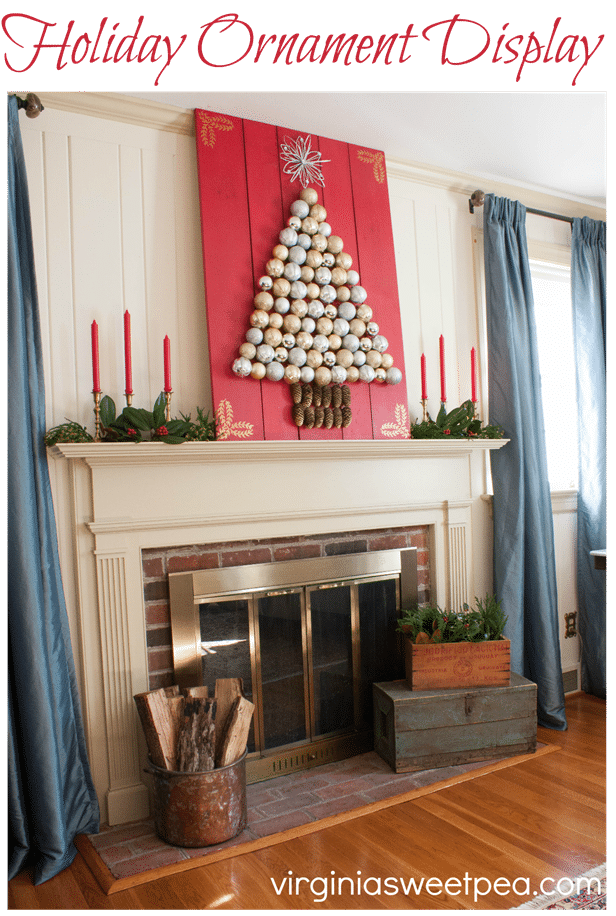
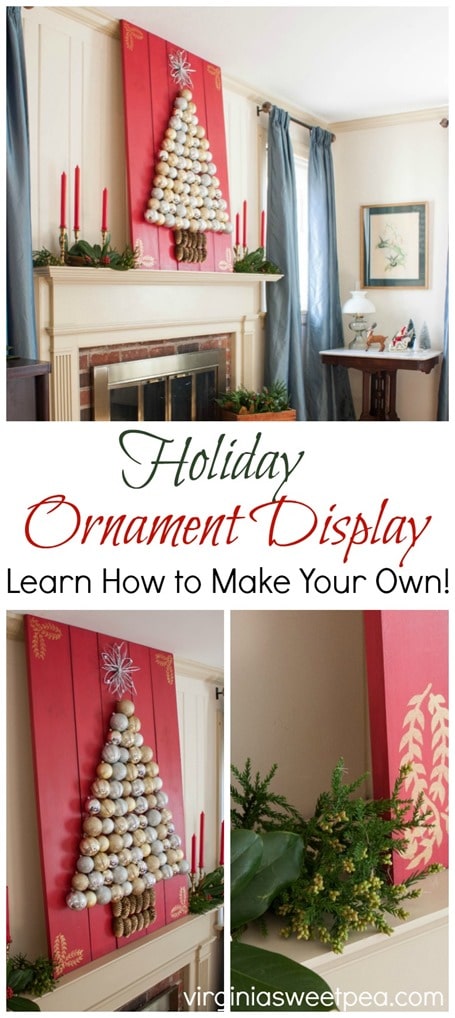
Are you ready to see my version? My home has traditional colors and for Christmas I stick with the classic colors of red, green, gold, and silver in my décor so those were the colors that I chose for my version of this project.
Some links in this post are affiliate.
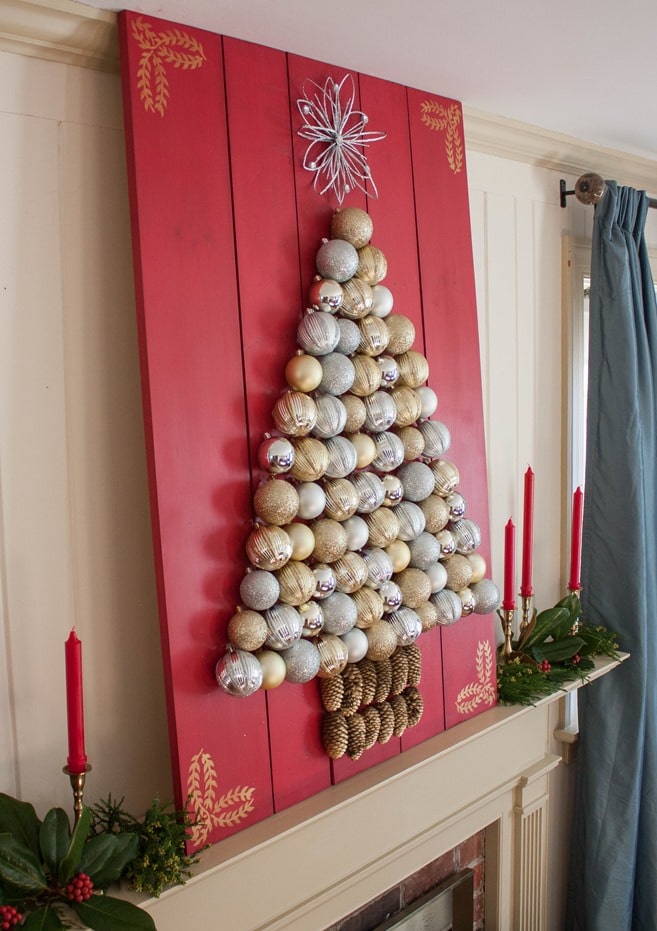
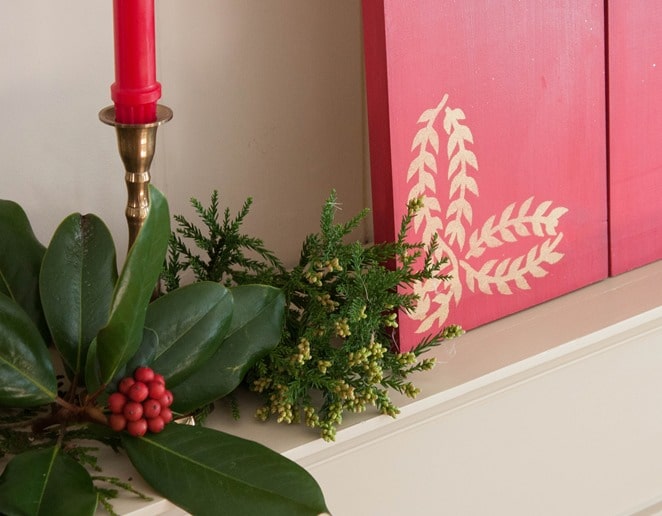
The boards were painted the display with Rouge Chalky Finish paint from Americana Décor and protected with wax that was buffed to a slight shine.
Tip: Paint the boards before you assemble the project. I had to use a small art brush to get the paint into the 1/4” spaces between each board which was bit tedious.
The balls are from The Home Depot and are attached to the board with hot glue. The star is a Christmas tree topper. I used wire cutters to cut off the part that attaches the topper to the tree. Pinecones sprayed gold spray paint form the tree trunk.
To add an extra bit of interest to each corner, I added a stencil using metallic paint.
This was a fun project that this working girl was able to complete in just a few hours. If you think that you don’t have time to do a project like this, you can squeeze this in.
Let’s see how I made this!
How to Make a Holiday Ornament Display
Materials
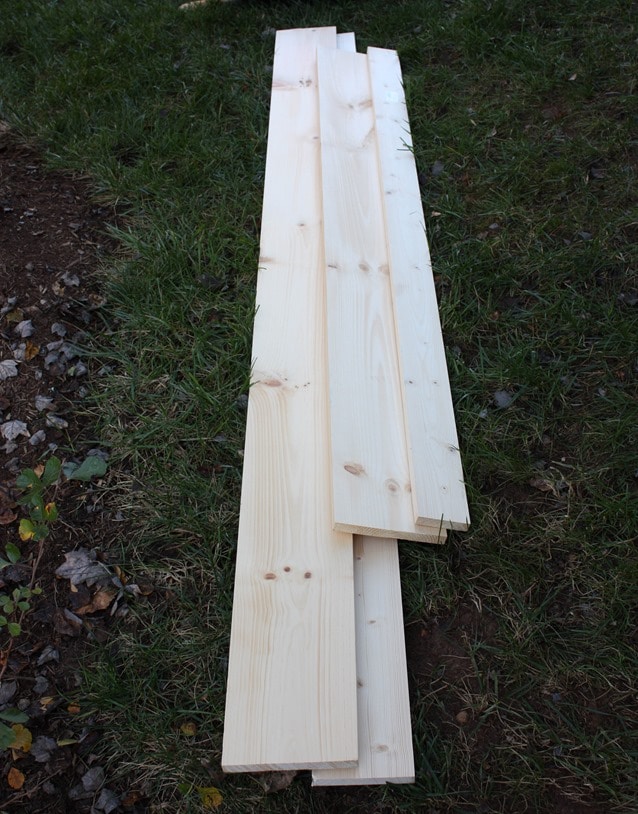
1-1”x8”x12’ Common Board
1-1”x6”x8’ Common Board
1-1”x4”x6’ Common Board
1-Box #8x 1/1/4” Phillips Square Drive Flat-Head Full Thread Zinc Coated Multi-Material Screw
Multi Pack Ornaments (I used 2 packs of these – 1 gold and one silver and 4 packs of these – 2 gold and 2 silver.)
Circular Saw (I used a sliding compound miter saw because it stays out all of the time in the shop.)
Drill
Glue Gun with Glue Sticks
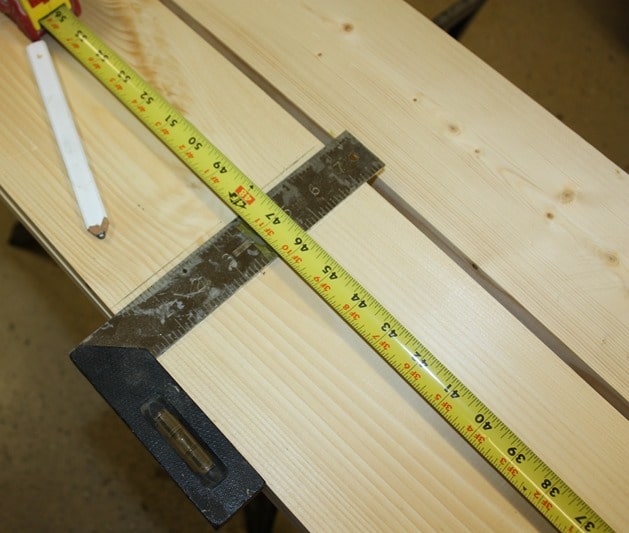
Measuring Tape and Carpenters Square
Pencil
Safety Goggles
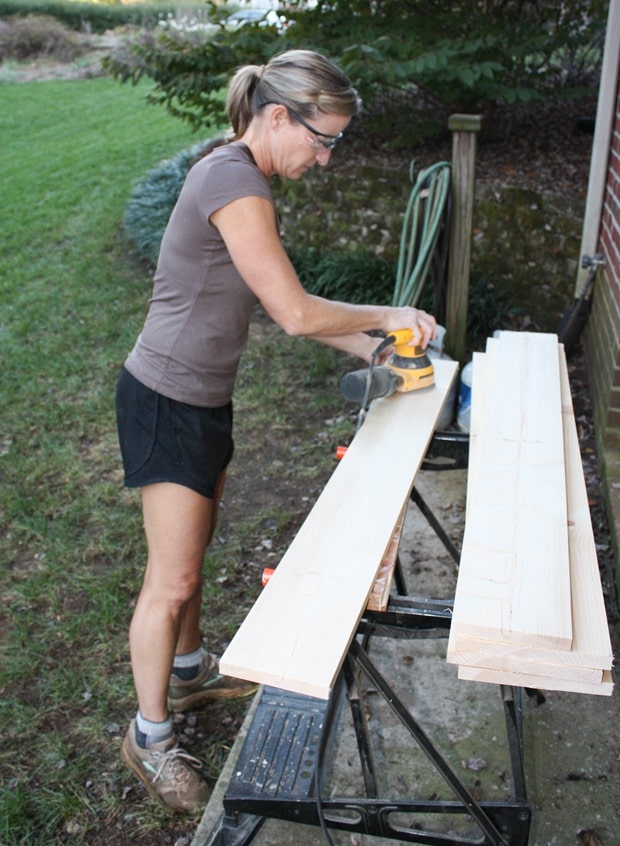
Palm Sander or Sanding Block
Clamps
Procedure
Cut
Cut three 48” sections from the 1’x8”x12’ common board, two 48” sections from the 1”x6”x8’ common board, and two 30” sections fro the 1”x4”x6’ common board.
Use a sanding block or orbital sander to sand the boards smooth.
Assemble the Boards
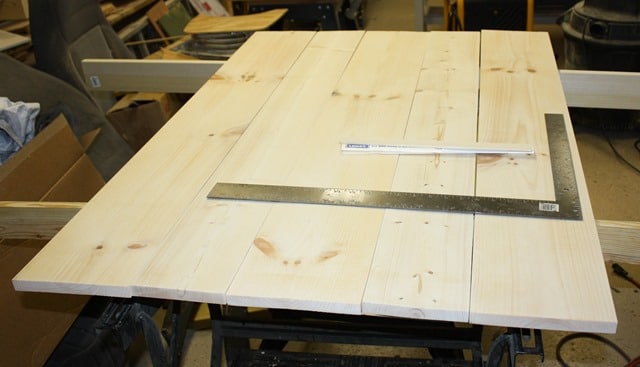
Lay all five of the 48” boards flat on a table interchanging between the 8” wide boards and the 6” wide boards. Leave a 1/4” gap between all of the boards.
Tip: Use a paint stick to keep the 1/4” gap uniform.
Attach Bracing
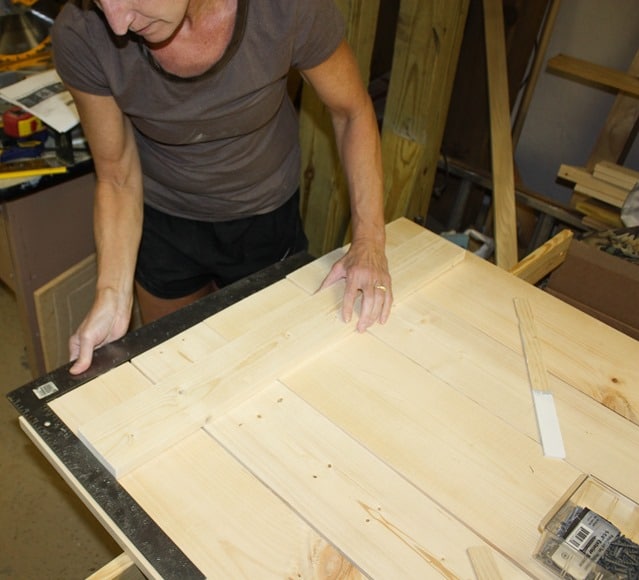
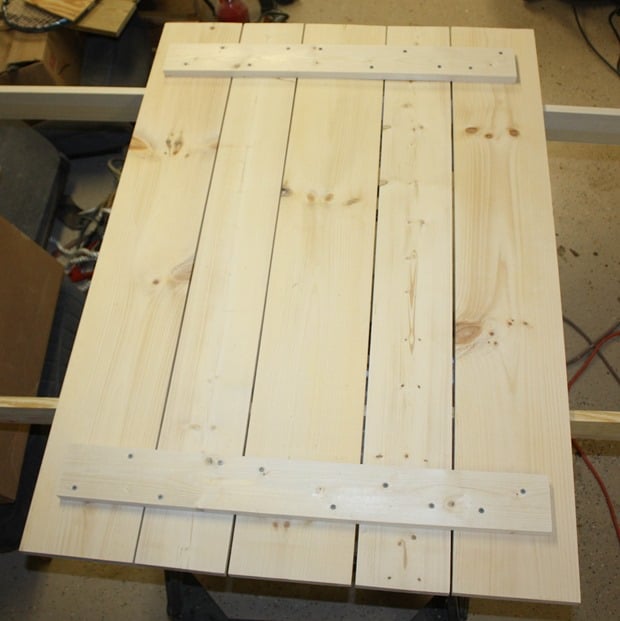
Center one 30” board horizontally across the five boards about 3 1/2” down from the top. Use a carpenters square to make sure that the 48” boards and the 30” board are square before screwing into place.
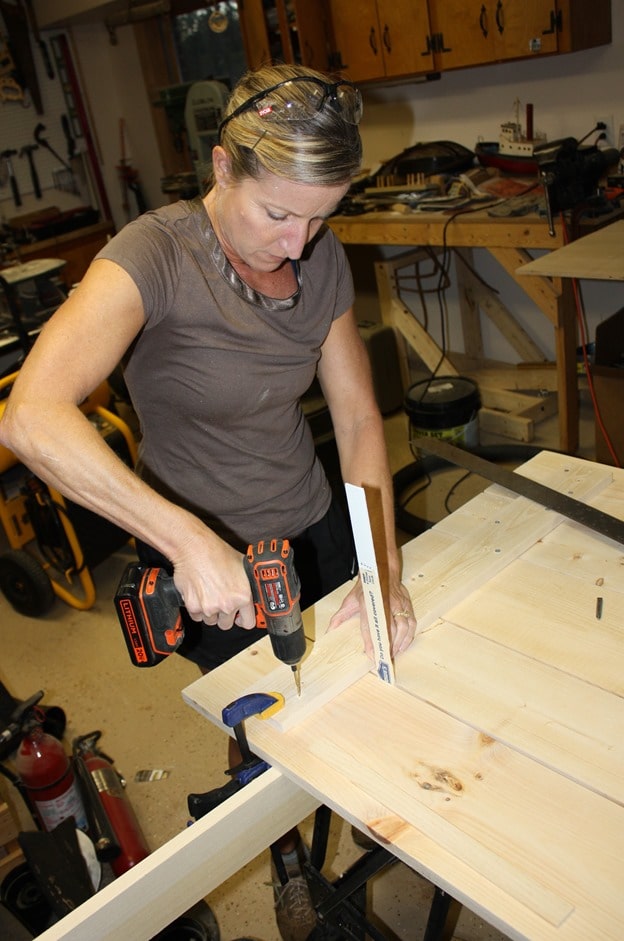
Secure the 30” board into place using two wood screws in each board. (I had to drill a pilot hole first because the first screw that I inserted split the board slightly.) The paint stick keeps the spacing even between the boards.
Now it’s built and ready for the fun part, the decorating!
I am thrilled with this project and am glad that my living room is decorated for the season so that I will have plenty of time to enjoy it between now and Christmas.
Is this a project that you’d like to make for your home? You can do it! Attend the DIH Workshop (Do It Herself) workshop at your local The Home Depot to learn more.
I am excited to see versions of this project that my blogging friends created. Click on the links below to visit each project.
These bloggers are also creating versions of this Holiday Ornament Display. I can’t wait to check out all of these projects!
Thanks so much to The Home Depot for partnering with me for this project!





Paula, First off, I am majorly jealous that you are working on your Christmas projects in shorts! lol I love it! I love the red board and all the details you added like the pine cones and that topper is awesome!
Paula,
I love how your tree turned out. The pinecones and the topper, and the details in the corners! I love it all!
pinning!
gail
This is beautiful! I love the shade of red that you chose. It looks gorgeous on your mantle!
Very pretty! I would want to make it smaller for my house but I am sure that would work too!
love the holiday display tree so super creative and love the pinecones as tree trunk very clever
come see us at http://shopannies.blogspot.com
LOVE This! I’ve been seeing this project popping up and will have to try this. #turnituptuesdays
This is a fabulous project! I love how it turned out 🙂
I love love love this!