How to Divide Iris
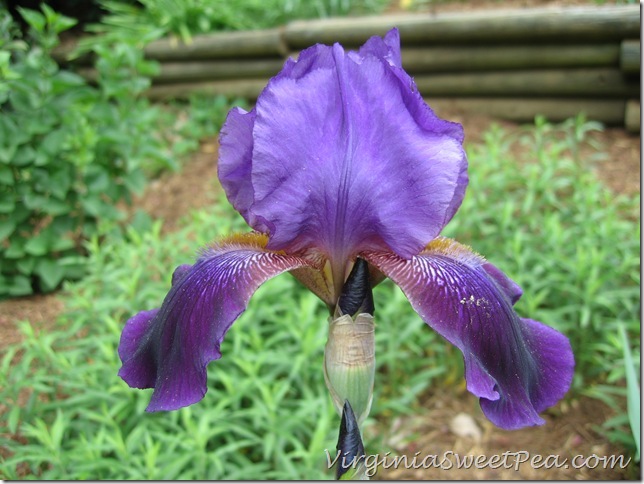
Back at the end of April I wrote a post describing how my Iris didn’t bloom very well this year. I suspected that the problem was that they needed dividing. I worked on this task last week and hope that next year I’ll see a dramatic difference in the blooms that I get to enjoy.
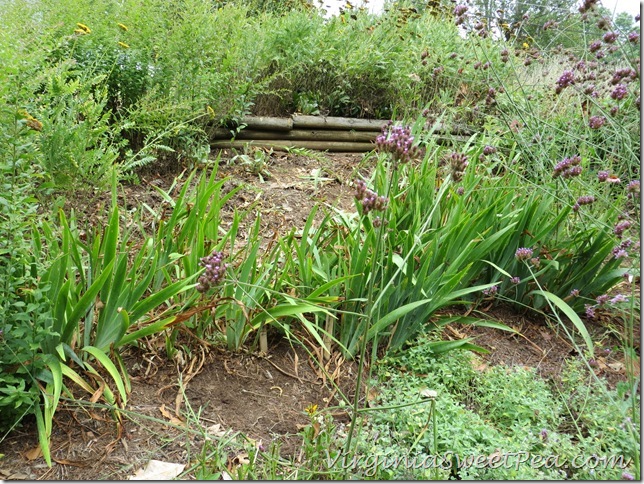
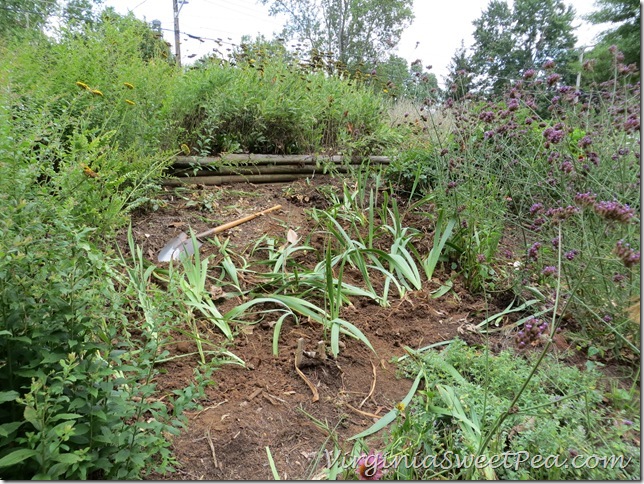
I started the process by clearing out as many plants as I could that grew around the Iris that I knew I didn’t want. Growing behind this particular Iris patch was a bunch of beautiful hot pink Lychnis that had gone to seed. The Lychnis had set seed and I knew many had fallen for next year, so I pulled it out to give myself more room to work.
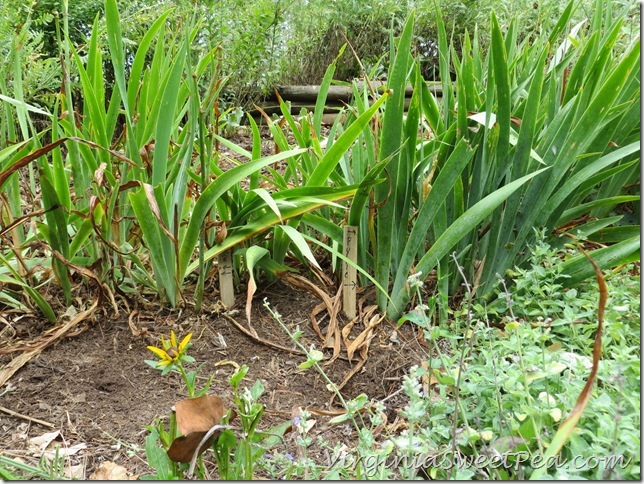
When the Iris were in bloom in the spring, I marked the colors. In this patch you can see that yellow is to the left and purple is to the right.
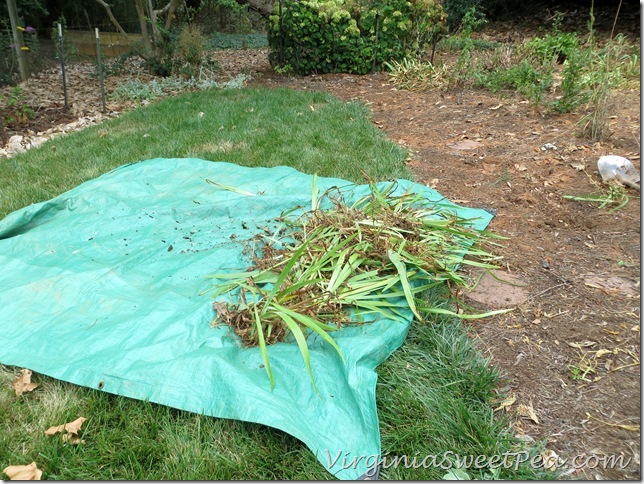
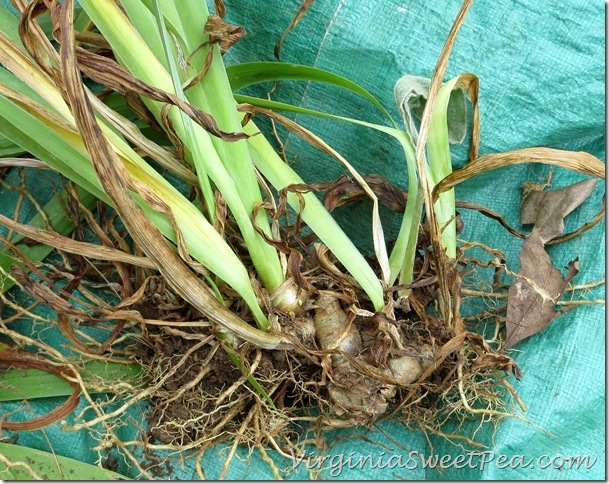
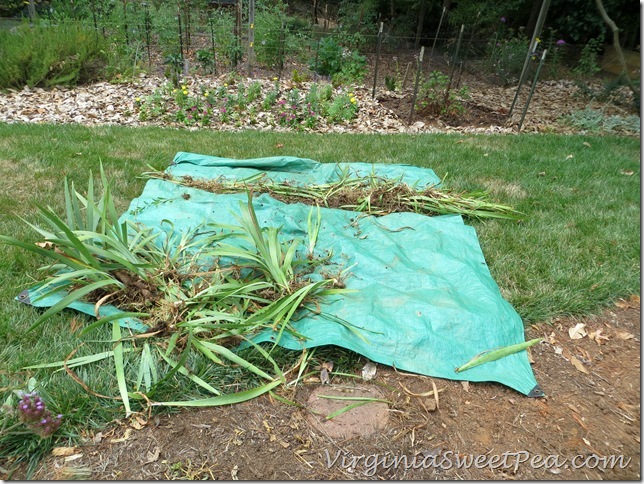
I dug up the Iris in the purple section and placed these rhizomes on a tarp.
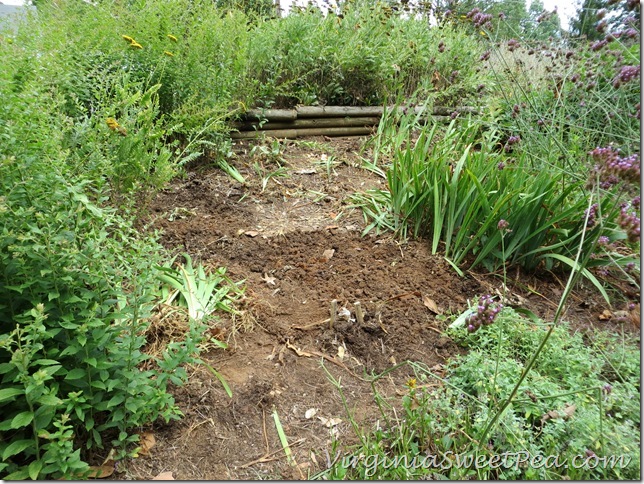
Then I used my shovel to loosen the soil in that section. This is also a good time to dig in compost and peat moss.
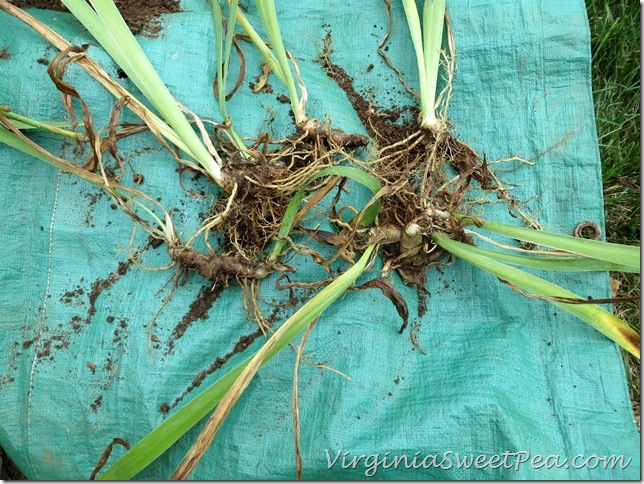
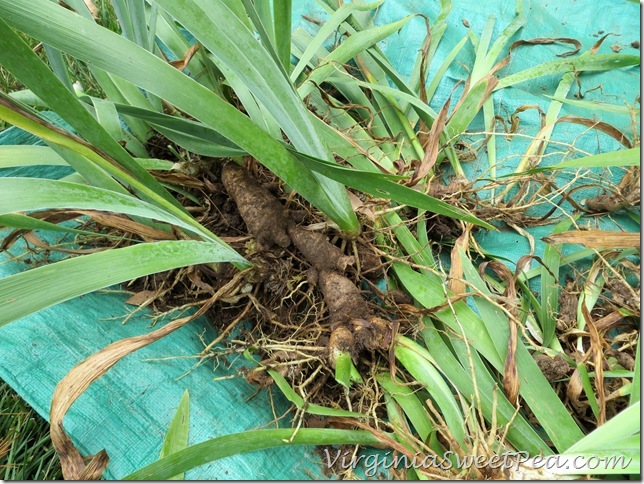
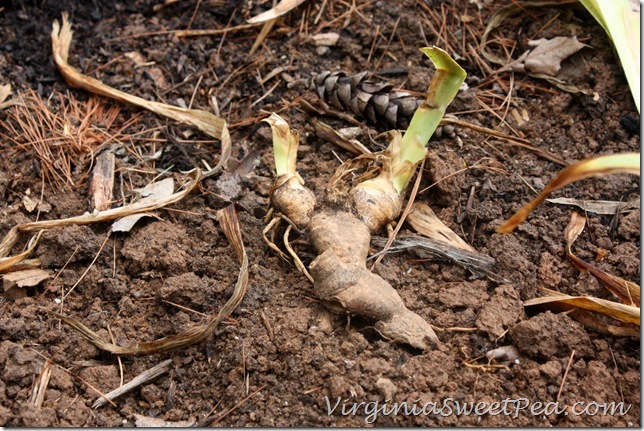
Each large clump of rhizomes was divided into smaller sections using my hands.
It is surprising how many sections a clump will produce.
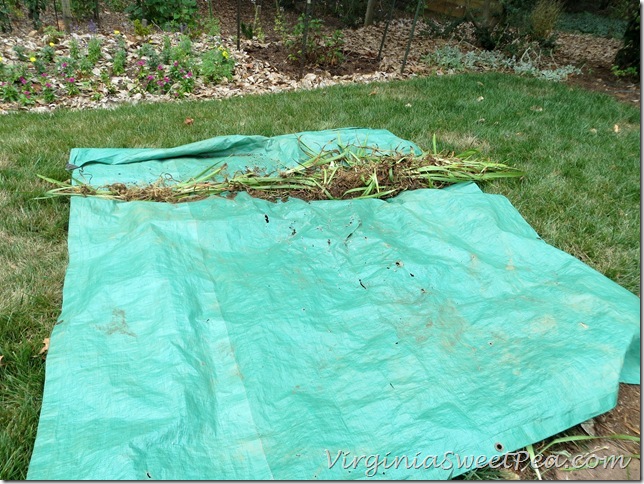
So that I wouldn’t get my colors mixed up, I put the yellow rhizomes that I would replant in a pile in their planting spot and moved the rhizomes going to the compost pile to the far side of my tarp.
Then I dug up the next group, the purple colored Iris, placing the rhizomes on the tarp as I dug.
After the purple rhizomes were removed, I loosened and enriched this section of soil.
Then I spit these large rhizome pieces into smaller ones.
I placed the rhizomes that I would replant in their planting spot and put the unused rhizomes at the back of the tarp to go to the compost pile.
After all of the Iris colors were dug out and divided, I replanted them.
Iris rhizomes like to be on top of the soil. When replanting all I had to do was carefully bury the roots of each rhizome piece.
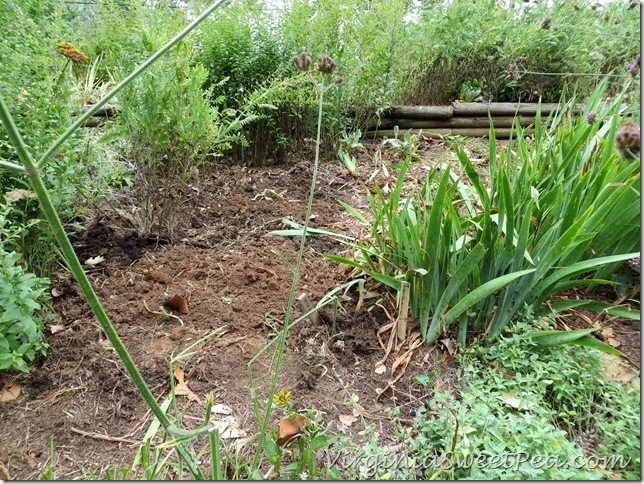
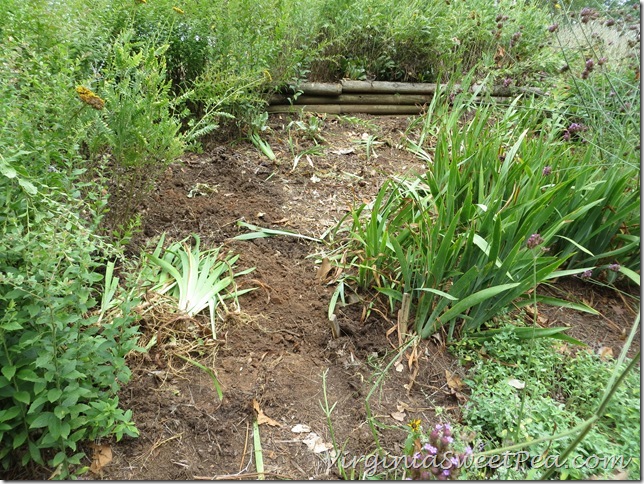
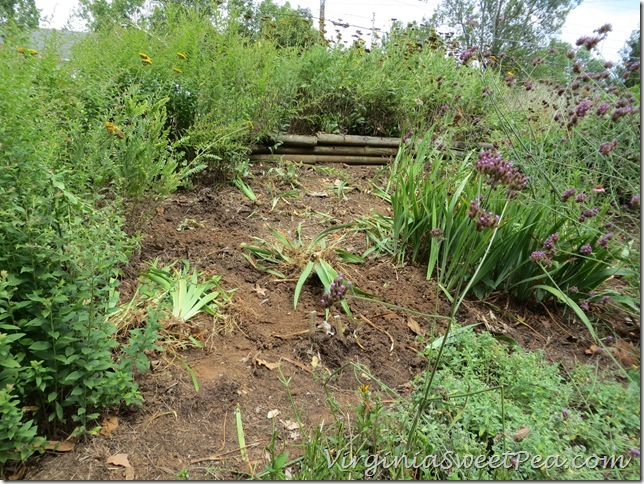
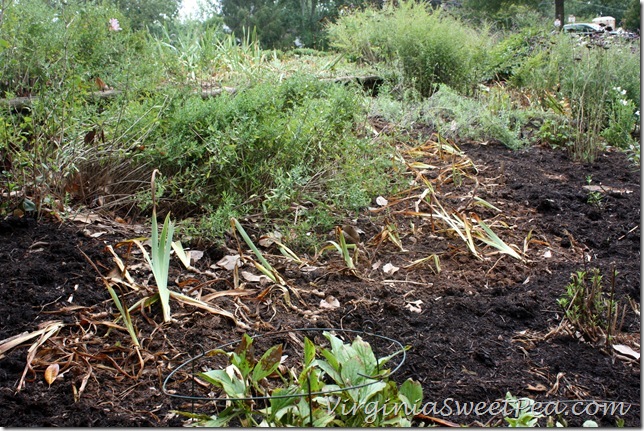
This section of Iris doesn’t look like much now but hopefully will be pretty next spring. You can see that the trees that fell on this bed were hard on my other plants. There’s a Butterfly Bush to the right in the picture that’s starting to come back out. A tree fell on top of it and we had to cut it to the ground in the process of removing the tree.
I am hoping that next April I’ll see many, many gorgeous Iris blooms stimulated by dividing them.
Sharing With:
Tutorials and Tips Link Party at Home Stories A2Z
Wow Us Wednesday at Savvy Southern Style
Tutorials, Tips, and Tidbits at Stone Gable




I’m sure your irises will look beautiful next spring, but I’m mourning the fact that I don’t live closer. I would gladly have separated them for you in order to have what you composted. I really miss the ones we left in Winchester.
I had a garden of Iris’ at my last house. They flourished the first couple of years but soon dwindled down to just a few a year. Being the brown thumb that I am, I had no idea how to fix or nurture them. It’s now time to plant me some Iris’ at my new home now that I know how to nurture them. Thanks Paula!
I love Iris 🙂 I am hosting a Giveaway to win a 50 dollar gift card to the store HomeGoods. It would be great if you stopped by and entered. Thanks Anu
Do you have any pics of the irises from this year? I’ve got a dense clump in my garden that I’d like to divide and I found your info and pictures very helpful!
Amy,
My Iris bloomed like crazy this year. I will look to see if I took any pictures and email them to you.