How to Make Fall Ornaments from Clay
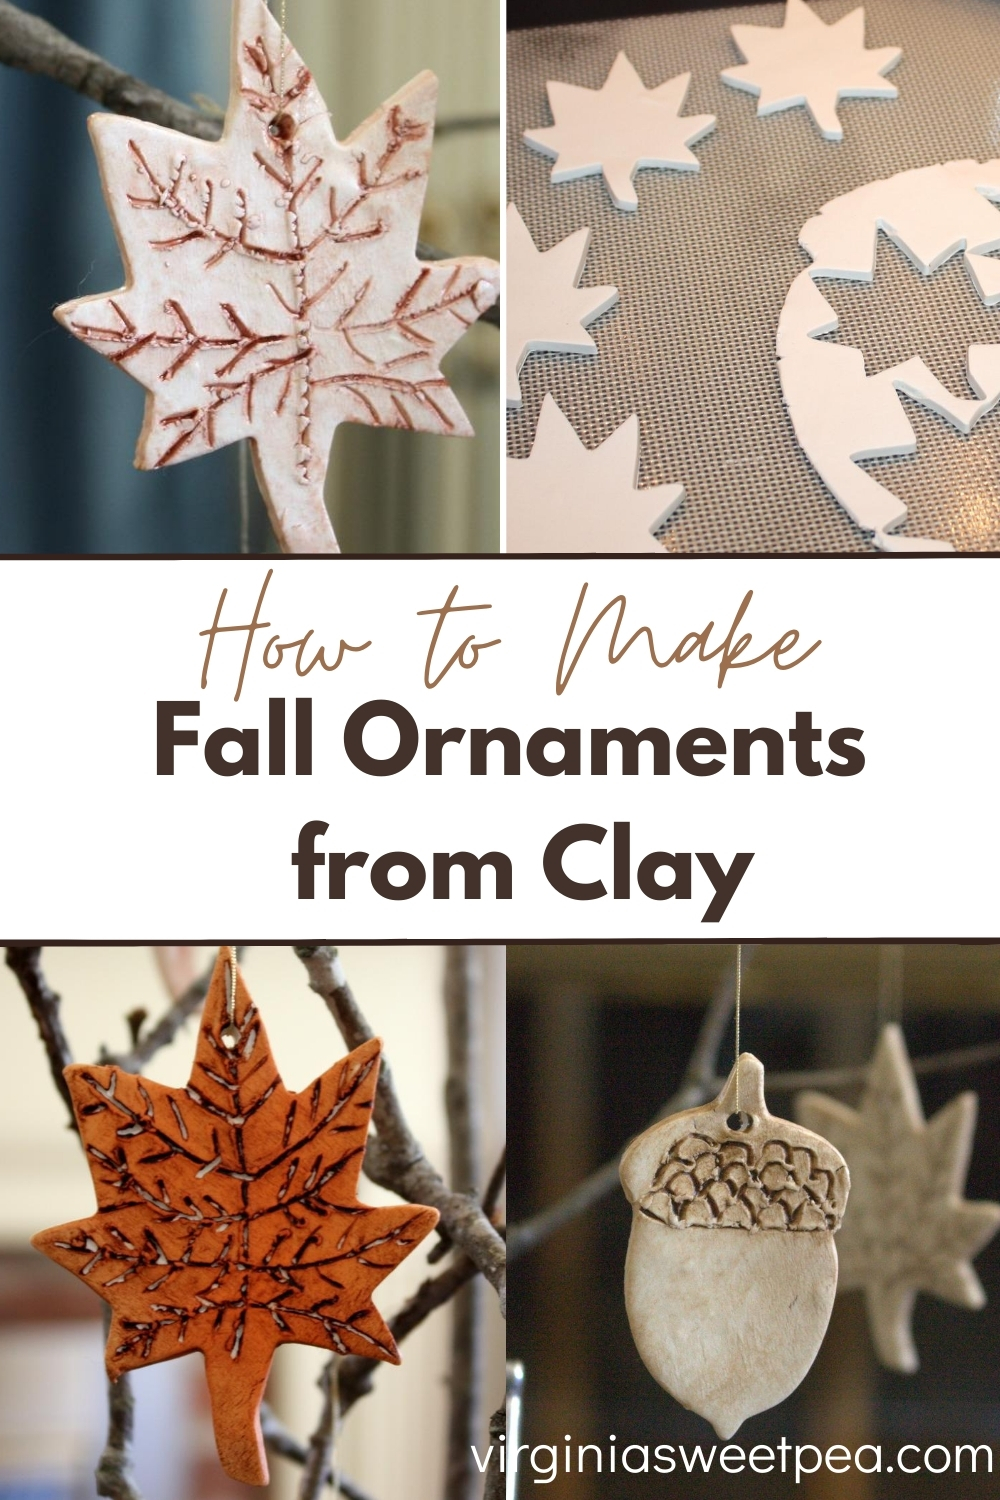
I’m excited to share my first fall project of the season with you, how to make fall ornaments from clay.
Did it feel like fall over the weekend where you live? It did here in Virginia. Yesterday the skies were clear, the sun was warm, and the air was chilly. It was the perfect day to be outside.
Now that it is feeling like fall and the calendar is approaching the actual first day of it, I’ve been motivated to do some fall crafting and decorating.
I crafted fall ornaments from clay, stained them, and then hung them from branches anchored in a silver ice bucket. I love how this looks in my living room for fall!
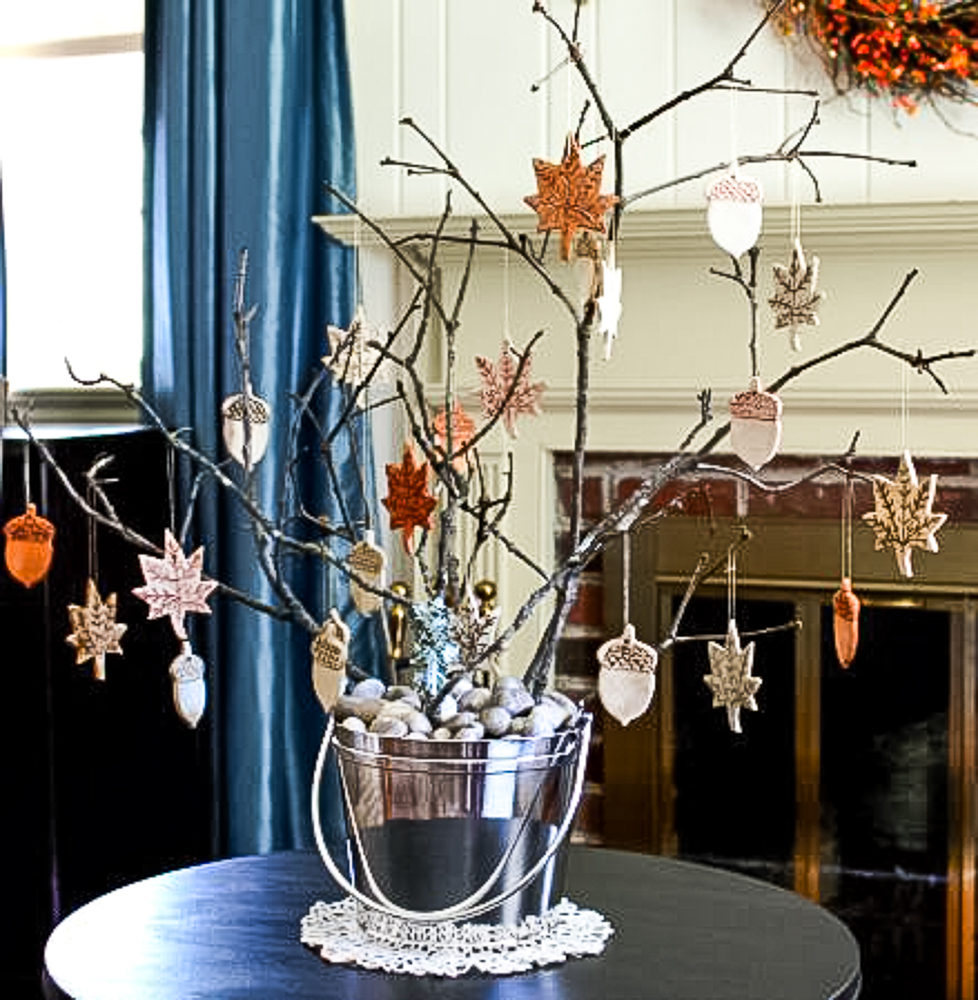
The fall ornaments that I made
Before I share how I completed this project, let’s take a closer look at some of the ornaments that I created.
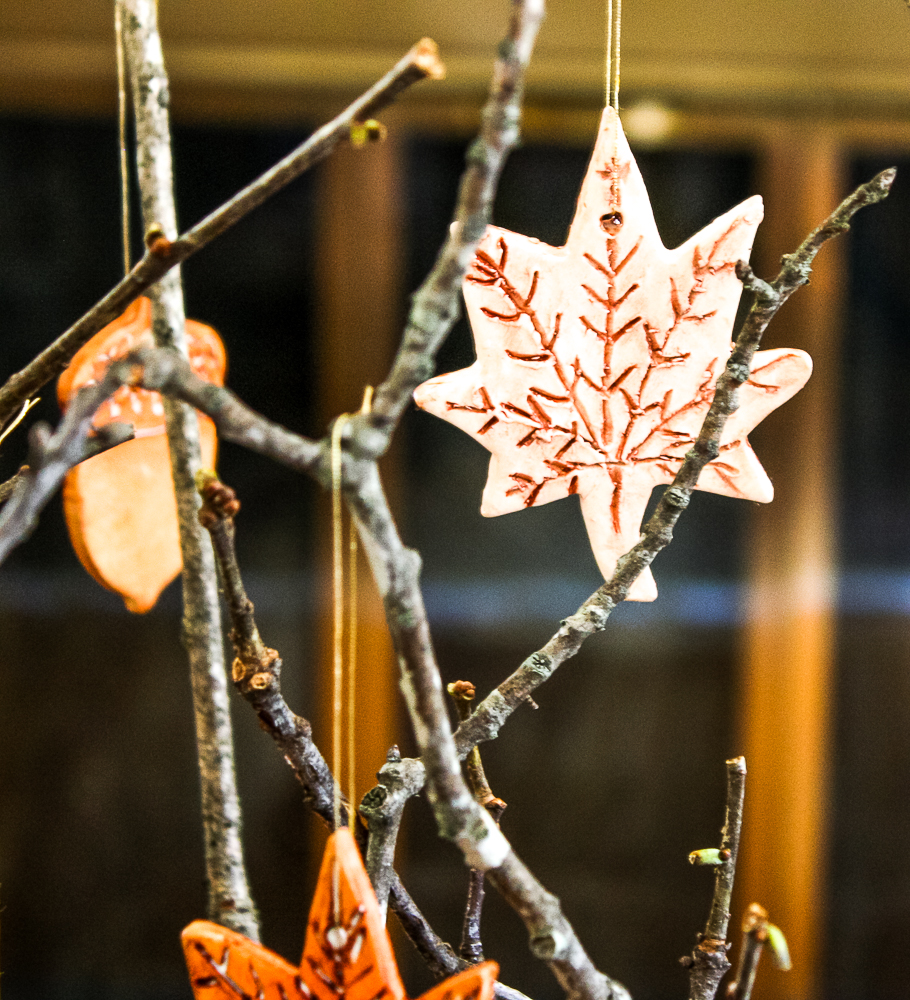
I used a toothpick to make designs on each clay ornament.
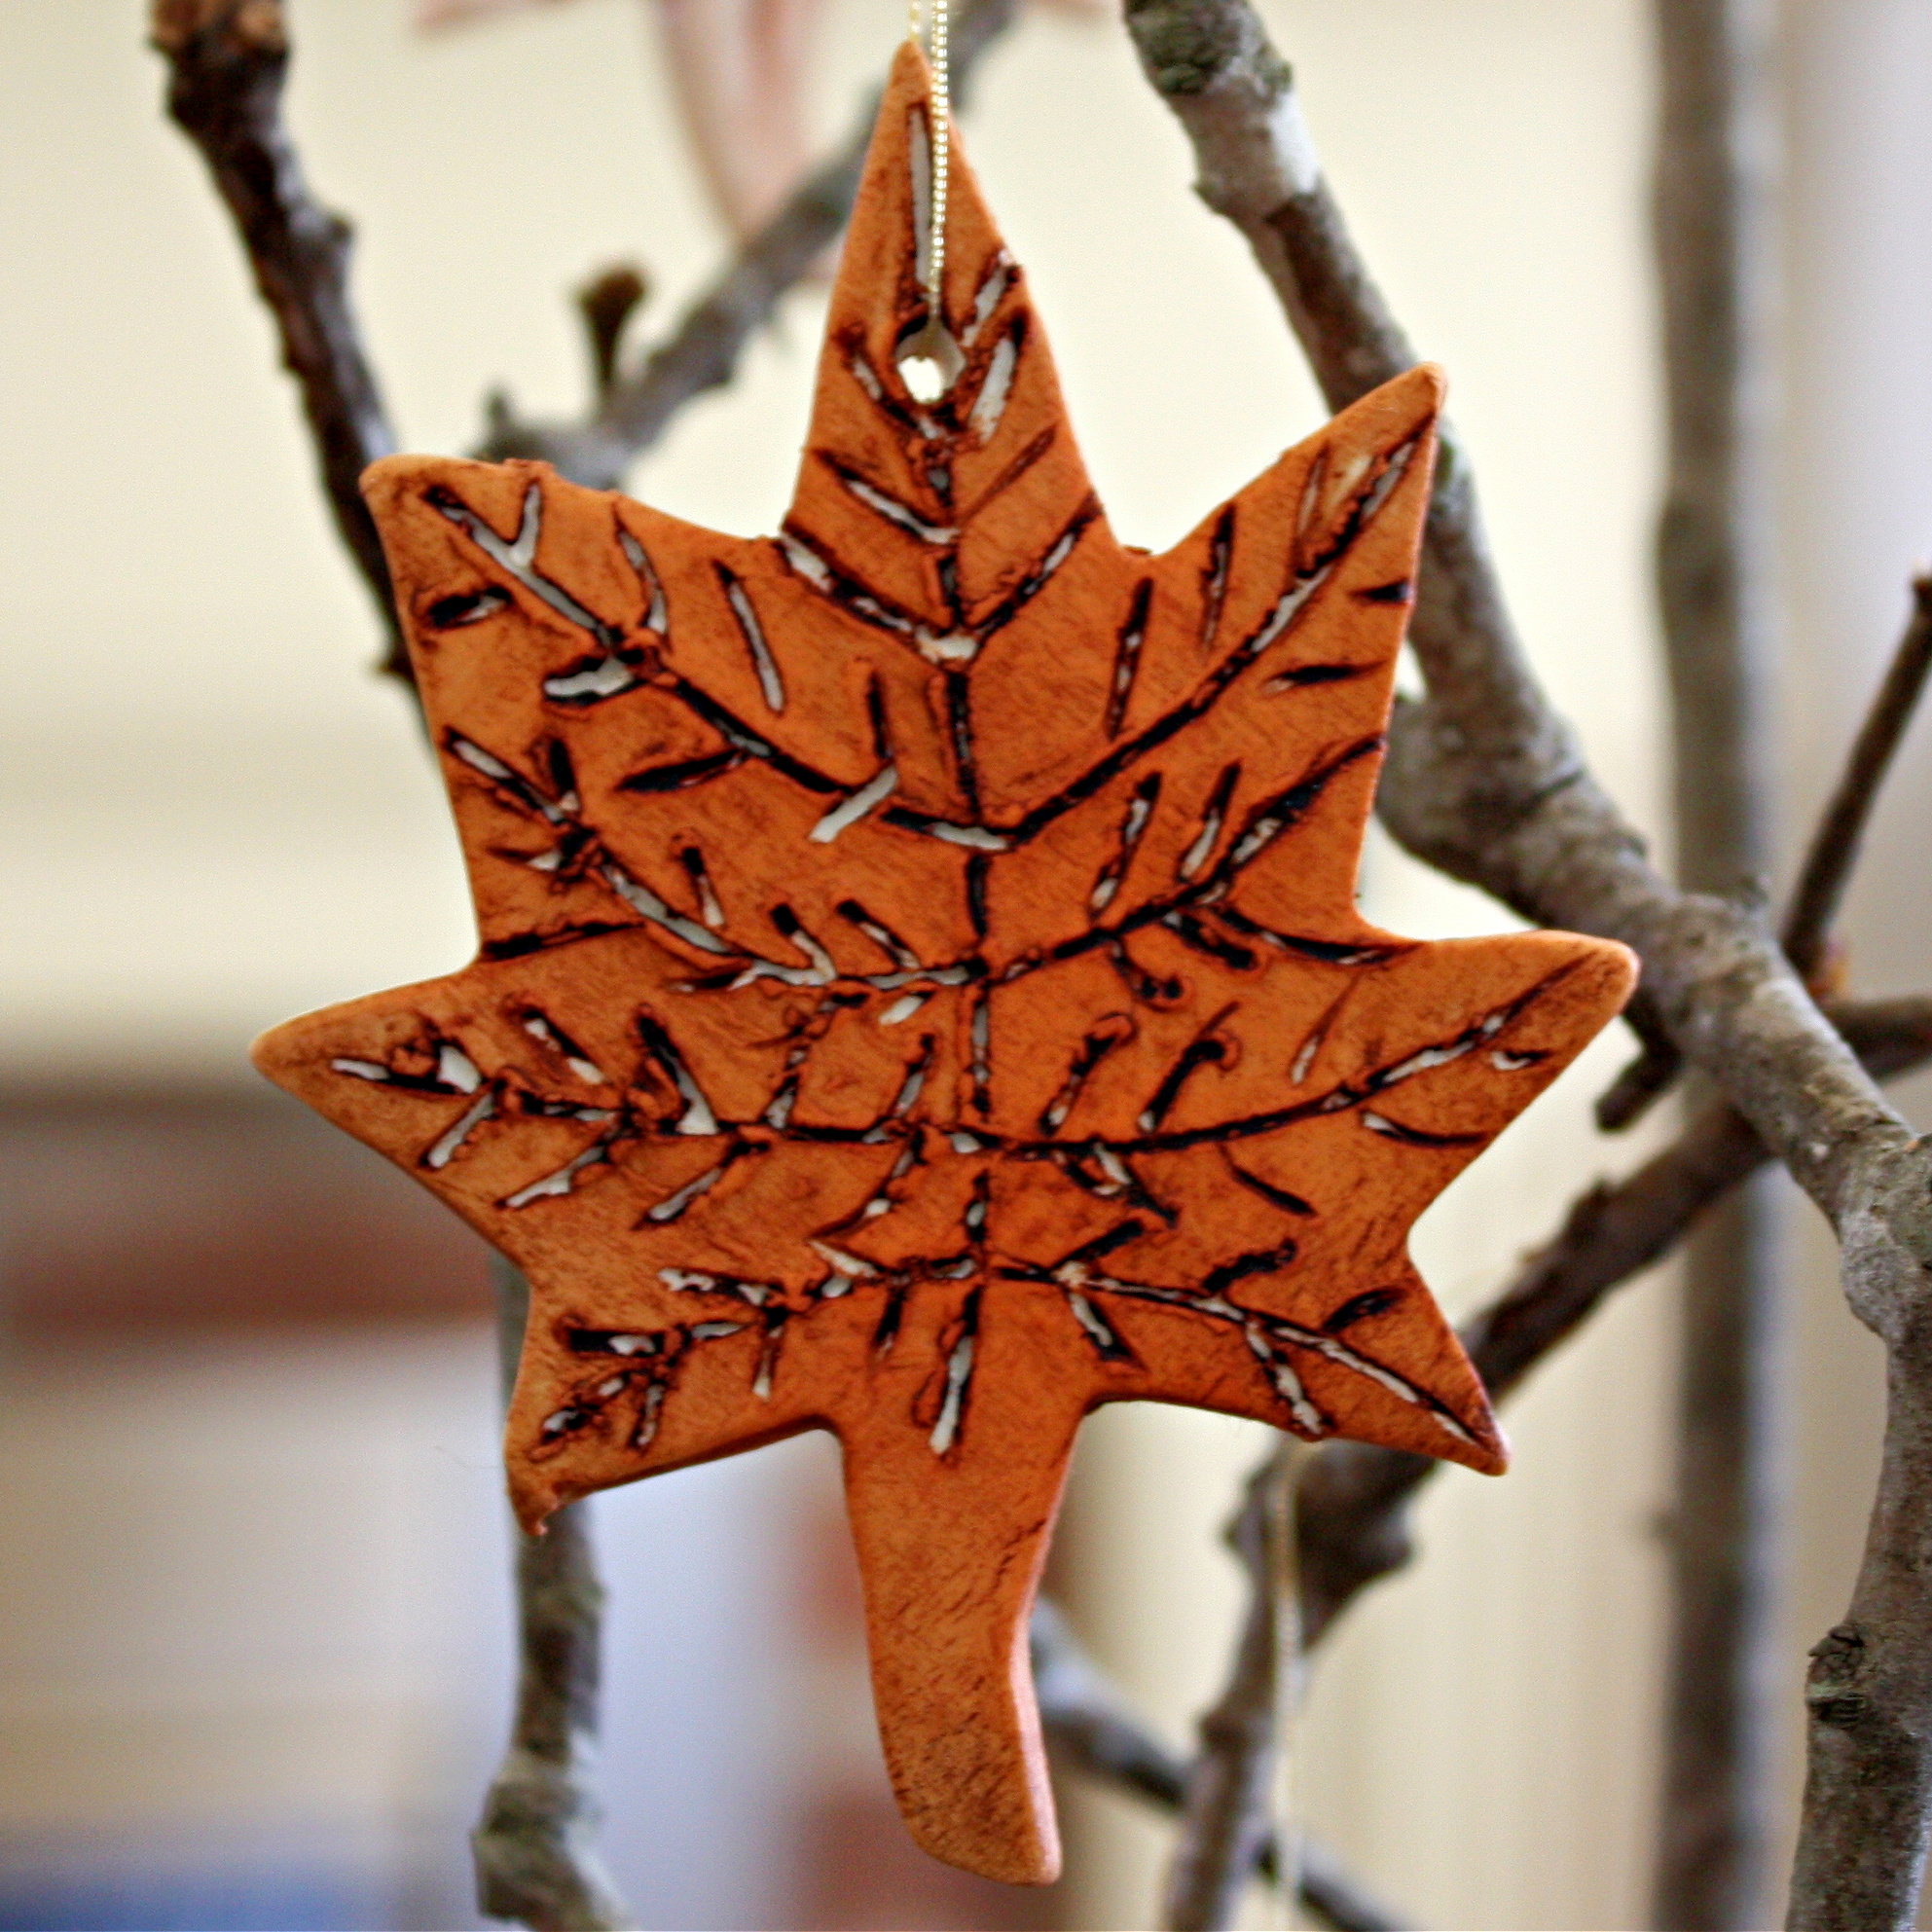
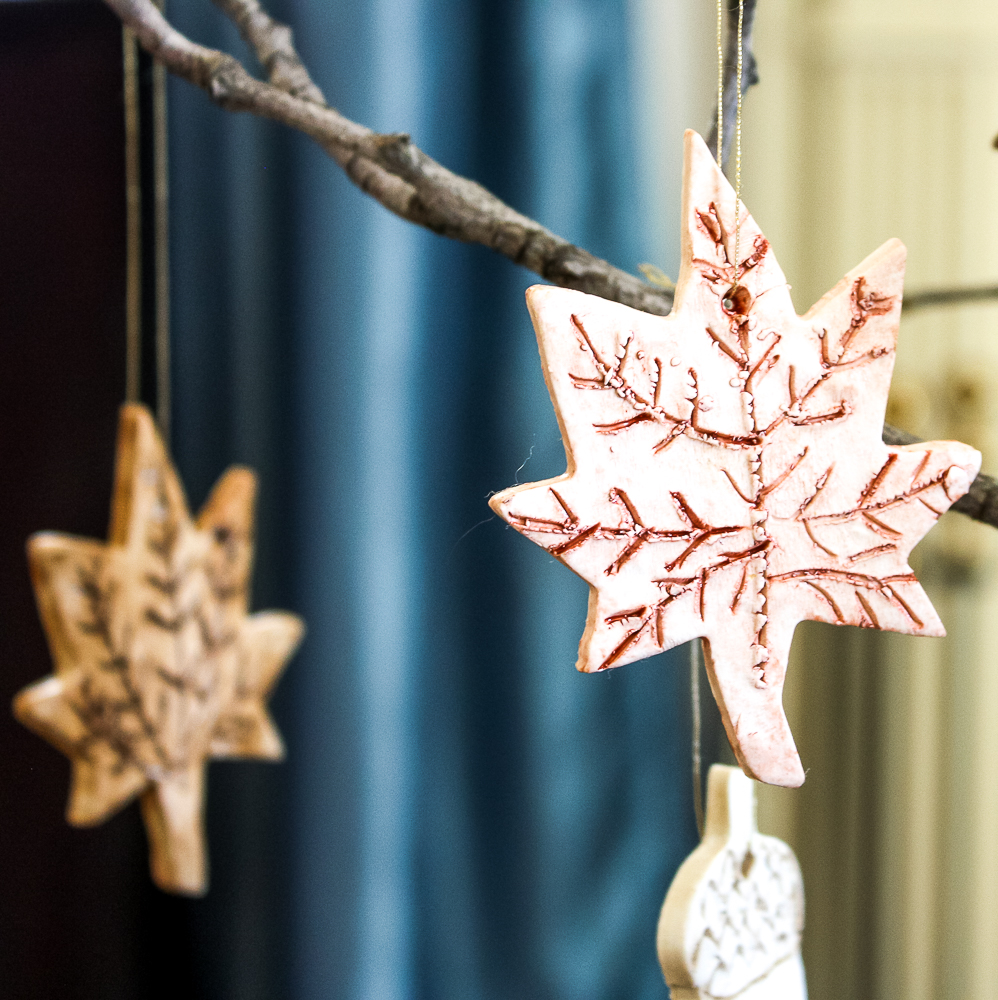
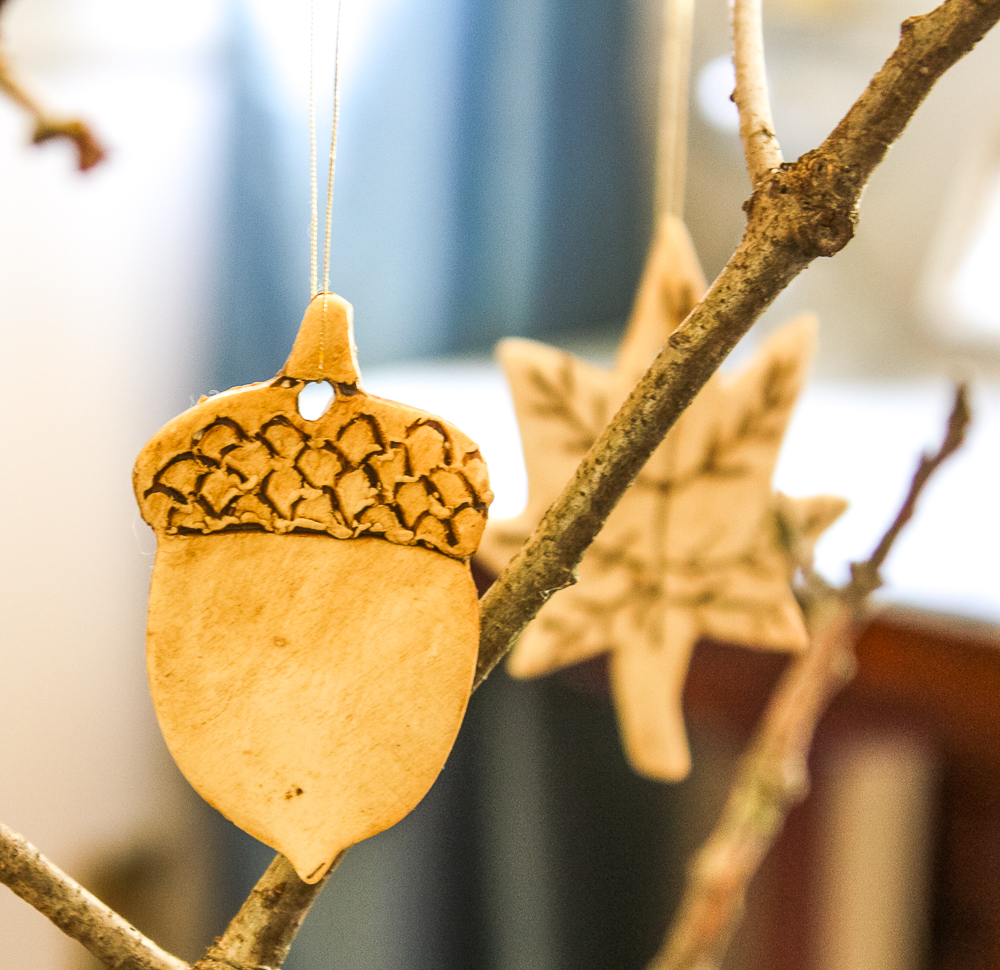

Do you want to know a secret? I actually made this project in early August before school started and have been enjoying it ever since!

How to Make Fall Ornaments from Clay
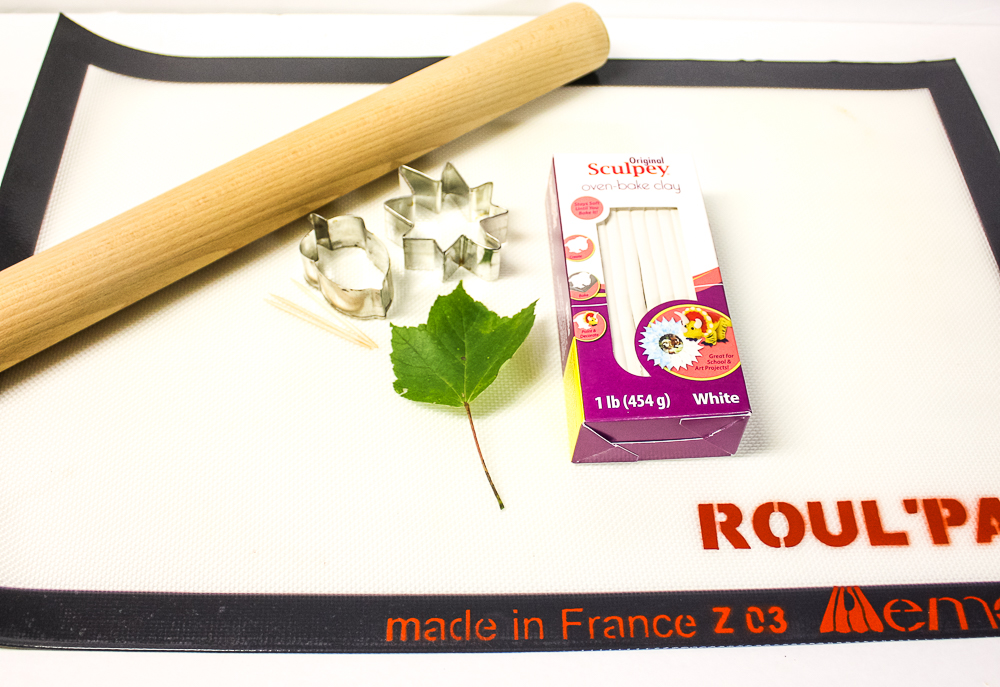
Materials
- Sculpey Oven Bake Clay
- Fall Cookie Cutters
- Rolling Pin
- Rolling Mat
- Toothpicks
- Cookie Sheet
- Shoe Polish – I used Kiwi in brown
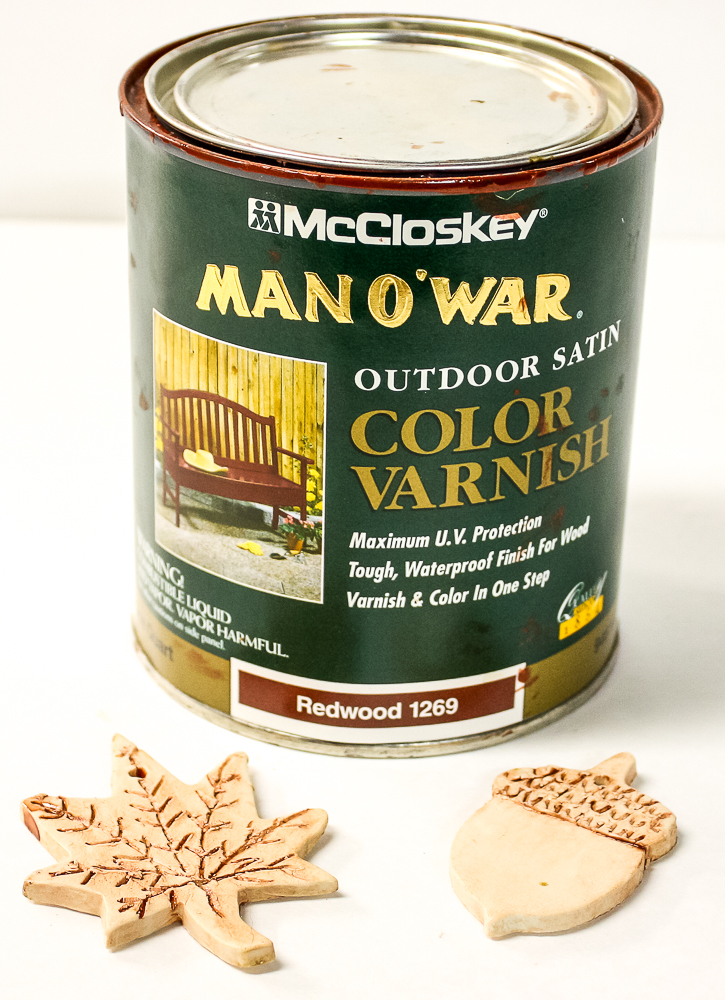
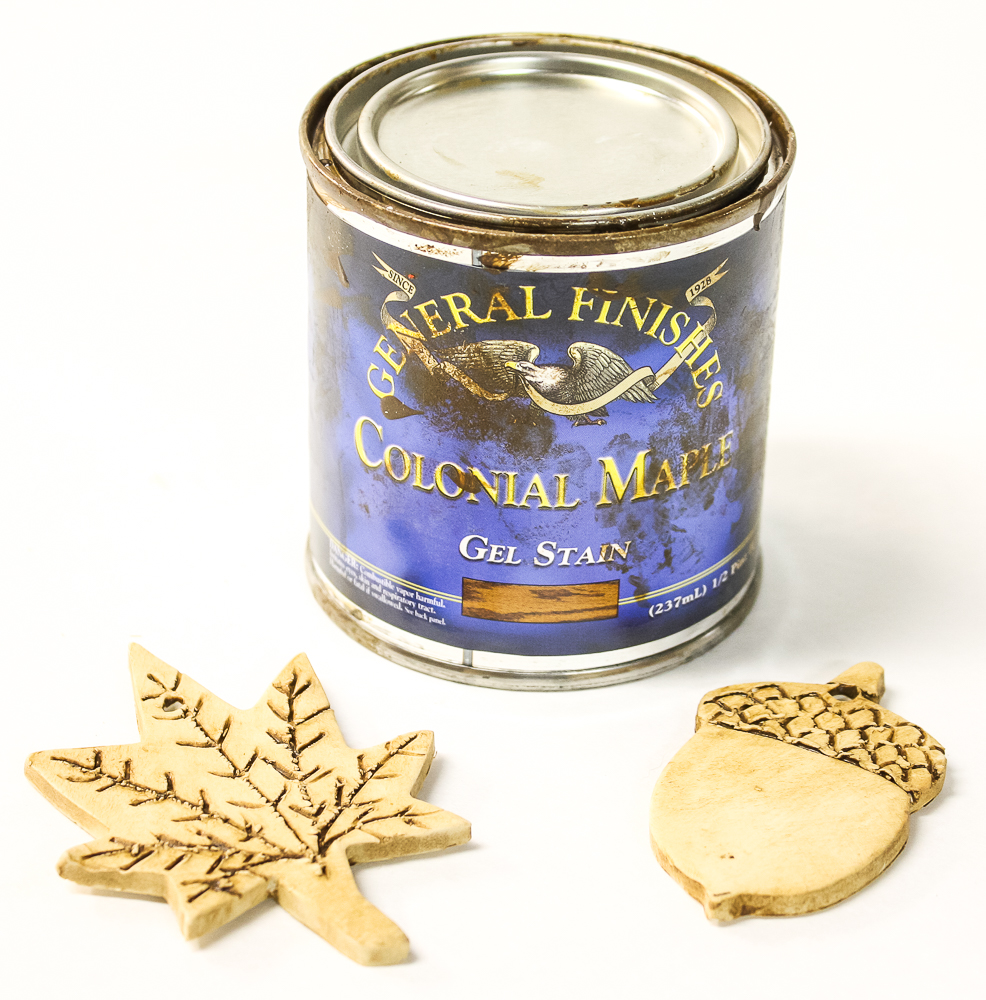
- Wood Stain – I used Minwax Early American and Golden Oak, Man O’ War vanish in Redwood, and General Finishes Gel Stain in Colonial Maple
- Americana Decor Dark Cream Wax
- String for Hanging
Directions
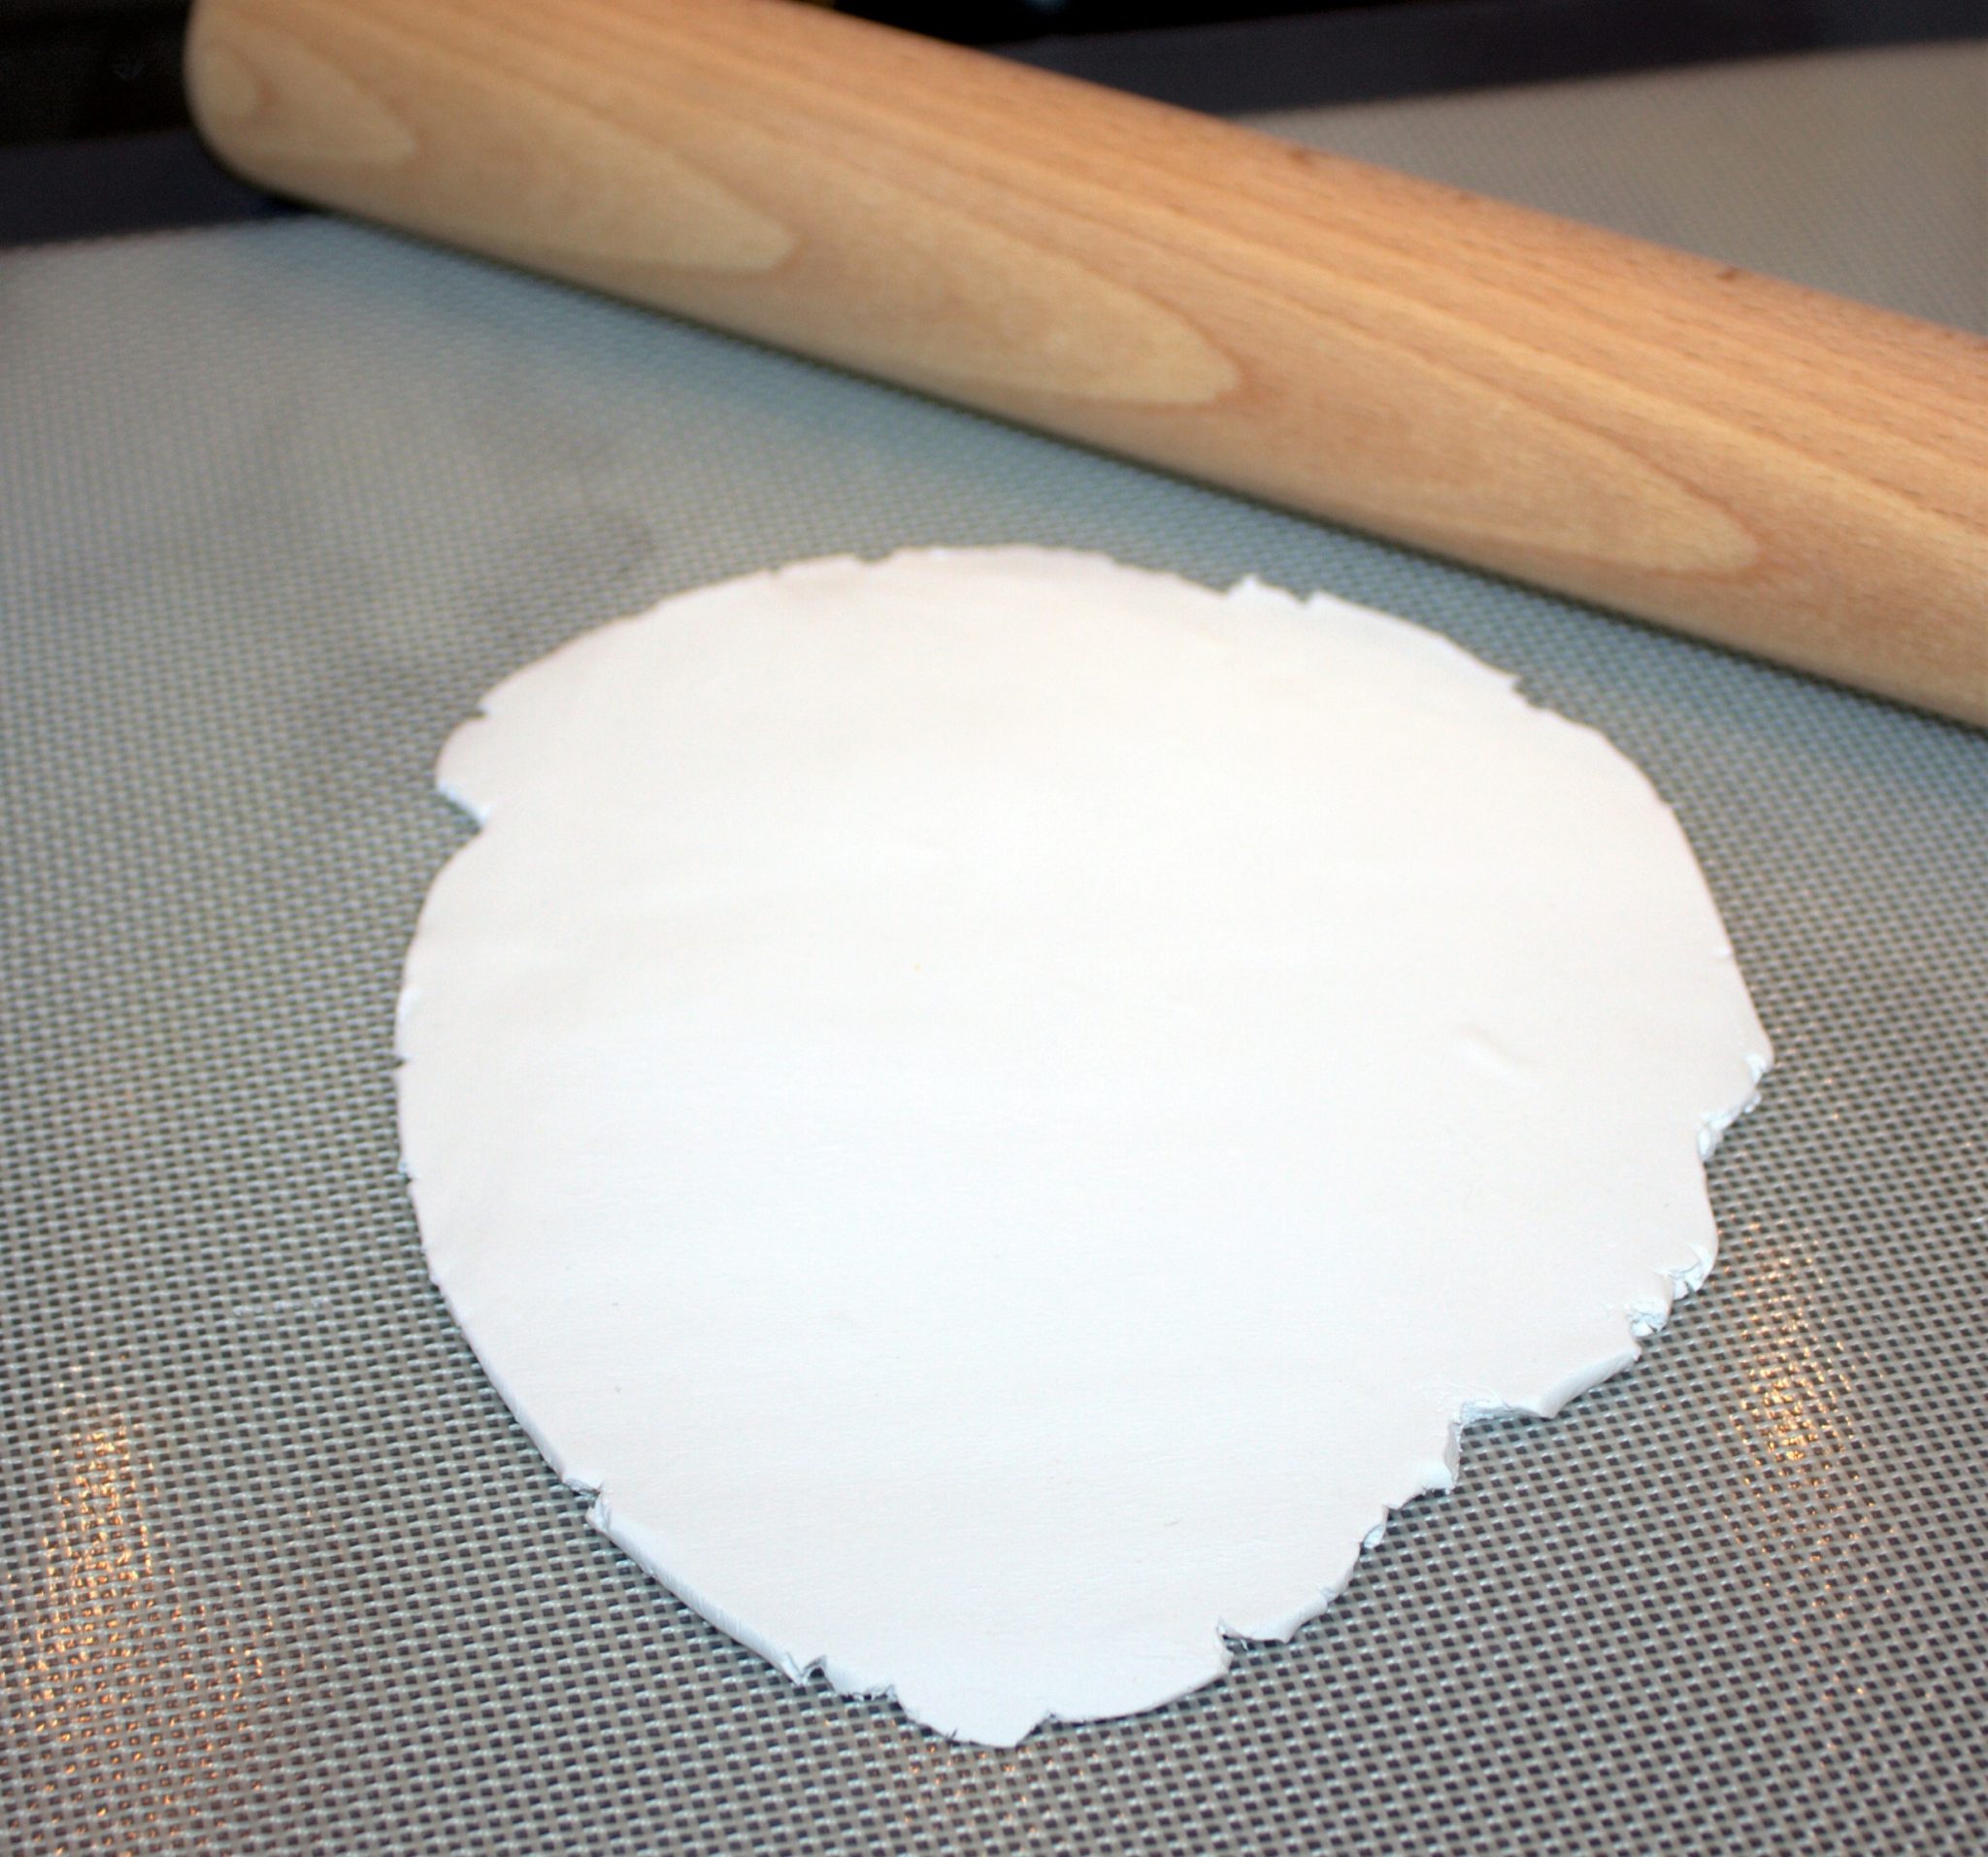
1. Roll a manageable amount of Sculpey into a ball, flatten it with your hand, and then roll it approximately 1/4” thick with a rolling pin.
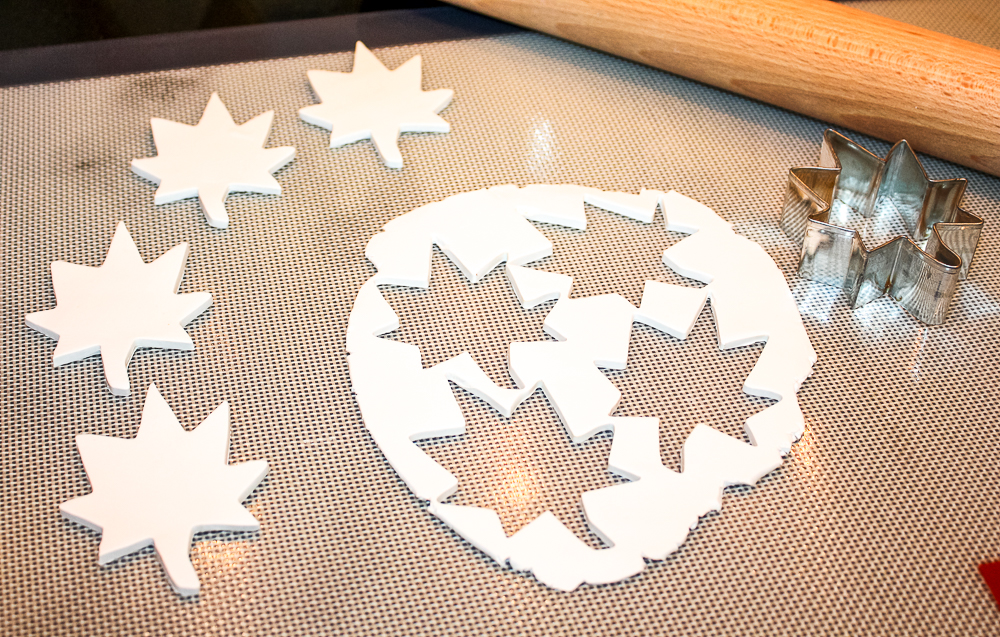
2. Use fall-themed cookie cutters to cut out ornaments from the Sculpey clay.
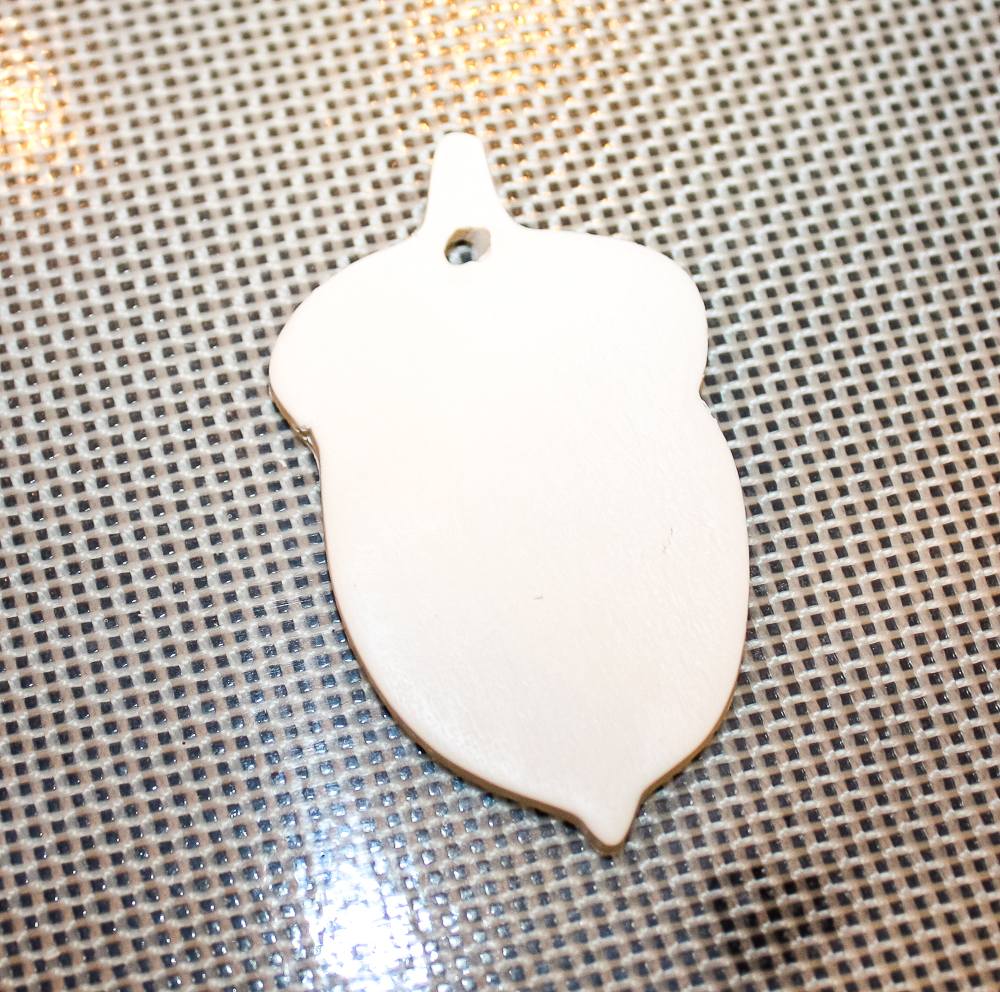
3. Use a toothpick to make a hole in the top of each ornament for hanging.
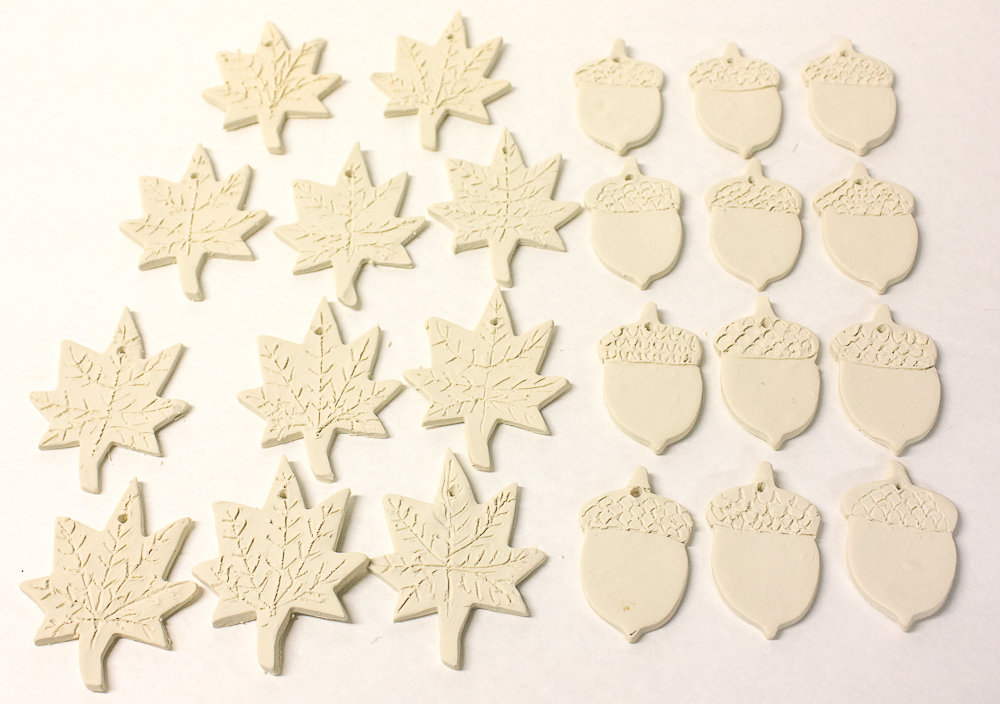
4. Use a toothpick to draw veins on leaves and a cap on acorns. Bake ornaments according to package directions and let cool.
5. Apply shoe polish, wood stain, or dark wax to each ornament and let dry. After the ornaments are dry, add a hanger and use for a fall decoration.
I had fun experimenting with staining these DIY clay ornaments using various products that I had in my workshop.
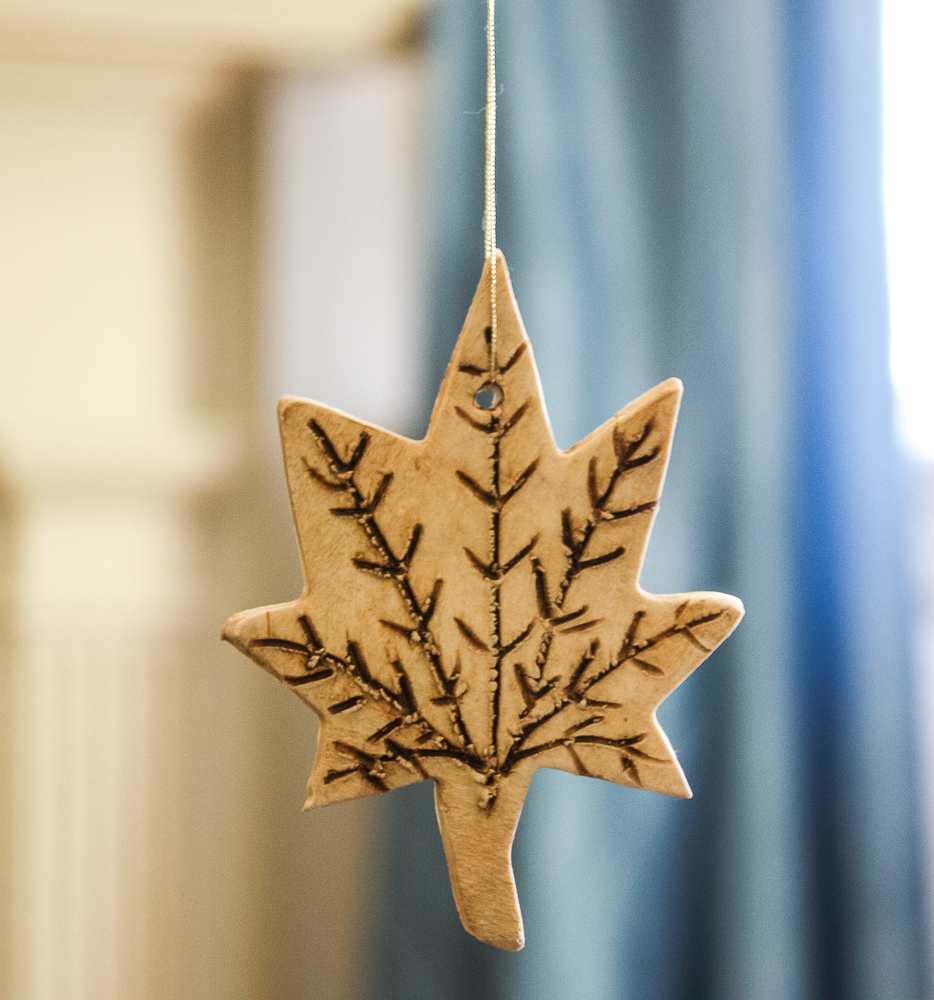
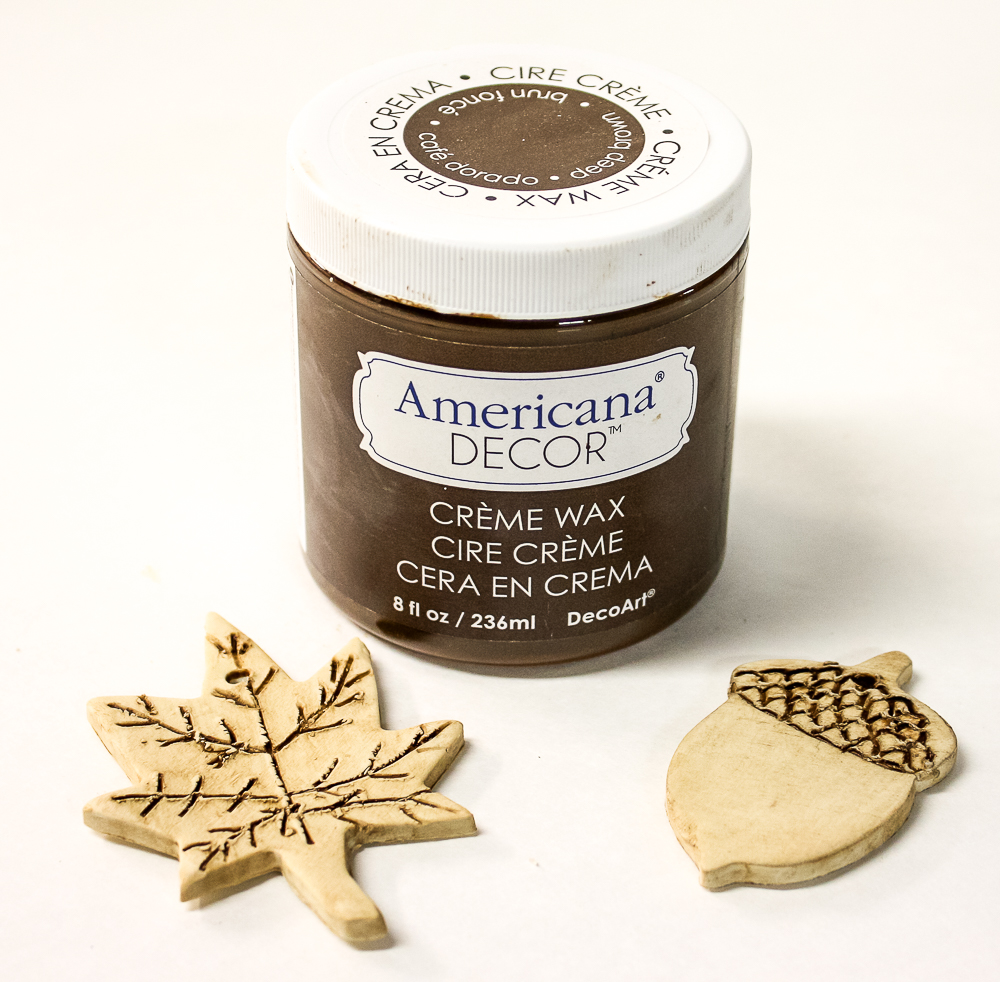
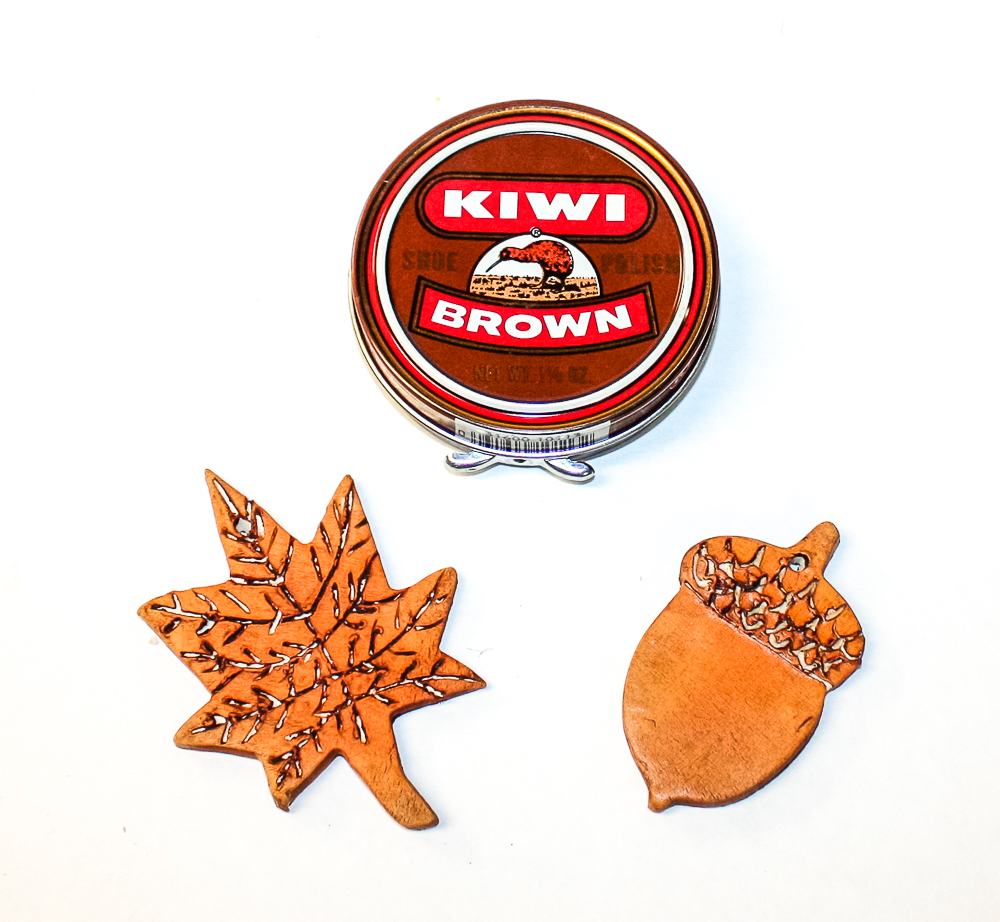
My two favorite looks were achieved with American Decor Cream Wax in dark and with Kiwi brown shoe polish.
I love how this cream way brings out the detail in the design and gives the design a tan color.
The Kiwi Brown shoe color gave the ornaments a beautiful brown color.
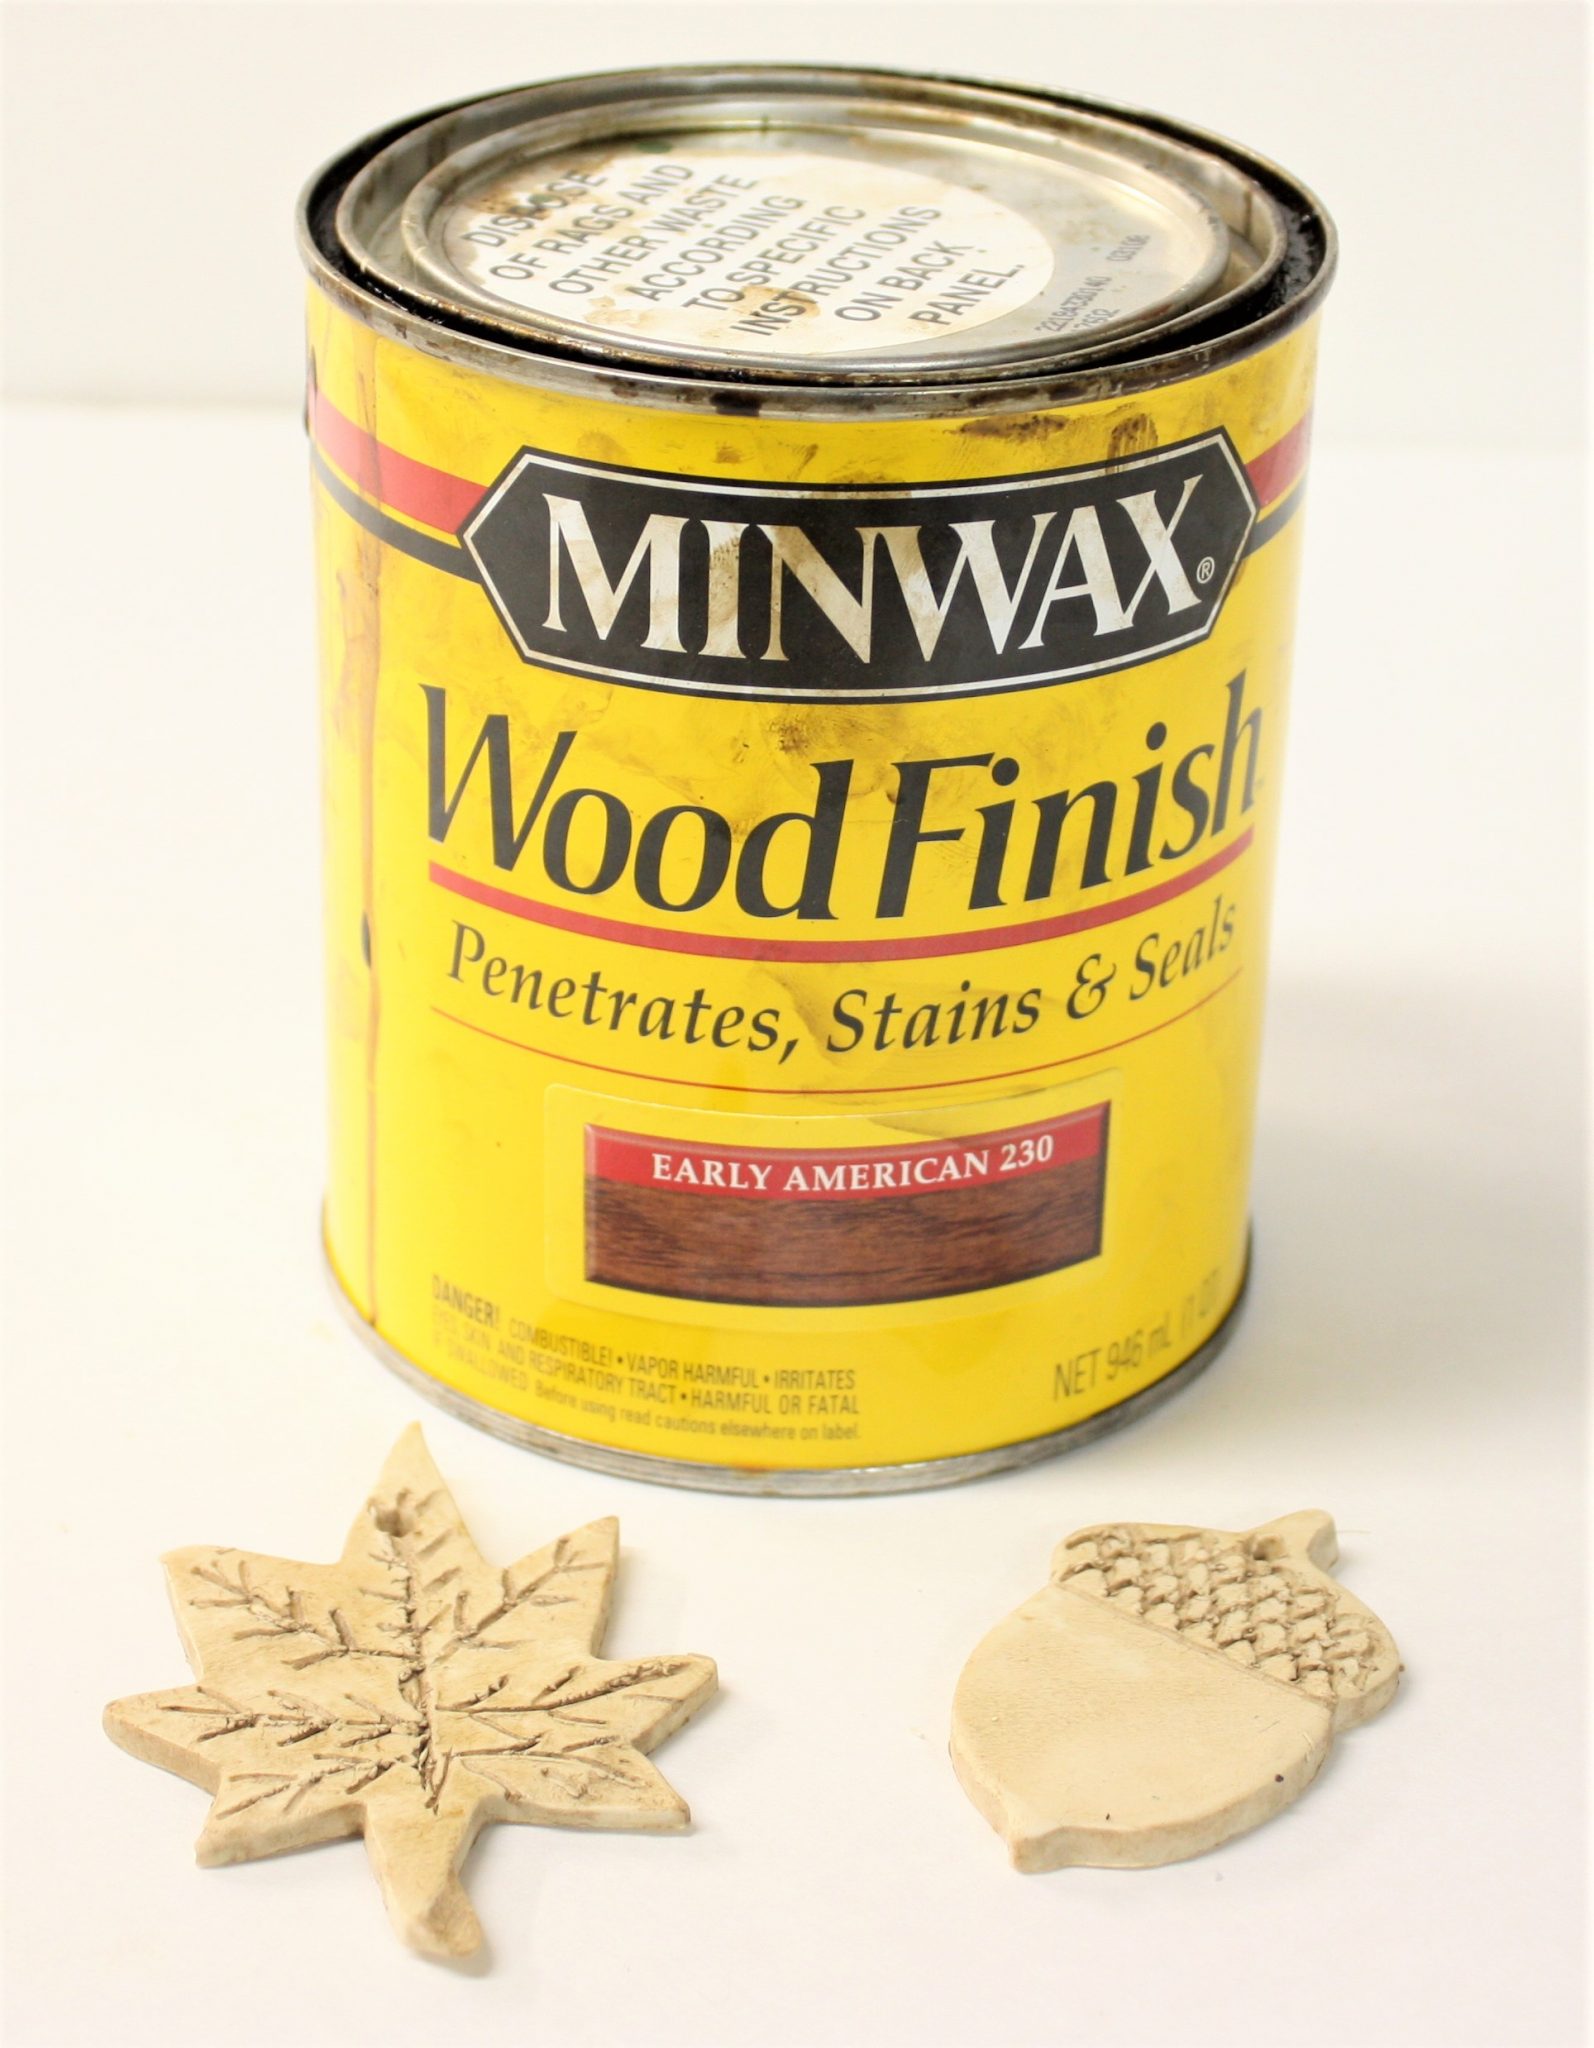
The Early American stain color worked but wasn’t as dark as I would have preferred.
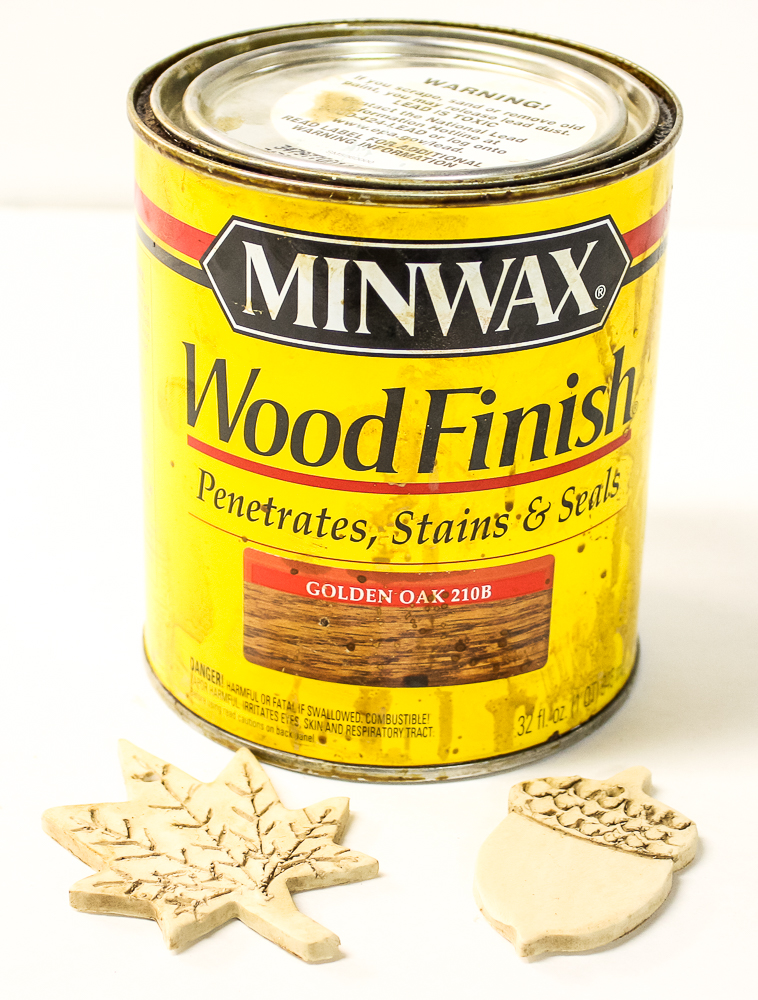
Same for the Golden Oak.
Redwood worked but I would have liked the color to be more intense.
Colonial Maple worked very well.
Final Look
I love how this project turned out and it’s one that I can enjoy for years to come when I decorate my home for fall.
Pin It!
If you like this idea, please pin it to remember for later and to help others discover it on Pinterest.


Paula these are fantastic!!!! I’m pinning so I can make them this fall xo
These are adorable! Very cute, and very doable. Love the different finishes too.
These are so cute! I love how you used a variety of things to color them. How neat! I think they look adorable on the branches too!
These are adorable! Pinning!
These are so cute! I’ve thought it would be fun to make clay tags or ornaments for a long time but never taken the time to make it happen. Love your leaf shapes!
So sweet, Paula! I’m going to make some for our front porch! Pinning!
LOVE this Paula! Very unique and creative! I love how each one has it’s own look and detail.
Thanks so much for inspiring me. I am excited to make my own as gifts at Thanksgiving.
xoxoxo
Hi Paula, Oh my goodness these are so pretty and fabulous and I can’t believe you made them. I want to make some now. It’s the perfect thing to Usher in Autumn. Have a great week Lisa
These are so cute. i honestly haven’t used Sculpey for years, but I am pretty sure I will be buying some next trip to Michaels.
I love this craft and the branches you have the adorable ornaments hanging on…..so cute! LOVE the acorns sooooo much!
Oh my gosh, how cute are these!! I love them. And the little “tree” is perfect!
xo
Nancy
Okay, these are just stink’n adorable! I love playing with Sculpey Clay so this craft project is definitely been added to my To Do List. Pinned to share
They are so cute Paula! Love this idea, thanks for the tutorial!!!
Blessings,
Cindy
These are lovely!
Thank you so much!!
Paula
I like making clay ornaments for Christmas and now I’m inspired to make them for fall too!
Thank you for sharing this project at Create, Bake, Grow & Gather this week Paula. I’m delighted to be featuring it at Friday’s party and pinning too.
I like making clay ornaments for Christmas and now I’m inspired to make them for fall too!
Thank you for sharing this project at Create, Bake, Grow & Gather this week Paula. I’m delighted to be featuring it at Friday’s party and pinning too.
Hugs,
Kerryanne
Great autumn craft to make with the kids! Ours probably wouldn’t look as pretty as yours though, LOL.
Great autumn craft to make with the kids! Ours probably wouldn’t look as pretty as yours though, LOL.
I love these, Paula! And of course your tutorial is just the best. Thanks so much for sharing these at the Grace at Home party. I’m featuring you this week!
Will need to go dig out all my clay tools, etc.Packed away while ago in a massive craft room purging. Had way too much “stuff” in room not used for long time. Now where did I put all that stuff? Bad thing about purging,have to recall where it all went, duh! Maybe in the old non- running Suburban that is used for storing seasonal clothing out in our lower yard, we have 1/2 acre in rural area few miles west of GrandJunction, CO.. We used to live few miles north of Bowling Green, KY before 2004.
Love your ornaments and love making things like that for seasonal decorating. Just been way too long since I have attempted to make things like that. Need to get with it, used too make clay items often before purging. Time to get back to working with clay. Am, sure what I had is hard as brick after storing in Suburban all this time. Time for trip to craft store.
Great tutorial.