How to Paint a Pillow
This post and giveaway are sponsored by Paint-A-Pillow who supplied a pillow kit for me to review. As always, all opinions are truthful and my own.
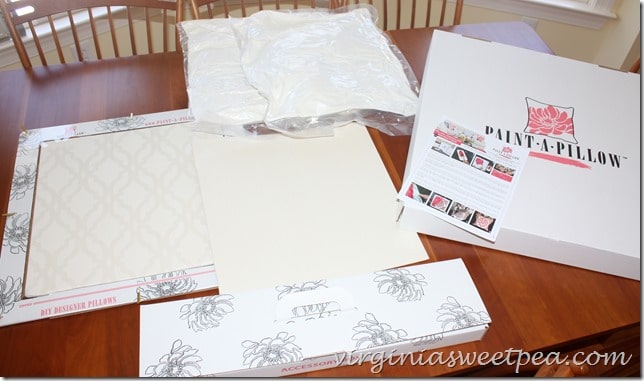
Have you heard of Paint-A-Pillow? Using Paint-A-Pillow’s kit, you can make your own designer pillows. The kit includes a pillow cover and pillow, stencil, stencil brush, roller, tray, and a vial of paint. You can add on to the kit with other paint colors, tassels, studs, faux flowers and more.
It took a lot of deliberation for me to decide upon the stencil design and then the colors that I wanted to use for my pillow. In the end I chose the Tamara Trellis stencil and paints in yellow ochre, maroon, neutral gray, and turquoise.
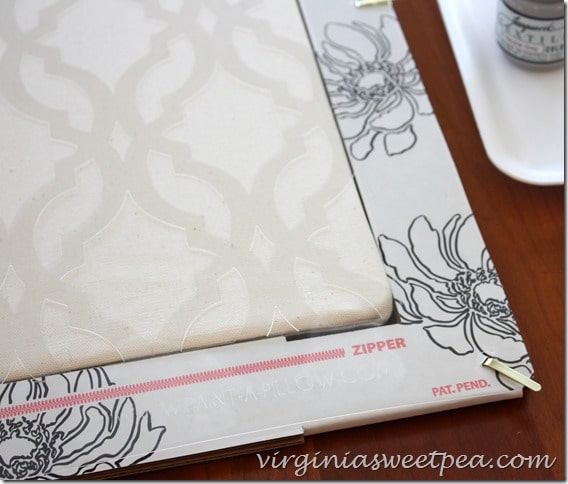
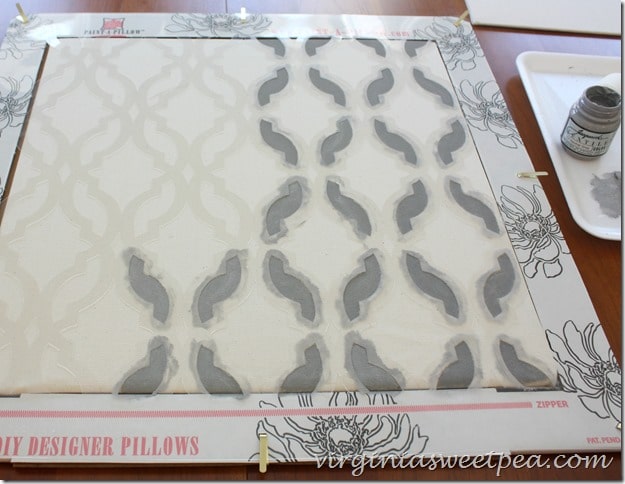
I completed this project on a snowy February day and am just now sharing it with you. The pillow and the stencil fit into a stenciling frame. Note that clips hold the stencil in place.
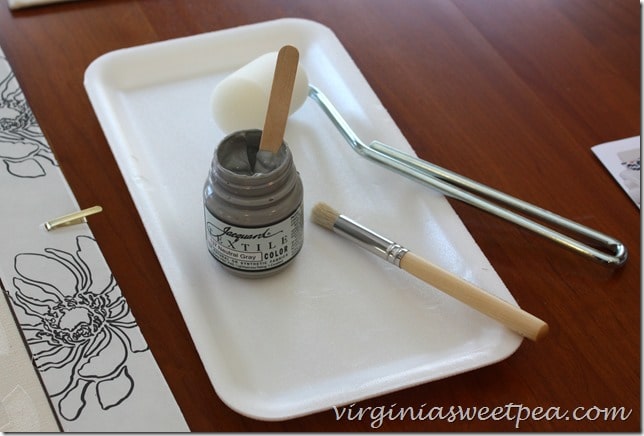
I recommend watching Paint-A-Pillow’s how-to video before tackling this project. The kit includes a roller but I opted to only use the stenciling brush for more control over paint placement.
I enjoyed the crafting process so much that I forgot to take a lot of pictures as I completed this project. Here you can see that I started with gray paint.
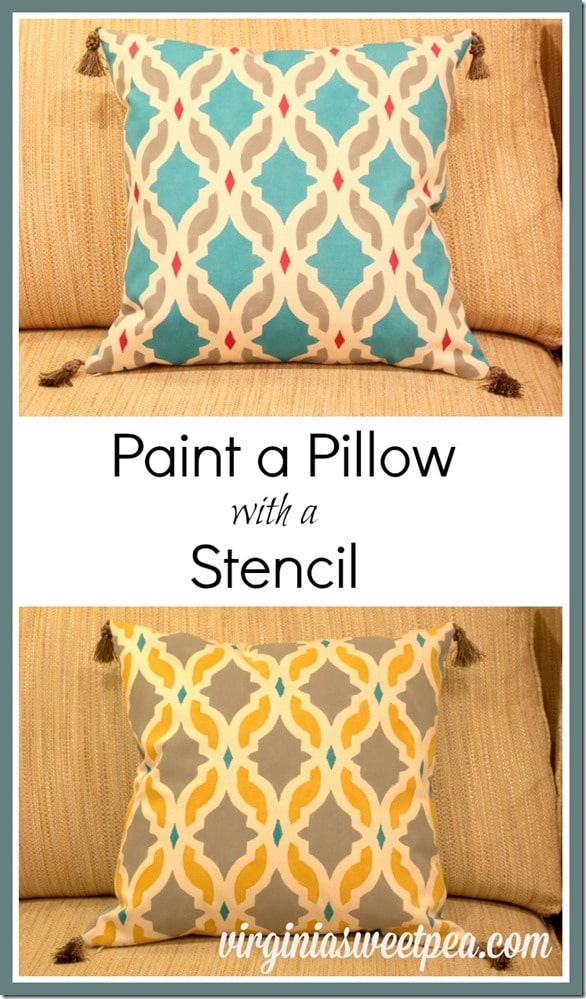
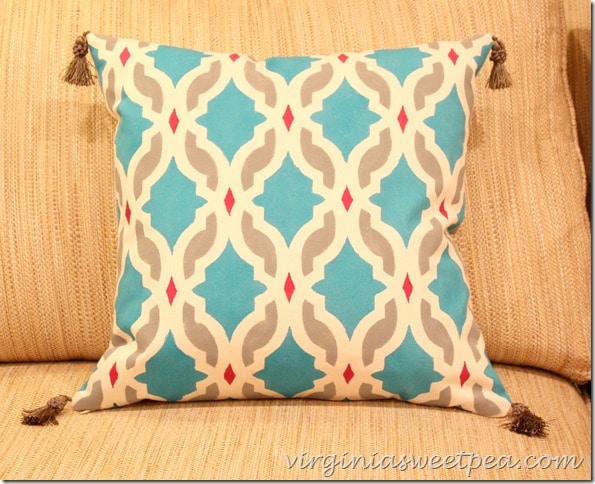
This is the end result after the pillow was completely stenciled. I didn’t stop there!
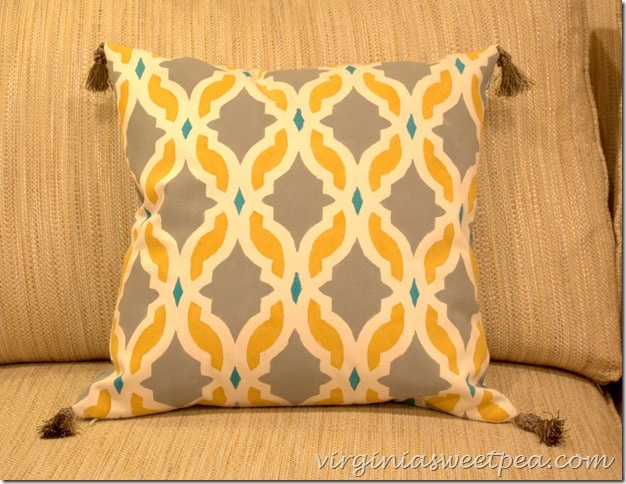
After the gray, turquoise, and maroon paints dried, I flipped the pillow over and stenciled the opposite side using gray, yellow ochre, and turquoise. Now my pillows are reversible, giving me two fun looks!
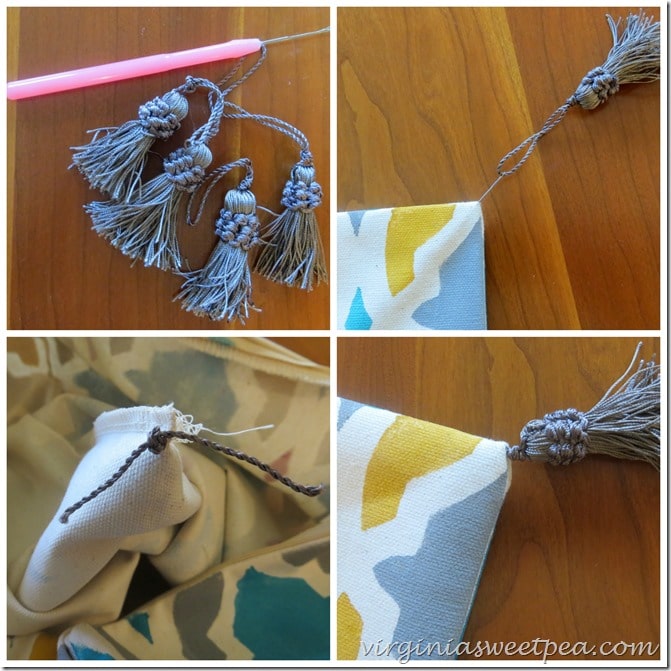
Tassels are an inexpensive add-on to the kit and I think are a fun addition to the pillows. For $1 you can also order a latch hook tool to help you easily add the tassel to each corner of the pillow. Put the tool inside the pillow, push it through a corner, pull the tassel through using the hook, tie a knot inside the pillow, and the tassel is on. If you get tired of the tassels, they can be easily removed.
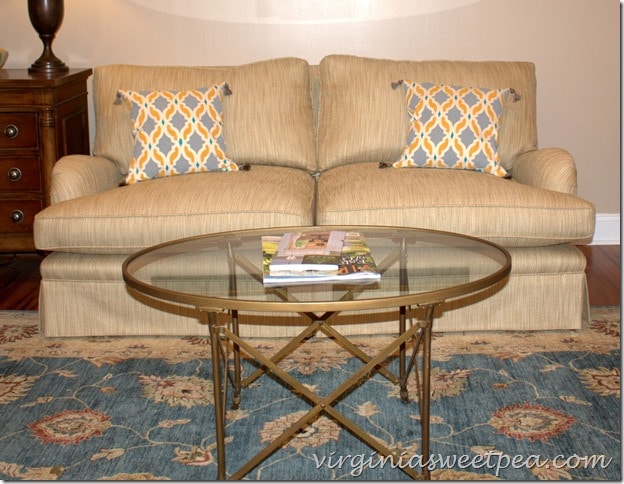
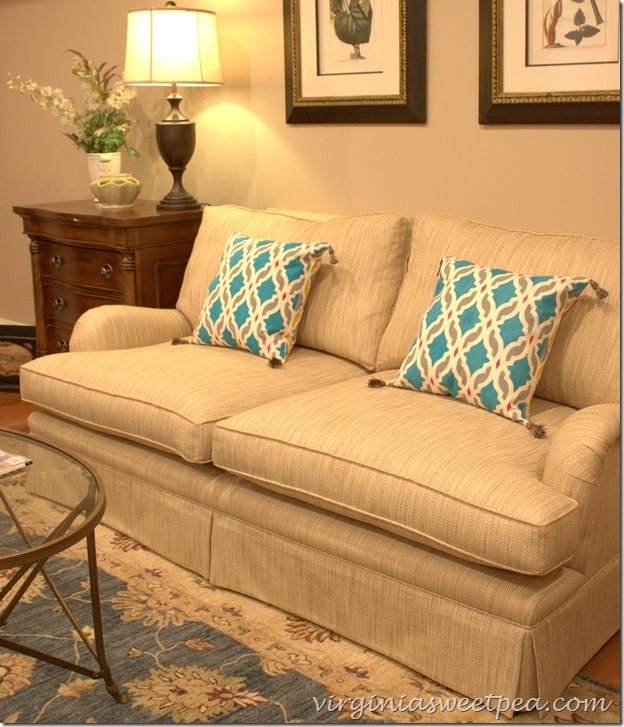
These pillows looks great in just about any setting. Here they add a fun pop of color to this neutral sofa.
Flipping the pillows to the opposite side gives the sofa a new look.
Now for the fun part! You can win your own paint a pillow kit. Use the rafflecoptor below to enter!
a Rafflecopter giveaway
Sharing With:
H2O Bungalow, Dwellings-The Heart of Your Home, Between Naps on the Porch, Concord Cottage, Stone Gable, Sand and Sisal, Yesterday on Tuesday, A Stroll Thru Life, Savvy Southern Style, Just a Girl and Her Blog, Common Ground, Imparting Grace, Shabby Art Boutique, The Bold Abode, Serenity Now,



Wow! Love this idea! I would like to try it! Thank you!
Wow! That turned out beautifully! Who knew painting a pillow could look so great
The stencil frame is genius! I love how the pillows turned out. My favorite is the turquoise side but they both look fab.
That’s really neat! Would love to try!
Wow you could never tell that this is paint! Great job.
Cool concept! Thanks for sharing!
I would never have guess it was paint!!! What a fun idea. I so want to try this. Jeanette
Wow! What a fun project to do! I love that you did different patterns on each side. I think that is so smart! I also love that coffee table you have in front of the sofa! So pretty!
This would be a great project with my daughter!! They look so perfect.
Paula, I came over to leave comment and LOVE this painted pillow. I didn’t even know they had these kits, how fabulous!! love it, Lisa at Concord Cottage. P.s. I was going to let you know about your Patriotic Dresser this morning as we were going all day and eve yesterday for Easter. I’m so glad you came over and saw it this morning, Yay and congrats!!
Hi Paula! Hope you are doing well. Love this tutorial. Sharing on fb today and pinned! thanks.
This is so great! I love how it turned out and the pop of color it adds to your sofa. Wonderful! I would love to try this for sure.
I would love to do that with my daughter. I know she would enjoy it.
What a neat idea! Love the colors you picked!
Yes, I would! Cute idea
I would so enjoy painting a pillow !!!!!!!!!!! TY
How cute and fun! I love that you can really customize the colors. I’d like to paint a pillow for my daughter’s new big girl room.
I love this idea. I would love to paint a pillow!
I absolutely love this and I would love to do it for my living room. I think the bright color choices look great!
Would definitely be stenciling pillows for my living room!
I would love to make some pillows for my house, and I totally plan to copy your idea of making them reversible. Genius!
Yess! <3
Love the colors that you chose! I would have never guessed it was paint!
Such a cute easy idea to try.
Visiting from BNOTP at Susans.
Love the colors you picked out they really do pop on the sofa.
Linda
You have a lot of patience! These turned out fabulous! Everything looks so straight and professional.
These are so pretty! It’s hard to believe they are stenciled!!
What a great project! You did a fabulous job with the stencil. I have stenciled a wall in our home, but it never occurred to me to do a pillow. My wheels are turning now…;-) Thanks for sharing!
I love this! Painting a pillow to make it exactly what you want, and then changing up the color scheme on the opposite side. You are
What a great idea! Love the concept of painting pillows to make them exactly what you want. then you made it even better by changing the color scheme on the other side! Love, love, love it!
so many great options – i love the bird silhouette pillows!
I love the Fern paint-a-pillow kit.
This is amazing! I love it!
Hmmm this is interesting!!
What an great and easy pillow. Lovely colors and they look amazing on the sofa.
I love the spore kit!
I like the Moroccan Tiles and the Hand Forged 🙂
Thank you for the opportunity and God Bless You 🙂
i like all these designs but i would prefer to make my own since i have a diecut machine. thank you for the chance! great idea!