How to Rewire a Lamp
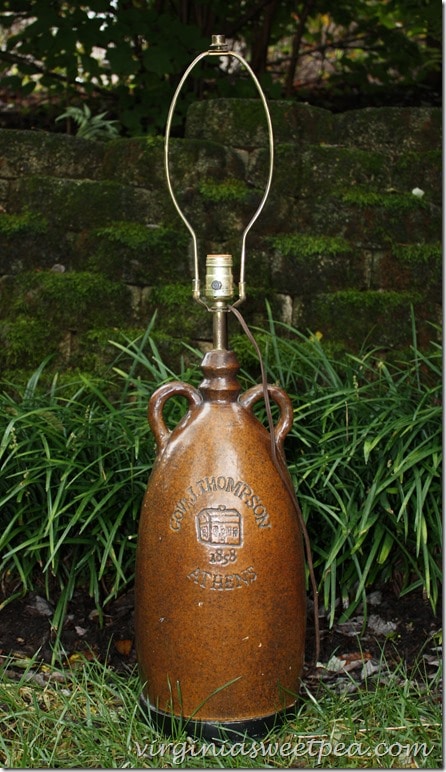
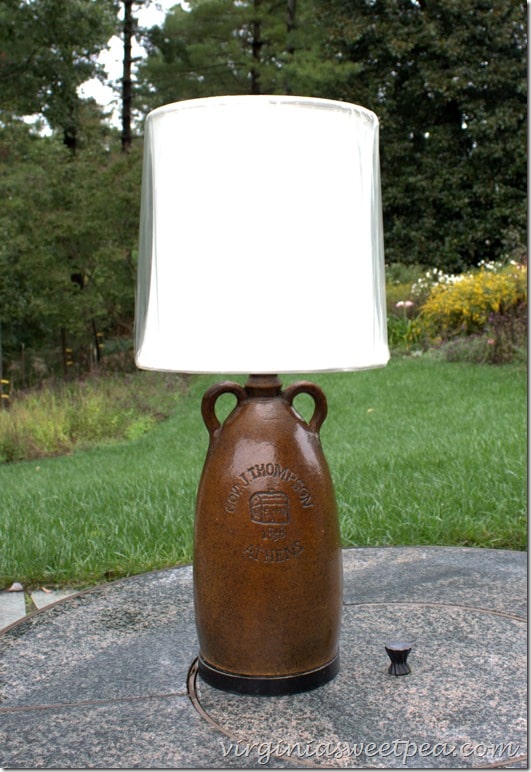
Our lake house construction is rolling along and we hope to be able to move in by Halloween. (Fingers crossed!) If it ever stops raining long enough for me to take pictures, I’ll share a house update. One thing that been on my “to-do” list for the house is to rewire two 1968 jug lamps that my mom passed along to me.
My mom and dad purchased two of these lamps as newlyweds and they were in continuous use until my mom moved into her 1913 Walnut Avenue home where they were no longer needed. You may remember that my mom also gave me her slate topped end tables and coffee table purchased along with the lamps. I’m using the end tables and coffee table in my family room and love their size and sturdiness.
Since these lamps were wired in 1968 (or before) they definitely needed a wiring update for safety.
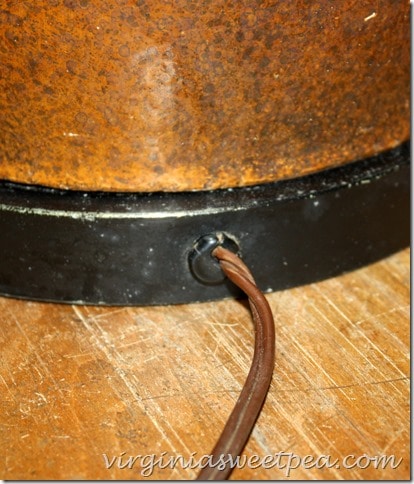
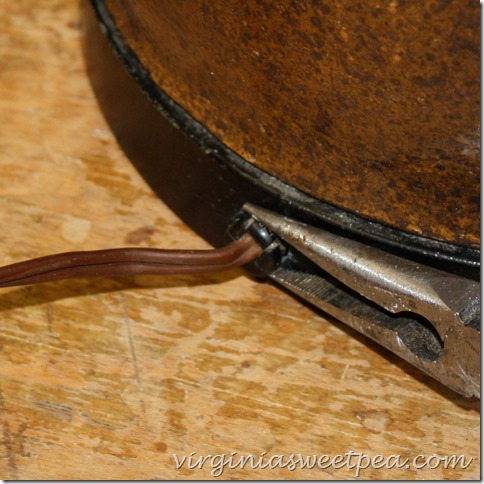
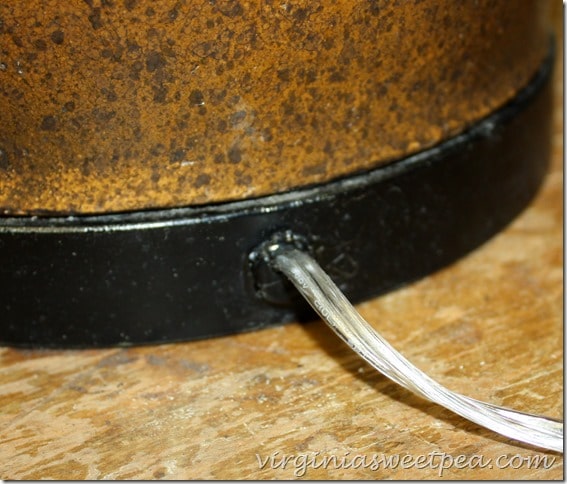
A rubber plug on the side of the lamp base holds the cord in place. I loosened this with a screwdriver.
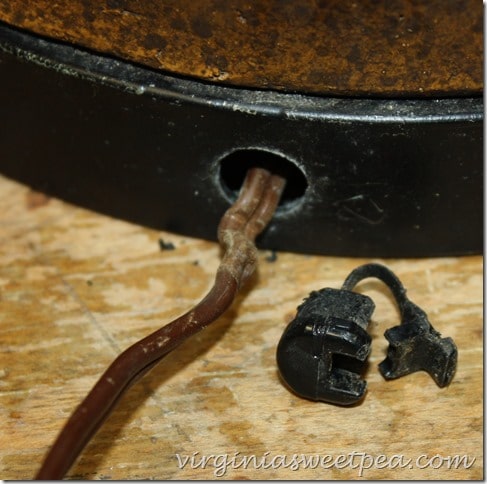
Needle nose pliers were used to pull the plug all the way out.
I used my fingers to unsnap the top of the plug to completely remove it from the wire. After this step is complete, the wire can be pulled through the lamp shaft.
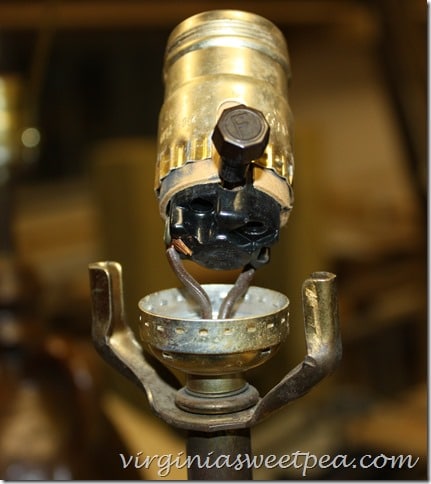
Loosen the socket and pull it out.
Use a screwdriver to loosen the screws that hold the wire in place, untwist the wire from around the screw, and remove the socket.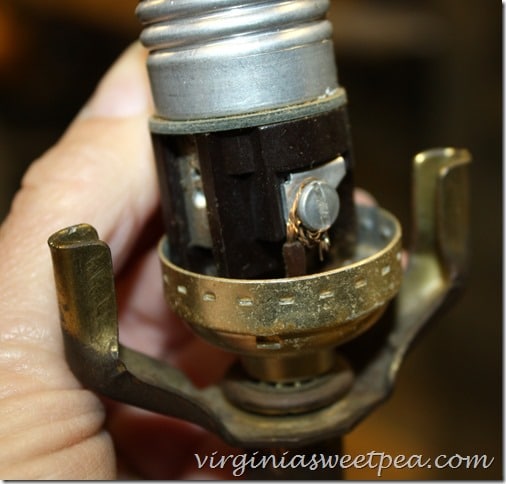
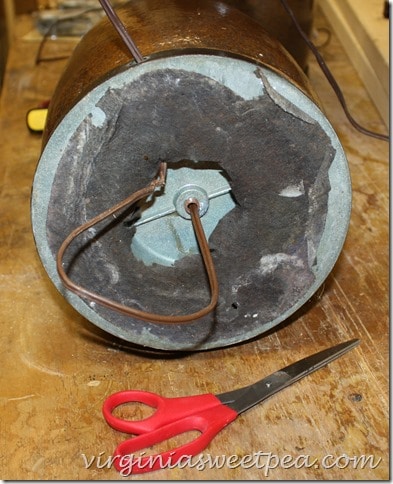
Pull the old cord out of the lamp. I had to cut a hole through the felt to be able to do this. The felt was pretty much disintegrated from age and needed to be replaced anyway.
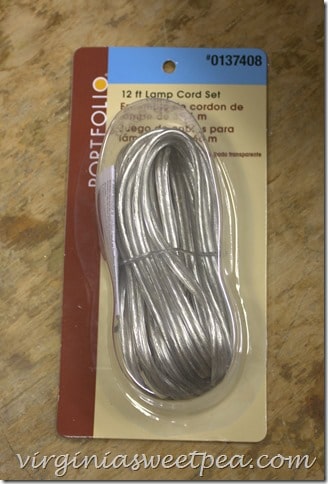
The lamp cord set that I purchased from Lowe’s was 12 ft which was longer than what I wanted, so I lined up the new cord with the old cord and cut the new cord to the old cord’s length.
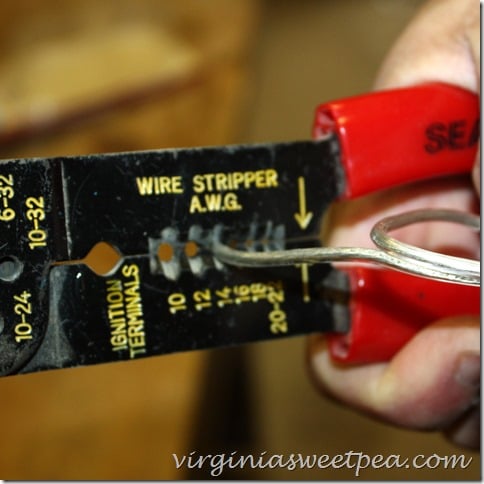
The cord was then split to make a Y shape and the ends stripped. I should have waited one step for this but you’ll see how I compensated in the next picture.
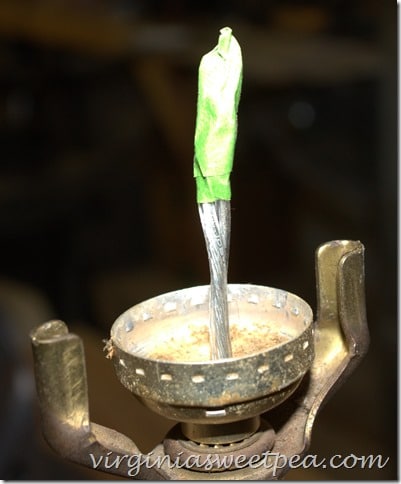
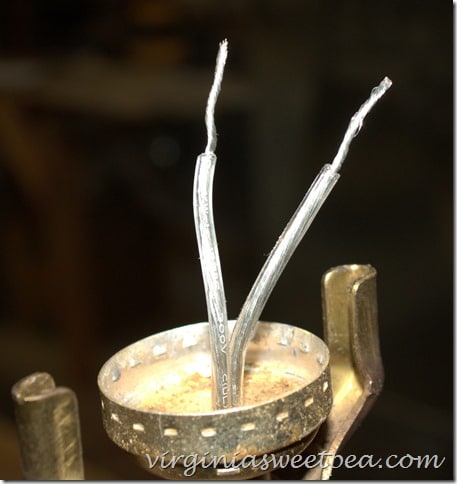
Since made a Y and stripped the ends before feeding the wire through the lamp, I couldn’t get the wire to go through. Wrapping it with tape did the trick and the wire was then easy to feed from the side hole in the base through to the top of the lamp.
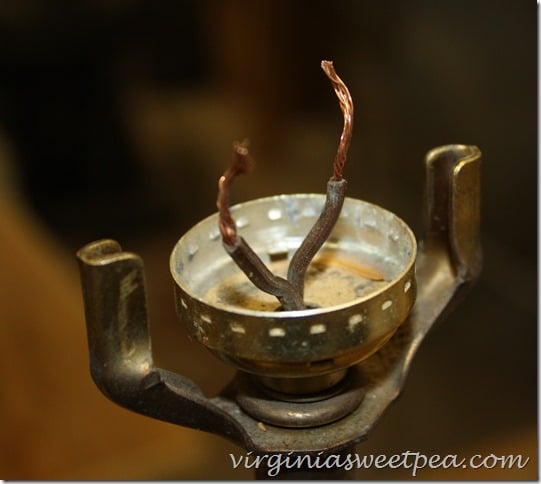
When I took the tape off it looked like this.
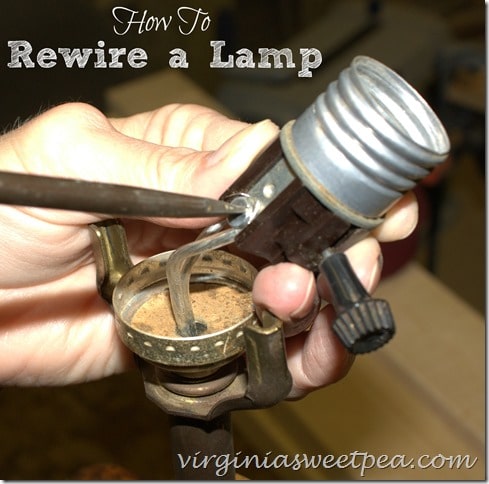
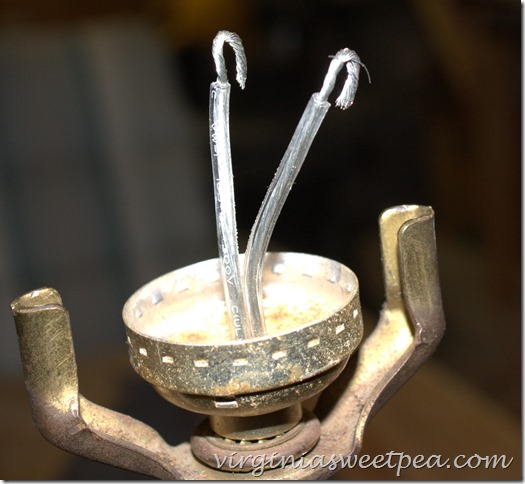
Twist the ends of the wire into a U shape.
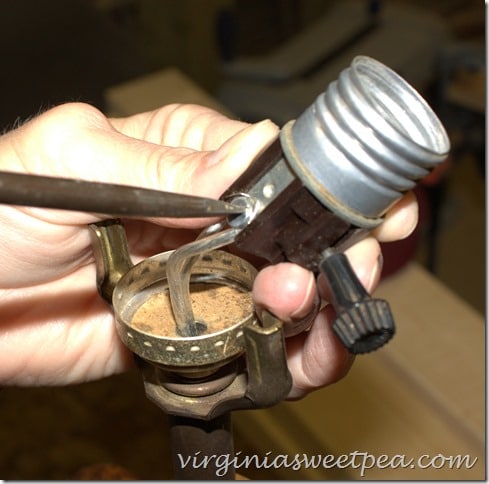
Wrap the U shaped wire around each screw and tighten with a screwdriver.
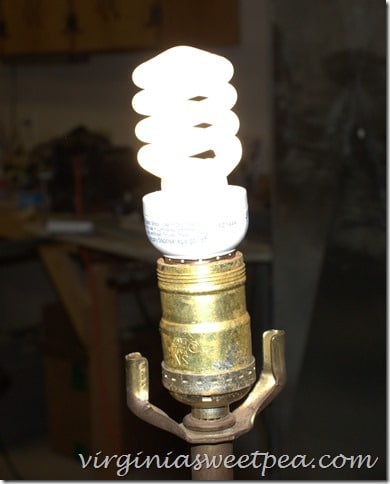
Put the socket back into place and cheer when the light bulb comes on when the lamp is plugged in!
The last step is to put the plug back into place on the lamp base. On one lamp it easily slid into place and stayed there but on this one it was a bit dry rotted so I used some e600 glue to hold it in place.
Woot! Woot! I can now cross this project off my list!
I had a devil of a time finding shades for my pair of lamps. I finally found this shade at a shop in downtown Lynchburg. The plastic is still on the shade here since I plan to use these lamps at the lake and they will have to be moved. The shade’s brand is Taylor Made, model 06897.
I’ll bet that when my mom and dad bought these lamps in 1968 that they didn’t image that they would still be in use nearly 50 years later.
If you have a lamp that needs rewiring, buy the supplies and get busy. It’s not a hard project and when you see the light bulb come on when you plug your newly rewired lamp in, you’ll cheer just like I did!
Update: I ended up using these in my family room at home instead of at the lake. You can see how they look in my family room here.



This is a great tutorial! I’ve always wondered how to rewire a lamp. Now I know. How cool are those lamps, too? It’s so neat you can keep using your mom’s lamps!
I have several lamps that need to be rewired. Thanks for the tutorial.
I am so glad that my tutorial was helpful, Kim. Thanks for leaving your nice commment.
Paula
This is great! I’ve always wanted to rewire a lamp just to see what it looks like inside, This is useful info! Sharing & pinning:)
Mom has a lamp that she loves and I am going to try this. It seems easy enough.
Believe me, if I can do it, then anyone can! Good luck with your mom’s lamp.
I love how you included the pictures and step by step directions on how to rewire the lamp. My husband and I have a lamp that we’d love to have fixed. We don’t have the time or tools to do it ourselves. We’ll need to hire a professional to do this for us.