How To Save Your 2010 Gourds for 2011
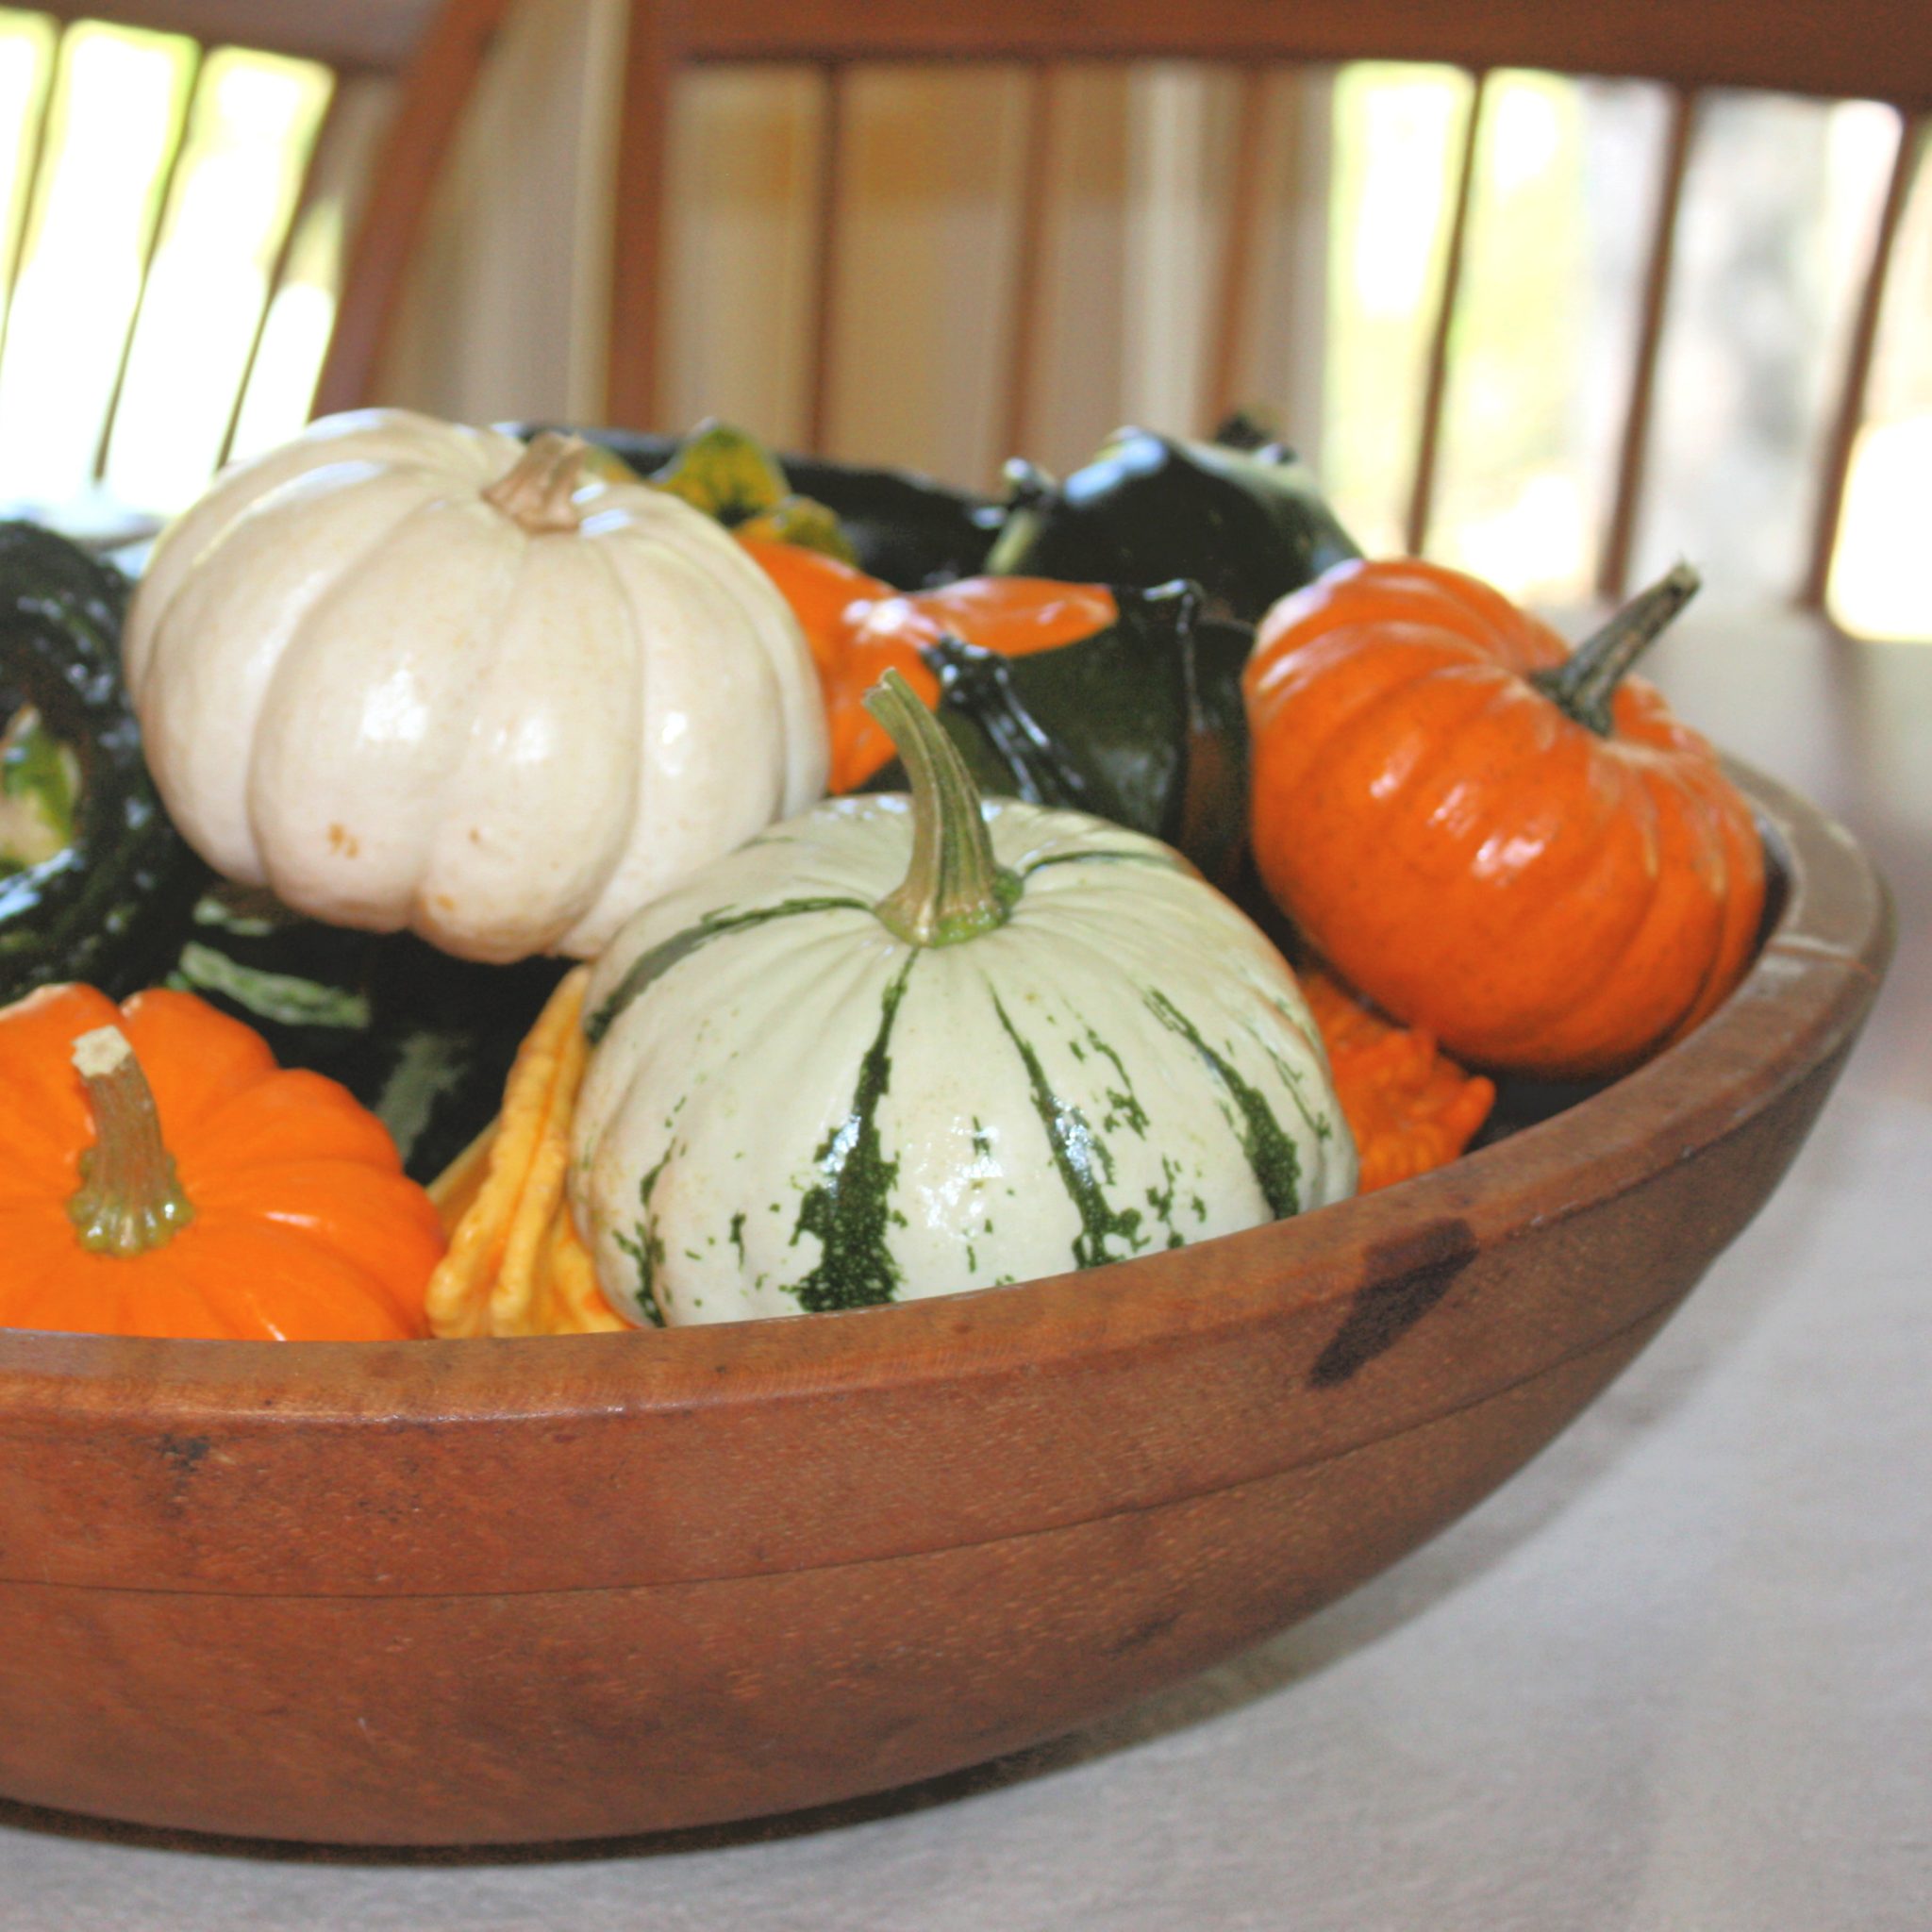
How? It’s easy! Below is a picture of my 2009 gourds. They were so pretty! Would you believe that one of the pumpkins beside the bowl stayed pretty through October of 2010? It lasted way over a year and kept its color, too.
After you’ve enjoyed your gourds, instead of composting them or throwing them out, spread them out in a dry area of your home. I put mine beside an unused wood stove in our basement. I will say that we run a dehumidifier in our basement year round, so my basement may be drier that what most people have.
Here are my 2009 gourds as of 11/7/10. Not so pretty!
Some will rot and you’ll have to throw them away. Don’t worry if just the surface has mold. It will wash off easily.
Clean the gourds with a sponge and a brush while holding them under water. Here are my 2009 gourds all cleaned up.
Use an old t-shirt to rub stain on the gourds. This will bring out the pattern and color that’s left now that they are dry. After the stain dries, coat them with Future floor wax for added shine.
Put them in a pretty bowl and enjoy.
My 2010 gourds will soon start the drying process for 2011.
If you’d like more information, click here for my 2009 post and this process and here for my 2008 post. I’ve collected quite a collection of dried gourds and use them all over the house for fall decorating.


Thanks for the tip Paula! I always knew you could preserve them just never knew how. Sounds pretty easy too.
Have a great weekend!
xoxo,
Kim
I’ve got some of the goose neck gourds that I grew five or six years ago still hanging in the basement. The dried perfectly but I haven’t had time to do anything with them yet. I’ve never thought of saving the little ones, thanks for the tip, yours look great.
I haven’t grown gourds in a long time. I just thought they were good for one season. Thanks.
How clever. Yours look gorgeous. I need to try this. Hugs, Marty
Excellent FYI!!
I didn’t know you could do that. How cool! I’ll have to see if an extra few feet of space exists in my house where I could hide mine from the kids. They would do something weird with them and we would find rotted gourds somewhere weird like the laundry basket.
wow, what a great idea. i would never have thought of saving them. and your menu from your dinner party sounds delicious! i’m a sucker for anything involving butternut squash!
Thank you so much for sharing this, Paula! The dried gourds are beautiful. I’m going to follow your lead! 🙂
Great tutorial, Paula!! 🙂 I love the look of decorating with gourds. This is a money-saver for sure. 🙂 Thanks so much for linking up with me!
Hi Paula! I wondered how to do this! Thanks for the info and yours look so pretty!! Love this.
Be a sweetie,
Shelia 😉
I have alwasy known that you could do this but never tried it. Thanks, I’ll have to start saving them.
Thanks so much for sharing. I’ve been wondering if I could save them.
~ ~Ahrisha~ ~
I dry a lot of things simply by burying them carefully in a bucket or bin of scoop-able cat litter.Pour about an inch of litter into the bin and carefully place a layer of gourds. Pour enough cat litter to cover all gourds. If the bin is deep enough you can bury a second layer. I found that it was best to have about 1-2 inches around each gourd. Store the contents for 1 year without looking. Next fall pull out the gourds. You can save the cat litter for re-use.
Sarah – You kitty litter tip is genius! I’m going to try this!
Does it actually take a year for the gourds to dry out? Man.. I could do that for one or two in my wee abode… but not a whole herd! LOL!