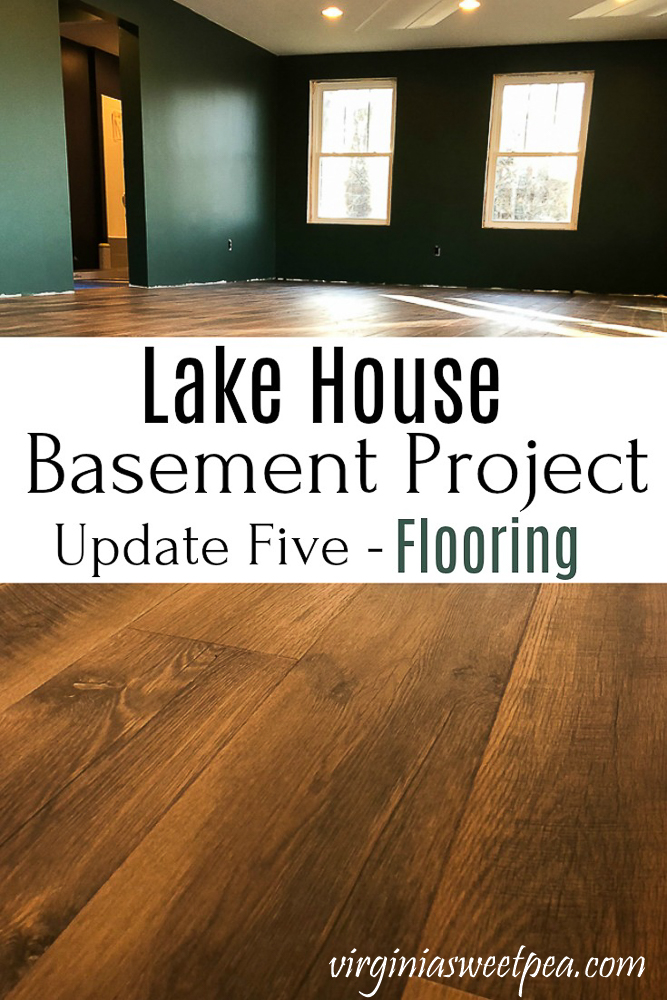
Lake House Basement Project – Update Five – Flooring
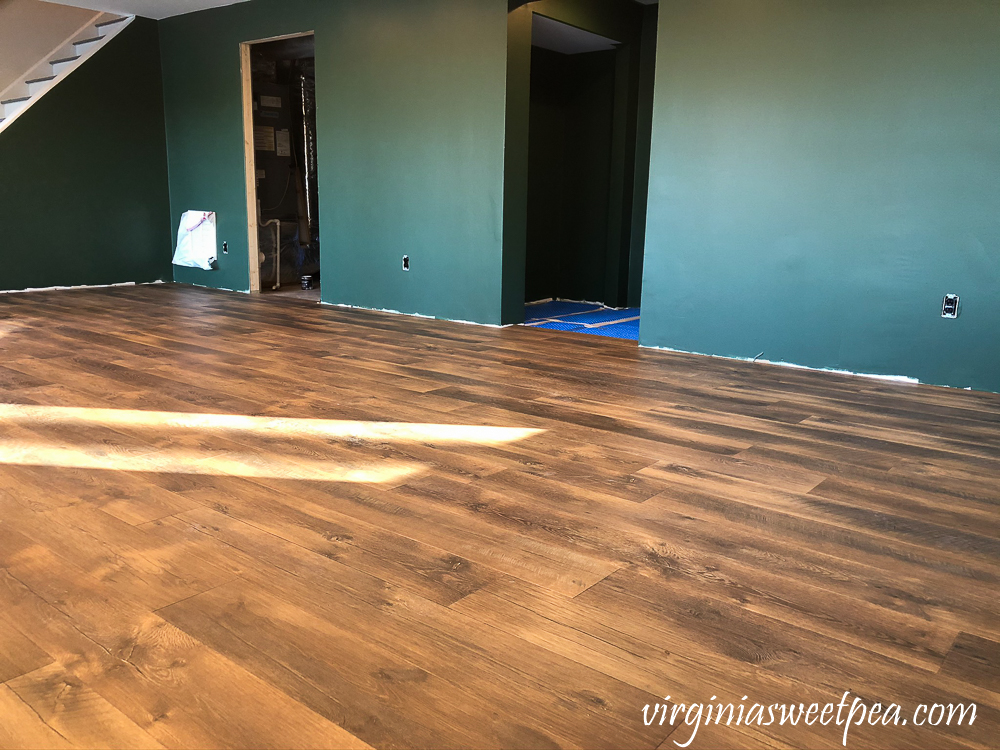
Last weekend’s lake house basement project was installing flooring. What a difference adding flooring to the space makes. The rooms are now beginning to take on a finished look.

If you need to catch up on what we are doing in our basement, check out these posts:
- Lake House Basement Project Plans
- Lake House Basement – Update One
- Lake House Basement – Update Two
- Lake House Basement – Update Three
- Lake House Basement – Update Four – Paint
- Lake House Basement – Update Five – Flooring
- Lake House Basement – Update Six
- Lake House Basement – Update Seven
- Lake House Basement – Update Eight
- Lake House Basement – Update Nine
- Lake House Basement – Update Ten – Installing a Newel Post
- Lake House Basement – Update Eleven – Installing a Banister
Installing Flooring in our Lake House Basement
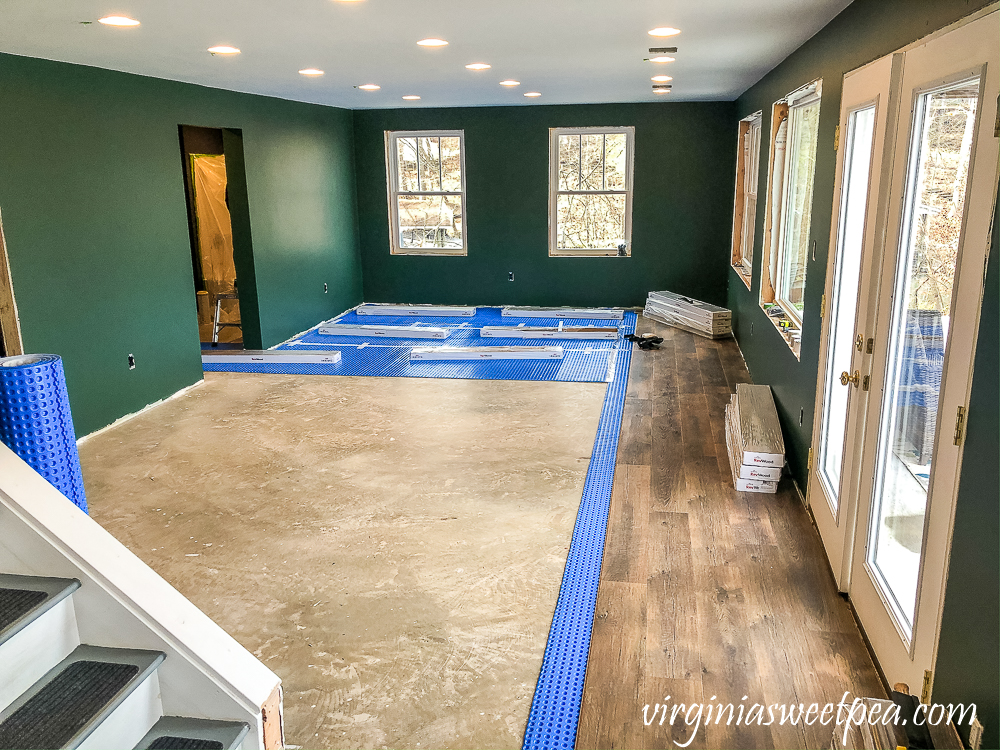
Last weekend we got started installing the flooring in our lake house basement.
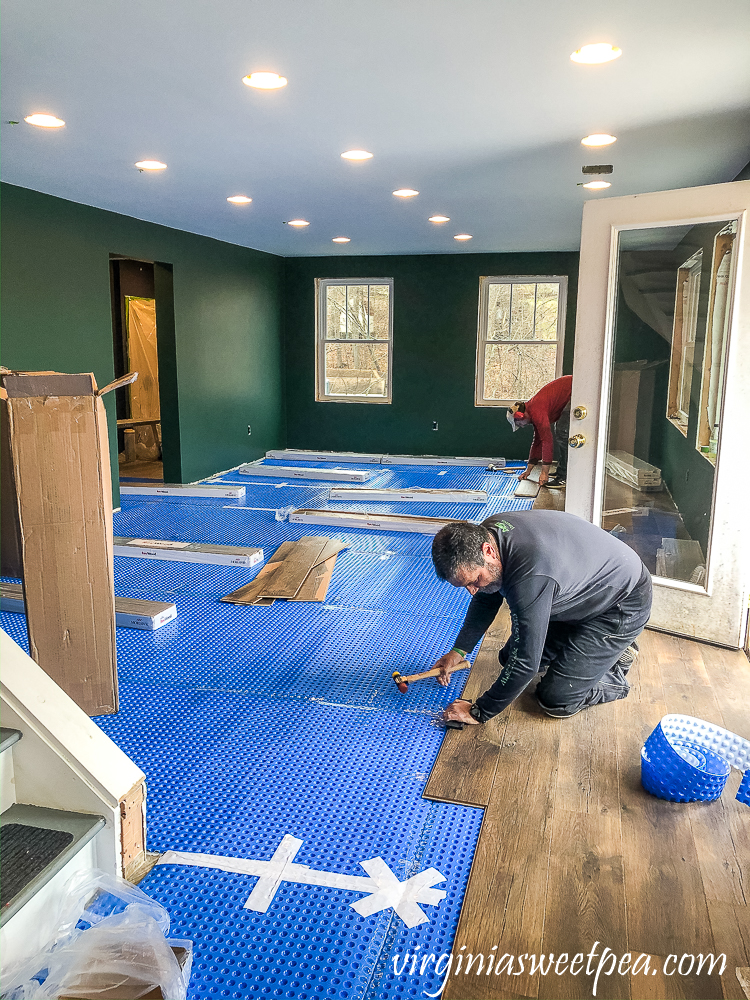
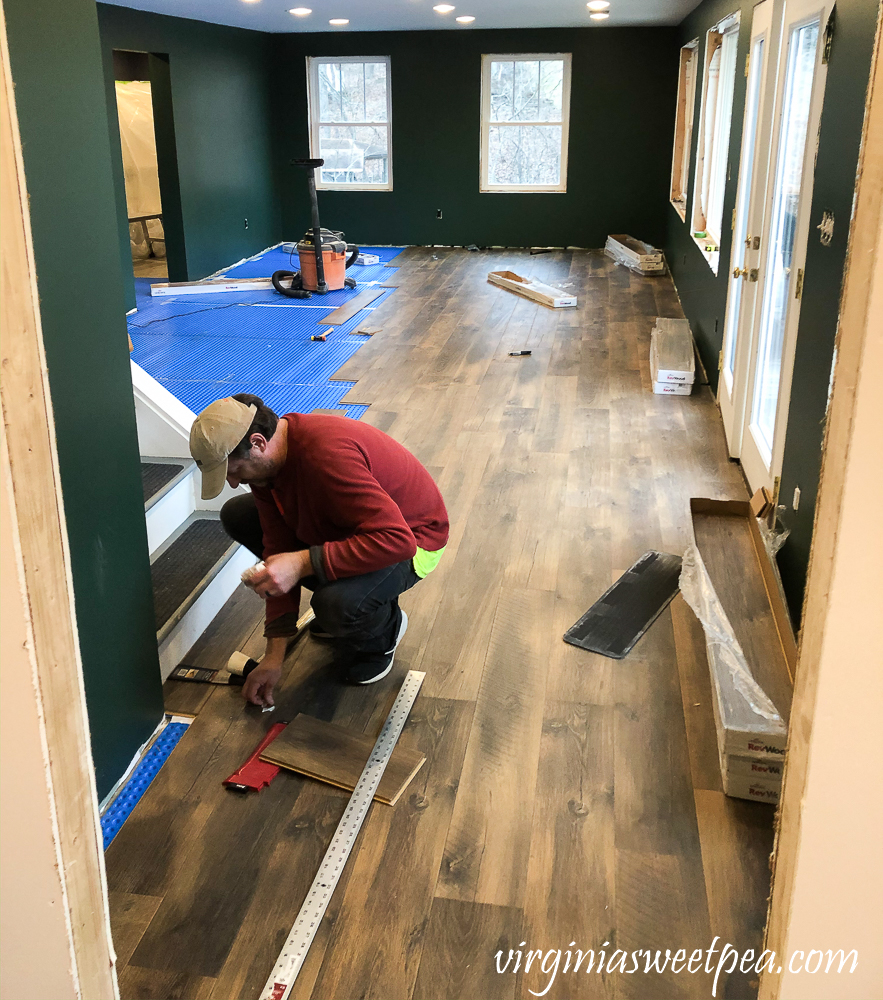
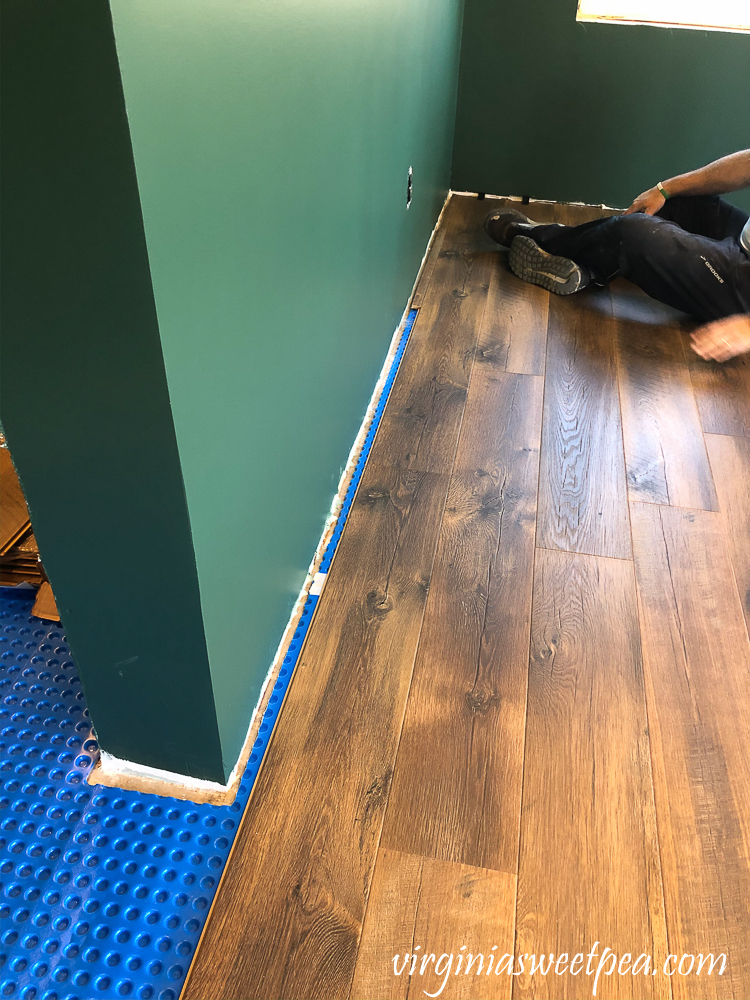
We started laying the flooring with a full piece of planking, a 1/3 length piece, a 2/3 length piece and a 1/2 length piece of planking for the first four rows so that the seams between the boards will be staggered along the length of the floor. From this point forward, boards cut at the end of the room are used to start the next course of flooring. This maintained the staggered look of the boards throughout the basement. We used 1/2″ spacers to maintain a gap between the floor and the walls to allow for expansion movement.
We got this far when it was time to pack up and head home.
Choosing Our Flooring
The flooring that we are using for our basement project is Mohawk Crest Loft in Praire House Oak ordered through Piedmont Floors in Lynchburg, VA.
We chose to buy our flooring at Piedmont Floors for a number of reasons. We started our floor search at big box stores and didn’t especially like what was available.
While shopping, I remembered going to Piedmont Floors with my friend, Leecy, when she was shopping for backsplash tile, bathroom tile, and flooring.
Leecy’s home was 100% destroyed by an F-4 tornado that devastated her neighborhood in nearby Elon and as a result, her home had to be rebuilt from the ground up. My neighborhood also suffered damage, in fact, a home two houses up from me is still not completely repaired.
I remembered how great both the selection and customer service were at Piedmont Flooring when I shopped there with Leecy, so we decided to shop there for our project.
Piedmont Flooring had a great selection of samples and they allowed us to take home several large floor samples that we liked. When we placed those samples in our basement, it didn’t take us long to decide on Mohawk Crest Loft in Praire House Oak.
Underlayment
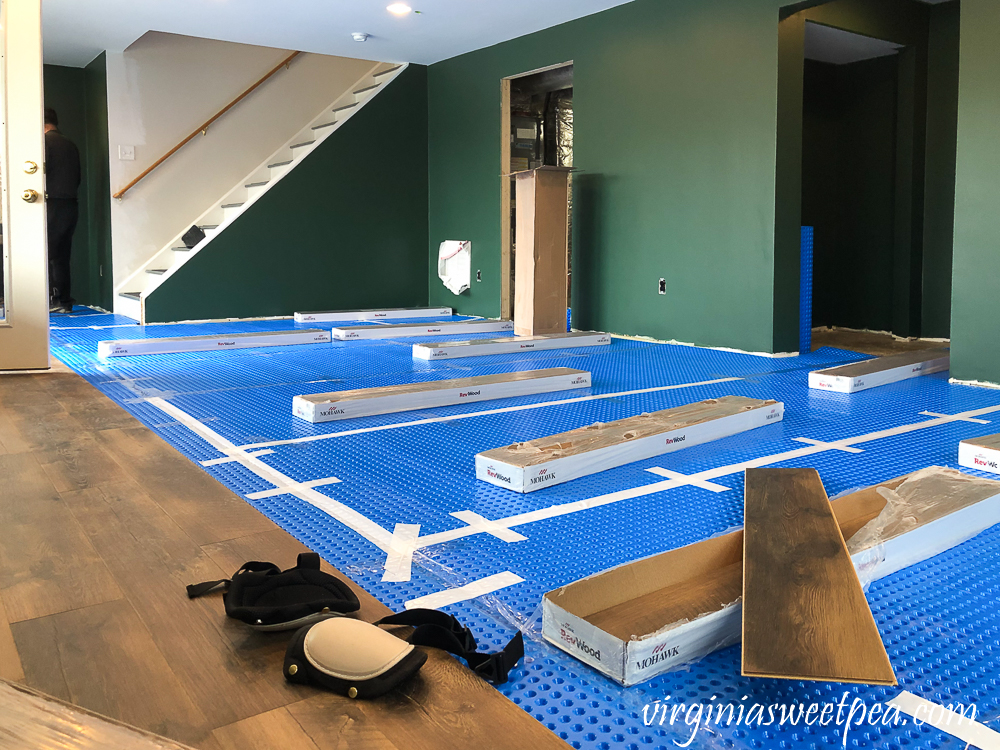
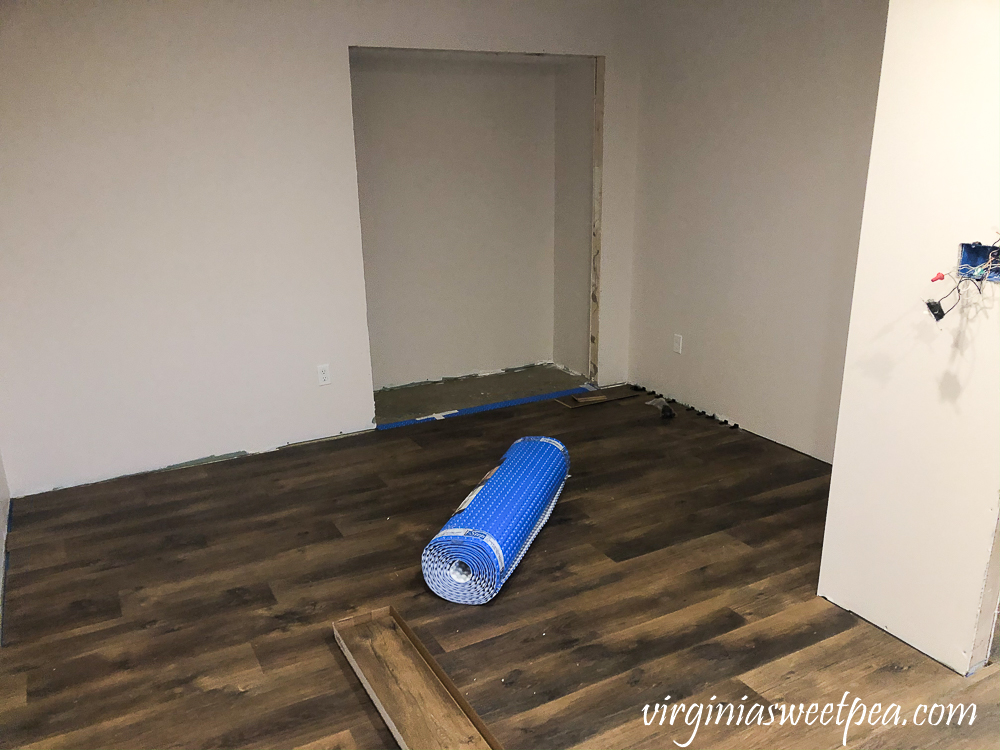
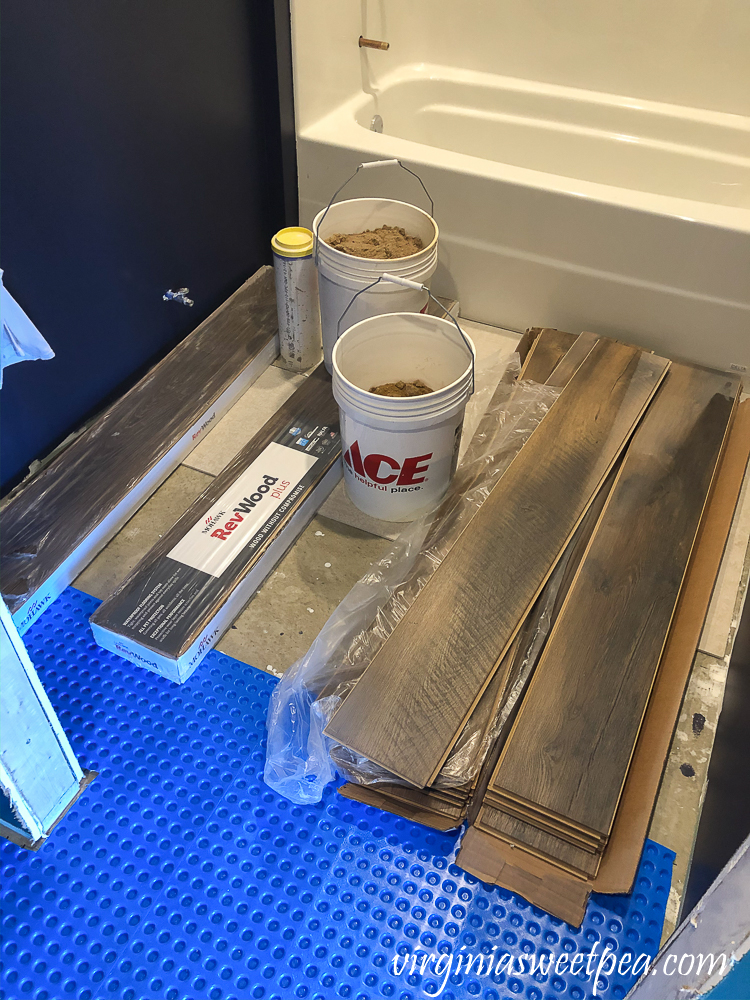
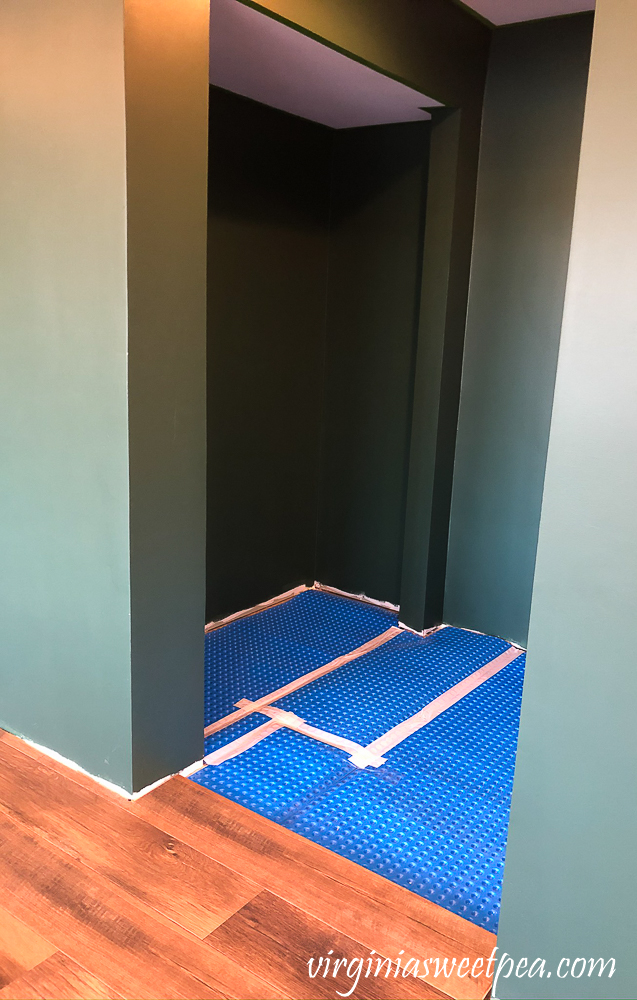
Since we are installing vinyl flooring over concrete, it is necessary to use an underlayment over the concrete. We are using DMX 1-Step underlayment purchased from Home Depot. It is a dimpled hard plastic with a thin layer of cushioned foam underneath. This allows air to flow underneath the floor and provides a vapor barrier to the wood floor. After installing the initial course fo DMX parallel to the flooring, we installed the remaining sections perpendicular to the direction of the flooring. We like the feel of the floor installed over the DMX underlayment.
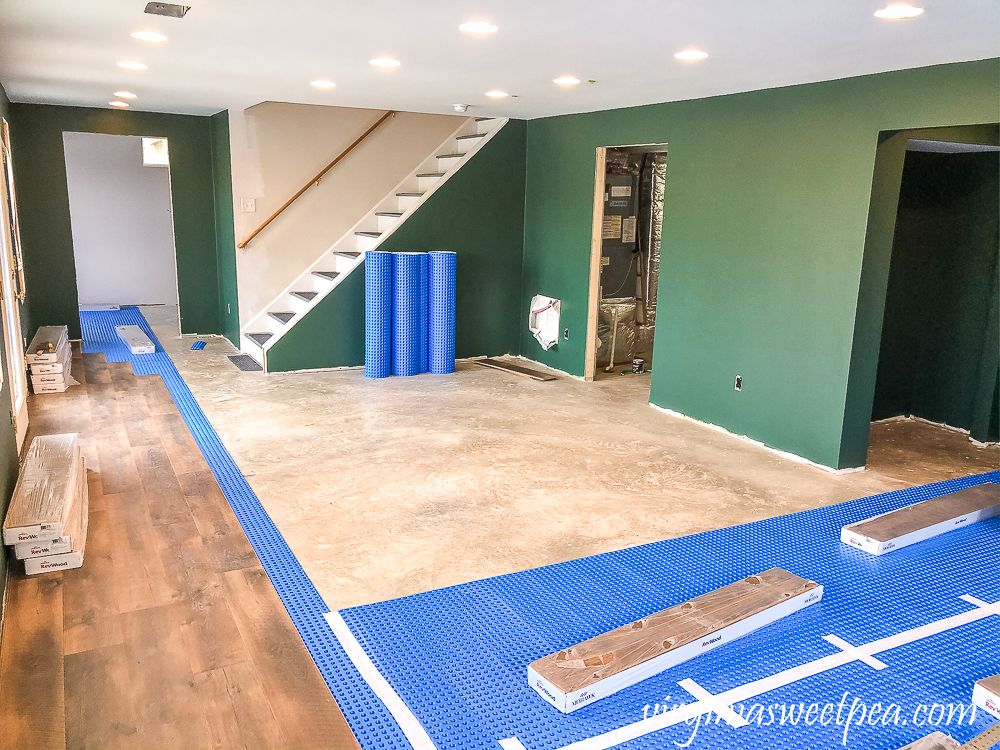
I need to give a huge shout-out to our lake neighbor, Don, who volunteered to help us with this project on Saturday. This wasn’t Don’s first installing a floor rodeo and he jumped in, knowing exactly what to do.
Don got to work in the extra room while Mr. SP and I finished laying down the underlayment.
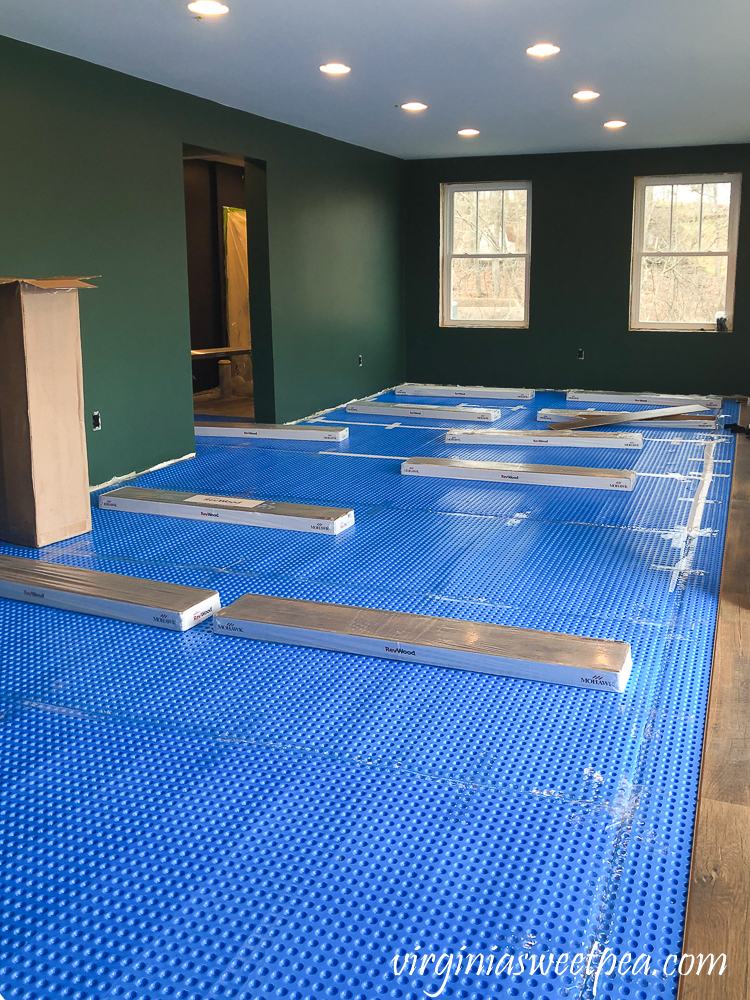
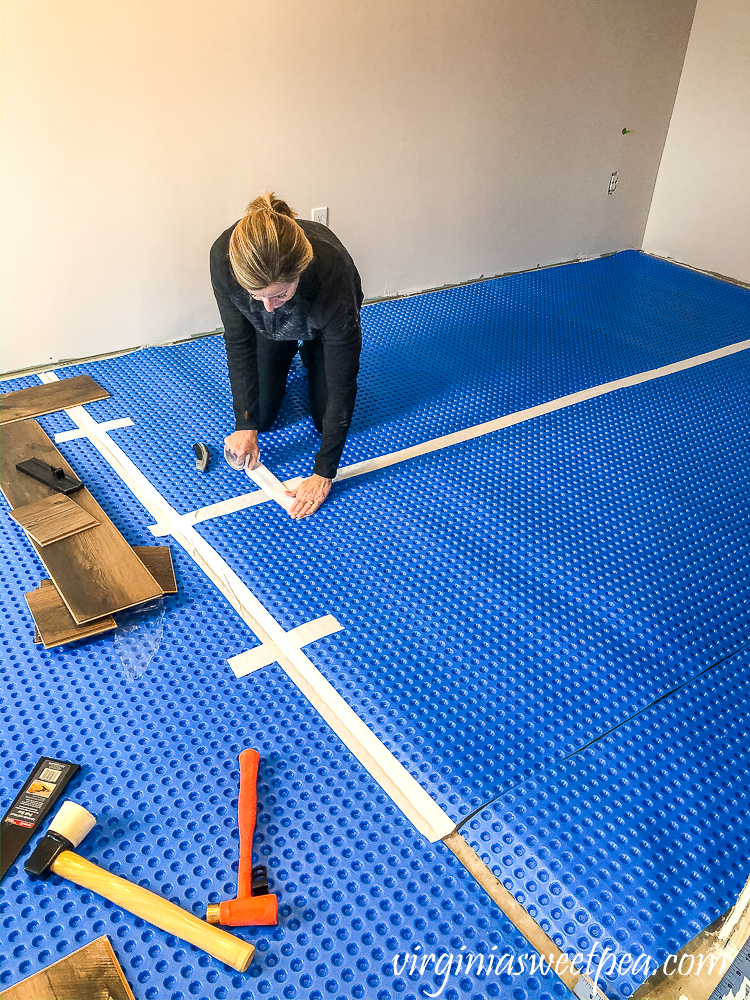
The underlayment comes with tape used for the seams.
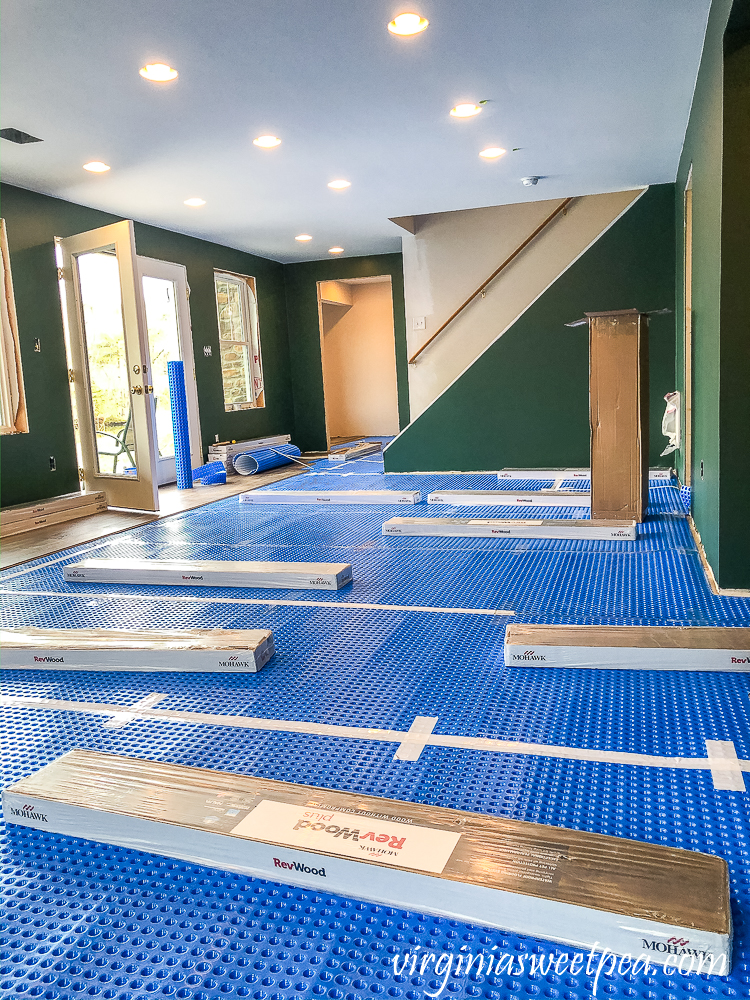
We used boxes of flooring to weight down the underlayment segments.
Installing the Flooring
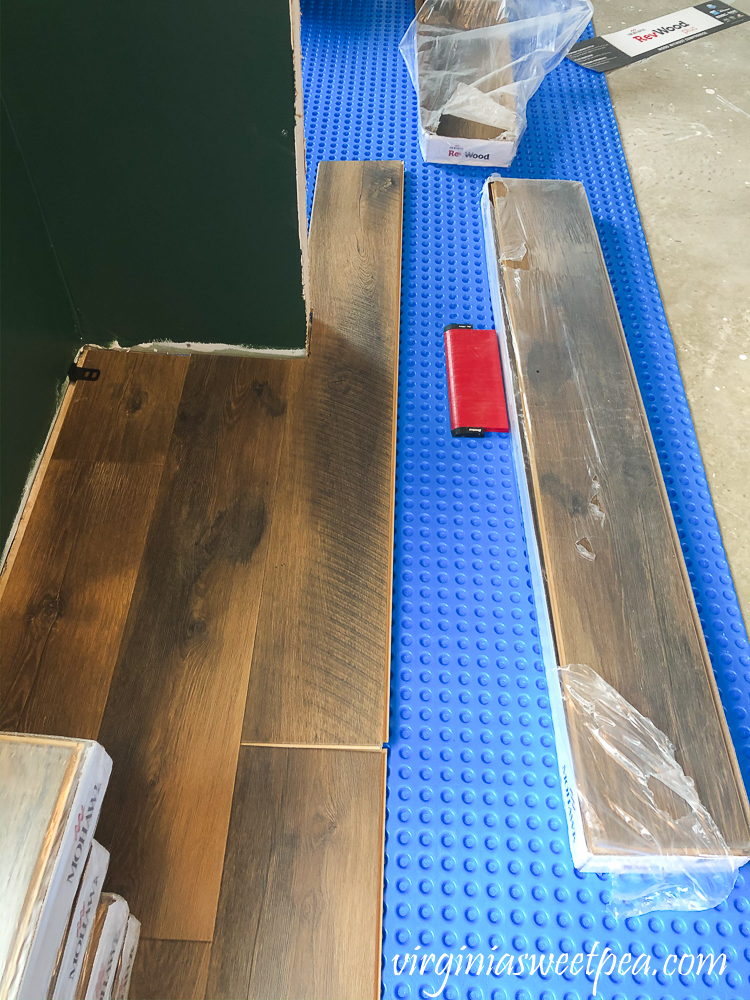
Don started his work by installing a flooring piece that starts in the family room and continues into the extra room.
Don came equipped with tools to help with the job. He used this handy tool to help mark where to cut to make the floor plank fit around this wall. We wanted the flooring to run straight into the other room without a break or threshold.
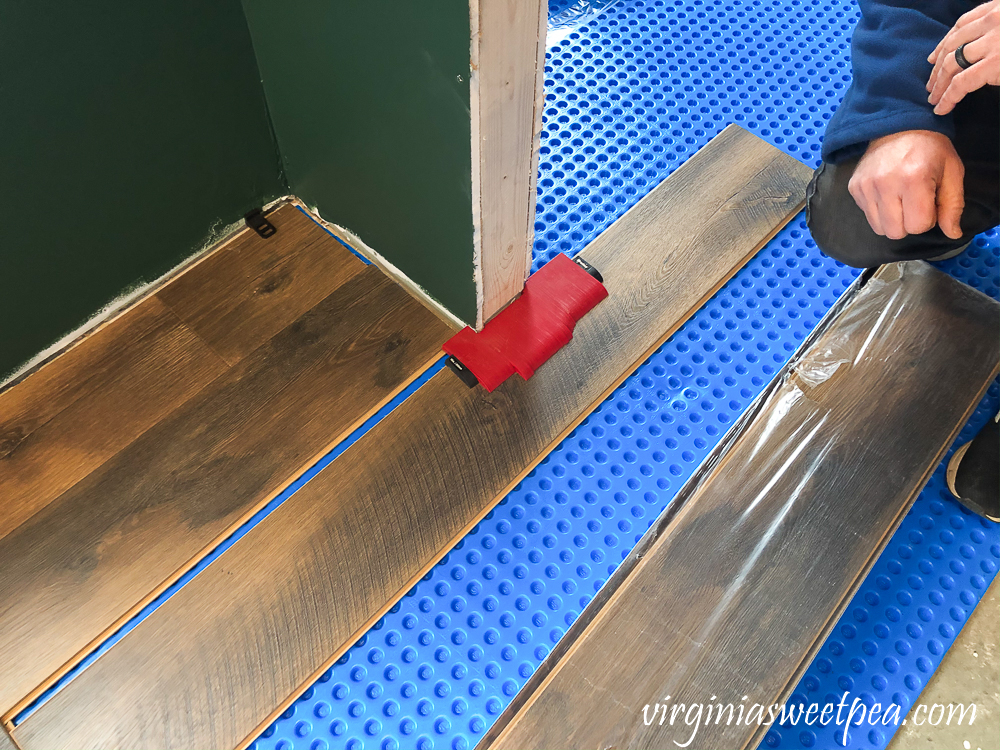
The tool molds to the wall and keeps that shape.
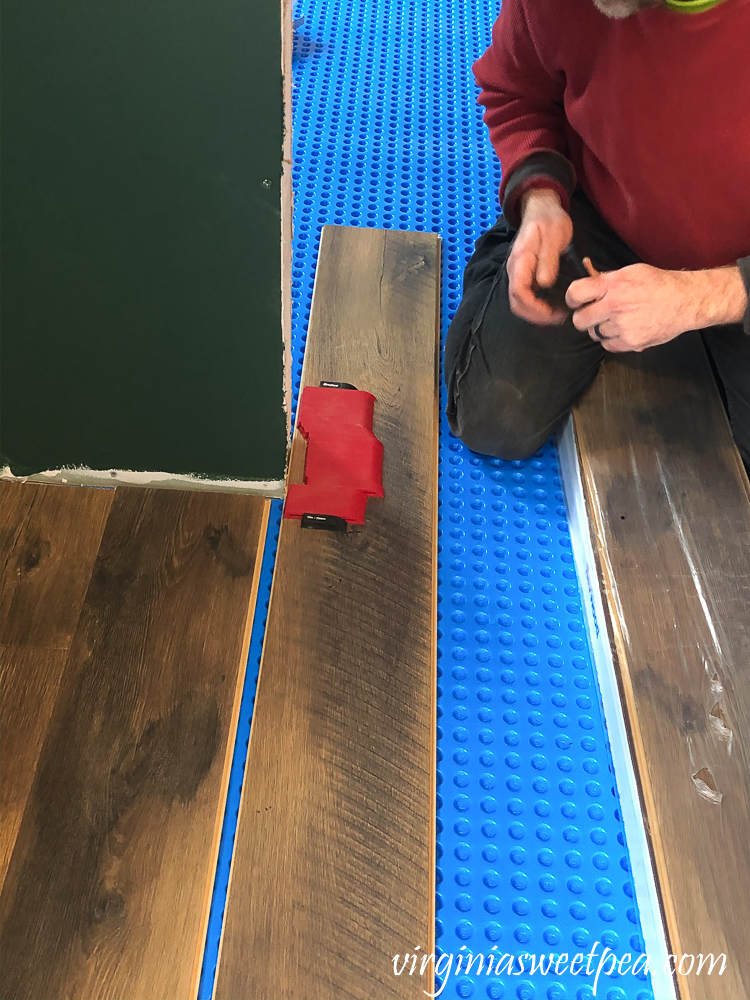
Don marked where he needed to cut with a Sharpie.
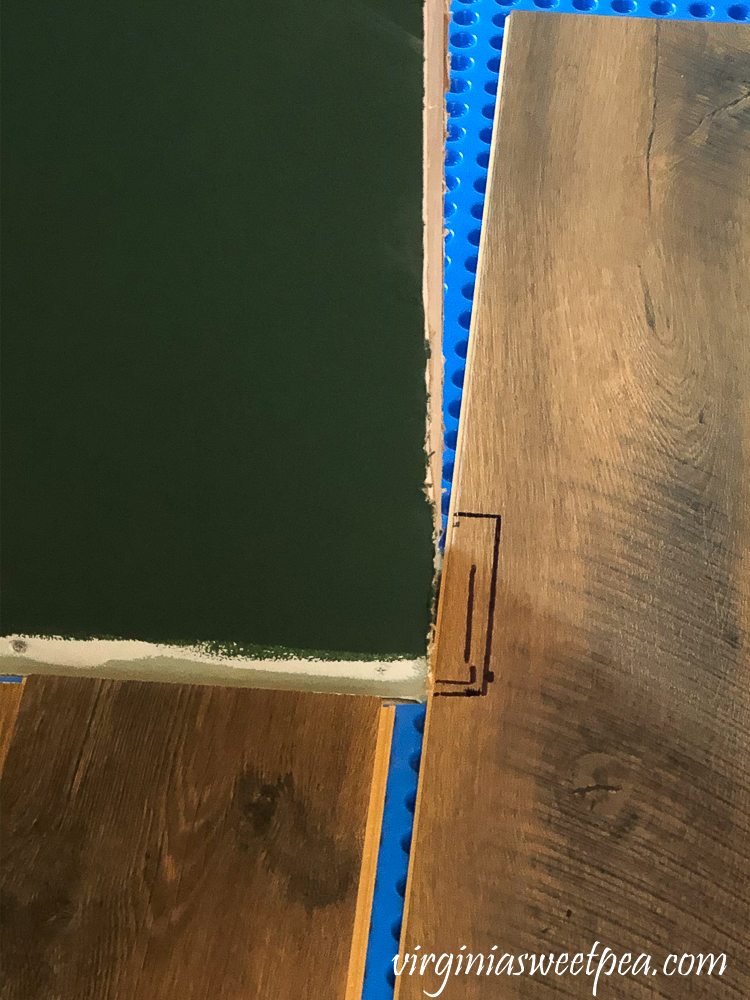
He then cut on the Sharpie lines using an oscillating multi-tool .
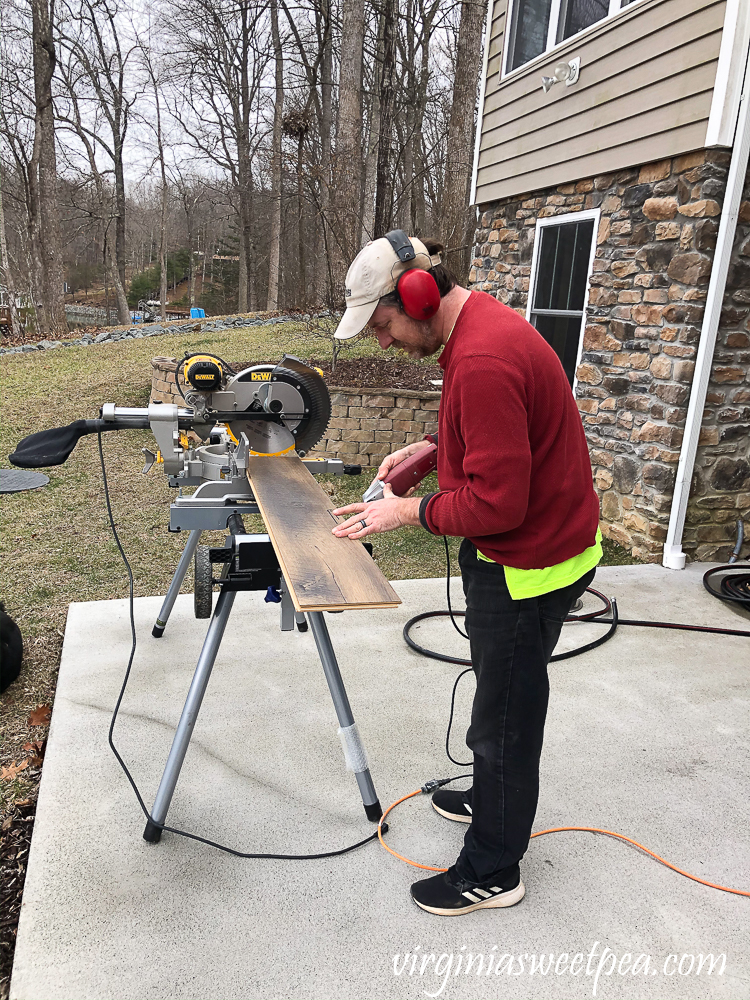
The plank fit perfectly. From this point, he worked from the wall to this board so that we could have the flooring run straight from one room into the other.
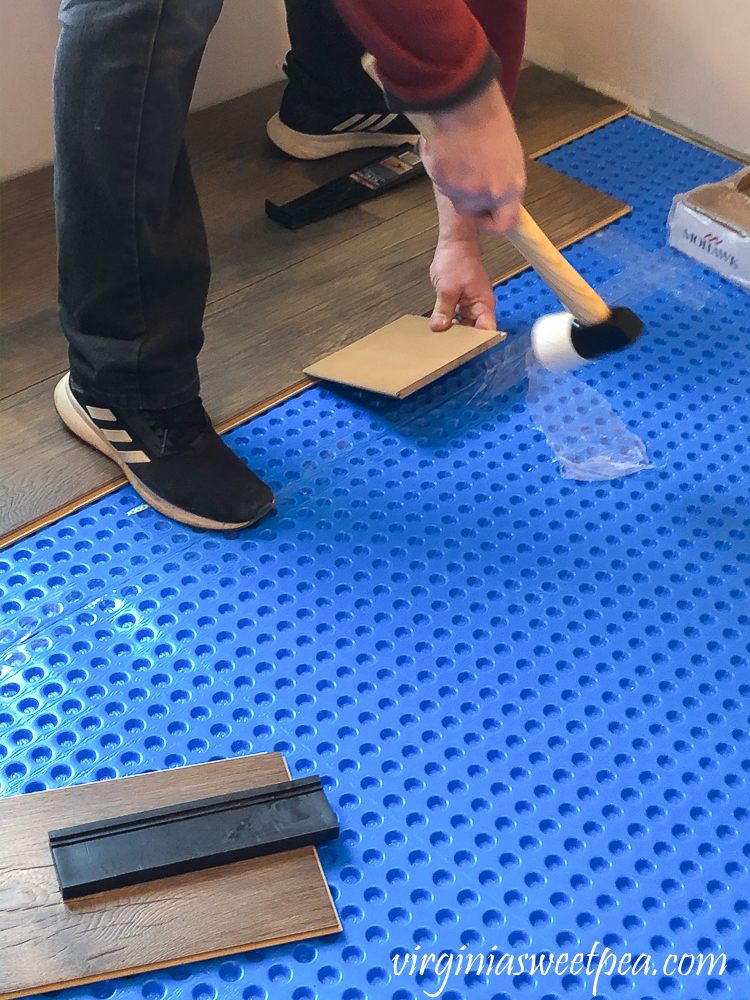
Don discovered that it was easier to pound the boards in place using a scrap piece of flooring.
Don installed the floor in the extra room until it matched up with the flooring that was installed last weekend in the family room.
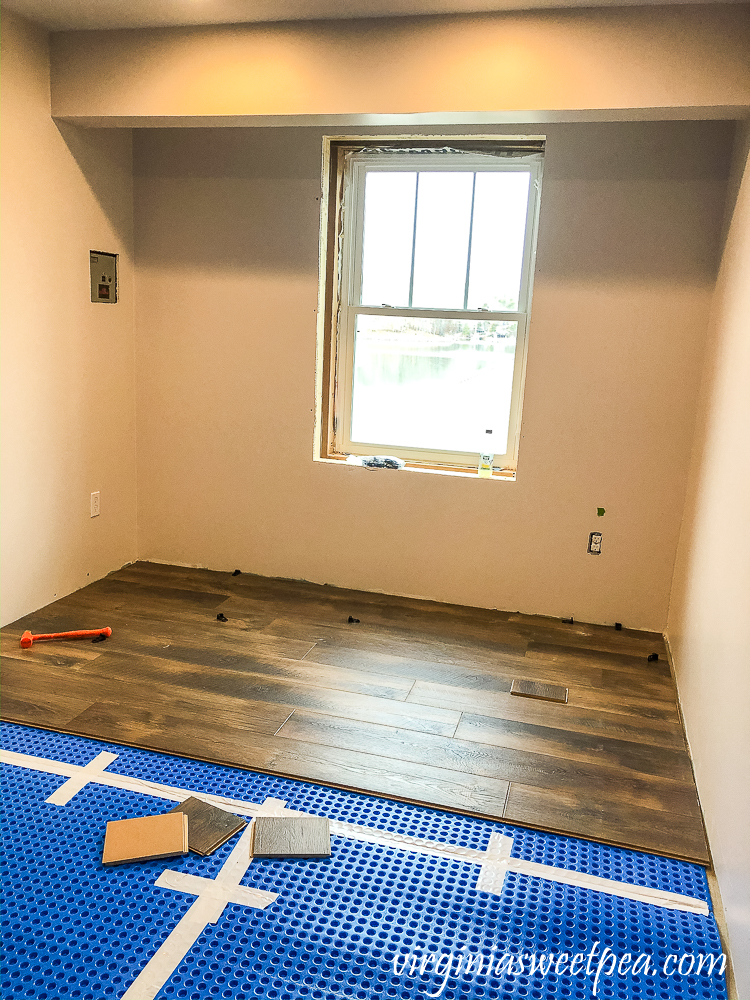
He and Mr. SP got into a floor installation rhythm.
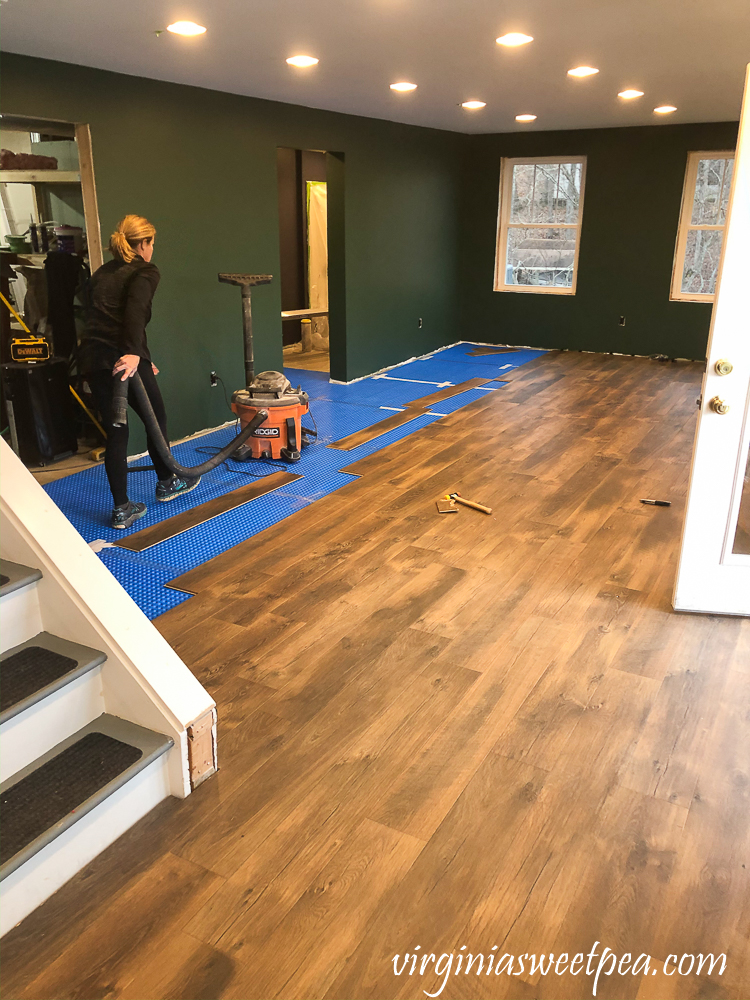
I helped by taping underlayment, placing boards where they were ready to be used, and vacuuming.
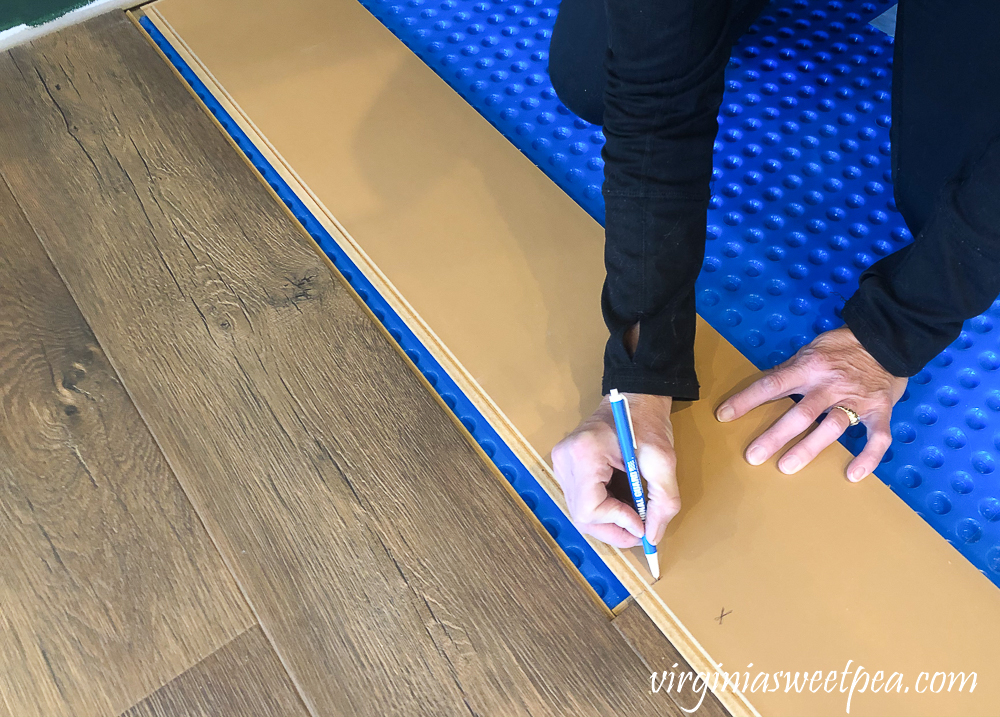
I also learned how to mark a board that needed to be cut to fit.
We are incredibly grateful to Don for helping us with this project. Without Don, we would have only been able to complete less than half of what was completed over the weekend.
By the end of the day on Saturday, most of the extra room was complete.
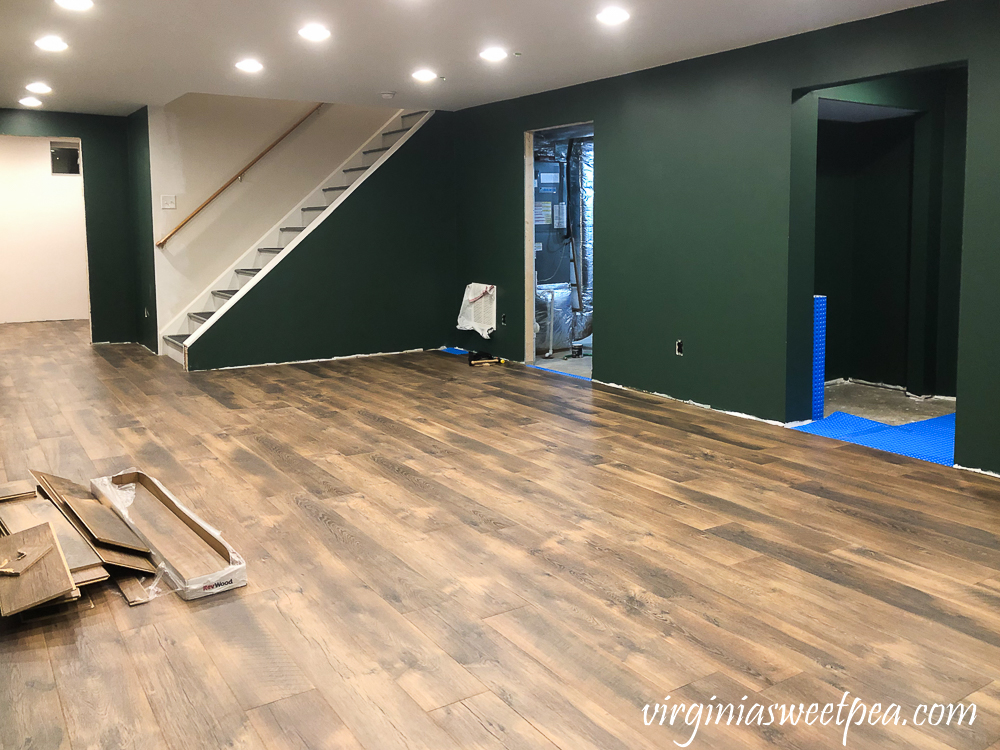
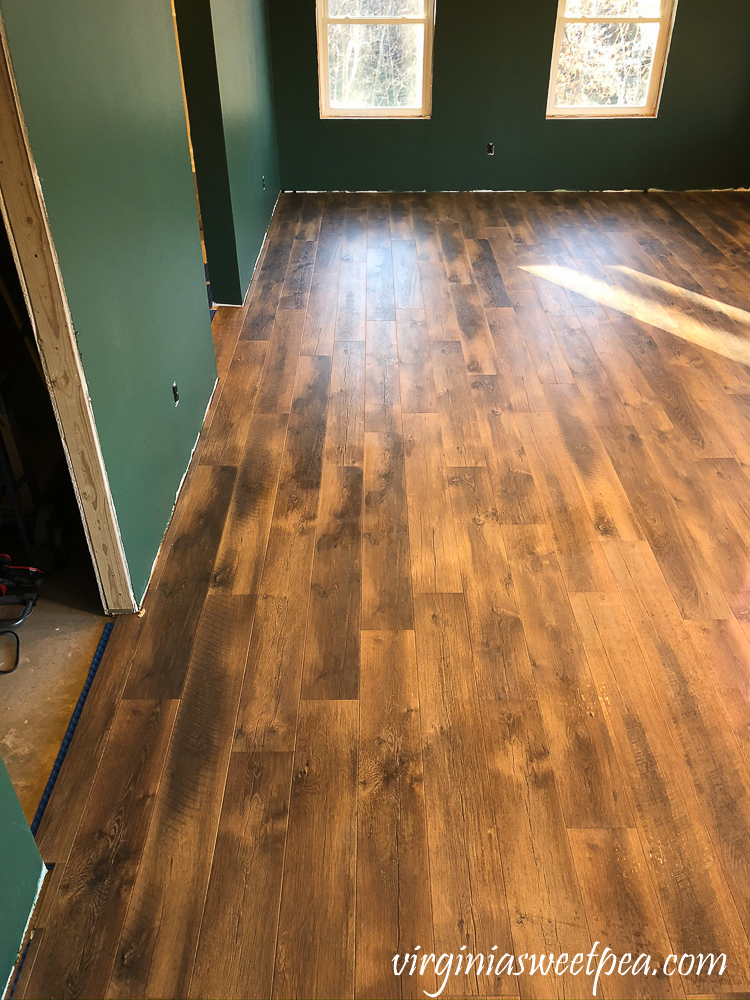
The family room flooring was complete other than a small strip next to the wall.
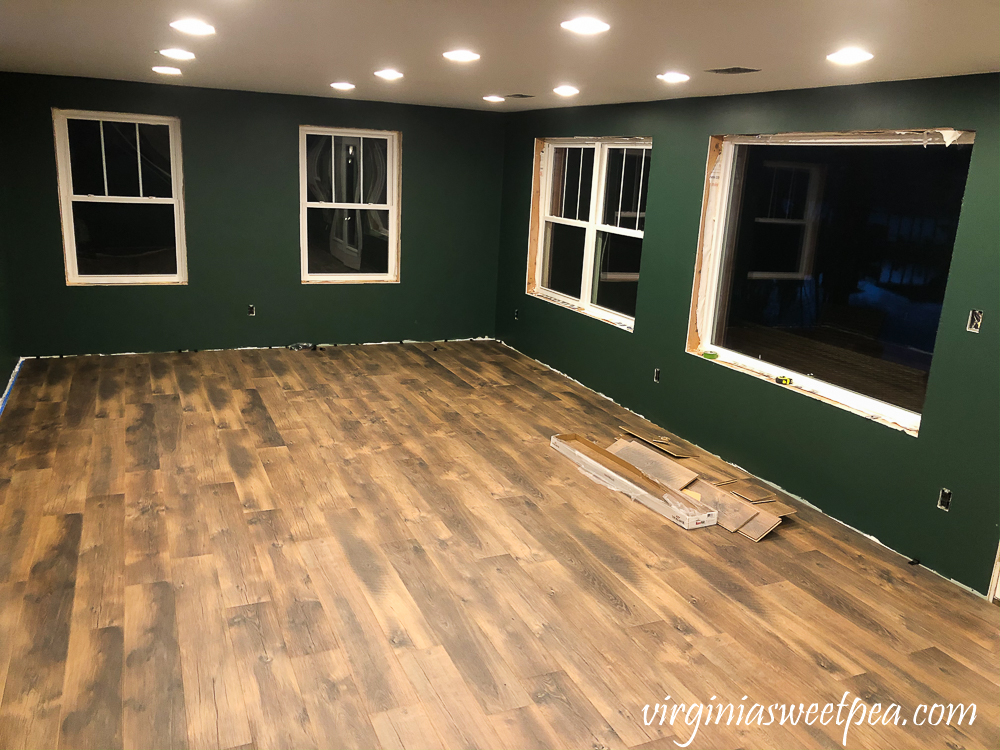
Later in the evening, I sat on the steps to admire the floor.
All of Saturday’s work wore poor Sherman out.

Continuing the Flooring the Next Day
The next day, after taking Sherman for his morning walk, we set up our work station and got busy.
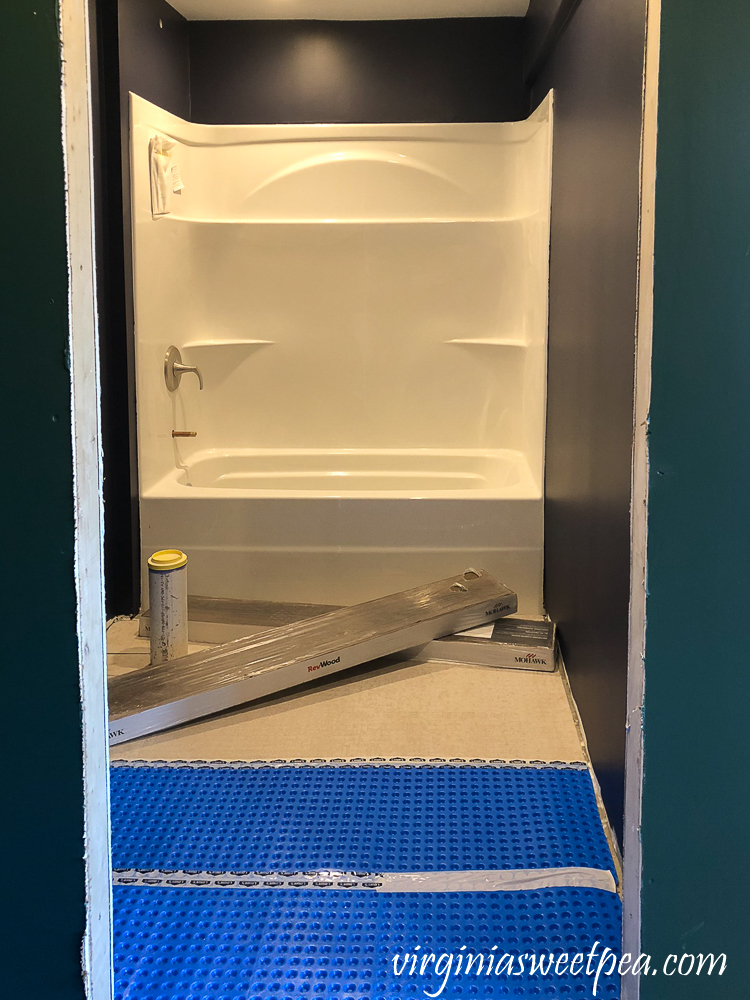
The first order of business was to cut 1/4″ concrete backer board to place under the toilet in the bathroom. This is the same thickness as the DMX underlayment. DMX will be placed to the edge of this backer board for the rest of the bathroom space. We intend to run the wood floor into the bathroom from the hallway in a similar manner in which we installed it through the doorway between the main room, and the extra room shown previously.
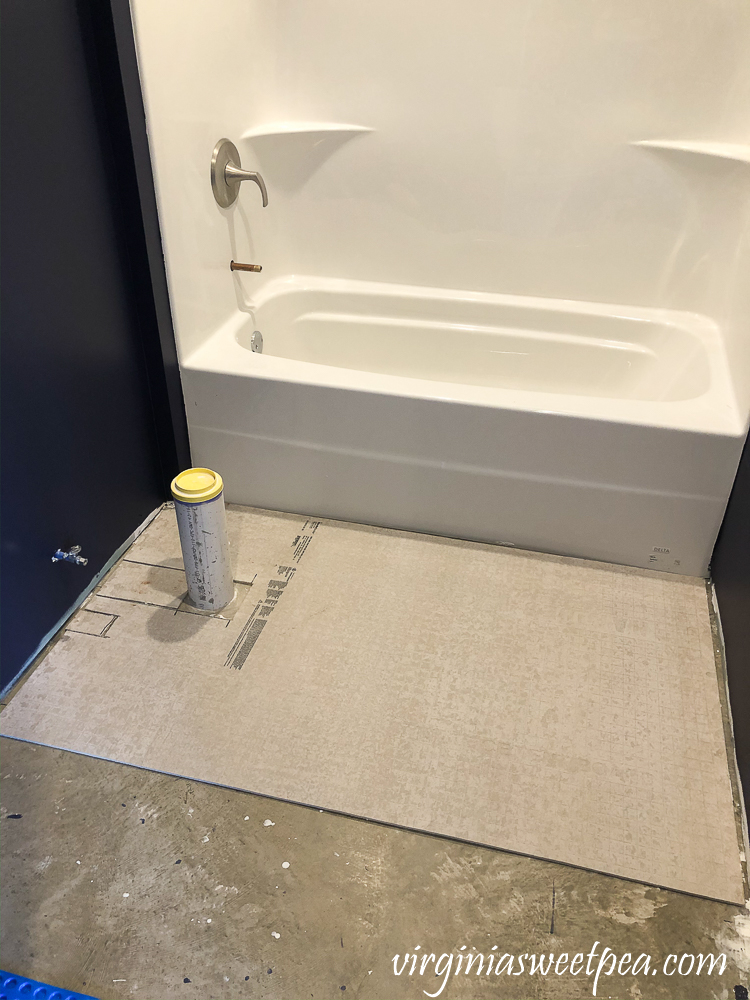
We glued this in place with liquid nails and then weighted it down while we the adhesive dried.
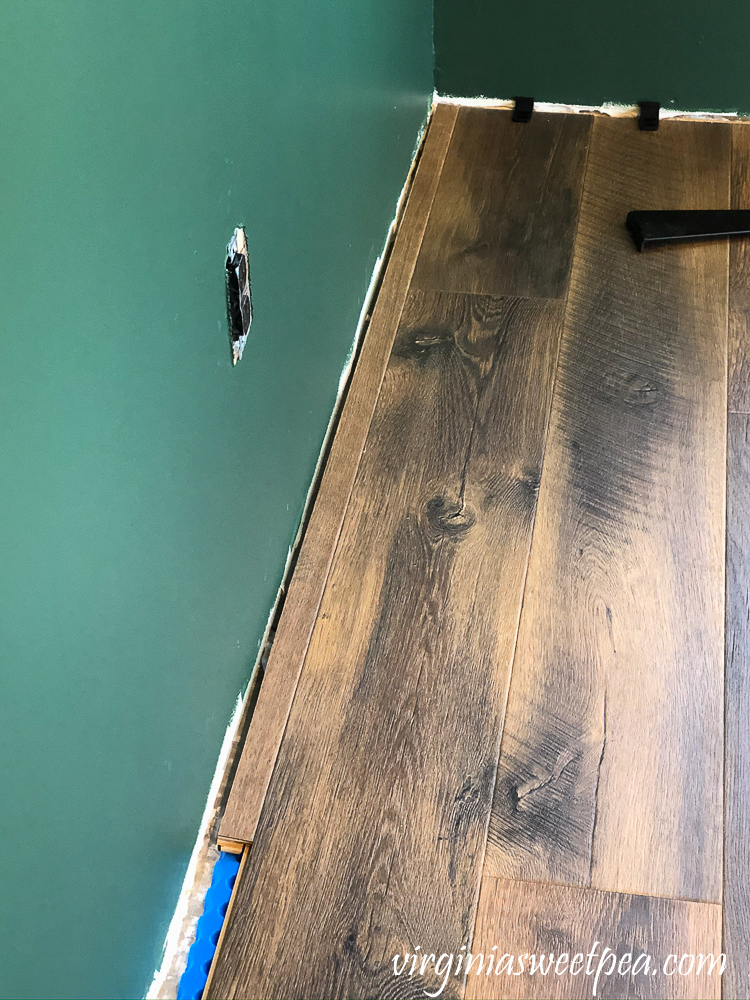
A small section next to the wall needed thin strips of flooring.
Cutting Thin Flooring Strips for the Edging
A table saw would have been a handy tool to have to rip the thin long pieces needed for the section of flooring next to the wall.
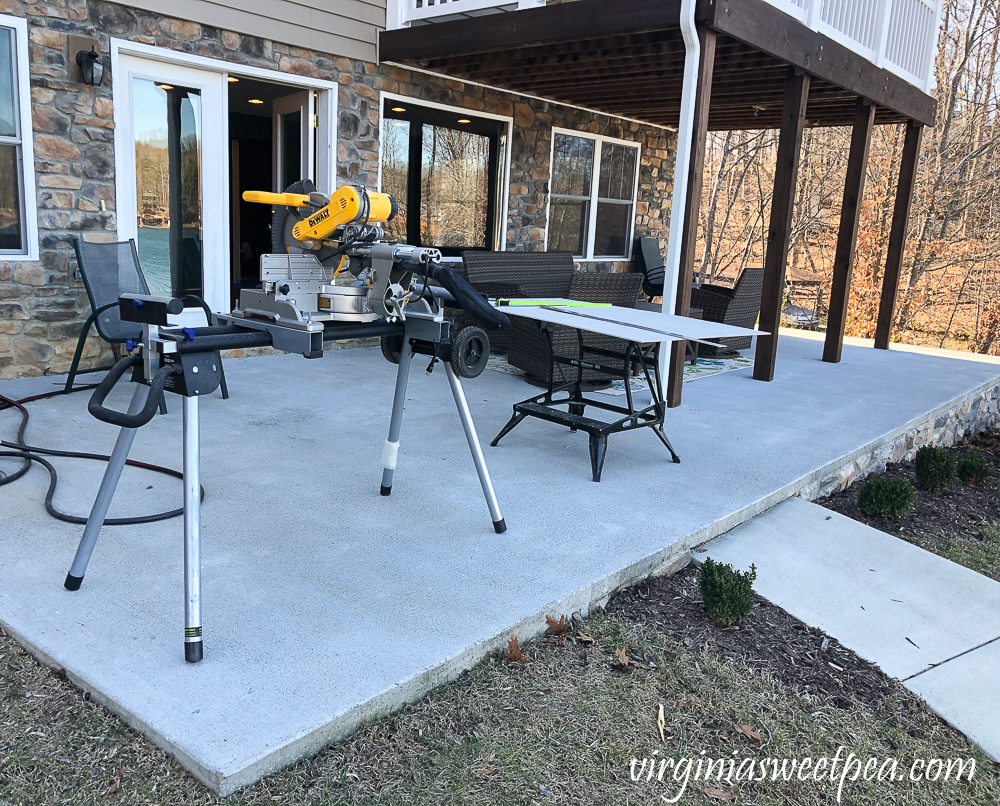
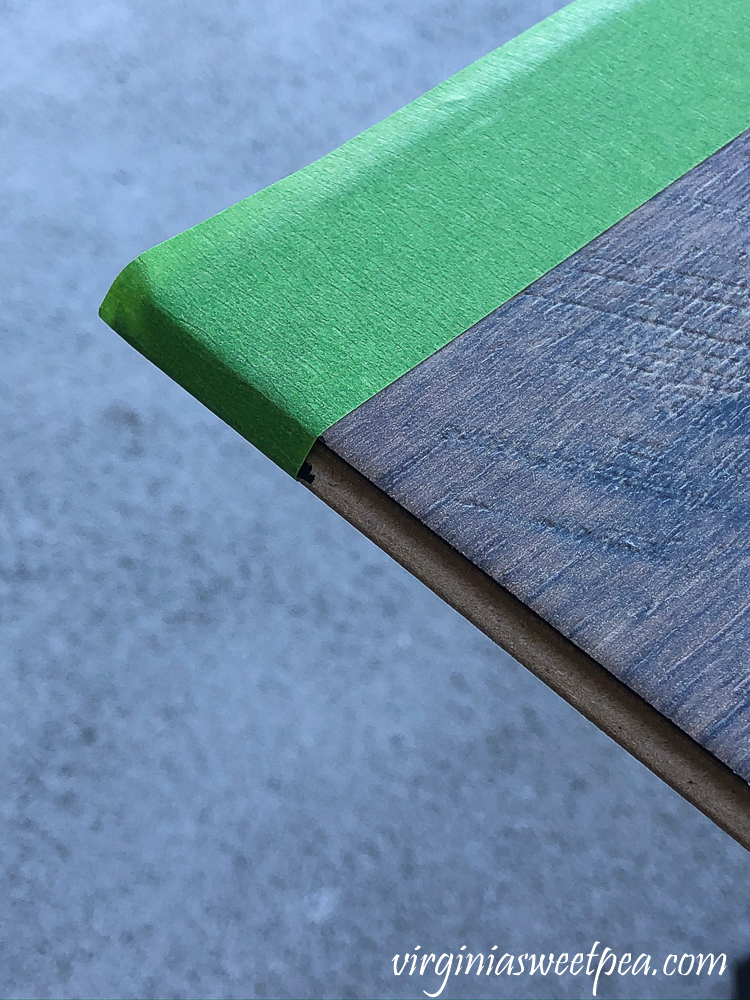
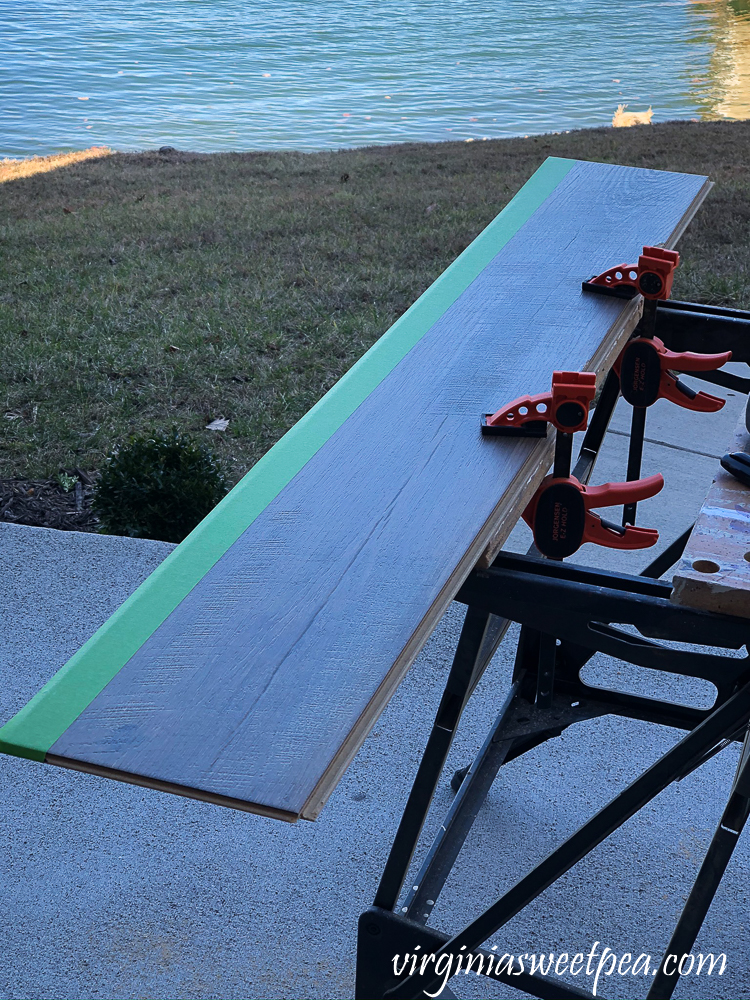
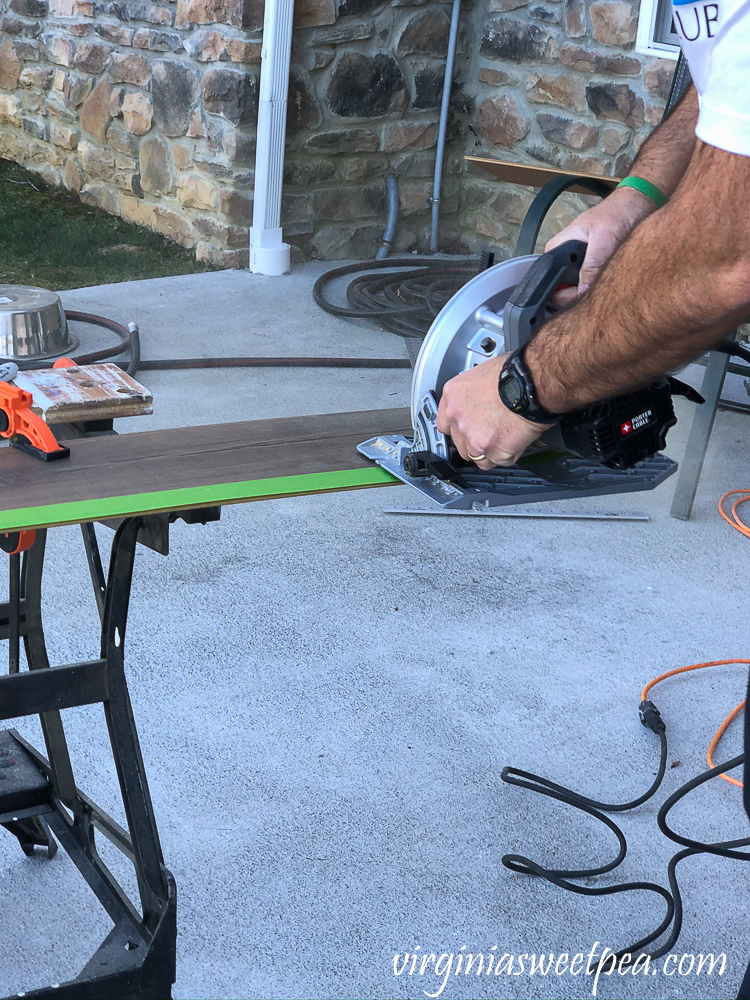
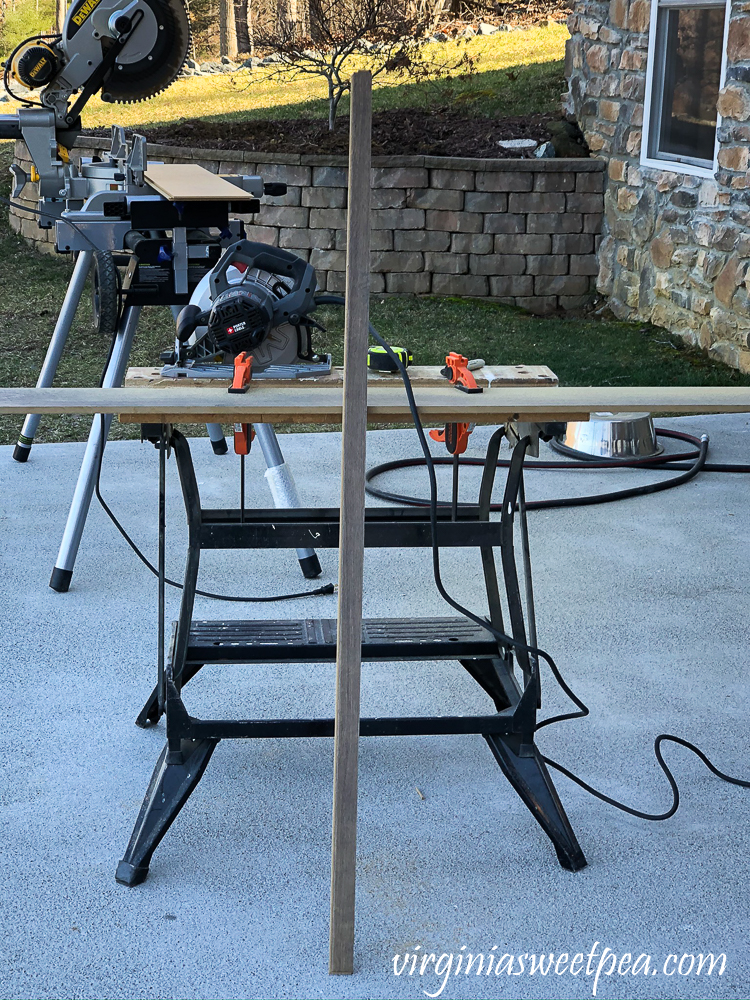
We don’t have a portable table saw, so Mr. SP developed a method to cut the strips using frog tape and a circular saw.
After measuring the width he needed and marking the floor plank, he applied a strip of Frog Tape where he needed to cut.
The plank was clamped to the workbench.
Mr. SP cut along the Frog Tape with the circular saw.
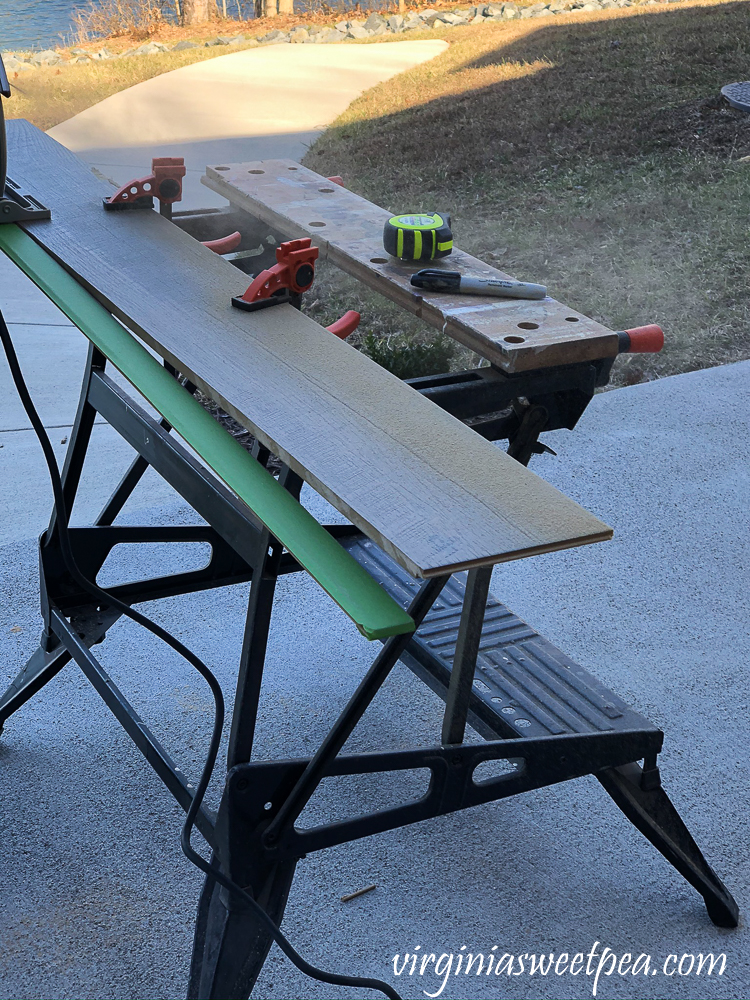
He removed the Frog Tape and the piece was ready to be installed.
This also shows the 1/2″ gap we left between the flooring and the walls. The baseboard and quarter round will cover a good bit of this small piece once they are in place.
It didn’t take long to get this portion of the family room complete.
Flooring in the Extra Room
We then did the same process in the extra room and finished the closet.
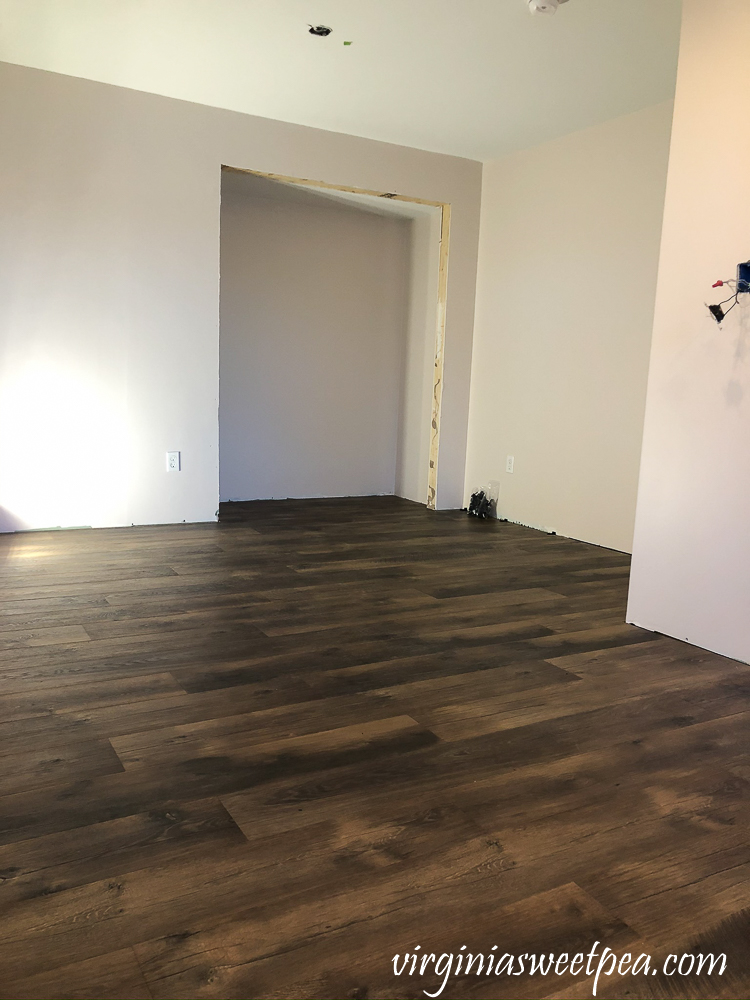
This room is ready for baseboards and quarter round.
I picked this light for this room and we hope to install it this weekend. Adding it will make the room much brighter.
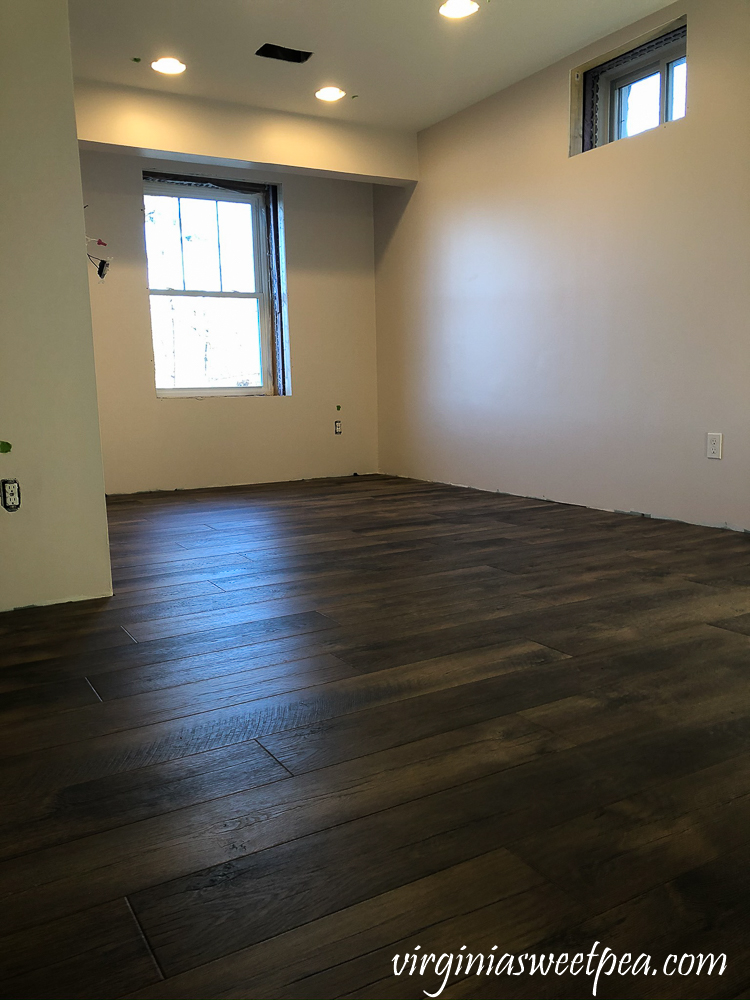
There is electrical work to be done in this space and also touch-up paint where you see the Frog Tape pieces.
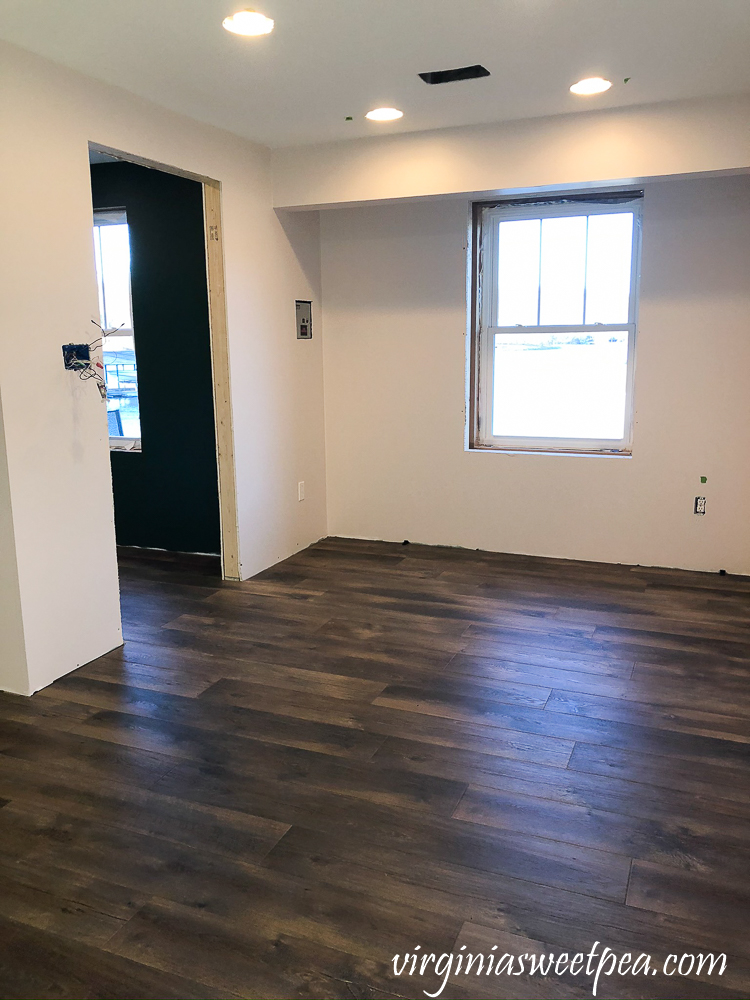
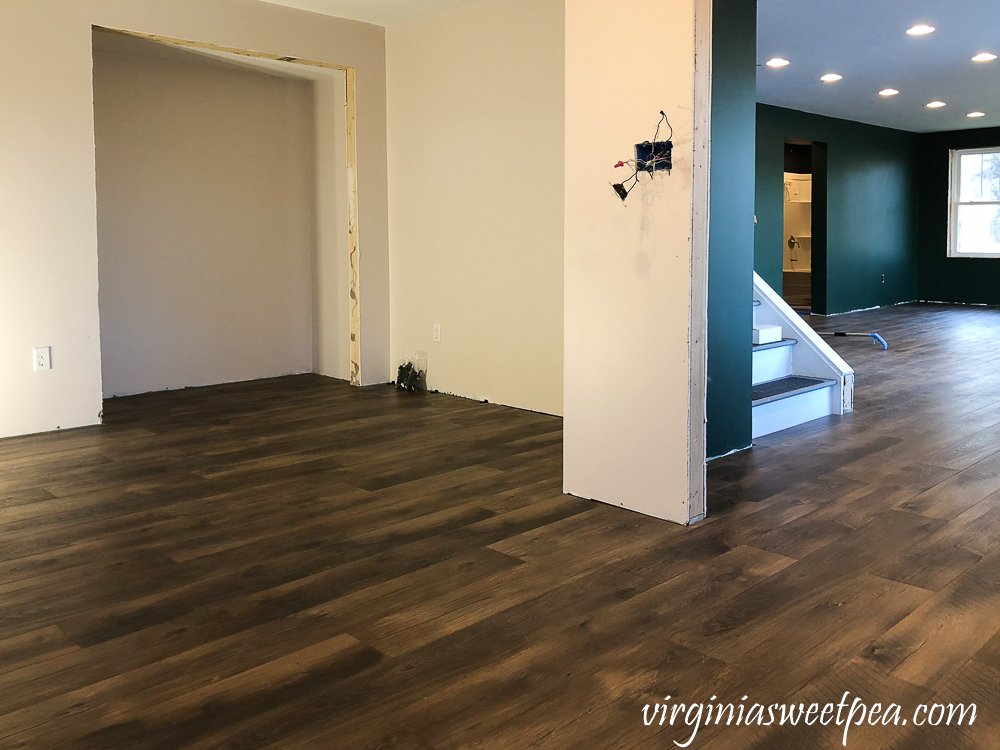
I’m glad that we chose one floor type for the entire basement space.
Flooring in the Family Room
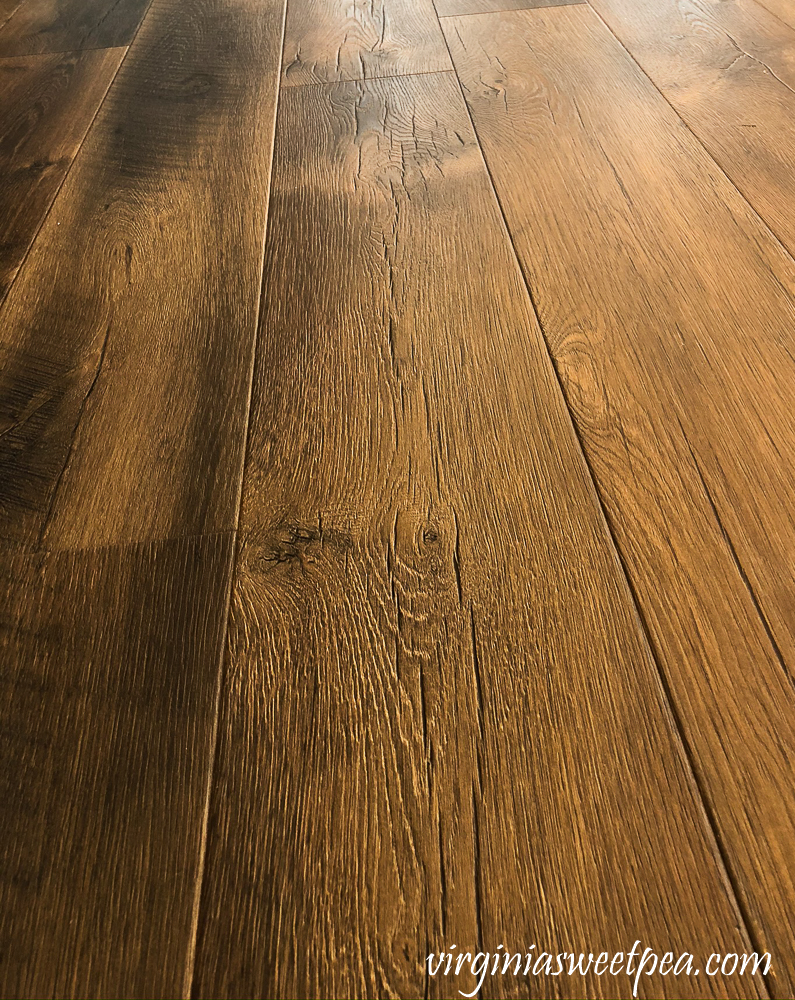
We envisioned a cozy cabin feel for our basement and we both love the rustic look of our floor.
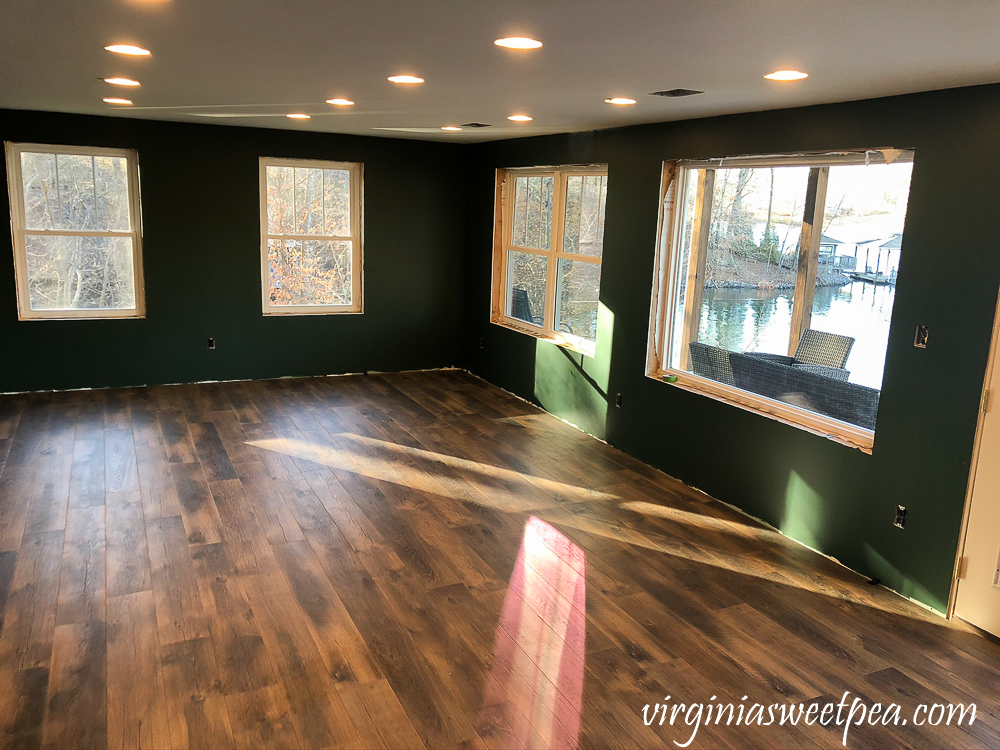
Mohawk RevWood Plus flooring has waterproof joints and a waterproof topcoat making it a great floor for lake life (and a wet dog).
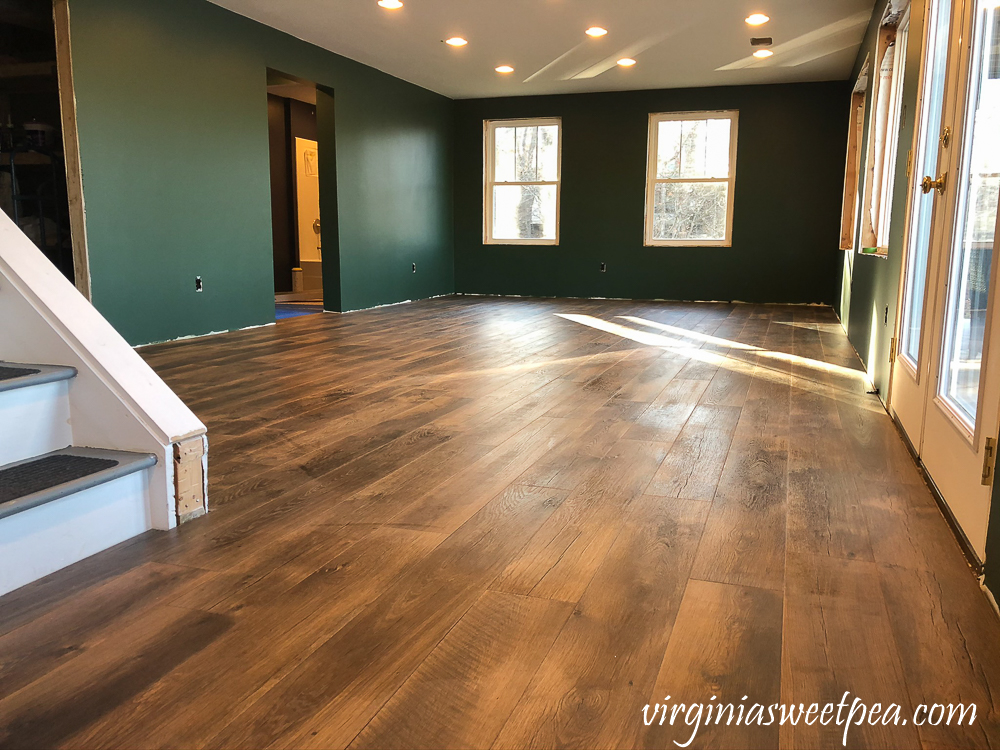
The waterproof features will make it easy to clean with a wet mop.
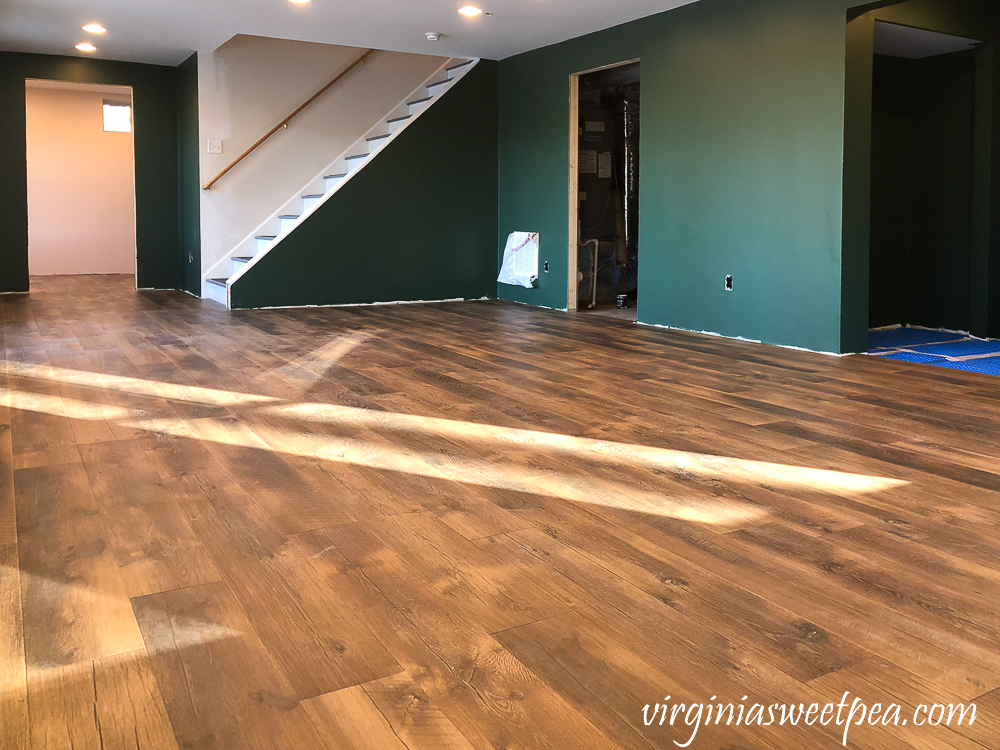
The flooring also has a protective wear layer that resists scratches and scuffs.
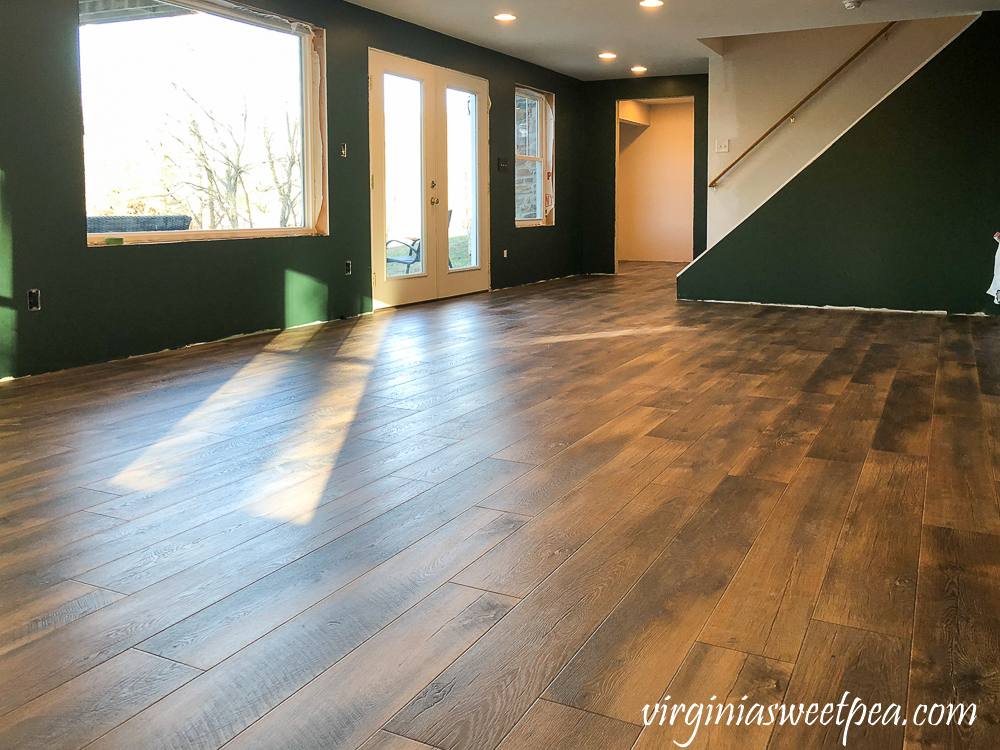
I’m delighted with our floor and love that it looks like old oak.
What’s Next?
Next in the basement project will be to finish the flooring in the hall, closet, and bathroom.
We could have finished this work last weekend but it was Super Bowl Sunday and we had to get home for the game.
After we finish the floor, we hope to get the vanity, sink, light, and toilet installed.
It’s slow going since we only work on this project on Saturday and Sunday, but we are making progress.
I’m looking forward to sharing more of the bathroom on my next update and also the lighting in the extra room.




I LOVE what you’ve done, Paula! What a beautiful home. And seeing the sunlight cast over the outdoor work space just makes you even more anxious, I’m sure, to get the job finished and be able to enjoy the rest of 2020 and many years to come there. And what a great neighbor in Don to help you guys! Happy weekend. Hope you get lots accomplished, and I can’t wait to see more.
Thank you, Rita! We were just out toilet shopping on my husband’s lunch break. (Exciting times!) I hope we get a lot done this weekend.
Paula
Wow, Paula. Everything looks great and is coming along so nicely! I know you’re excited to get this part of the project finished. I’m enjoying watching the progress!
Thank you, Angie! It’s slow going but we are making progress.
Paula
Well done! All air Gard work has paid off. It’s beautiful.
Thank you so much, Linda!
Paula
I obviously forgot to proof read.. Sorry for that. All of your hardwork has paid off! Have a good Friday Paula
Beautiful lake house. Love the basement project.
Thank you so much, Linda! It’s definitely a labor of love and when it’s finished, we’ll have the pride of knowing that we did it ourselves.
Paula
It’s fun watching the progress of this project. There is a took for everything and I have seen the one Don used. I love the floor it’s so warm and cozy feeling. It’s so great that you can mop and be done. I can’t wait to see more.
Sherman steals the show though, apologies. I’m such a dog lover.
Cindy
Sherman tolerates a few hours of work and then he starts whining for attention, especially if we are working when he thinks it is dinner time. 🙂
Paula
Paula it’s really coming together everything looks great can’t wait to see it finished.
Thank you, Laura! I’m enjoying sharing what we accomplish each weekend and it’s fun to look back to see how far we’ve come in the process.
Paula
Thanks for the heads up on your flooring source. My husband and I aren’t crazy about flooring options in the big box stores, either. Pinning so I’ll remember! Visiting from Tuesday at Our Home.
I highly recommend going to a local flooring shop. We found the choices to be great and the customer service outstanding.
Paula
That floor is beautiful! We recently swapped out carpeting in our son’s room for laminate and found a scrap piece was perfect for hammering it into place too.
The scrap piece works like a charm! Installing this was a lot of work but the end result is well worth the effort.
Paula
Paula, this is beautiful and so well thought out and explained! Thank you, gives me encouragement that my hubby and I can tackle his office and our powder room this summer!
We both have learned so much through this process. My husband has watched YouTube videos before many of the projects and has found that very helpful.
Paula
We installed new hardwood floor in our cabin in the Shuswap, so I know it is a ton of work. Well done on a big project. The results are so gorgeous in your lovely lake house.
Thank you so much, Linda! It is a labor of love, for sure.
Paula
It’s really coming along so lovely! I bet you are looking forward to the end!
I really am looking forward to having it finished. I think we have another two months of weekend work ahead of us before we can call it finished.
Paula