How to Make a DIY Glue Gun Holder
If you do any crafting at all, a glue gun is most likely a tool that you own.
Glue guns come with a built-in metal stand that I’ve found doesn’t work well; It’s annoying to be in the middle of a craft project using a glue gun that won’t stay upright.
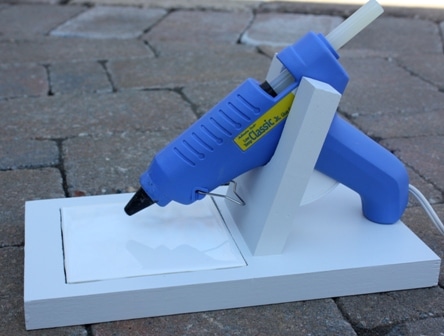
A few years ago I found the solution to my problem: I made a DIY glue gun holder that works like a charm to keep my glue gun upright while I am crafting.
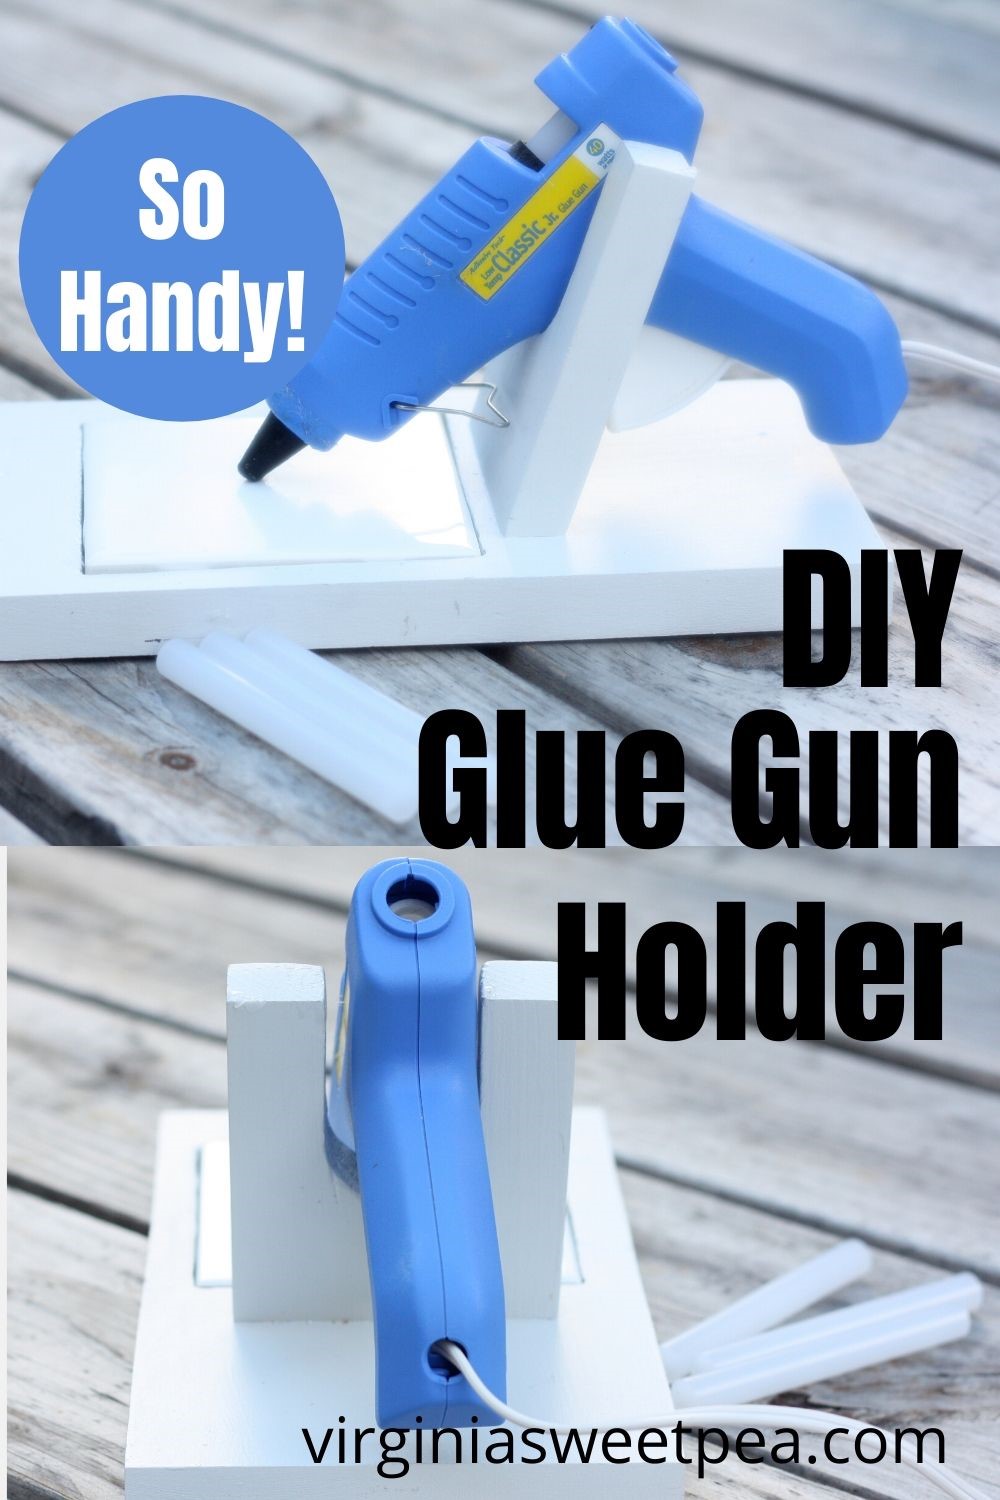
I’m joining my Power Tool Challenge Team girls today to share projects that you can make using one board.
I actually made this glue gun holder in 2013 and thought that I’d share it again for this challenge since I find it to be so useful.
This was one of my first woodworking projects and Mr. SP patiently helped me with it. I got the idea from One Project Closer and followed their directions.
Steps to Make a DIY Glue Gun Holder
Refer to the pictures below each set of steps:
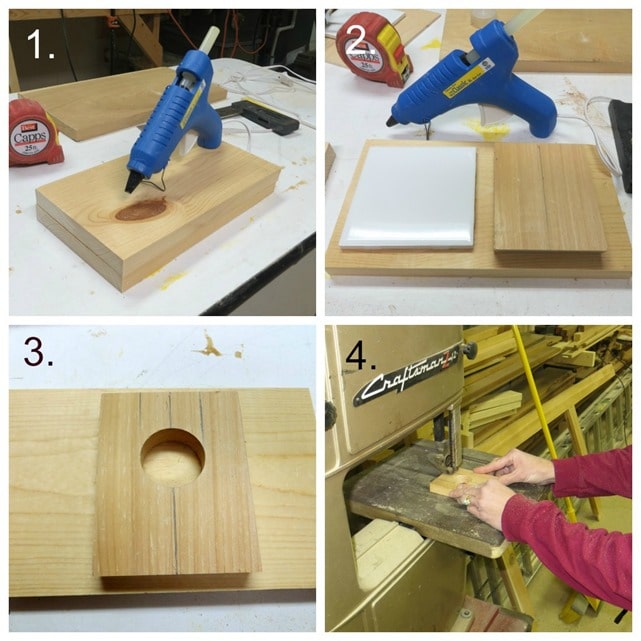
1. I started by cutting pieces of wood to a length that worked with my glue gun and a tile that I had on-hand. (Two pieces of wood are shown because I made two glue gun holders.)
2. A piece of wood was cut for the glue gun holder with an angle on one end. Draw a line vertically down this piece to mark where the “U” will go to hold the glue gun.
3. The bottom of the U for the glue gun holder was made with a forstner bit.
4. Cut along the lines with a jigsaw to complete the U. (I used my granddad’s vintage band saw!)
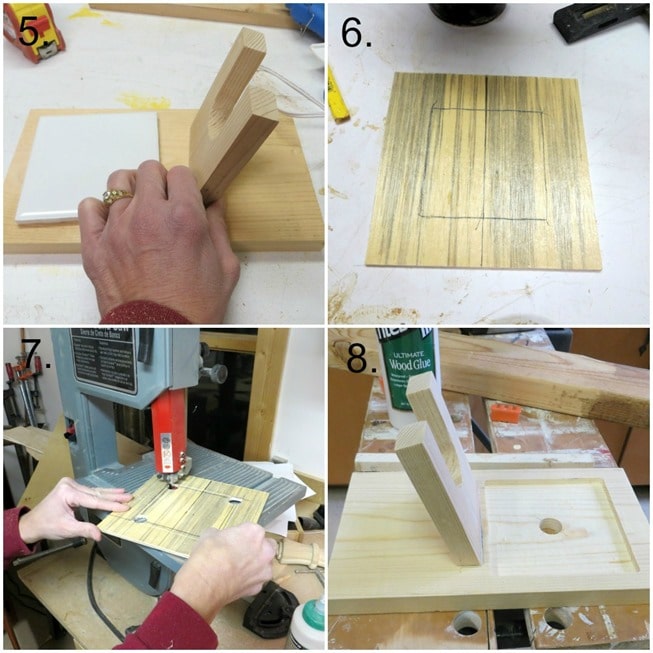
5. All of the pieces were sanded smooth.
6. A template for routing was made by drawing a center line down a piece of luan and then tracing the tile on the luan.
7. The template was completed with a band saw. (This is a modern one!)
8. Use a router to route out a recessed place for the tile and then drill a hole so that the tile can easily come out for cleaning. The angled piece to hold the glue gun was first glued in place and when dry was screwed from the bottom to be sure that it was secure.
9. Paint the glue gun holder and then it is ready to be used.
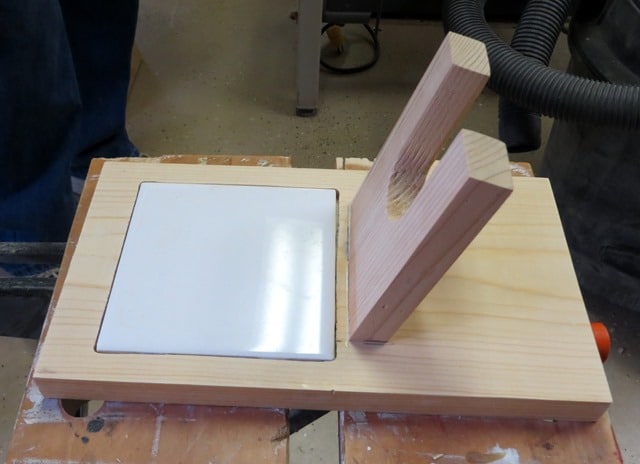
Plug in your glue gun and enjoy!
Can you believe that this glue gun holder has been used for almost 3 1/2 years?
All I had to do before I took this picture was to clean the dried glue off of the tile with a razor blade and then remove the glue residue with acetone.
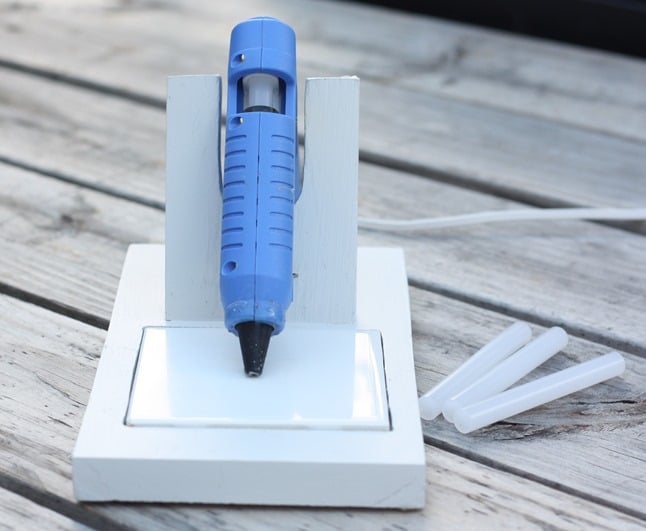
I can’t tell you how handy I find my glue gun holder.
It’s great that the holder keeps my glue gun upright and the tile catches all of the messy glue drips.
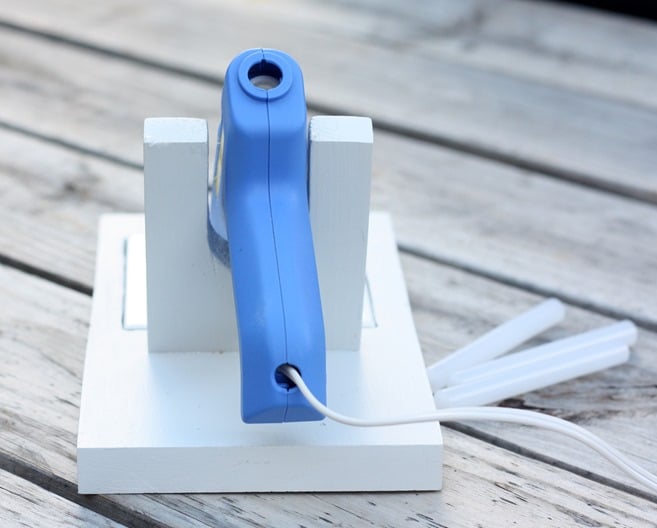
Don’t be afraid to use power tools!
The goal of our monthly power tool challenge is to encourage women to not be afraid to use power tools.
I am one of the least mechanically inclined people that you will ever meet and if I can learn to use power tools, you can as well!
More Projects that I’ve made
Each month our team has a theme for our challenge and I really enjoy coming up with a project that is both fun to make and useful.
Here are the themed projects that I’ve shared since we started this monthly challenge a year ago:
Back to School: How to Use a Jigsaw to Make a Wooden Sign
Fall: DIY Wood Clock
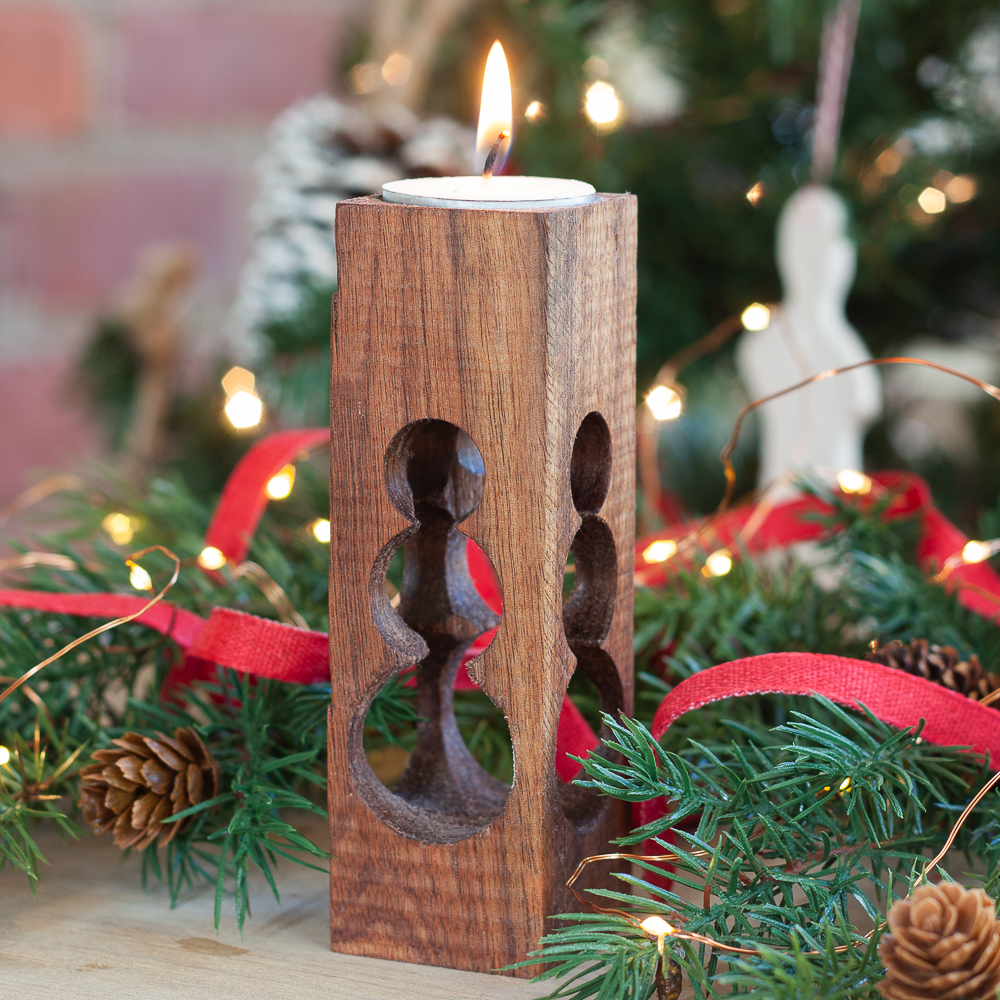
Frightful: How to Make a Pierced Wood Candle Holder for Halloween
Organize: DIY Wood Crate Key Organizer
Home Improvement: DIY Industrial Paper Towel Holder
Spring: DIY Baseball Bookends
Repurposed and Upcycled: DIY Tennis Racket Table
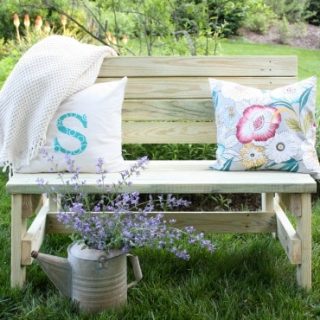
Patio and Porch: DIY 2×4 Bench
Summer: DIY Wooden Footstool
Favorite Power Tool Projects: DIY Bird Feeder
Pin It!
Please pin this idea to remember for later and also for others to discover on Pinterest.

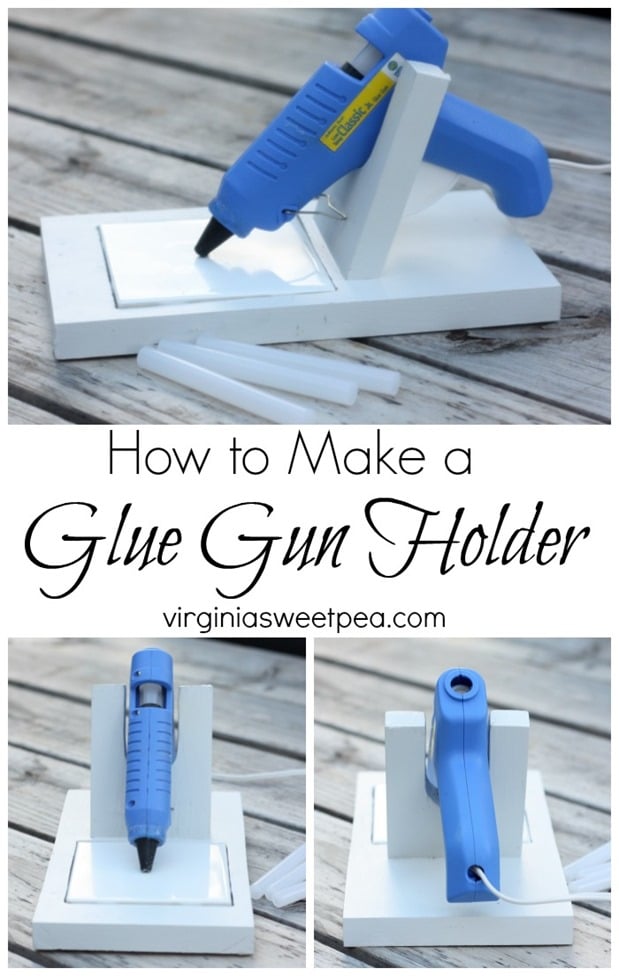
More Made with One Board Projects to Enjoy
A one board challenge is a super fun theme. I can’t wait to enjoy all of the projects after school today. Click on the links below to visit each one.
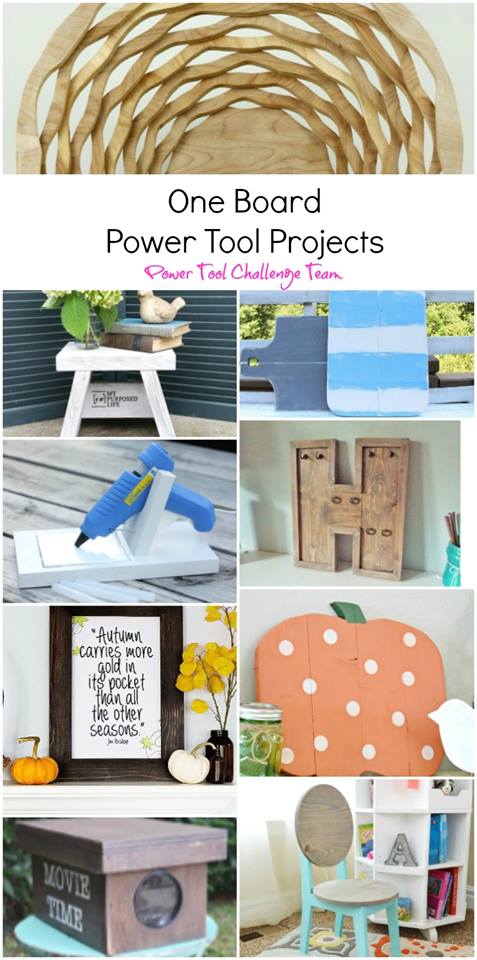
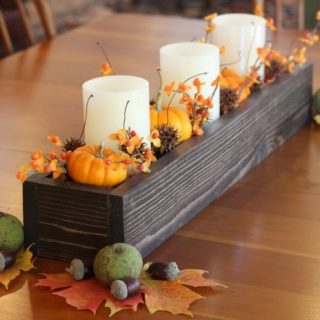
Scroll Saw Wooden Basket by Kim Six Fix
Easy DIY Picture Frames by Domestically Speaking
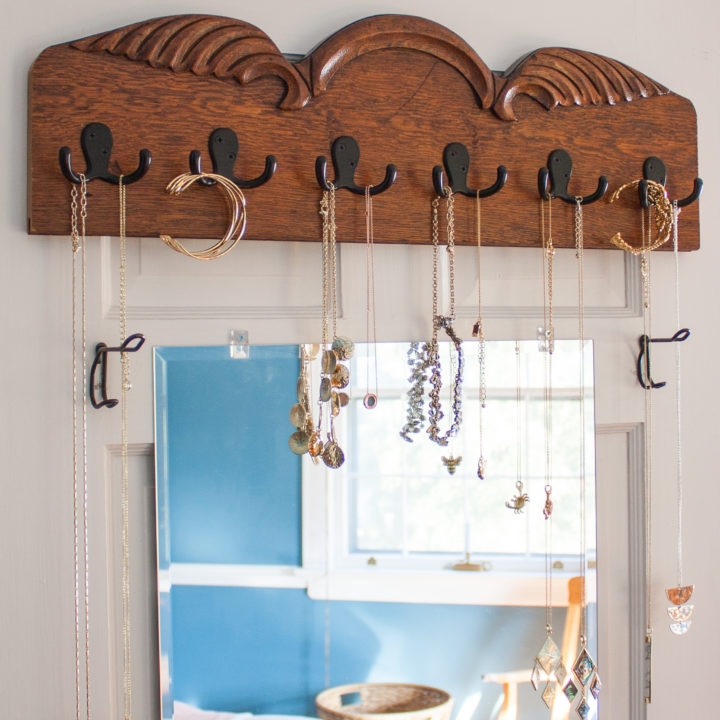
DIY Wood Letter Jewelry Hanger by Designs By Studio C
Circle Back Kids Chair Plans by Her Tool Belt
Easy Wood Pumpkin Cutout by H2OBungalow
DIY Pizza Bread Board by Refresh Restyle
Small Step Stool by My Repurposed Life
DIY Glue Gun Holder by Virginia Sweet Pea
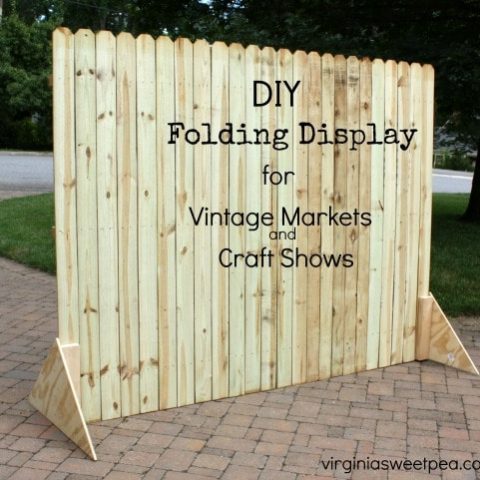
DIY Wooden Movie Projector by Thrift Diving
Favorite Projects
If you liked this post, check out more popular projects.

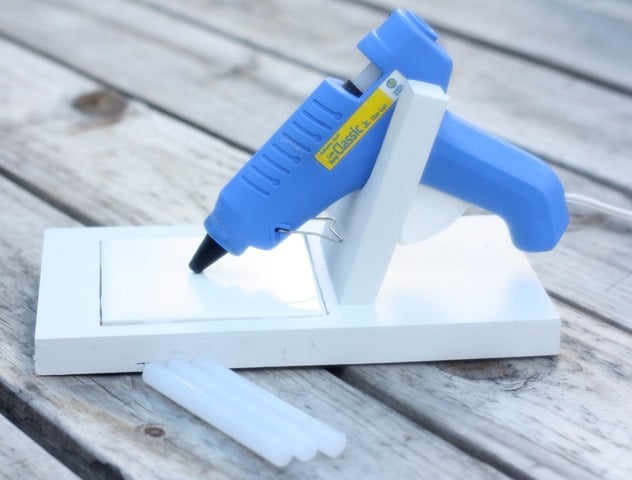
As soon as I saw your project I though no way, this is crazy useful! I have the same little glue gun, although it’s awful looking. I use a metal jar cap to hold mine, it never stays upright and is always a mess when I use it. This is a fabulous project and I love that it’s so easy to make!
Thanks, Wendi! My glue gun is really old and I’m surprised that it looks as good as it does considering how much I use it.
Paula
Paula,
That’s an awesome project. Using the tile is brialliant!
pinned this gem.
gail
Thanks, Gail. It is handy to have when I’m doing a craft project.
Paula
I so NEED one of these! I am tired of picking glue off my counters! I love your design with the tile!
Thanks, DeDe! The tile is easy to clean, too.
Paula
I SO need to make one of these… yep me too… glue all over my counters.
It is really handy to have, Maryann!
Paula
Hi Paula! This is awesome! I want one of these so bad. I’m going to forward this to my husband. I didn’t bring any tools with me to Martinique, but maybe he can make me one at work on his lunch or something. I’m not even sure I brought a glue gun. I should look for one of those. Thanks for the directions. I’d love for you to share this at our link party on Monday night at 9 eastern time.
It is so handy to have and didn’t take that long to make. I hope your husband can make one for you!
Paula
Paula, just the other day I told Mr. Frugalista that I needed something to hold my hot glue gun. This is so happening in my house SOON! Thank you for the easy to follow tutorial. Pinned to share and bookmark.
I love this glue gun holder! Such an easy project and the perfect accessory for the craft room!
What a great post! I wan using my hot glue gun tonight, cussing it and wishing it had a better way to be held up. Then I stumbled here! Thanks for sharing at Merry Monday! Visiting from http://www.twelveonmain.com
I need one of these desperately in my life! Maybe I’ll make one this winter! 🙂 Would you consider sharing this at our weekly Dishing It & Digging It Link Party? We are live every Sunday @4pm.
http://www.thestonybrookhouse.com/2016/08/dishing-it-digging-it-link-party-111.html
Great idea to save my chalk painted table! Thanks for sharing this with us over at the DI & DI Link Party too, hope you enjoyed it 🙂
What size is the tile and where did you purchase? Great idea!!
Hi! The tile is standard 4″ x 4″ and we purchased it at Lowe’s (this one was leftover from our bathroom wall project).
Paula