How to Make a Vintage Tennis Racket Table
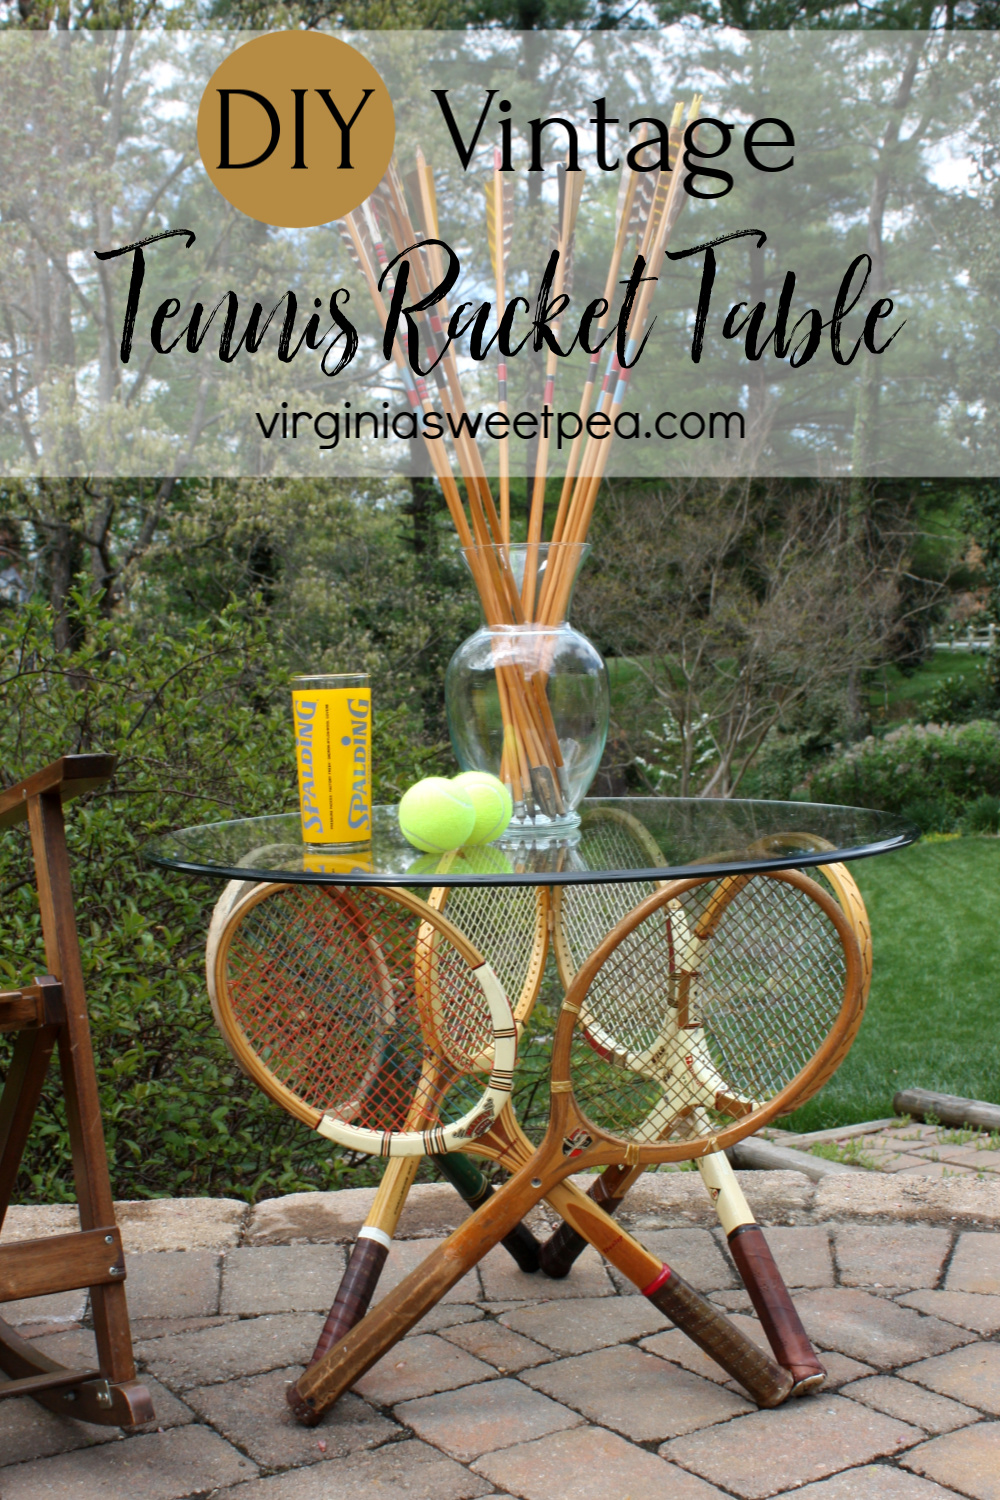
For this month’s Power Tool Challenge Team project, our theme is repurposed. I am excited to share how I used vintage tennis rackets to make a tennis racket table.
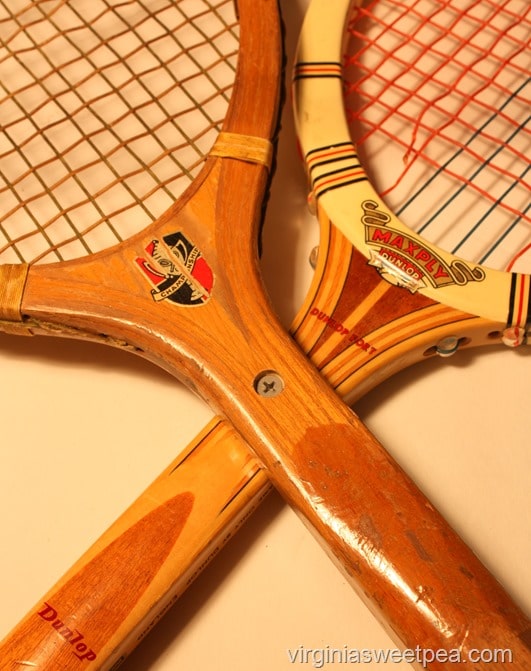
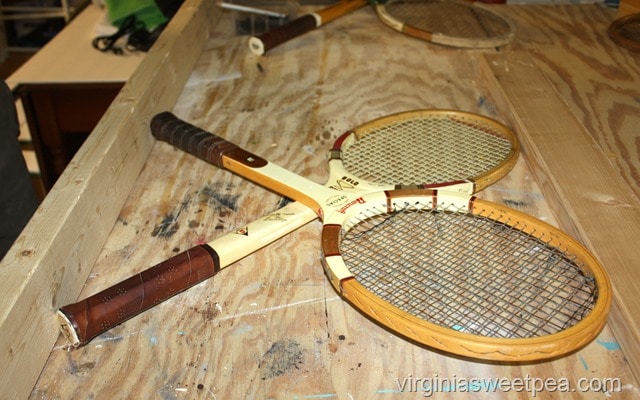
I started collecting wooden tennis rackets years ago thinking that I’d use them at the lake as wall decor.
I still may execute that idea but loved repurposing these rackets into a table base.
The summer 2016 of Flea Market Style was the inspiration for this project. My table is built similarly to the one in the magazine but with a few differences.
How to Make a Vintage Tennis Racket Table
My husband and I had fun making this table and it is now being used in our lake house.
It’s always a conversation starter when guests see it in our home.
Materials
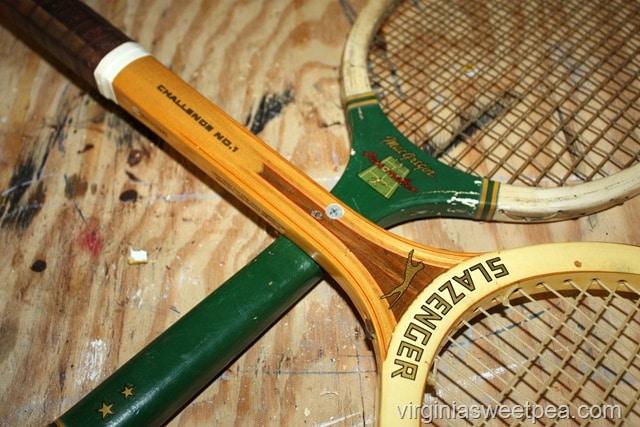
6 Wooden Tennis Rackets
Drill and Bits
Hammer
Ruler
Scrap Lumber (To Make a Jig and Braces)
1 1/4” Deck Screws
Dowel Scraps
Procedure
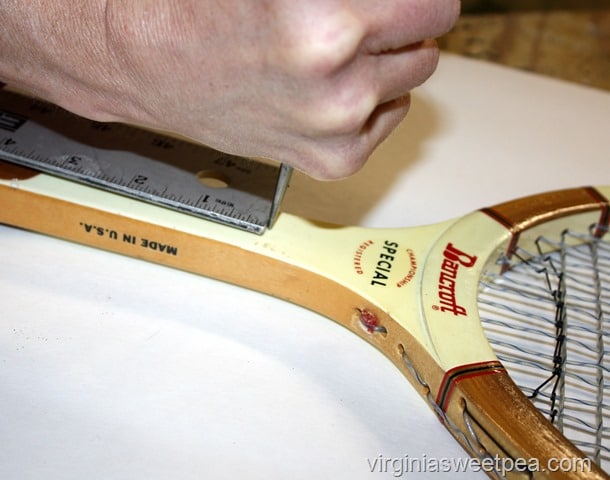
Step One Measure 12 1/2” from each racket handle base and mark a spot for a hole to be drilled with an awl and hammer.
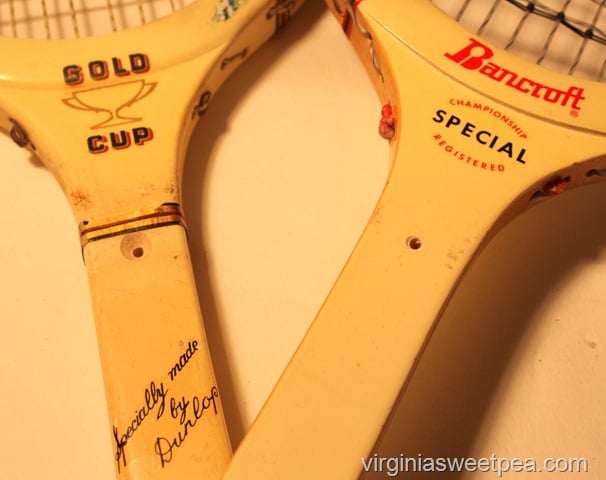
Step Two Pair the six rackets. For each pair, drill a hole in one racket and countersink another hole in the other.
Step Three Screw pairs together using a deck screw. The rackets will scissor at this point making the height of the tabletop adjustable.
Step Four Decide on a desired table height; I chose 19 1/2”.
To set each racket pair to be 19 1/2” tall, build a jig by screwing or clamping two scrap pieces of lumber to a work area 19 1/2” apart in the center.
Place racket pairs into the jig and adjust so that the heads and handles of the pair will be 19 1/2” tall.
Step 5 Add another screw beside the first one.
Step 6 Group the three pairs of rackets to form the table base.
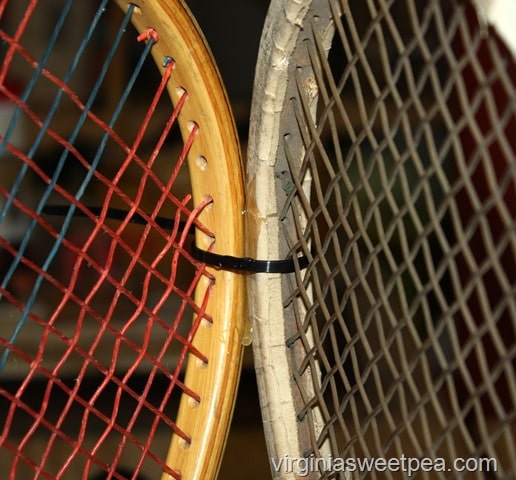
Use zip ties to hold the racket heads together.
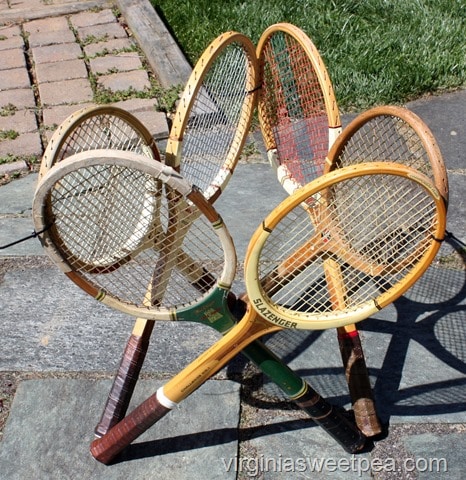
Step 7 Mix epoxy and apply to each racket head junction.
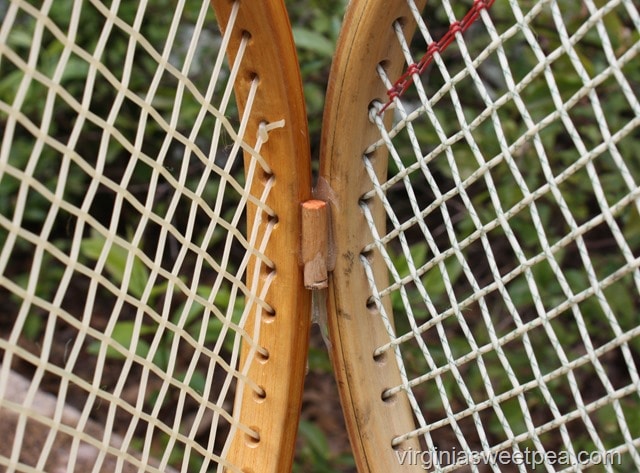
Step 8 After the epoxy is dry, remove zip tie and epoxy a dowel scrap to each racket head junction for further support.
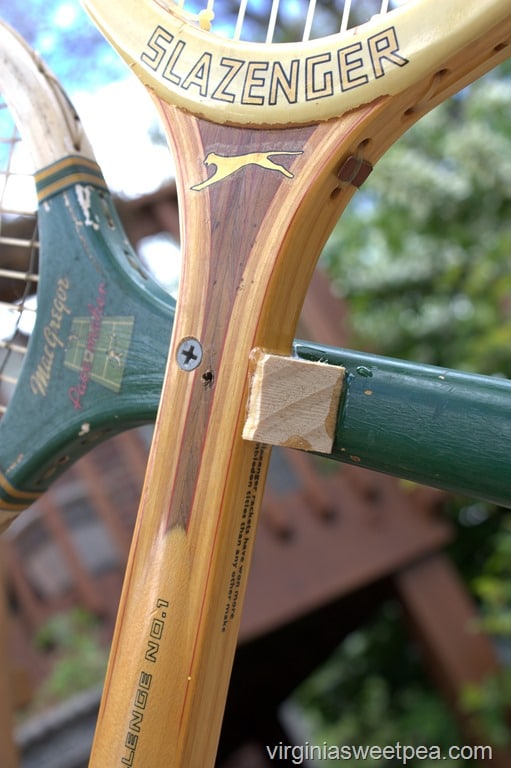
Step 9 Cut a wedge shaped scrap of wood and epoxy into place under the handle below the screw where it will be hidden from view.
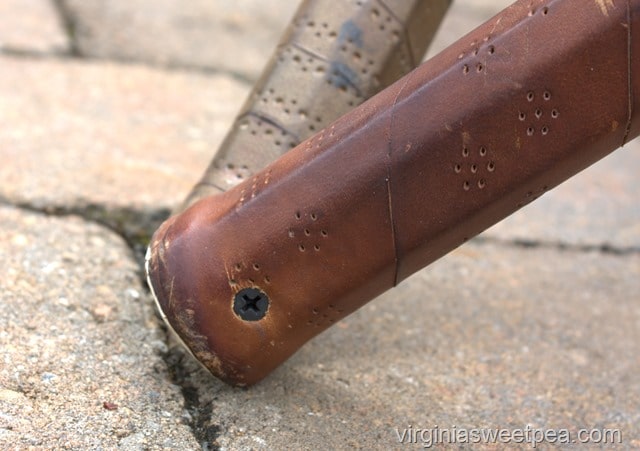
Step 10 To make extra sure that the table would be secure, the racket handles were screwed together.
Step 11 Carefully place the glass top on top of the racket base and enjoy your new table.
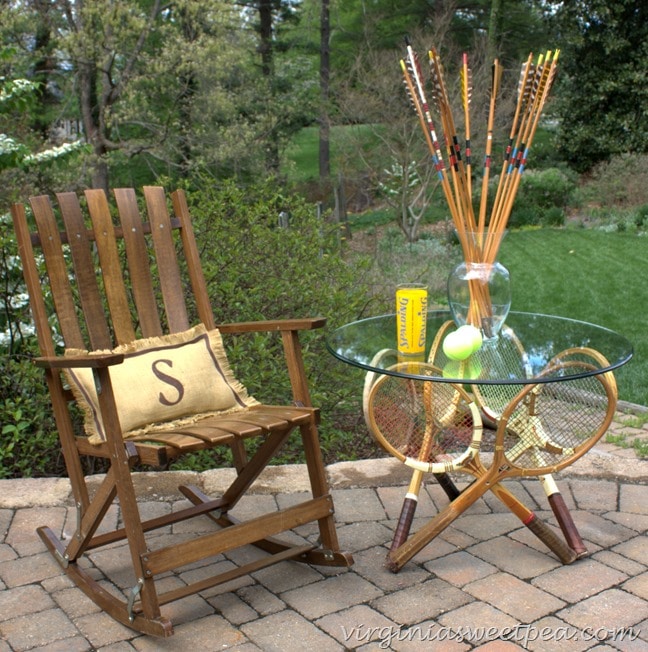
Completed Tennis Racket Table
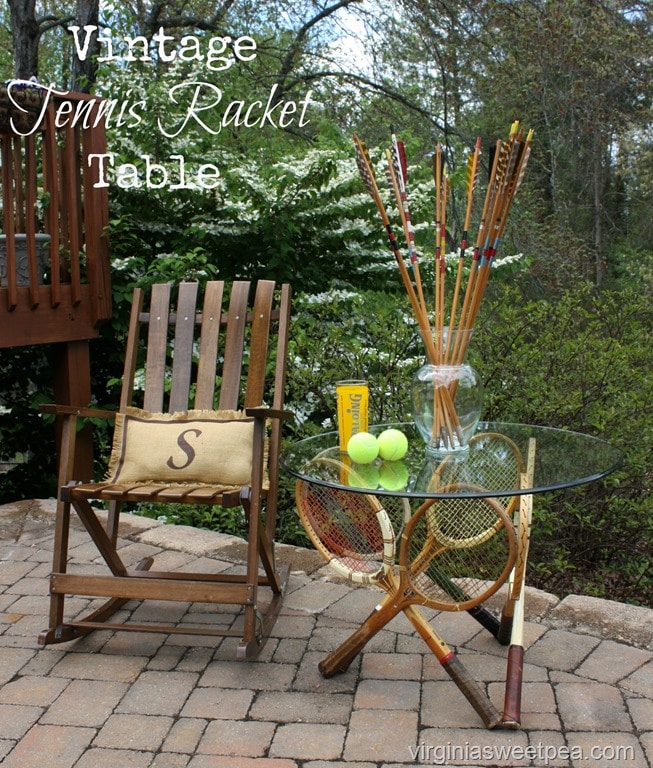
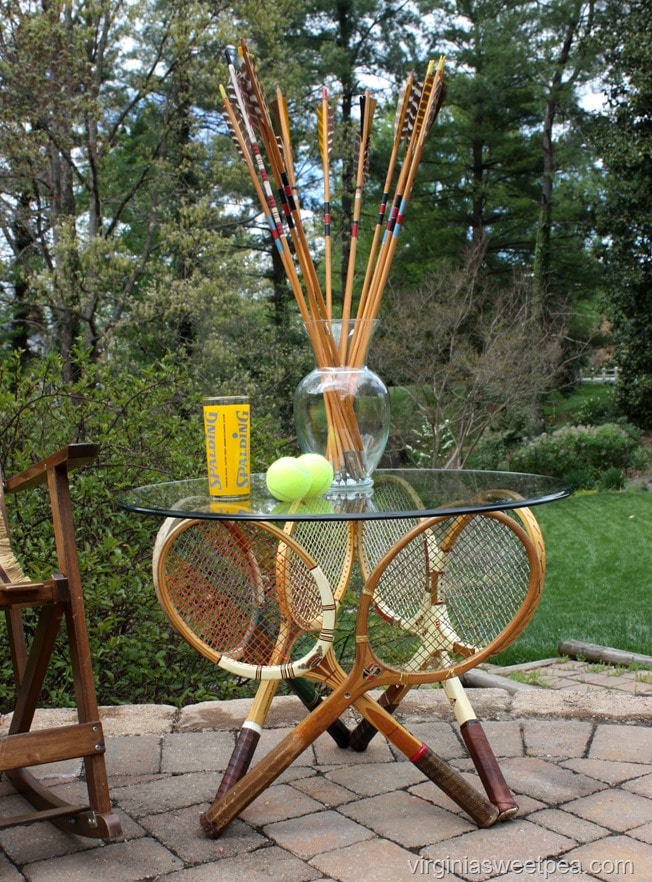
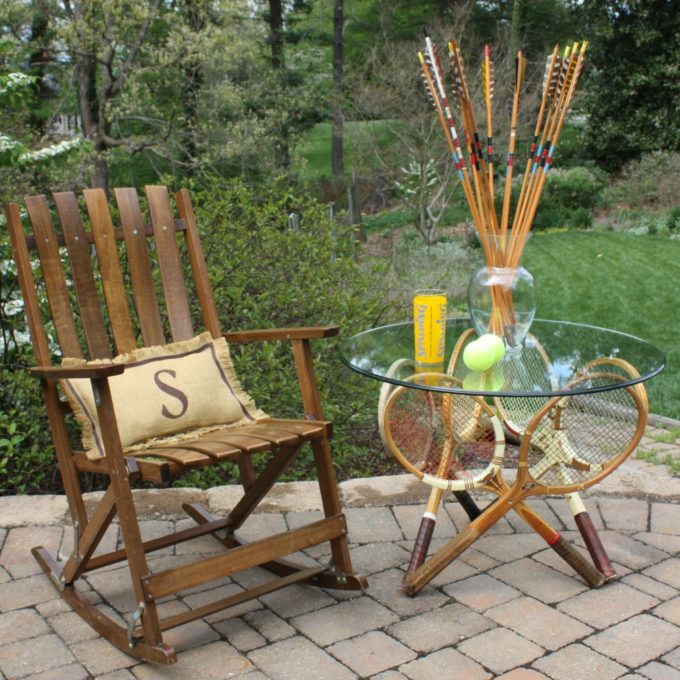
After completing our table, I set it up on our patio to see how it looked and I styled it with a few vintage things.
The arrows were my dad’s and I even have their original quiver.
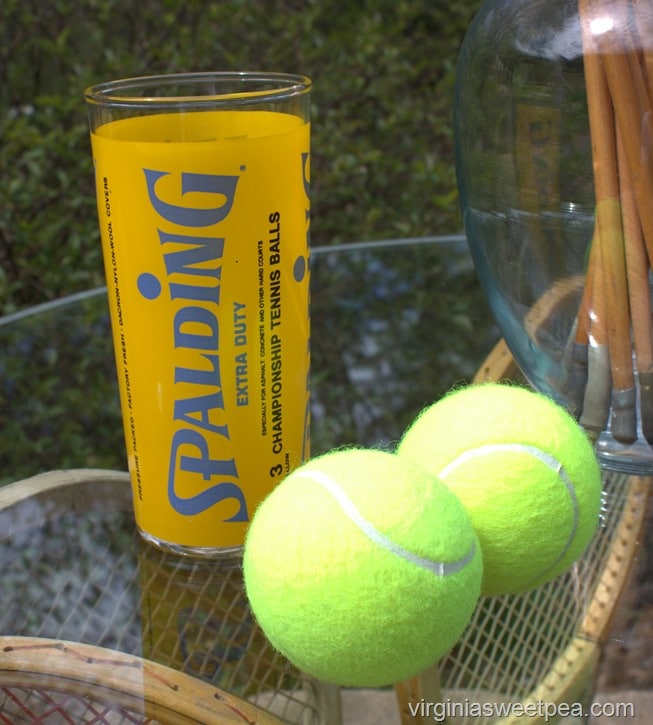
Have you ever seen tennis balls that come in a glass instead of a can? Spalding must have done that as a promotion at some point in the past.
This was such a fun project and it was a great way to use tennis rackets that I saved.
One of the rackets used to make this table belonged to my friend’s late father which makes this table extra special.
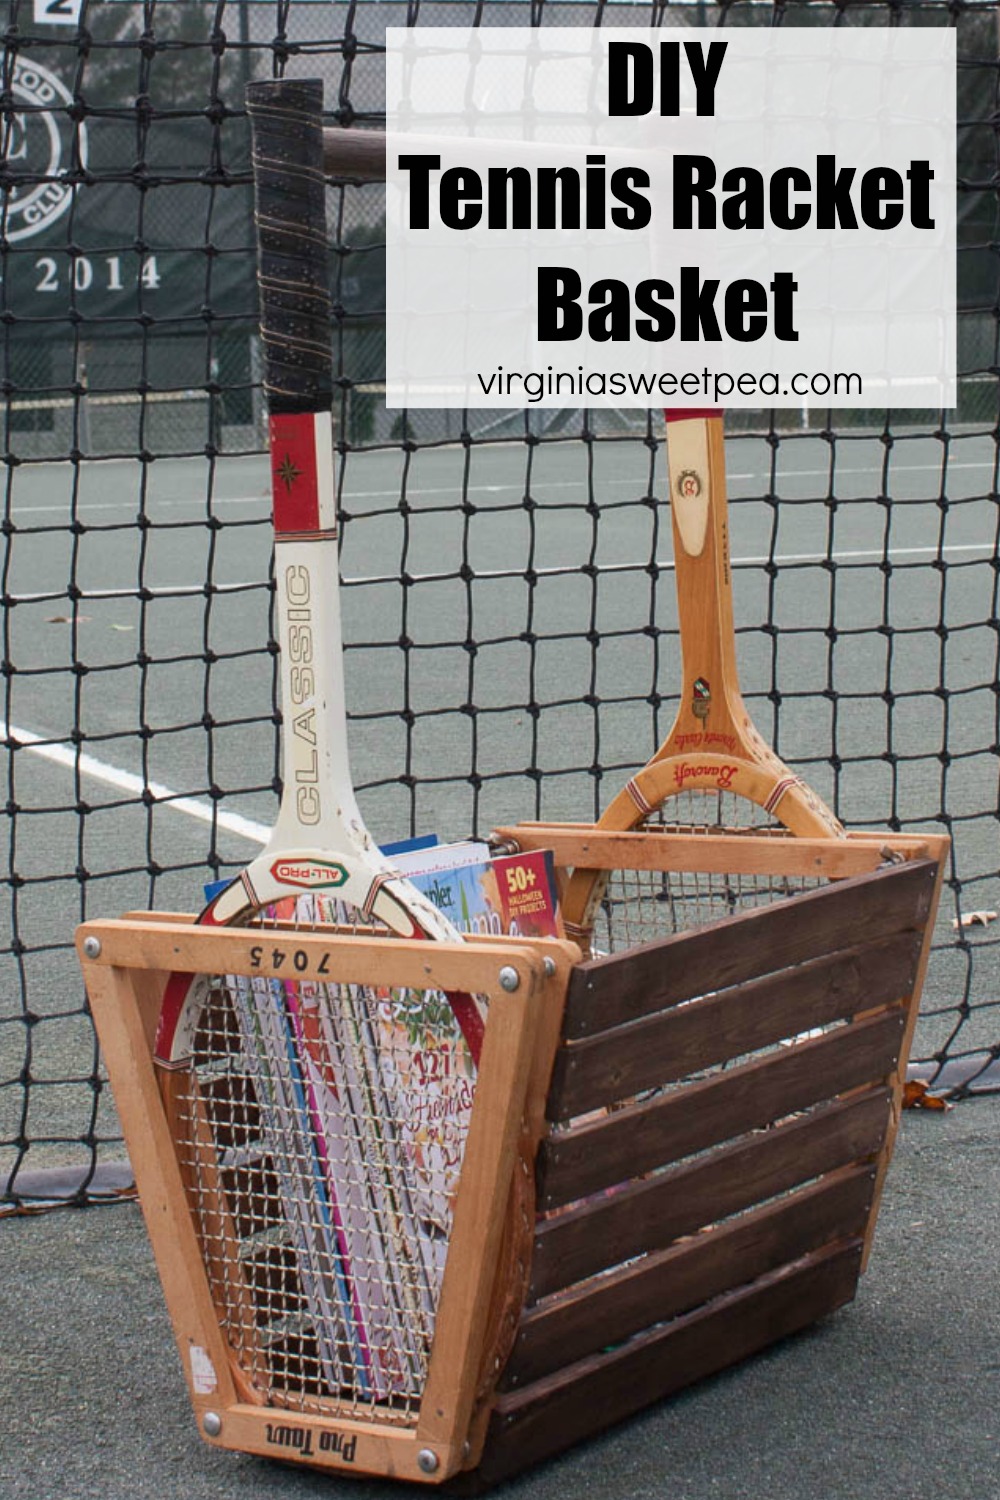
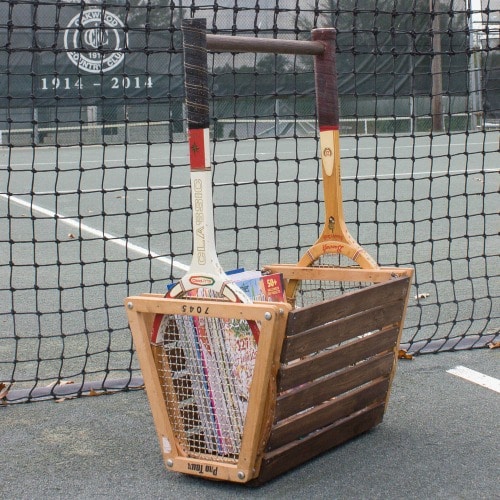
Don’t miss the tennis racket basket that we made to coordinate with the table.

More Repurposed and Upcycled Project to Enjoy
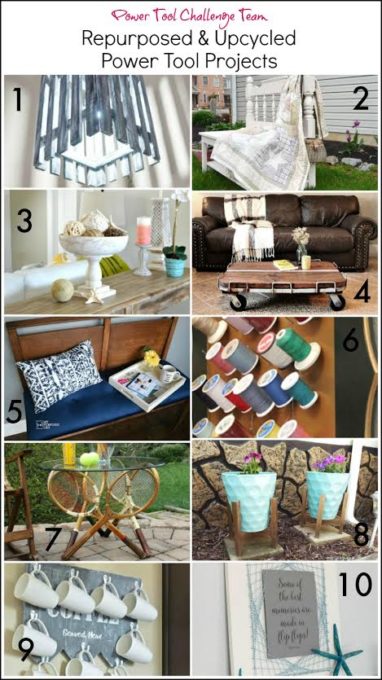
Now it’s time to see what the other ladies created for this month’s upcycle challenge. I am really looking forward to reading these posts! Click the links below to visit each project.
1 Hanging Picket Pendant Light by Designed Decor
2 Garden Bench by Create and Babble
3 Bed Spindle Pedestal Bowl by H2OBungalow
4 Industrial Cart Coffee Table by Refresh Restyle
5 Mid Century Headboard Bench by My Repurpose Life
6 Framed Wall Spool Rack Upcycle by Kim Six
7 Vintage Tennis Racket Table by Virginia Sweet Pea
8 Recycled Wood Plant Stands by Designs Bt Studio C
9 Rustic Coffee Mug Holder by Interior Frugalista
10 Repurposed Cabinet Door String Art by Domestically Speaking

How Clever! I love it!
This table is too creative and out of this world awesome! When my husband saw the pic, he kept saying how’d she conect the rackets? I have no doubt that this table will the talk of the get together when you have friends over!
This is SO COOL! Even though I just read how you did this…how in the world did you do this? Haha! It’s such an awesome idea and just boggles the mind to look at. I love it!
That is fabulous!!! I want one of those!
wow Paula!
What a clever and creative use of vintage tennis rackets. Super tutorial and tips–love the zip tie clamps! LOL
The table is so pretty and very unique. Pinned!
gail
Wow Paula! This table is incredible! Your visitors are going to love it (and want you to built them one!) Pinned!
Paula, I love all the projects shared in this month’s challenge but when I saw your table, it is my favorite, hands down! LOVE LOVE LOVE this conversation piece and I bet it looks fabulous at your cottage. Clapping hands over here – you rocked it!
Paula, your sweet tennis racket table is my feature this week at the DIY Sunday Showcase Party!
Oh my gosh, how cool and clever is this?? Definitely a fantastic conversation piece…so glad to hear you’re keeping this one! XO
Wow, what a fun and cleaver idea! Seriously so awesome! I love it!
Wow!! This table is a super clever idea! I love it!! What a great piece…
That is amazing Paula!
So cute! I love the staging, too! Great photo all around!
this is incredible!!! im so impressed!
That is so awesome Paula!! So creative. 🙂
I just wish this were mine! You knocked it outta the court 😉 Love it and those arrows too! My birthday is coming up – in December!
Oh my goodness! Such creativity! Love love love this unique piece.
Wow! What an awesome table!
Just stunning! Makes me wish we had tennis players in our family who would really appreciate this! If I had a game room, I would be on the hunt for old tennis rackets today! I would be honored if you would stop by and share this at Celebrate Your Story! link party! Here is the link: http://celebrateanddecorate.com/celebrate-story-24/ I have pinned this one to my Crafty Furniture board, I hope it inspires lots of others to take on this or a similar project!
This is SO ingenious, I absolutely love it !!!
Paula, you’ve outdone yourself on this project! This is brilliant!! As always, you give such good instructions for making one of these. We’re not tennis players, but I still just love this table. Awesome!
Thanks so much for joining the Grace at Home party. I’m featuring you this week!
I’ve never seen anything like this- so creative! I love how it turned out! Thanks for linking up to the Handmade Hangout! I’ll be featuring you on my blog (www.occasionallycrafty.com) when the new linky goes live today at 6pm ET. I hope you’ll stop by and link up again!
Paula..this table is so fantastic!…so creative and fun!…Great tutorial….I must pin and share today!!!!
How incredibly cool is this table! What a brilliant idea! I love how your mind works! Well done! I hope you have a great day!
Smiles!
Terry
Wow! I love this repurpose of the tennis rackets! You really nailed this one!
WOW!! What a brilliant idea.so creative.I;ve never seen anythings like this design.Love this kind of unique style.
Thank you! We play tennis, so this table is perfect for our home. When we have visitors, they almost always comment on this table.
Paula. I just found this on Pinterest😱. I have about 6 of my dads old racquets who played til he was 86. I’ve been looking for ideas for how to display them. An this would be amazing at our home in a Maine that we just inherited. I’m thinking in the sunroom👏🏻👏🏻👏🏻👏🏻
This would be a great way to display your dad’s rackets, Ann! I also made a vintage tennis rack basket that you might also be interested in seeing.
DIY Vintage Tennis Racket Basket
Paula
What a great project! Really awesome!
Thank you, Kathy! It’s one of my favorite projects that we’ve completed.
Paula