Make Your Own Nearly Free Shrinky Dinks
Did you make Shrinky Dinks as a kid? I did and always loved this fun activity.
I recently made nearly free Shrinky Dinks with a few small groups of students at school and the kids loved the activity.
How to Make Shrinky Dinks
Check your recycle bin and desk drawer, you may have already have what you need to make this fun craft.
Supplies Needed
#6 plastic
Sharpie Markers
Scissors
Oven
Procedure
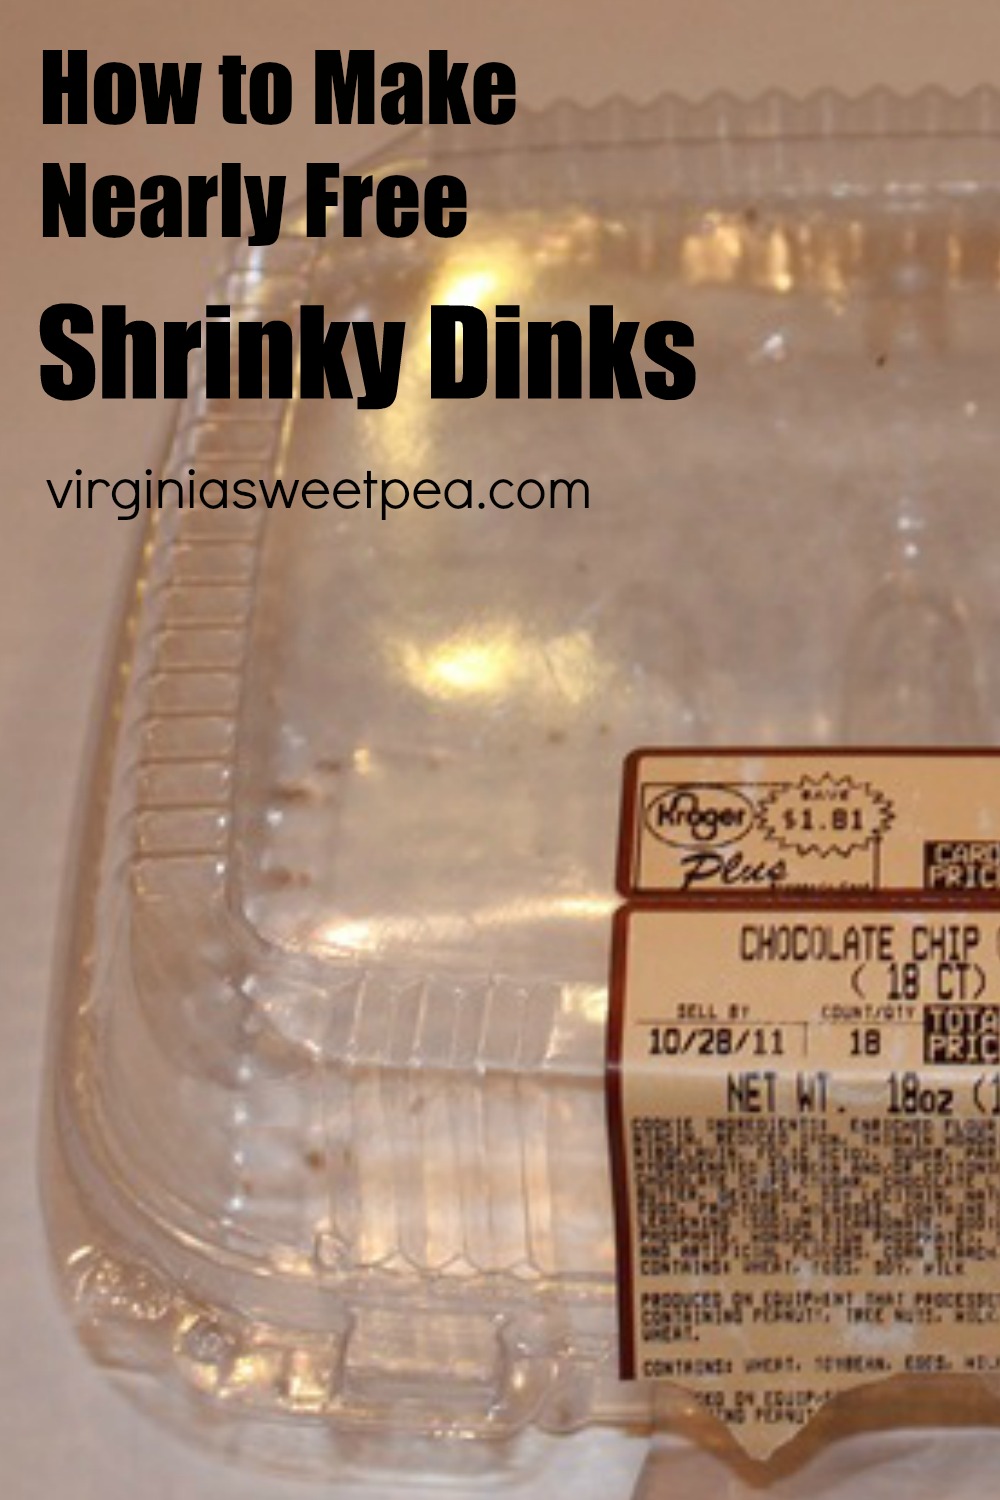
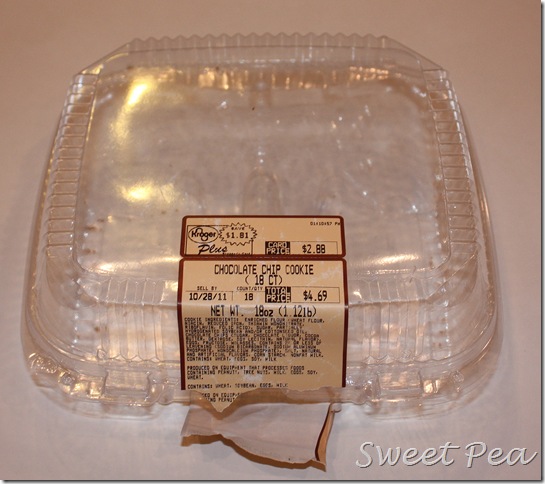
Complete the Art – The first time I made Shrinky Dinks, the nice lady in the Kroger deli gave me enough containers to use for the activity. Since then, I’ve been saving containers like this one:
Cut in half, this cookie container provides a drawing space for two students.
After the container is cut in half, the kids cut off the rough edges to make a flat square for drawing.
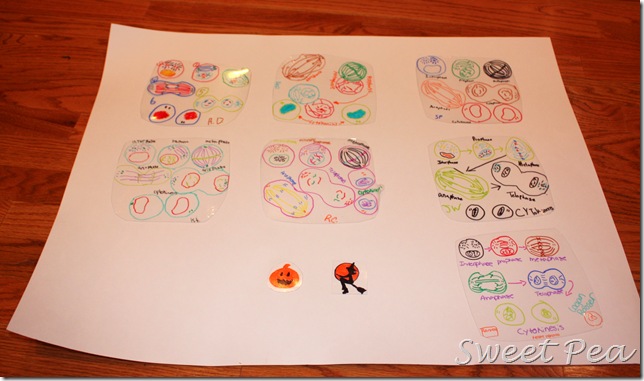
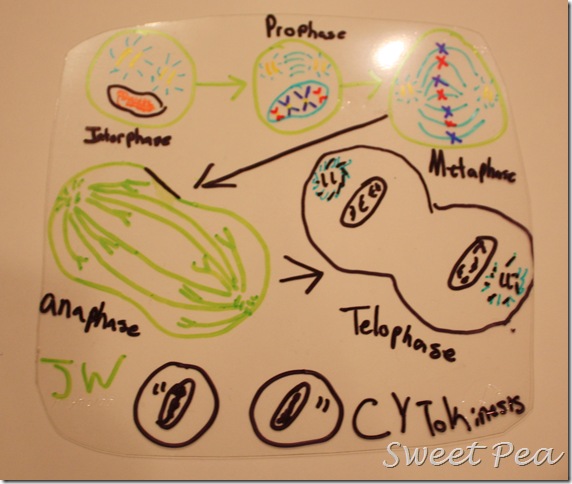
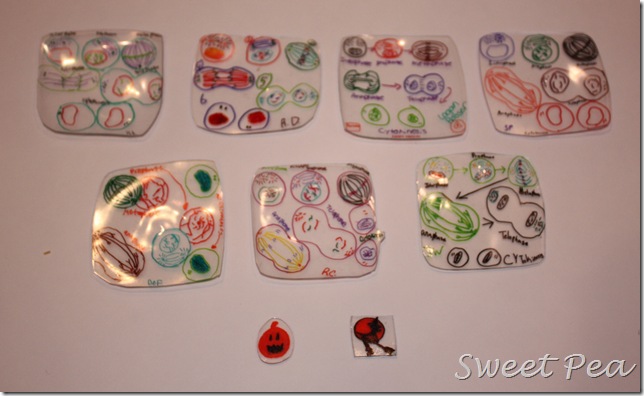
We’ve been studying the cell cycle, so they drew and labeled the stages.
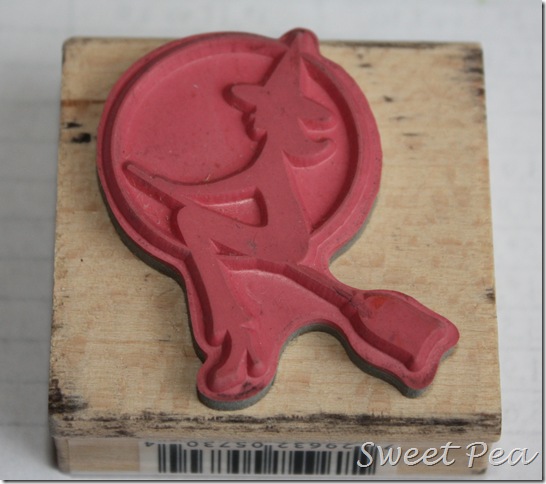
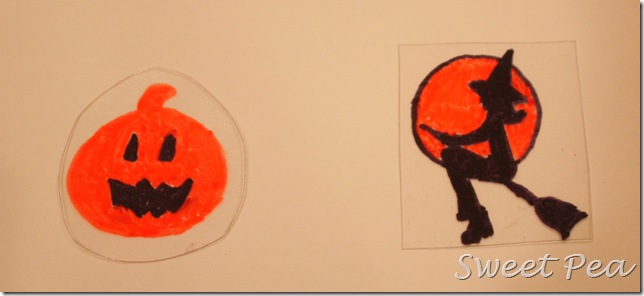
Their teacher, who has been feeling quite craft deprived for the last few months, cut a small square of #6 plastic to fit over this witch stamp and traced and colored it with Sharpies.
I did this activity with a group of seven students. It was a remediation group and a super fun way for this group of kids who didn’t quite “get” the cell cycle when it was first taught to understand the concept.
Bake the Art – I took their completed art home to bake in the oven.
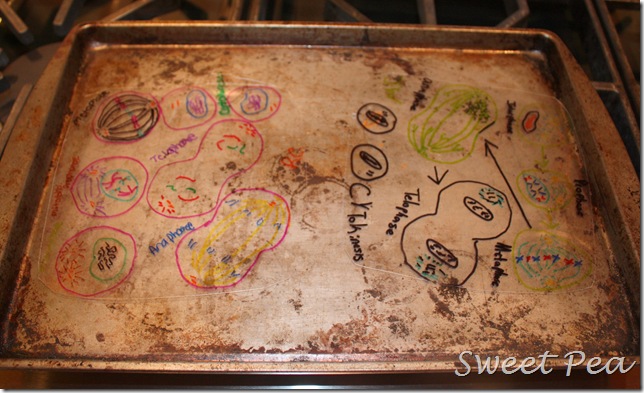
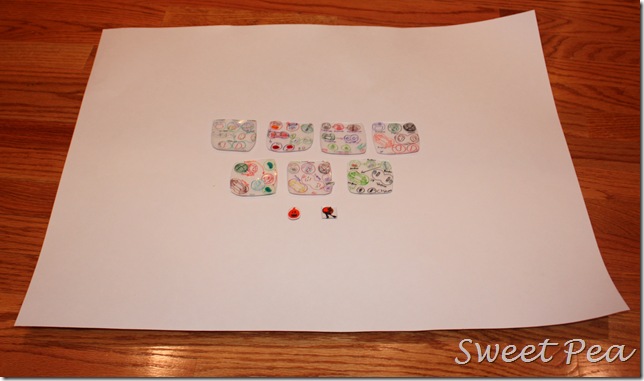
Here you can see our plastic before it shrinks in the oven.
Heat the oven to 350 degrees.
Bake the Shrinky Dink on an old baking sheet that you only use for crafts, or bake on a sheet of aluminum foil.
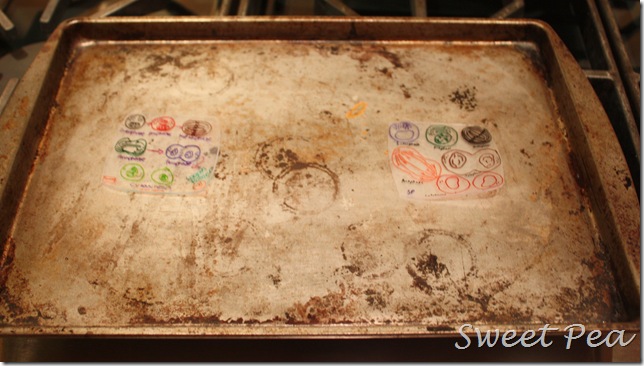
Look at the size difference in how they shrink in only 1 – 2 minutes!
It’s fun to leave the oven light on so you can see the shrinking in action.
While they were still warm, I flattened each with a metal spatula.
Here they are on the same sheet of poster board so that you can see the size difference.
Drill a Hole in Each – Mr. SP drilled a hole in each Shrinky Dink so that it could be hung by a string or worn as a necklace.
To avoid this step, use a hole punch to punch the hole before baking.
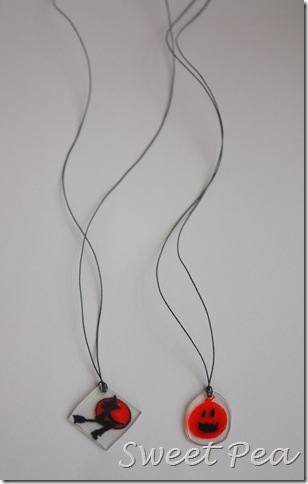
The next day, the students in my small groups made necklaces from their cell cycle art with plastic jewelry making string that I picked up at the craft store.
I also made necklaces with the two Shrinky Dinks that I made.
I use both of these stamps in student agendas and to decorate papers with good grades. My students liked seeing the same stamp in necklace form.
This idea would be a fun way to make Christmas ornaments. A Shrinky Dink could be made using a child’s original artwork or by tracing a stamp like I did.
I’m pretty sure that my students are going to want to keep making these. They were definitely a hit!
Before you leave, check out these projects!
- DIY Folding Displays for Shows and Markets
- DIY 2×4 Bench
- DIY 2×4 Swing
- DIY 2×4 Shelving Unit
- DIY Under Bed Storage Drawer
- DIY Crate Cabinet with Sliding Drawers
- How to Make a Glue Gun Holder
- Converting a Screened Porch into a Sunroom
- Make Your Own Nearly Free Shrinky Dinks
- How to Easily Remove Rust from Tools


Those are so neat!!! Thank you for sharing! I will have to do this with my boys!
That is such a great tip, Paula. My 9 year old is such a crafty little girl, and she would love to make some original jewelry this way. We ran out of the plastic sheets that came with her shrinky book a while ago.
Fun! I loved making shrinky dunks as a child. Thanks for sharing this tip. Your necklaces are adorable.
This is such a great idea! I’m going to share it with my teacher friends.
Oh my goodness this is such a fabulous idea! I am definitely going to give it a try! Happy Halloween!
xo
Thanks for sharing. I would have never have thought of that. Very cost effective!
Homemade shrink kabobs are soooo cool and the mitosis drawings even cooler.
I had no idea you could do DIY shrinky dinks! How cool. And what a great activity for the kids to learn. 🙂
You are one crafty lady. What a cool idea. I’ve never seen that before and it’s great to learn something new. Wait till I spring that one on DD. Oh my. She will kill me cause the kids will looooove it. Jane
Love it, Paula! Thanks so much for showing us how to make these. I love how you incorporated this into your science lesson. It made me miss my days in the classroom! Your students are lucky. Carla
Oh my gracious! I had no idea! That is fabulous! My kiddos will love doing this!!! Not even to mention that it gives me an excuse to buy stuff from the bakery – because after all, my butt isn’t nearly big enough. HA! SO COOL! Thanks for sharing!!!
Are the cake lids for sheet cakes (the ones you get from Walmart or Kroger’s) #6? I don’t see any number on it.
Hi, Monica! I do not know the answer to your question. If you’ve got a lid, it’s not going to hurt to try it, it may work!
Paula
What is the size of your original drawing space and how far down did it shrink to?
Must you use a #6 plastic container? My produce and fruit containers have a #1 in the triangle on the bottom.
Thank you for your help.
I only tested with #6 plastic.
Paula