DIY Gold Trimmed Painted Wooden Tray
A painted wooden tray is a project that has been on my list of things to do for a few months. I finally painted this tray and love the end result.
Now I have a painted tray that I can use for decor in any season!
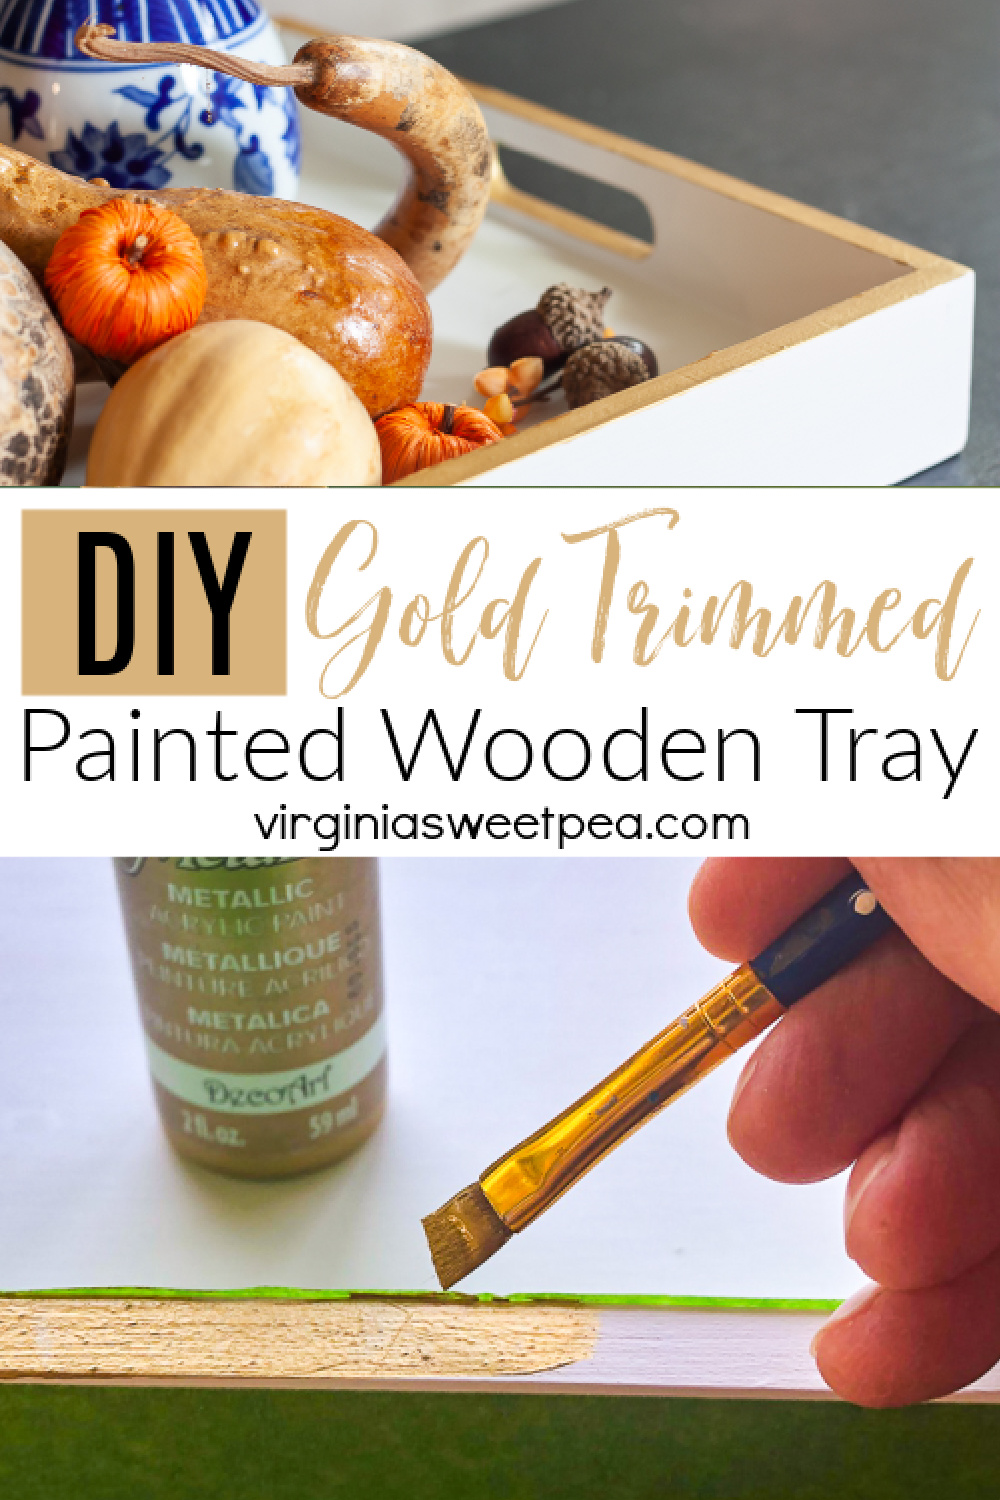
I’m sharing my DIY Gold trimmed Painted Tray for this month’s Thrifty Style Team project hosted by Julie of Redhead Can Decorate.

You’ll find links to all of the projects shared this month at the end of this post.
How to Paint a Wood Tray
This project started with a $7.49 unfinished wood tray from Target.
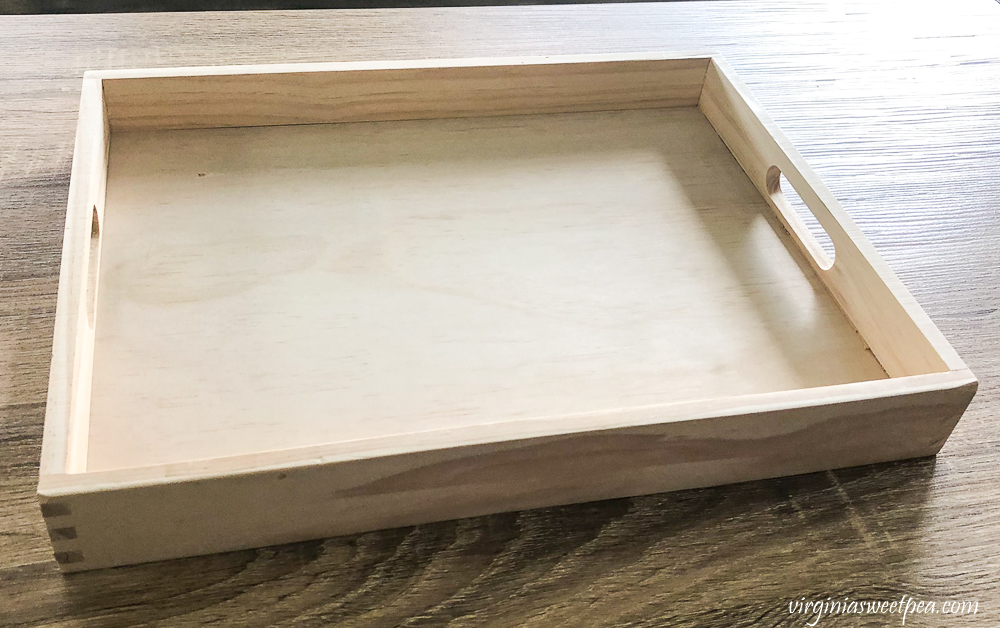
You can’t beat the price of this tray. It’s sturdy and perfect to use in so many spots in a home. If I were to do this project again, I would choose this tray from Amazon because I like its handle detail better.
I plan to use mine for seasonal decor but its 16″ x 12″ x 2″ size makes it handy to use in many areas of the home. It would be great for:
- Corraling beauty items on a bathroom counter
- Organizing kitchen essentials on a kitchen counter
- On a desk to organize containers of pens & pencils
Kids or teens would love to paint a tray as a craft project. They could have fun painting it to reflect their personality!
Supplies to Paint a Tray
Painting a wood tray is an easy project, it just takes a bit of time since it requires multiple layers of paint and each layer needs proper drying time.
- Unfinished Wood Tray or this unfinished tray from Amazon
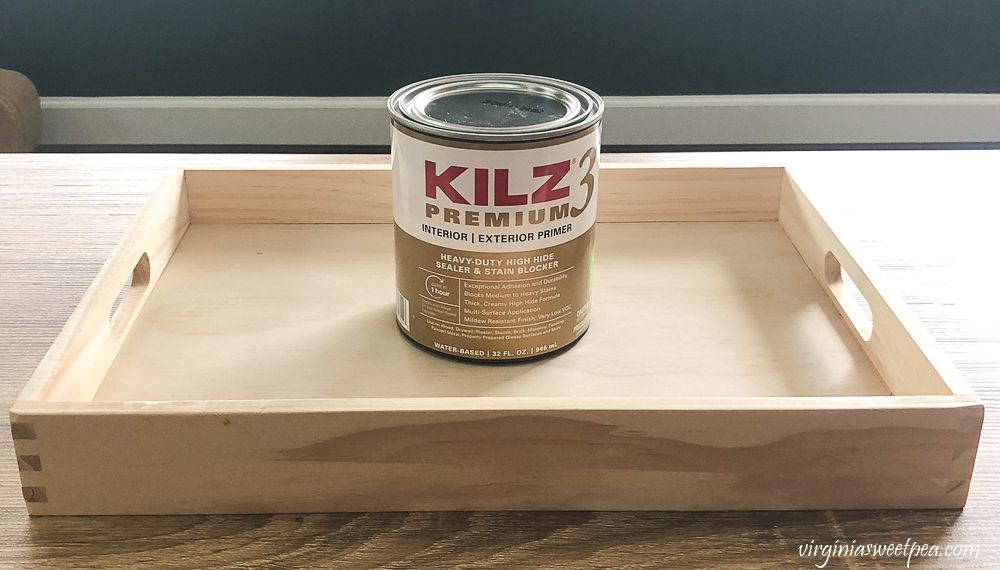
- Primer – I used KILZ 3 Premium.
- Caulk
- White Paint – I used BEHR ULTRA Scuff Defense in Smoky White.
- Paint Brush – This one is my favorite.
- Frog Tape – I prefer Frog Tape over the blue kind.
- X-Acto Knife
- DecoArt Glorious Gold metallic paint
- Small craft paintbrush
Prime the Tray
When painting a wood tray with raw wood, be sure to prime the wood before painting. This will prevent darker sections of the wood from showing through the paint.
Caulk the Tray
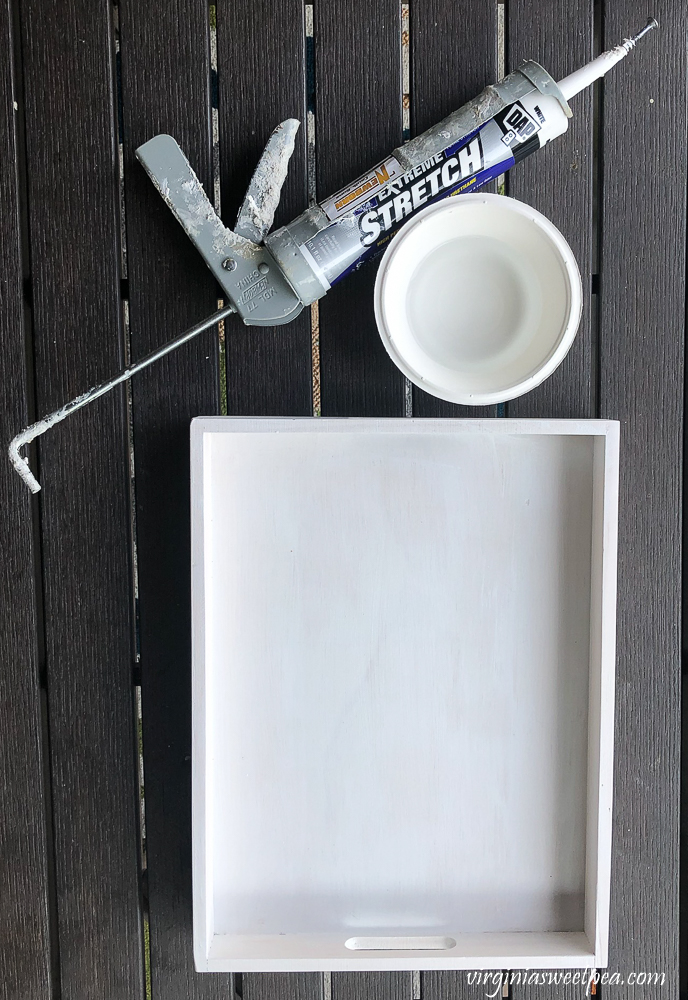
After the tray was primed, I noticed gaps in the wood. To close these gaps, I used caulk.
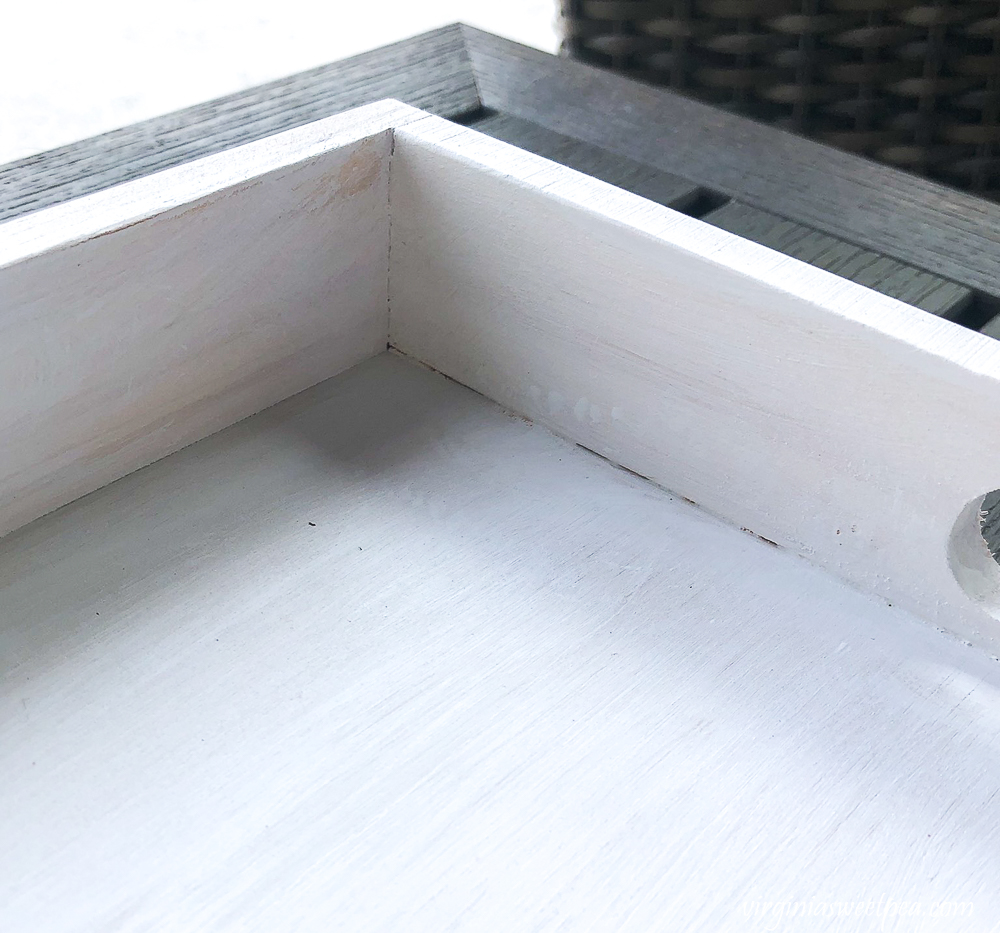
I used caulk leftover from installing the window trim and baseboards in our lake house family room since it was already loaded in our caulk gun.
The bowl of water was used to dip my finger in for smoothing out the bead of caulk.
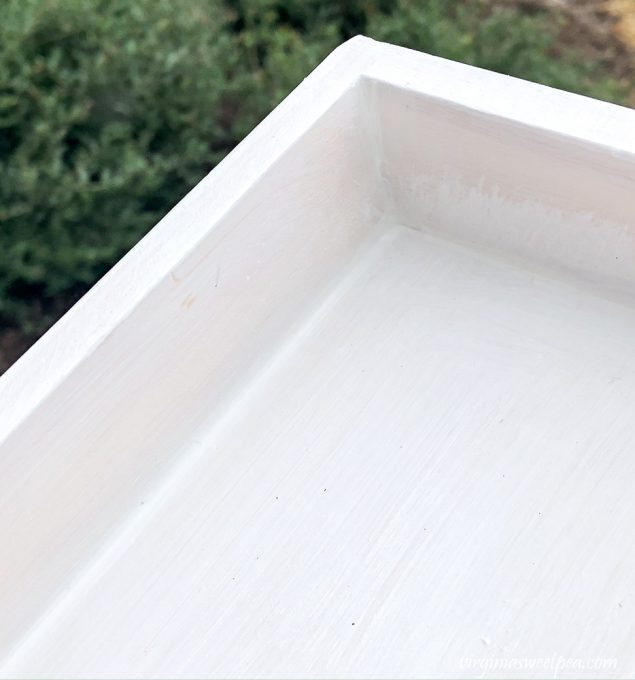
After caulking all of the seams where the wood pieces fit together are smooth with no gap.
Paint the Tray
After the tray was primed and caulked, I painted it with this paint in Smoky White.
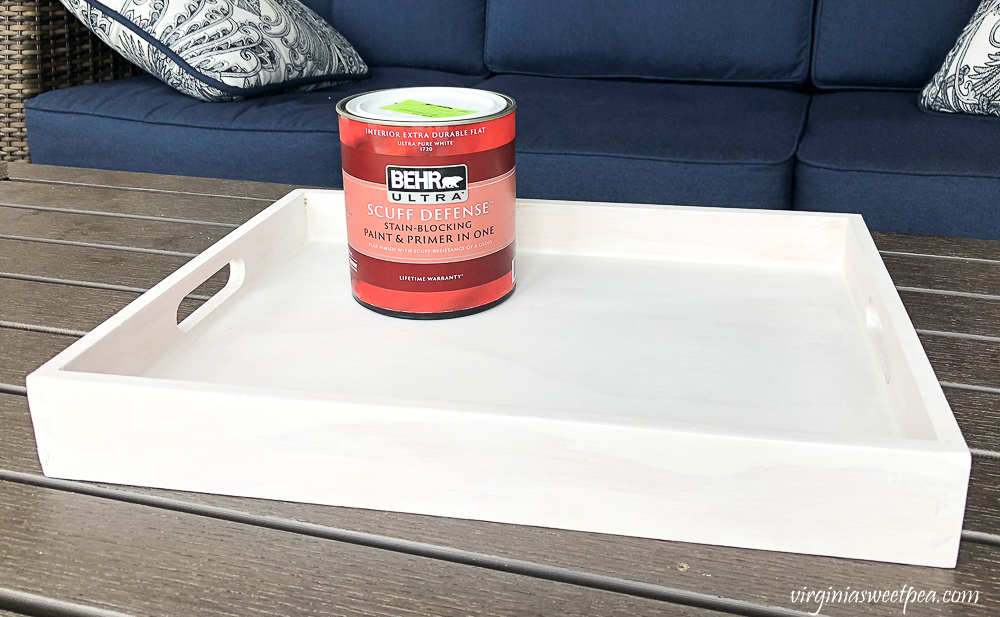
After two coats the tray looked like this. It looks great all white but I gave it some pizzazz with gold metallic paint.
Tape the Tray
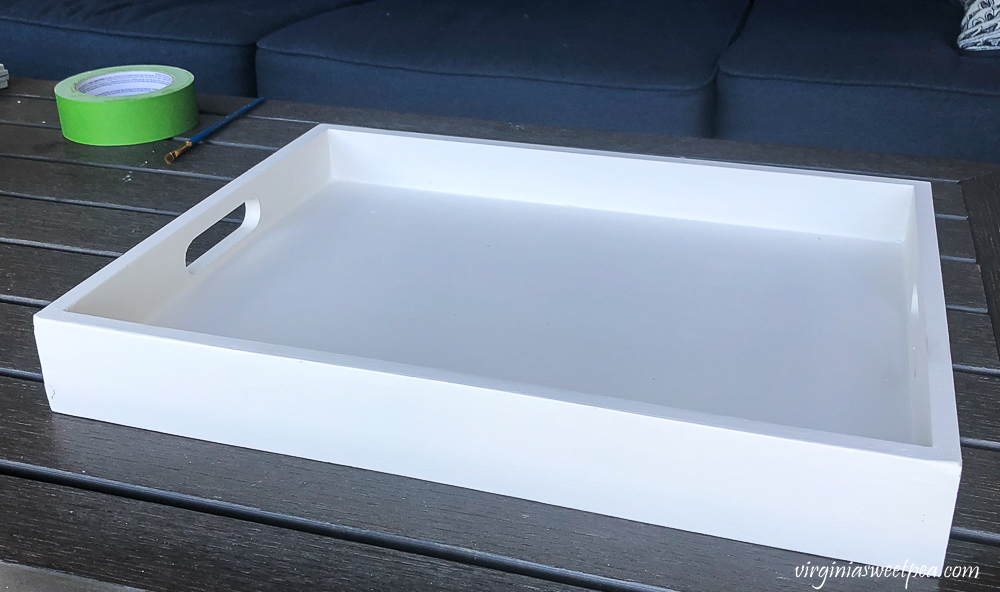
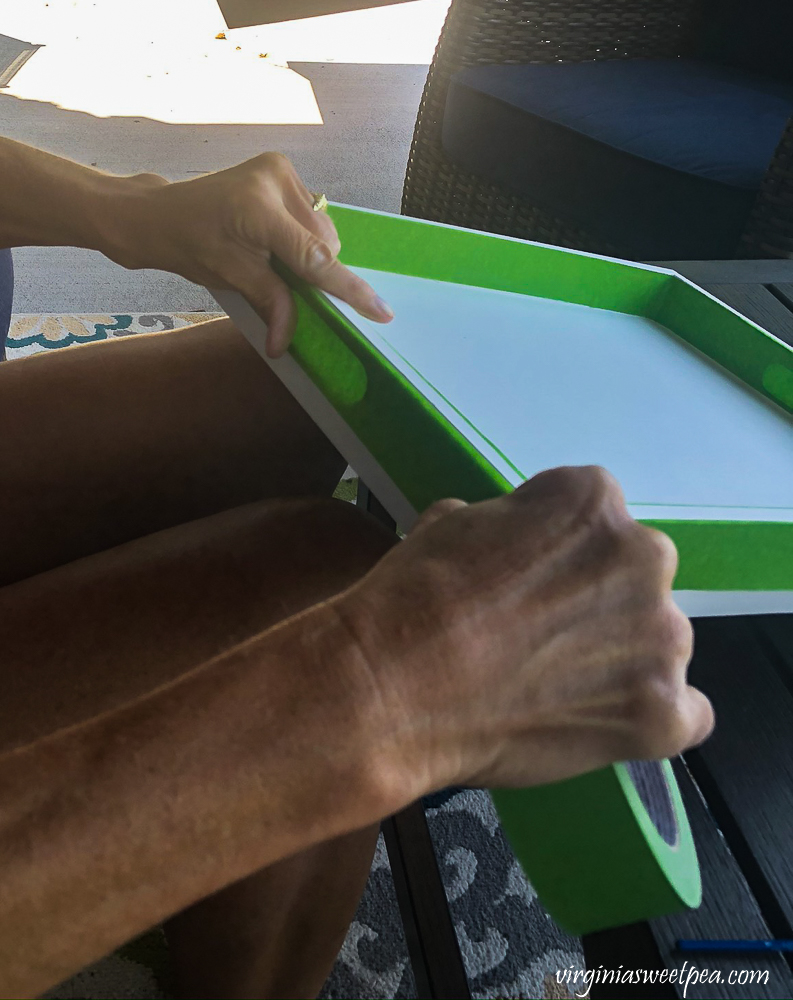
My plan was to paint the edges and handle of the tray with gold metallic paint. The next step was to tape the tray with Frog Tape.
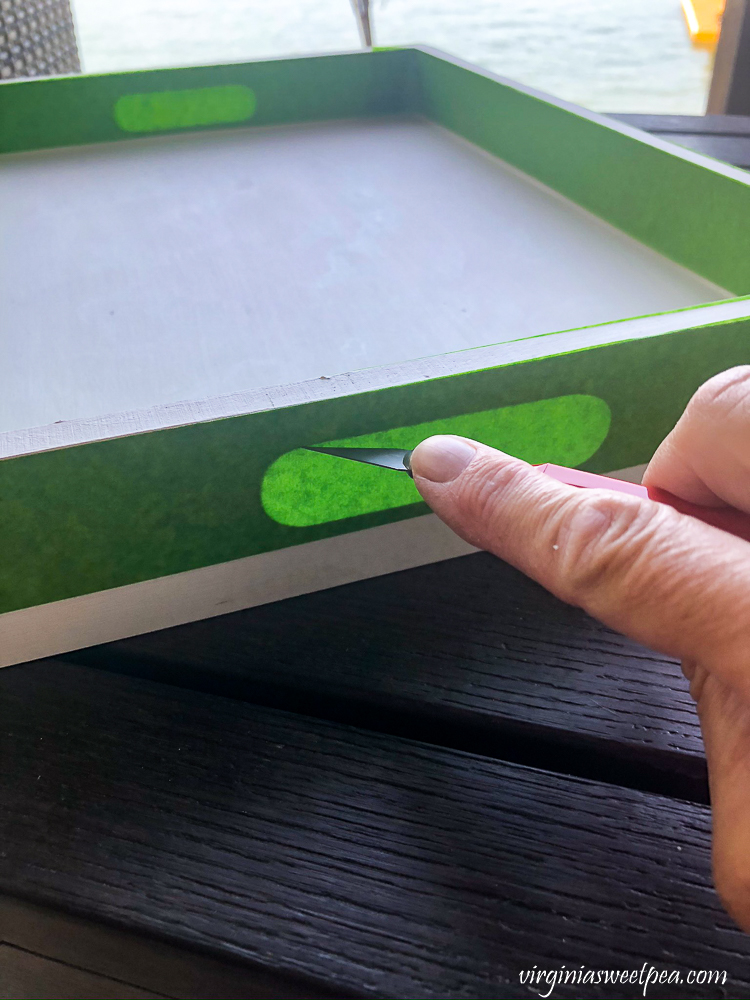
Then I used an X-Acto knife to cut the tape away from the handles.
Crafting with a view was a nice way to spend a summer afternoon! See more of our lake house patio and its view in this post. Don’t miss touring my lake house!
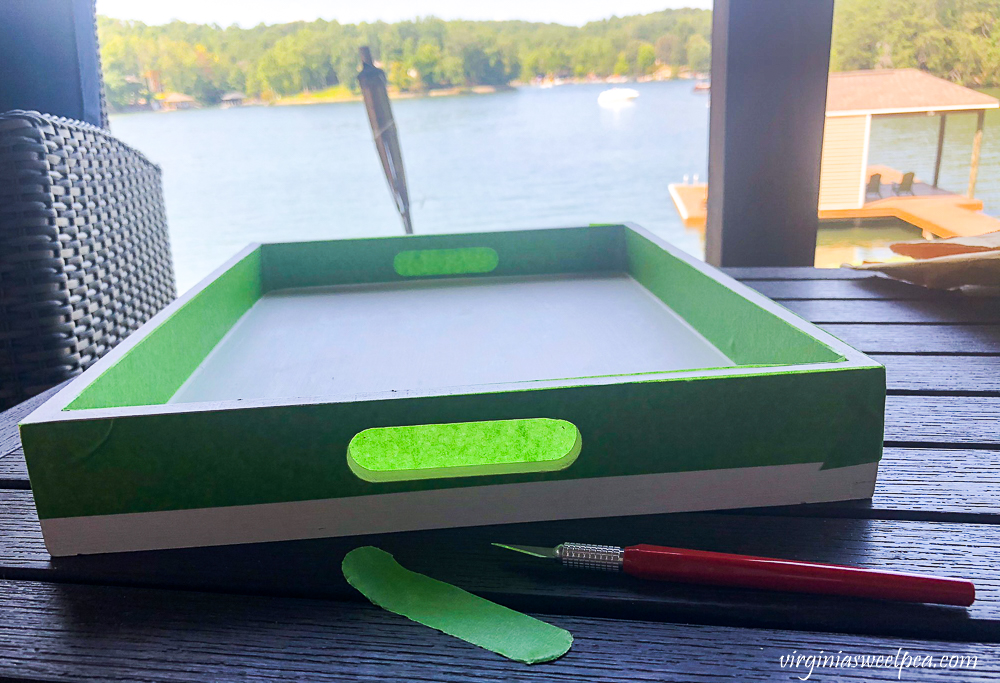
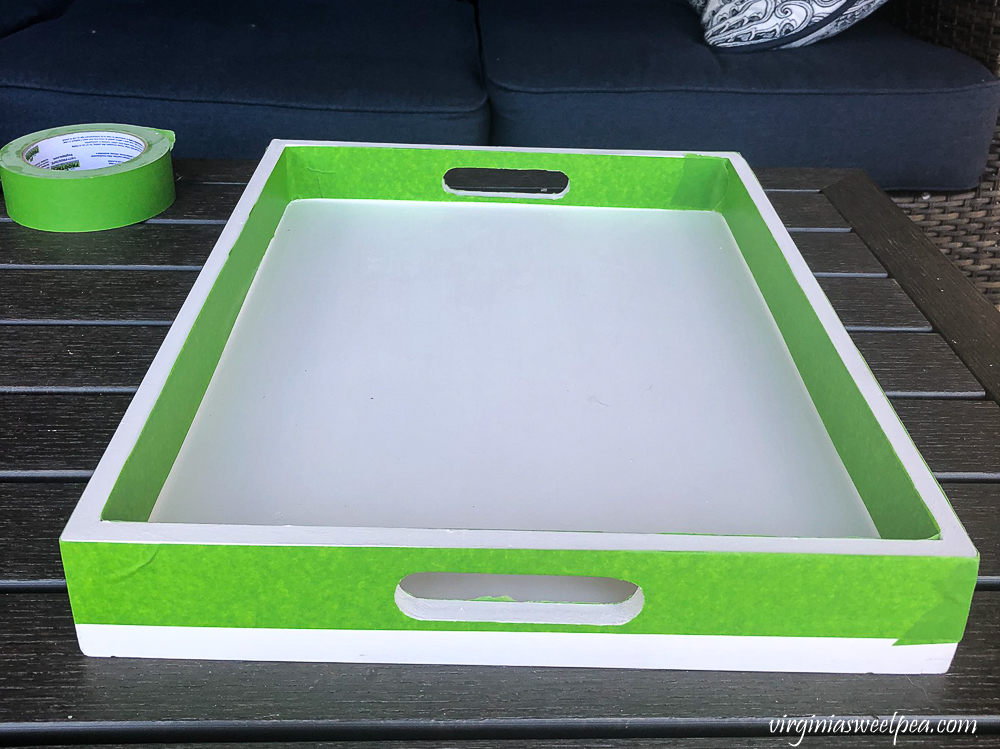
Now the tray is taped up and ready for its gold trim.
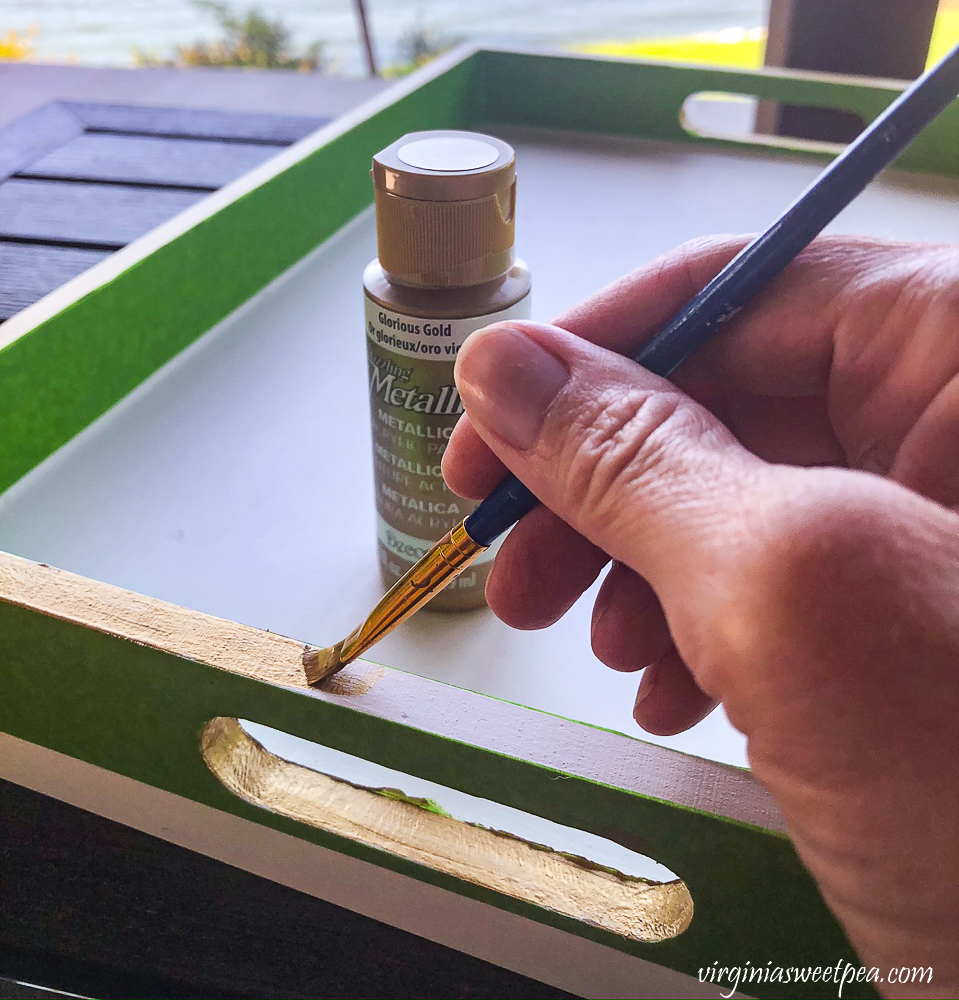
Add Metallic Gold Paint
A small craft paintbrush was used to add three coats of DecoArt Glorious Gold metallic paint.
Remove the Frog Tape
In all the painting that I’ve done over the years, I’ve had the best success with Frog Tape. I always pick it over the blue kind.
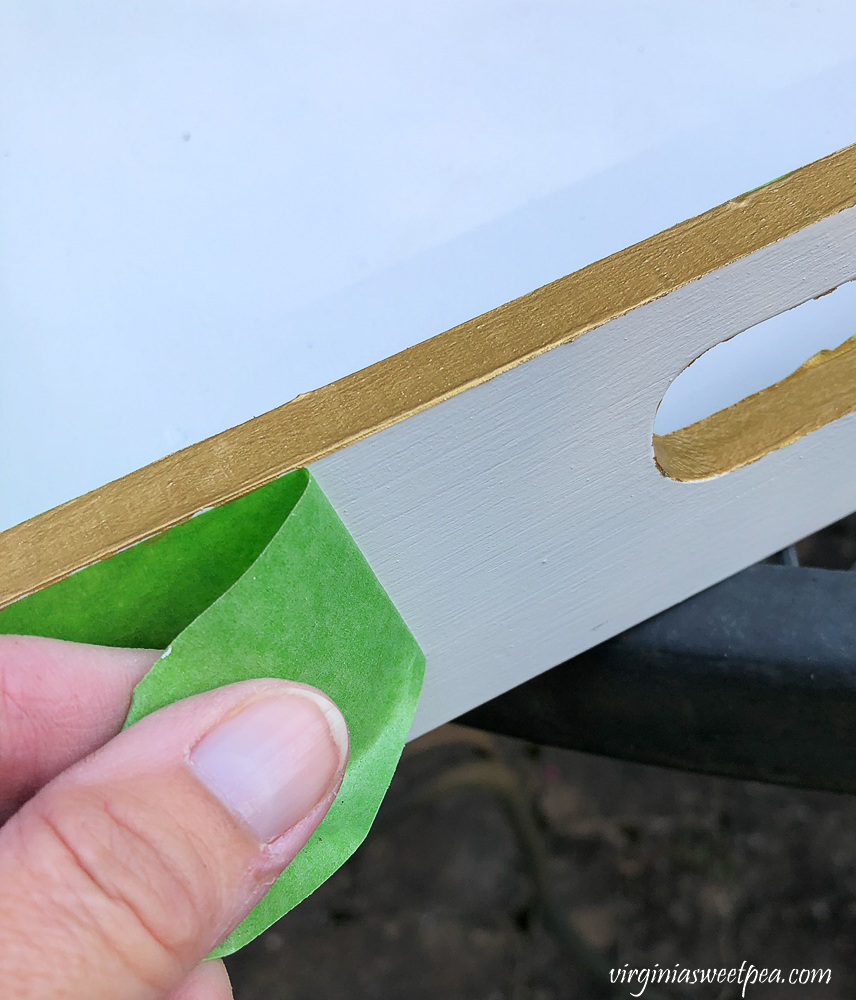
This painted wooden tray looks much better with the addition of the gold paint.
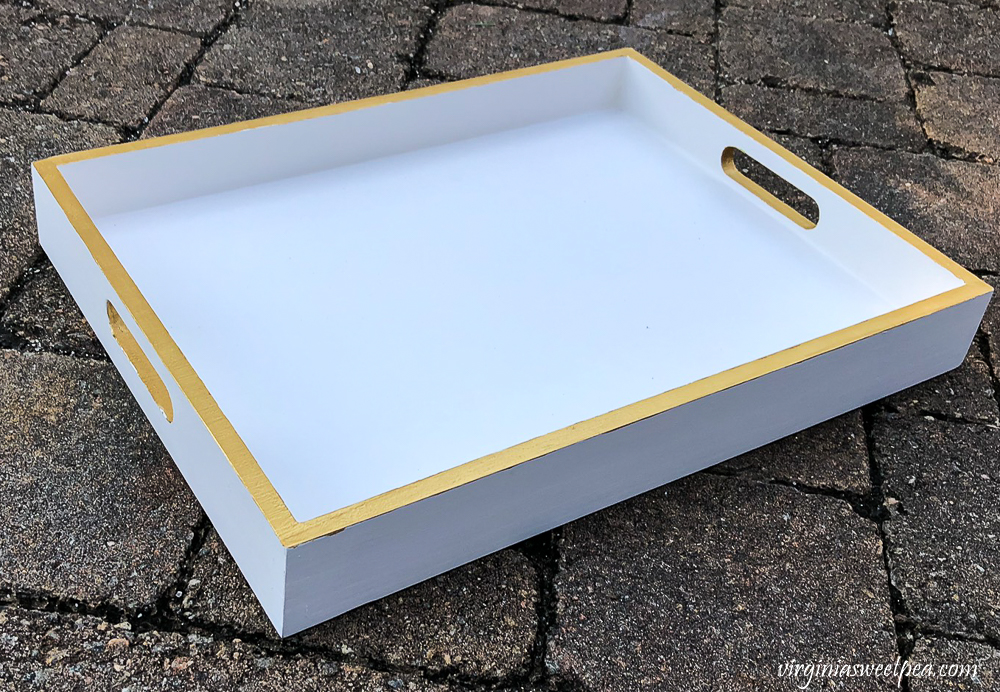
Painted Wooden Tray Styled for Fall
One the painting was complete, it was time for the fun part, using the tray for fall decor. See more of this room’s fall decor in this post.
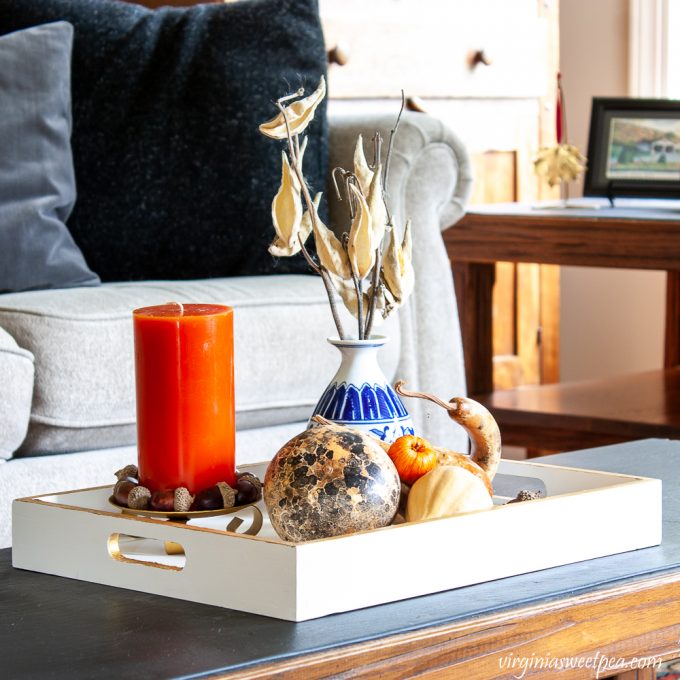
This painted wooden tray is the perfect size to use to decorate my coffee table for fall.
I love how the gold trim adds color and interest to this previously plain wood tray.
My coffee table, end table, and lamps are all part of a set of furniture that my mom and dad purchased when they got married in 1968. Mama still has the matching sofa, recliner, and side chair! Don’t miss my dad’s 1960s stereo!
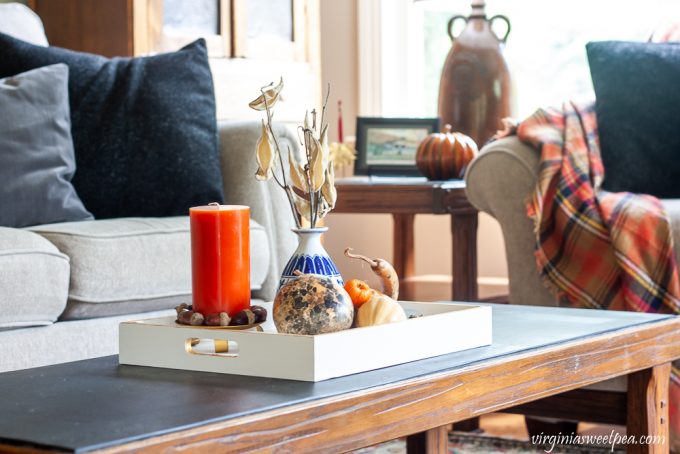
I followed the rule of three when decorating my tray for fall. The candle, chinoiserie vase, and group of gourds are the three items.
It is recommended when decorating to always use an odd number when displaying items.
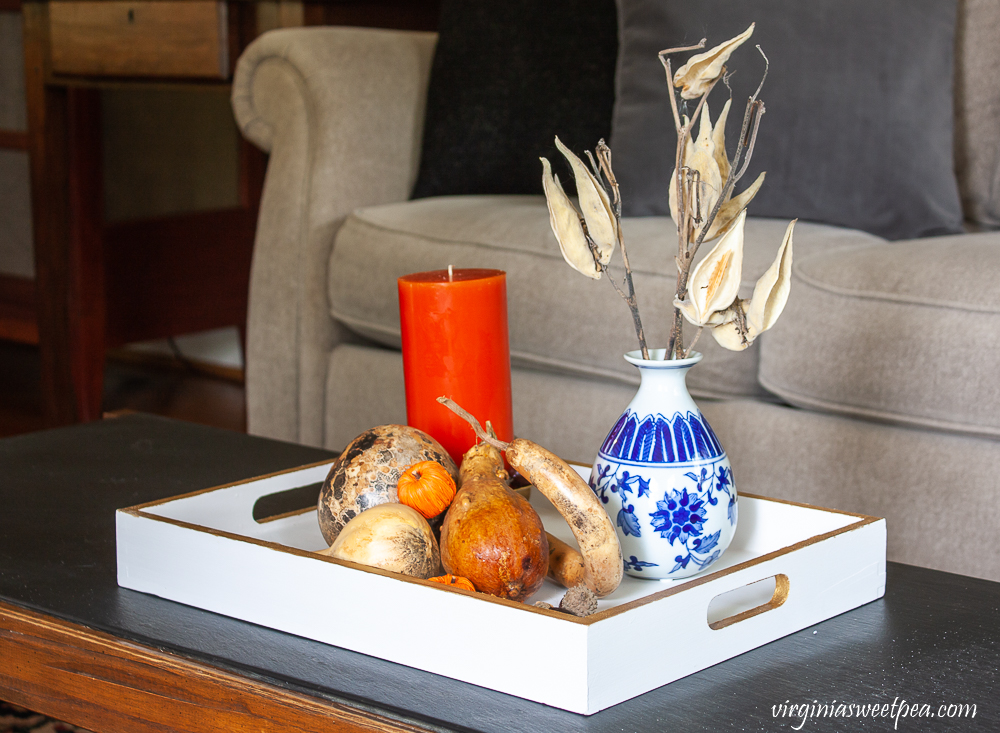
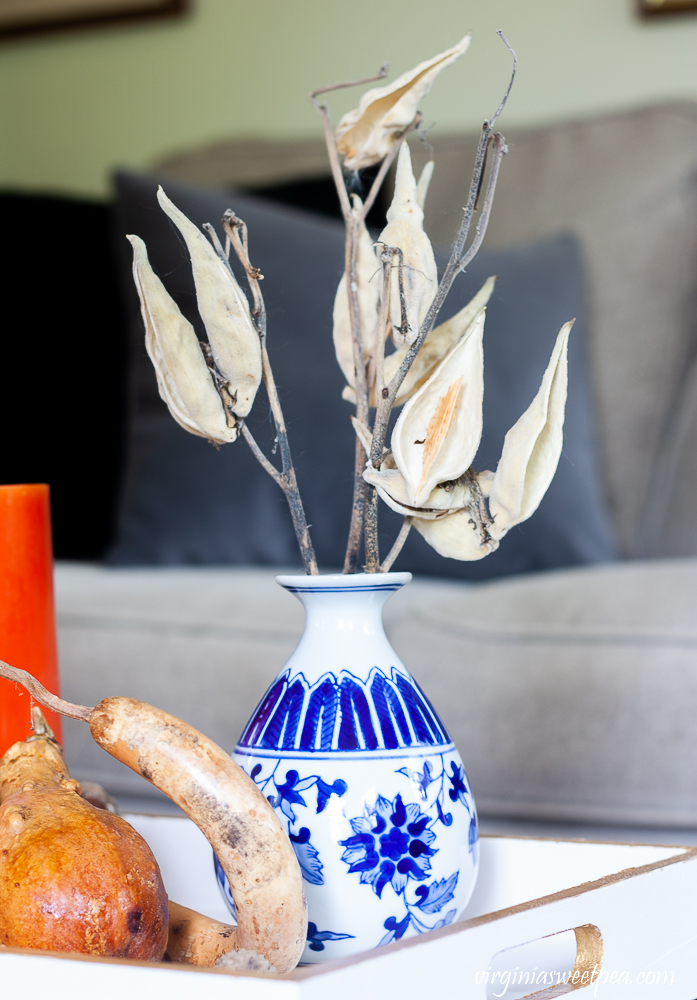
Last fall when we were on vacation in Vermont, I picked the pods from plants growing beside a pond. They traveled back to Virginia, dried over the past year, and now are being enjoyed in my fall decor.
The vase was a gift from my teaching friend and former occasional tennis partner, Becky.
The candle is from Hobby Lobby and smells great. To add interest to it, I surrounded it with faux acorns.
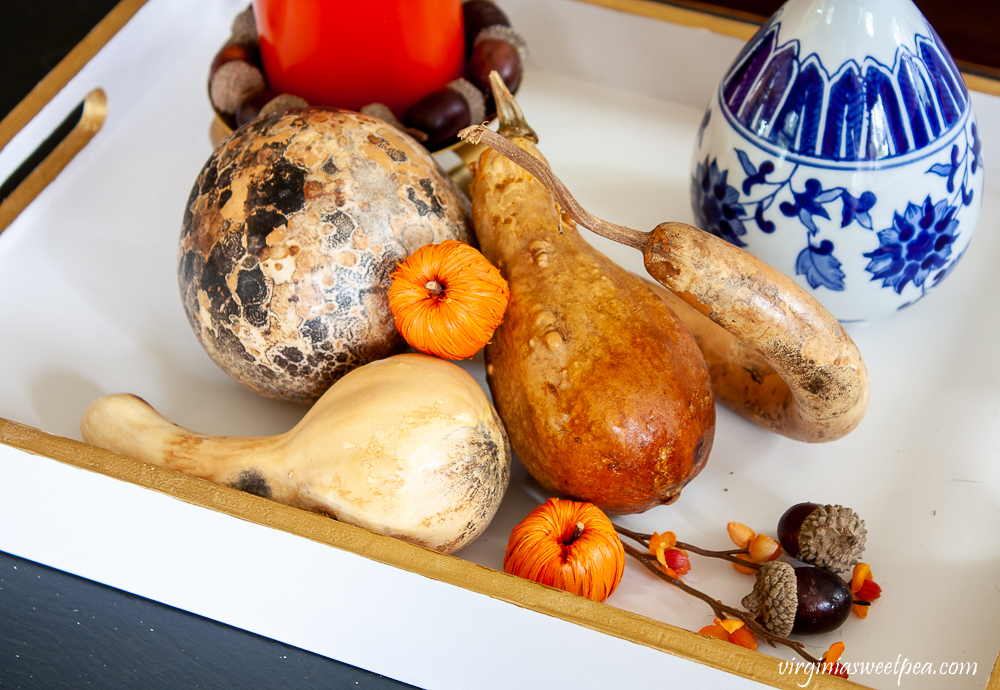
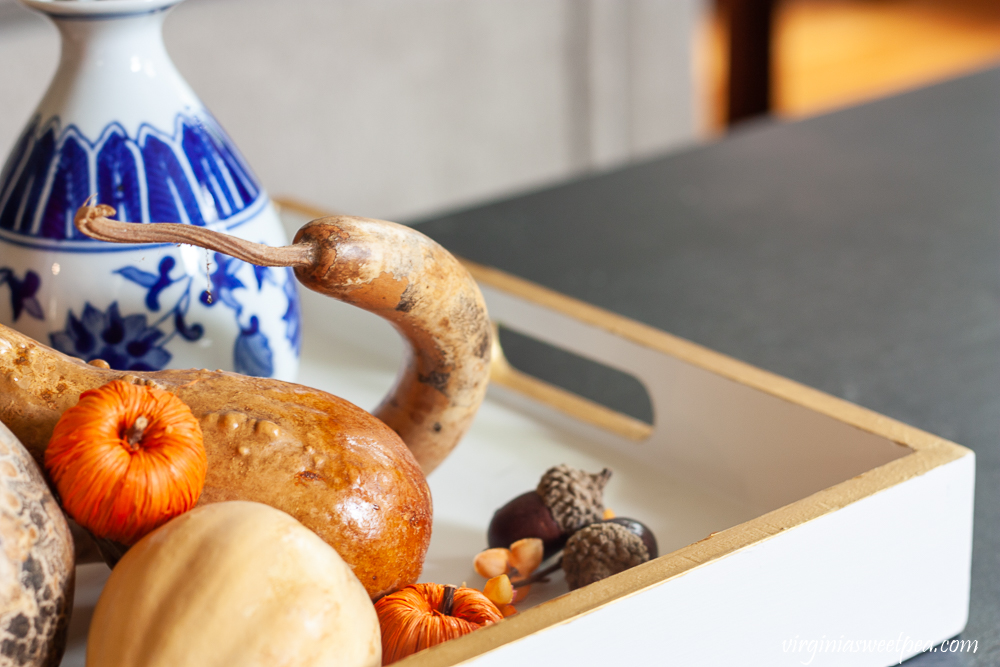
Every year I buy so many gourds, I can’t help myself. I use this hack to make them shine, then when fall is over, I dry them. I’ve been drying gourds for years and now have a huge tote filled with them that I use for fall decor.
The largest gourd in this display was grown by my dad and he died in 1997, so you can see that a dried gourd is something that you can enjoy for years to come. See more of my dad’s dried gourds that my mom is still using in this post!
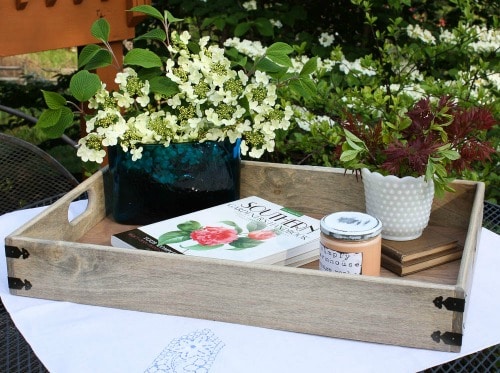
These unfinished wood trays would be perfect to use for this project
These Stained Trays Would Be a Great Addition to any Home
More Thrifty Project to Enjoy
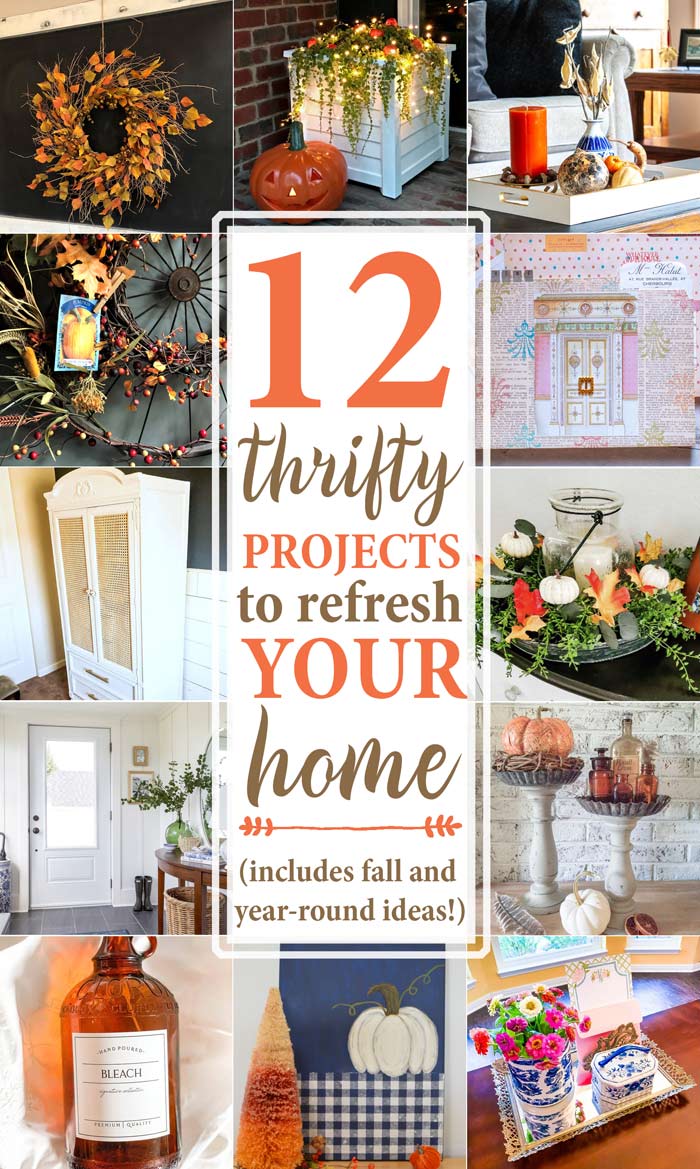
Now it’s time to enjoy the projects that the rest of the Thrifty Style Team is sharing today. Click on the links below to see each project.
Redhead Can Decorate – Mini DIY Pumpkin Patch
The Painted Hinge – Upcycled Fall Wreath
DIY Beautify – The Easiest Fall Centerpiece Ever
2 Bees In A Pod – Revamped Vintage Clorox Bottle
Postcards From The Ridge – DIY Pedestals From Thrifted Candleholders
The How To Home – DIY Pretty File Folders
The Tattered Pew – DIY Cane Armoire Makeover
Sweet Pea – DIY Gold Trimmed Painted Wooden Tray
What Meegan Makes – Vintage Bicycle Wreath for Fall
Cottage At The Crossroads – Paint a White Pumpkin
I Should Be Mopping The Floor – 5 Vintage Vanity Mirror Tray Uses
The Creek Line House – Inexpensive Faux Board and Batten Wall


Beautiful job, Paula! It looked like a fun project and it’s styled perfectly for fall!
Shelley
Your tray is pretty, I love myself some gilding. I’m was happy to read about the gourds. I have preserved acorns and dehydrated fruit but didn’t know about gourds, thanks for sharing the link.
By the way, your crafting view is beautiful!
Cindy
Paula, you did such a professional job on this tray! I like how you added the steps of caulking the seams. It gives the tray a very finished look. I think I have that same gold paint, so you’ve inspired me to think about using it for fall! You styled it so nicely on your coffee table. Pinning!
The gold trim…touch of genius to make the tray pop and have extra style.
What a pretty tray! And I love how you decorated it for fall!
Paula, this turned out so pretty. Love that you used the paint on the inside of the handles, too! Such a great touch.
So pretty and chic, Paula, and I love the versatility of it.
Paula I love how your tray turned out! The gold is the perfect touch. Great tutorial!
Your gold-trimmed tray came out great! And I love the fall decor you used… those pods are wonderful! Pinned!
Hi Paula! I’m so happy you joined in this month! The tray is gorgeous and the caulking brilliant. I would have never thought of that finishing touch, but should!!
Gorgeous tray! I love the gold paint, and it looks great with your fall decor!
This turned out so beautifully. I love a simple but classy makeover! I’m sure I need to steal this idea for our house sometime soon! It will be a feature over at Handmade Monday later today 🙂
Such a great idea! The gold makes it so special! Thanks for sharing at Charming Homes & Gardens!
This turned out great, thanks for joining the Linky Party! Please be sure and join us again this Wednesday (9/23) for our next Linky Party https://bellacraftspublishing.com/creative-crafts-linky-party-8/
What a beautiful tray and so versatile for all year around. We all need more trays right? Thank you so much for sharing.