How to Repair a Rotten Window Sill
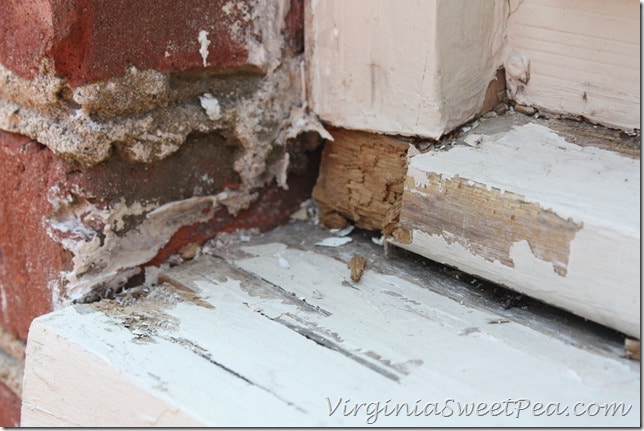
This weekend Mr. SP started a task that’s going to monopolize many weekends this fall, window repair. Our 1950’s home has the original windows and the time has come to give these windows a bit of TLC. After starting to work on the first window, Mr. SP quickly discovered that one side of the window sill had started to rot. Repairing a rotten window sill isn’t terrible difficult, let’s see how to do it!
This post contains affiliate links for your convenience. For full disclosure go here.
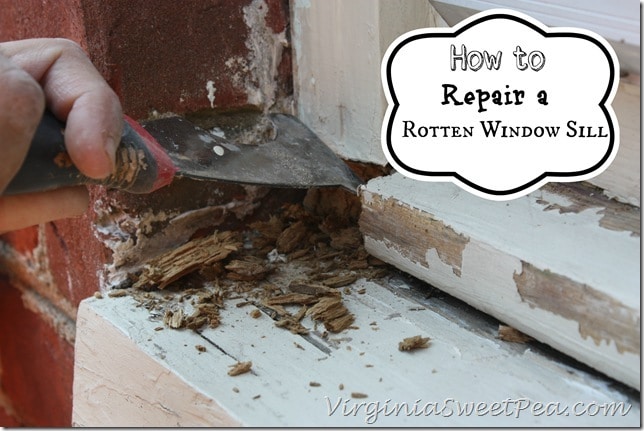
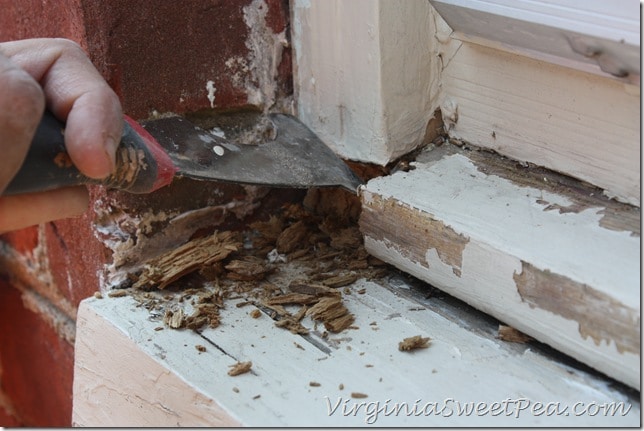
A 3 in 1 Scraper was handy for removing old caulk, chipping paint, and rotting wood. A putty knife was used to mix the wood filler and to spread it in place. A double edged scraper was a great help in removing chipping paint.
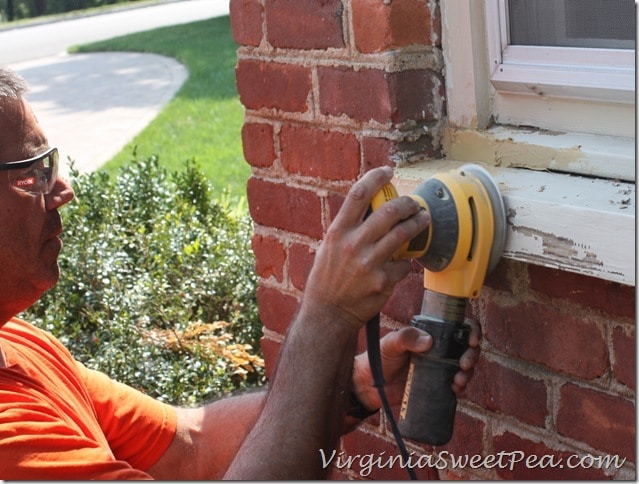
Mr. SP started the window repair by using the 3 in 1 tool to remove the old caulk. Then he used the double edged scraper to remove peeling paint. The sill had a rotten place and the 3 in 1 tool worked perfectly to remove the rotten wood. At first the rotten spot didn’t appear to be too large, but the more he worked, the bigger it got!
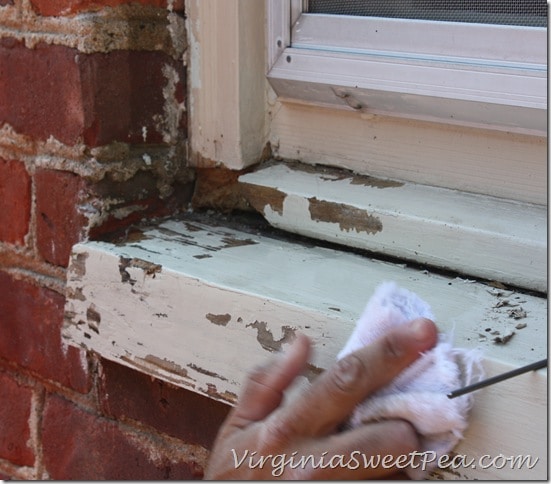
After the wood was chipped out and the loose paint was removed, the window sill was wiped clean with a damp cloth.
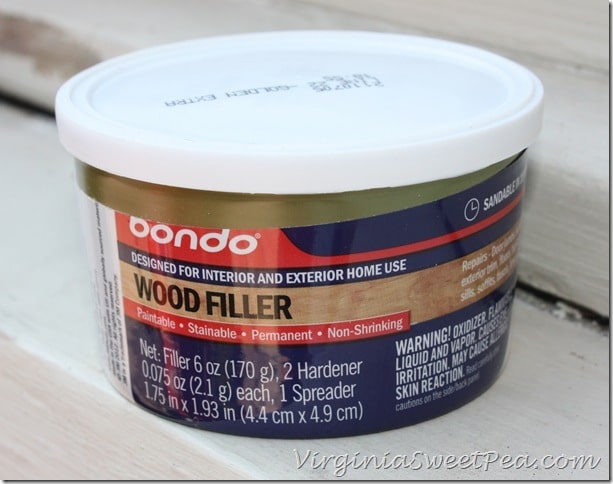
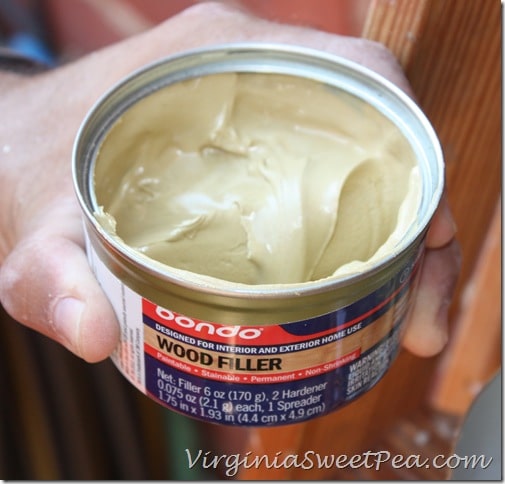
Thanks to the Haven Conference, we had a container of Bondo Wood Filler available to use. This 6 oz. container was just enough to repair one window. We have six more windows to go and we’ll use this product for any wood repair that needs to be completed. The great thing about Bondo is that it dries quickly and can be sanded and painted with very little wait time.
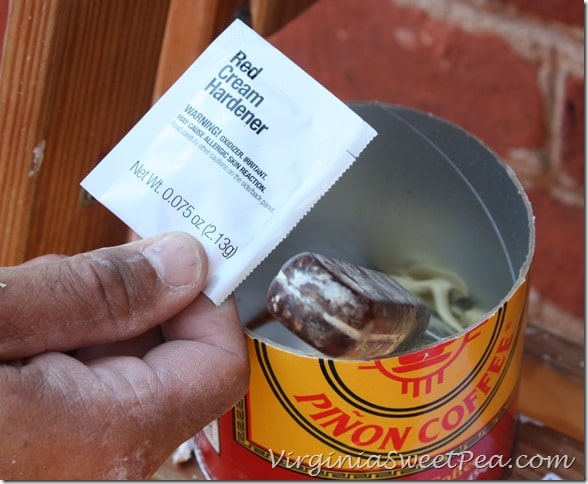
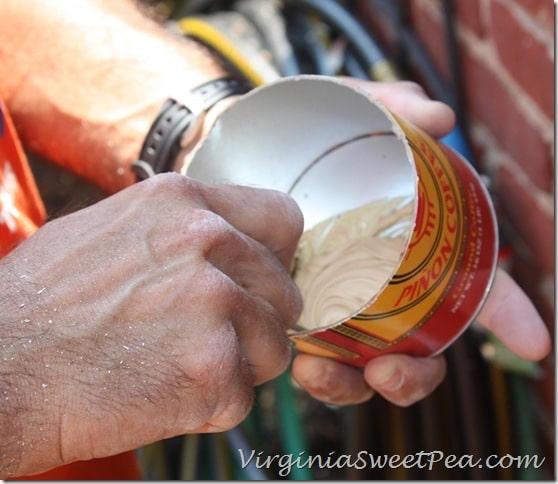
Half of the Bondo was put into a disposable container and then the hardener cream was added.
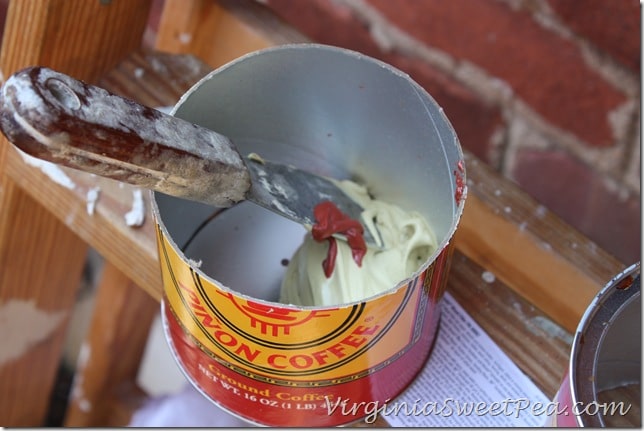
Stir it together and use quickly.
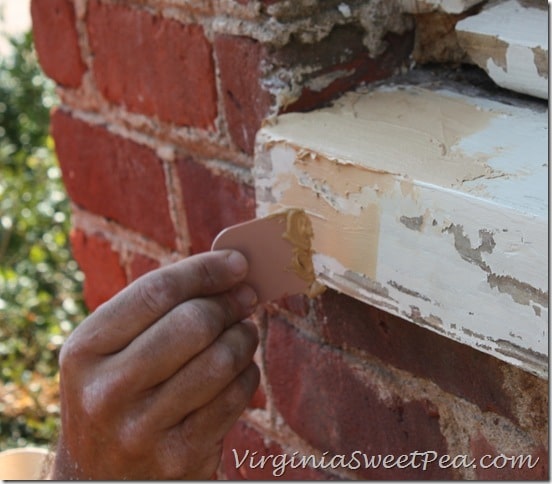
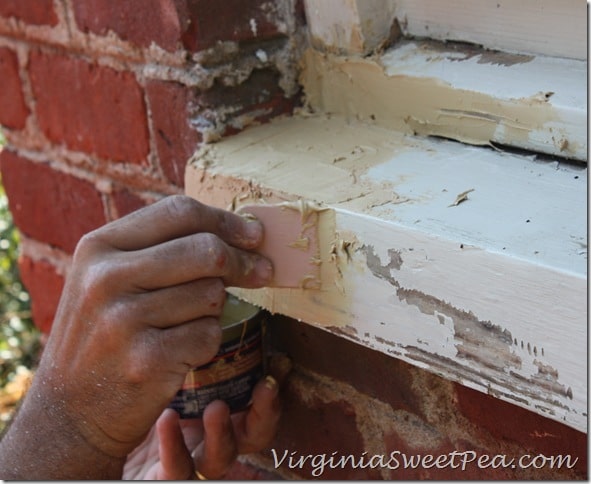
A scraper comes with the Bondo to help with the application.
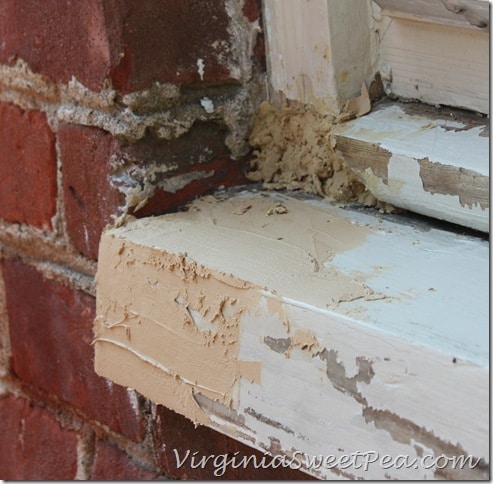
The first batch of Bondo started to dry before Mr. SP could get it properly applied, so he stuffed what was left in the large hole.
A second batch was mixed and applied to finish filling in where the rotted wood had been chipped out.
After the Bondo dried, the area was sanded smooth and wiped clean.
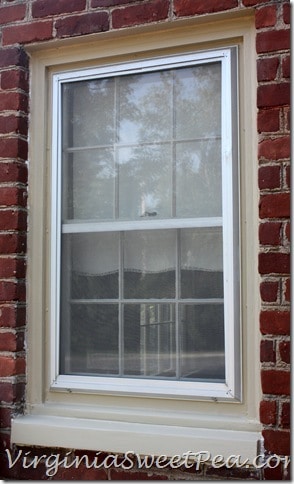
Mr. SP recaulked the window, primed it, and then applied two coats of paint.
I’m so glad that 3M was at Haven and that they generously provided a nice sample of their product. Mr. SP was 100% pleased with the ease of using the product and the end result.
This is not a sponsored post. I received my Bondo at the Haven Conference and was not compensated by 3M or Bondo in any way.





Great tutorial. I will pin this in case I ever need to know.
Wow! I’m so impressed. I just found a rotting section in our sliding doors. This might just do the trick!
Oh my goodness! This is on our MUST DO list this autumn. I was really surprised to see that anyone else has this problem. LOL Thanks for the tutorial!
Looks like a great product.
Thanks for sharing this tutorial and product. I will definitely need this for my windows at some point. 🙂
I would not have any idea that this was even possible… thank you!
Wow thanks so much for that tutorial! I have some of that bondo in my basement and many rotted sills. Some will have to be completely replaced this fall but I may be able to repair others by using your tips. I found you via Met Monday / BTNOTP
Michelle / newengland-style.com
Michelle – It sounds like you have a big job on your hands! I hope you can save some of your window sills and not have to replace all of them.
Hi! Found you by visiting Home(work) Tuesday at The Everyday Home (just like mine is). I have a window sill on a front window that I discovered last year was rotting. Not being a Ms. Handy-Dandy and not having any money, I scraped out the rotted wood as best I could and stuffed the cavity with – oh my, you’re going to get a kick out of this, or run away from your computer screen in horror – styrofoam. Well, I figured it wouldn’t rot or hold moisture and would be a stop-gap until I can afford to have a proper repair done. I took teeny tiny pieces off chunks and lunks of styrofoam that I’d packed away in the garage from some boxed furniture piece or lamps or whatever, and jammed it into that cavity and jammed and jammed and jammed, well, I got a good work-out and took out all my day-to-day frustrations on that rotted part of the window jamb, let me tell you! Anyway, it was packed pretty darn solid with styrofoam and it’s held up, but it needs to be fixed properly. I do not want to be sitting here one winter evening and the whole dang window (a triple with an arched round-top above, about six feet wide and nine or ten feet tall) crashes out on the lawn, and it’s 20 below zero outside and a blizzard. Geez. This product sounds like something I could actually use to repair the “hole” — but first I’ll have to dig out all that styrofoam… I really appreciate that you spoke about a product that you weren’t paid to “plug.” That means a lot to someone like me, very cynical as a rule, about paid sponsorship ads, er, posts at blogs.
Oops! It’s actually Home(work) Wednesday. Duh, Jan! Sorry. It’s a great link up party and that’s where I found you.
Thanks so much for commenting. I’m glad that my post helped you! I think you were pretty clever to think of filling the hole that you chipped out with styrofoam, it had to give you some insulation. Good luck with your window repair!
Yah for BONDO! Isn’t that stuff amazing!?!?
Great tutorial Paula. I haven’t done this myself, but if I need to repair a window sill, now I know what to do. Is it possible to split this project over 2 days or should you do it all at once?