Shredded Paper Nests
Country Living Magazine is one of my favorites. The April issue featured nests made from shredded paper. After seeing this photo, I had to try this project.
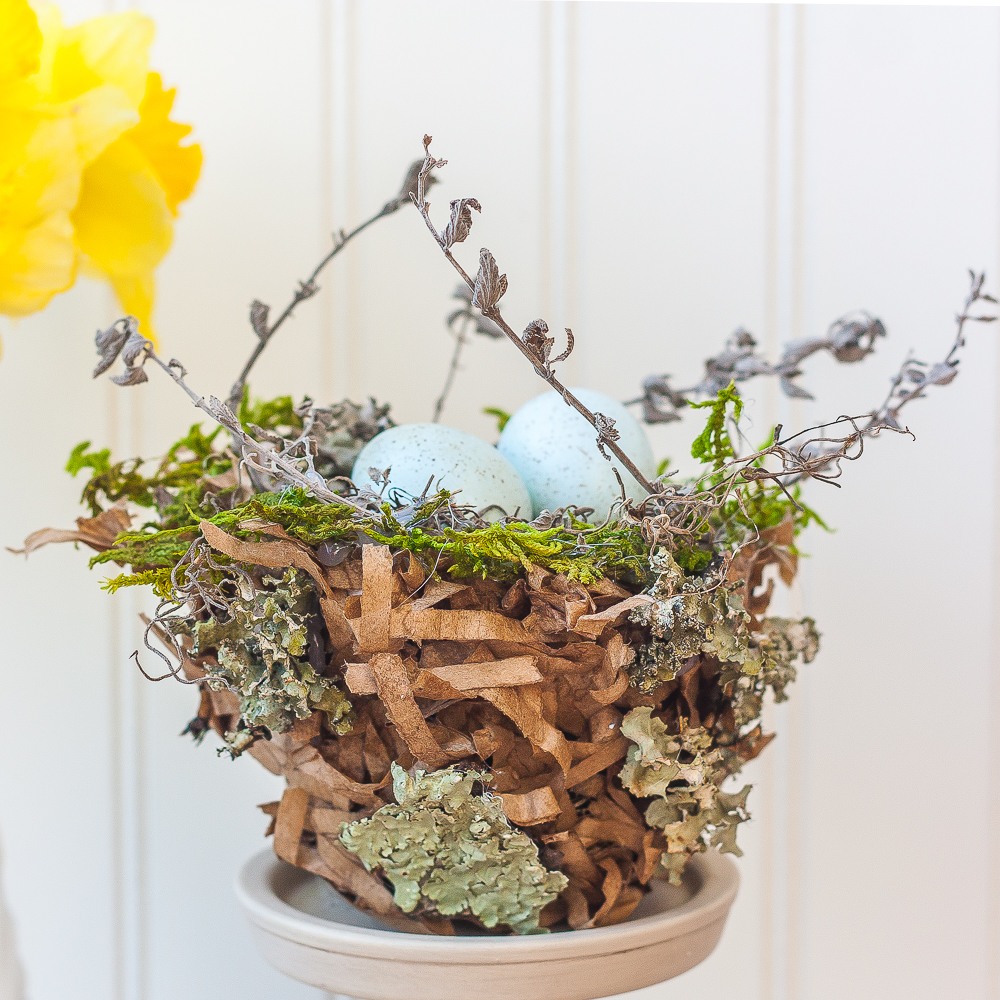
Feather your nest with papier-mâché
Take a page from the grade-school activity book with these delicate candy dishes, made using shredded brown lunch bags and sheets from an old dictionary.
1. Tightly cover a small bowl with plastic wrap, then flip the bowl upside down on wax paper. In another container, mix equal parts water and clear glue.
2. Dip handfuls of shredded paper into the glue mixture, then immediately lay them on the bowl until it’s covered.
3. Lightly press dry paper strips along the outside to create a “nesty” look.
4. Let dry for 12 hours; carefully pull the wrap off the bowl and away from the nest.
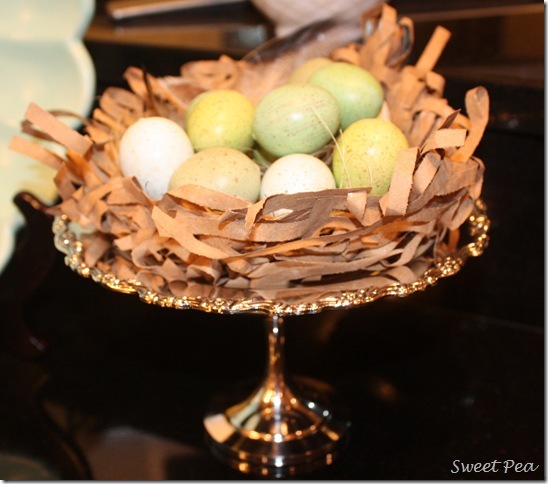
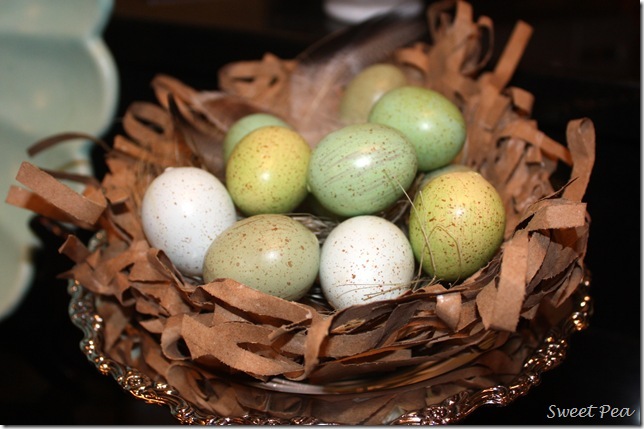
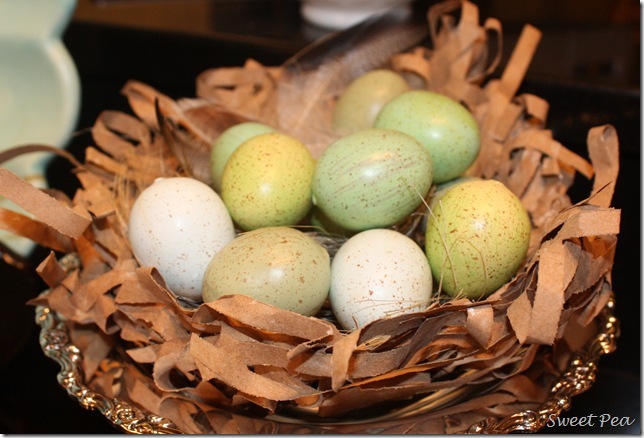
My nest is a little looser than CL’s because I used brown packing paper which is a heavier weight than a lunch bag making it a little harder to get the paper to stick together.
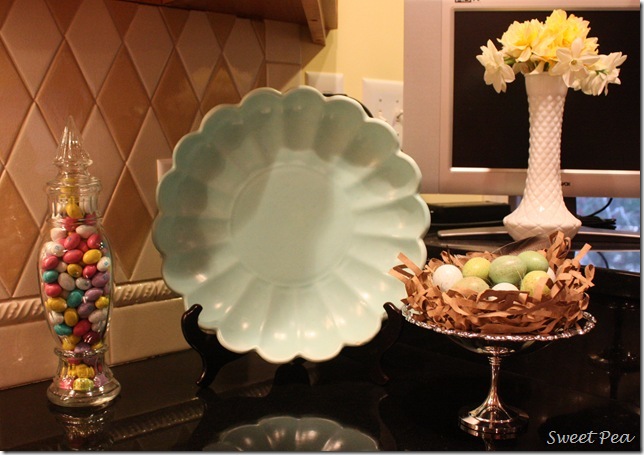
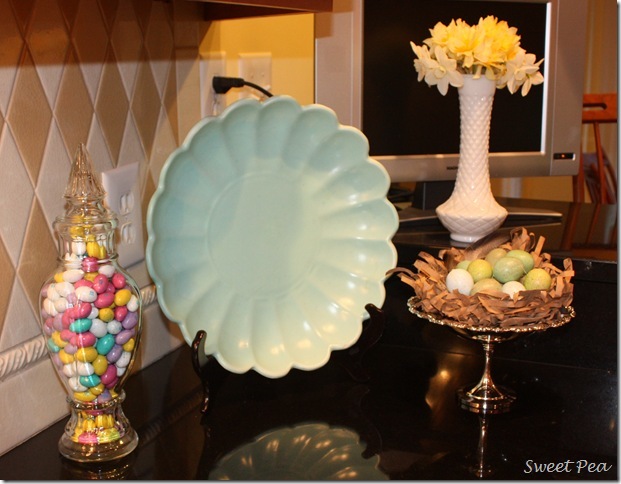
My new nest is part of a vignette on my kitchen counter.
Kitchen chores are more pleasant with a pretty display to admire while working.
I’m so glad it’s the weekend. The past week has been especially busy and I’m looking forward to some down time. My mom is coming to visit on Saturday to celebrate her April 7 birthday. I’m serving dinner and then we’re going to see a local production of Phantom of the Opera. I’m not much on plays, but I’ve been told that this local production is not to be missed, so we’re going. Hope your weekend is good!

This are wonderful (I love Country Living, too!)…yours is extra special as it sits in silver…of course, I love that! Happy Friday, dear friend!
Darling! I want to give them a try too.
Super cute and springy, Paula! 🙂 I actually had a huge mound of that shredded paper stuff from a shipping package, and I tossed it. grr. That always happens to me. 🙂 I linked your post up for you! 🙂
Saw you at Serenity Now’s linky party.
Love your nest! It really turned out nicely. I love decorating for Easter and nests are springy and go with it. I will have to try to make one!
Oh, I can’t wait to try this out!
I saw that in the magazine. I am so glad that you tried it and shared the results. Now, I am going to have to make one. I love it and the way you have it displayed! Happy weekend to you. Carla
These are adorable! Great job!
Paula, I love this!! I saw it in the magazine and I like the looser look of yours even better than theirs. I am going to sound like a total first grade teacher here, but clear glue? not Elmer’s? what brand? Do you think it’s something EJ could help with?
My spring break starts today!!
Paula, this is the cutest spring crafty project I have seen! I loooove it! I can’t wait to show this to my oldest. She will love it! Thanks for sharing Paula. I really need to renew my Country Living magazine!
Happy Brithday to your mom. Have fun at Phantom!
Such a cute idea Paula!
Paula it is precious! I adore your pretty kitchen vignette. Your backsplash is lovely as well.
I saw that in the magazine, too. Yours is so cute, and your countertop display looks really pretty!
I hope you enjoy your weekend and get some relaxing in!
That turned out very cute! Thanks for the idea!
-Trish
Thanks for sharing Paula, I’ll give this a try for our Easter brunch. Your little nest came out so cute and I love it sitting in the silver dish.
These are super cute! I’ve already added them to my list of fun spring crafts to try! And the way you displayed it great too!
these are too cute! Thanks for sharing!
Adorable. Creative. Genius.
I am having a spring craft linky party and giveaway on my blog this Friday. I would love for you to showcase this wonderful project.
Details are on my blog today.
I love the paper nests. I googled to find how to make them and found your blog. Thanks!