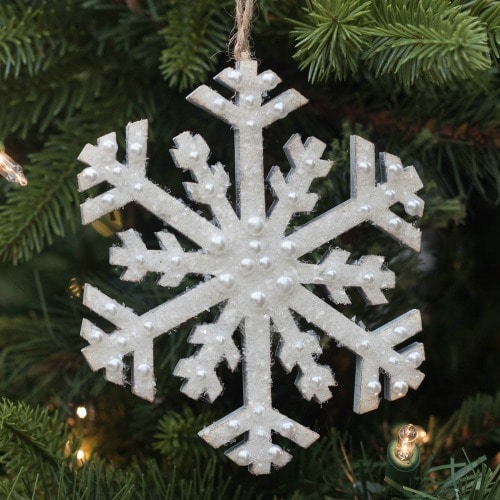
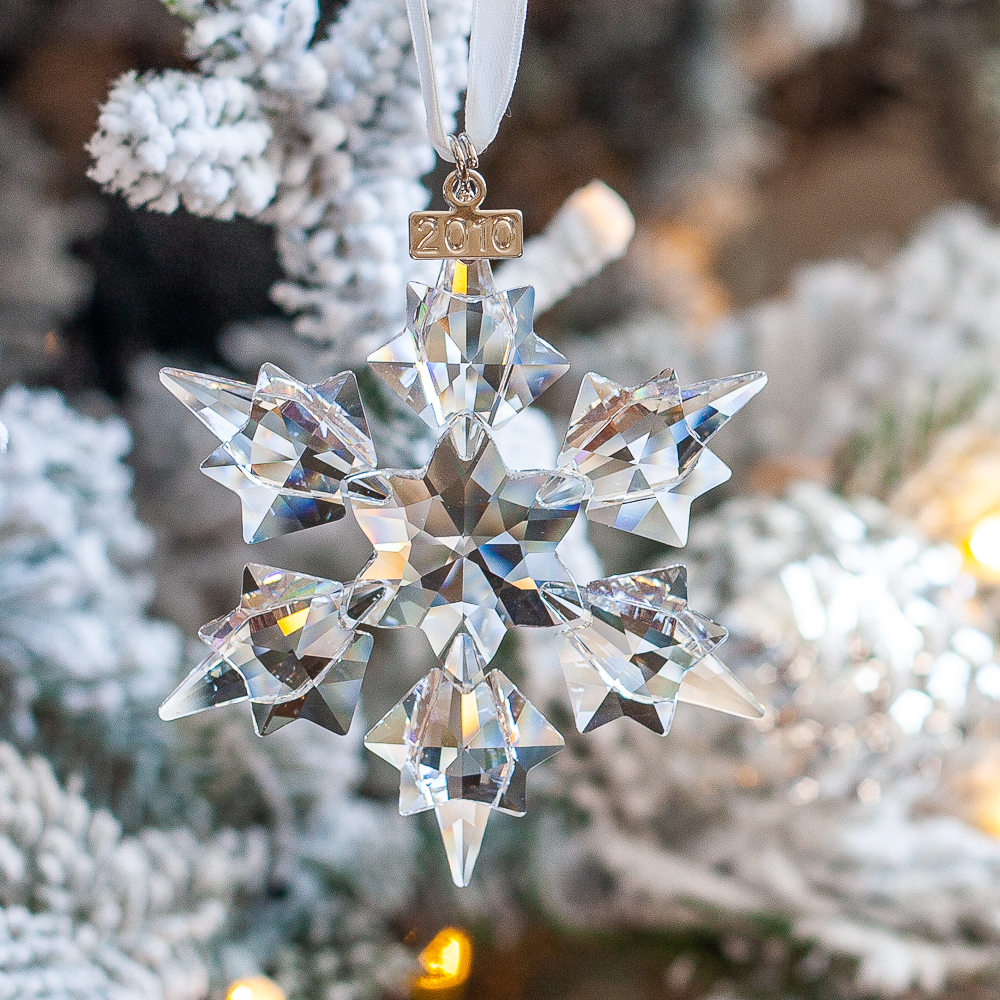
Sparkly Snowflake Ornament
Welcome to the first annual Home for the Holidays Blog Tour
bought to you by my friend Sondra Lyn from Sondra Lyn at Home and co-hosted by Michele from Our Rosey Life. I am delighted to be part of this talented group sharing projects this week.
Here is the line-up for the week:
Monday – Gifts and Wrapping
{Home}-ology ~ Let’s Wrap Stuff ~ Tried and True
Two Purple Couches ~ Two Thirty- Five Designs
Tuesday – Trees and Decor- Part I
Atta Girl Says ~ Cottage at the Crossroads ~ Sondra Lyn at Home
Stone Gable ~ The Happier Homemaker
Wednesday – Crafts
365 Days of Crafts ~ Houseologie ~ Redhead Can Decorate
Thursday – Recipes and Tablescapes
Creative Southern Home ~ Domestically Speaking ~ Dukes and Duchesses
Friday – Trees and Decor- Part II
Dandelion Patina ~ Decor Adventures ~ Designed Decor
What Meegan Makes ~ White Lace Cottage
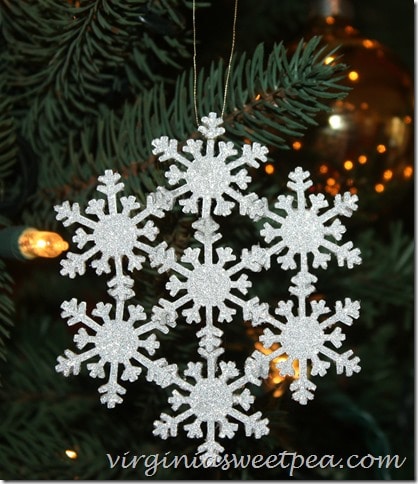
Crafting for the holidays is an activity that I truly enjoy. My Sparkly Snowflake Ornament was inspired by a similar ornament designed by Erik Pike for Martha Stewart Magazine.
How to Make a Sparkly Snowflake Ornament
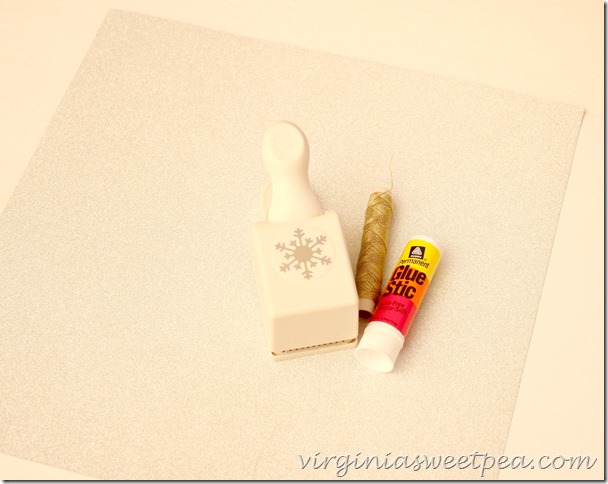
Supplies:
Martha Stewart Snowflake Punch (This is an affiliate link. I purchased my punch years ago at Michael’s.)
Glittered or Sparkly Scrapbook Paper
Glue Stick and/or Craft Glue
Cord for Hanging
Procedure:
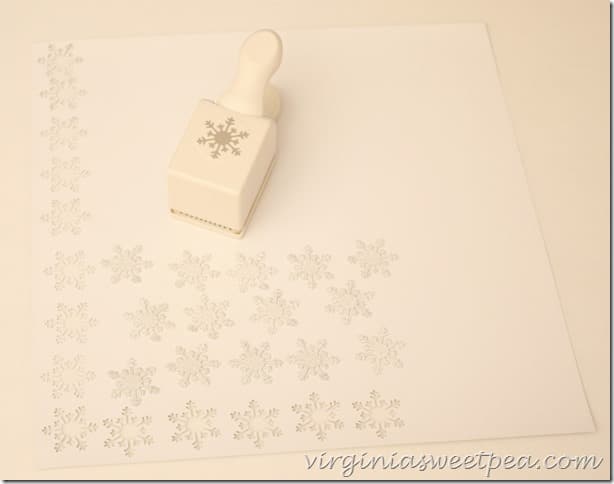
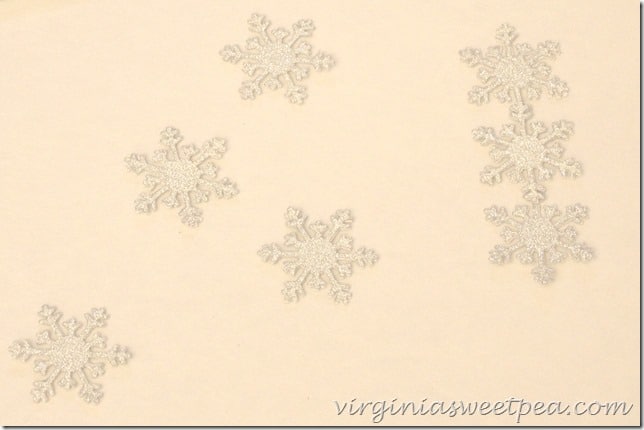
1. Punch 14 snowflakes from scrapbook paper.
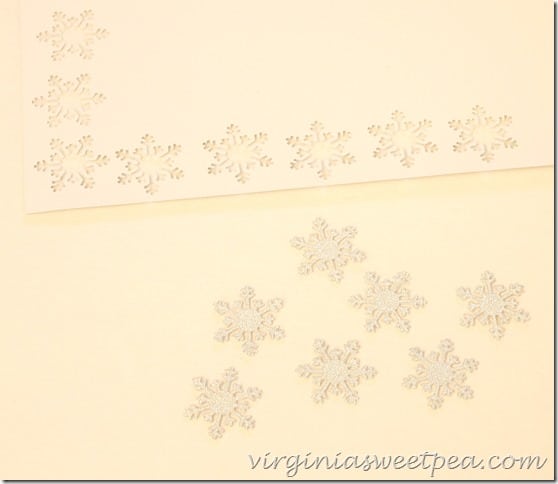
2. Glue in pairs back to back.
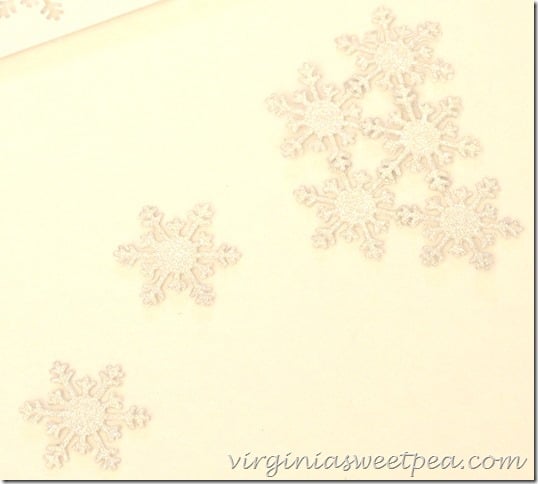
3. Glue three snowflakes together vertically at their points.
4. Add two snowflakes to each side, gluing at the points.
5. Tie a thin piece of coordinating cording to one snowflake point. Hang on your tree and enjoy!
A Sparkly Snowflake Ornament can also be made with white or colored paper. After assembling the snowflake and letting it dry, brush with glue and apply glitter in your color choice.
Now be prepared to be inspired! Visit all of the blogs participating in this week’s Home for the Holidays Tour. You are sure to be inspired!
And here are the links. Enjoy!!
Home for the Holidays
Monday ~ Gifts and Wrapping
Tuesday ~ Trees and Decor- Part I
Wednesday ~ Crafts
Thursday ~ Recipes and Tablescapes
Friday ~ Trees and Decor- Part II
Sharing With: Savvy Southern Style


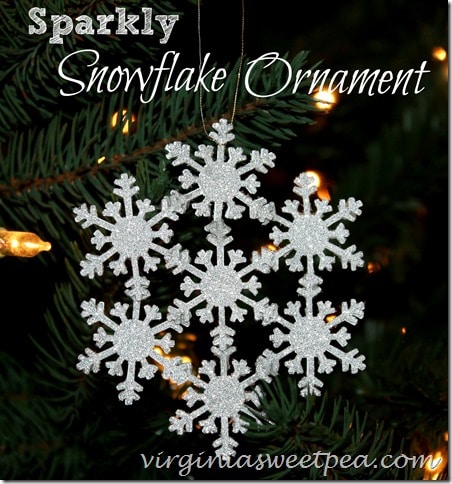
I would have never known that this was a bunch of small snowflakes joined to make one big one. What a great idea! I love how sparkly it is!
Love these snowflakes! They would also be pretty strung as bunting or hung from the ceiling. A snowflake wonderland! Love being a part of the tour with so many talented ladies.
I love your snowflakes. Its a fun project and I would use them as gift tags as well.
Hi Paula, I have this snowflake punch (love it). Your idea to make a large snowflake ornament with a little sparkle is terrific!!! I might also use your snowflake as a gift box or wine bottle topper too. So cute!!
Paula, I would never have guessed that you used a snowflake punch to make your ornament! I have a similar punch that I’ve had for years. Now you’ve got me thinking about how I can use it! Pinning your awesome idea!
How cool!!!! And it’s so pretty! This would make a beautiful gift for someone too!
Paula that is SO cute! My girls and I are going to try it! So fun being on tour with you!
Hi Paula! Featured over at Sunday Features. Thank you for being so supportive. I wrote a thank you in my post to you.
This ornament is beautiful! And so smart to layer smaller ones together!