Staining Our Deck–Part Two
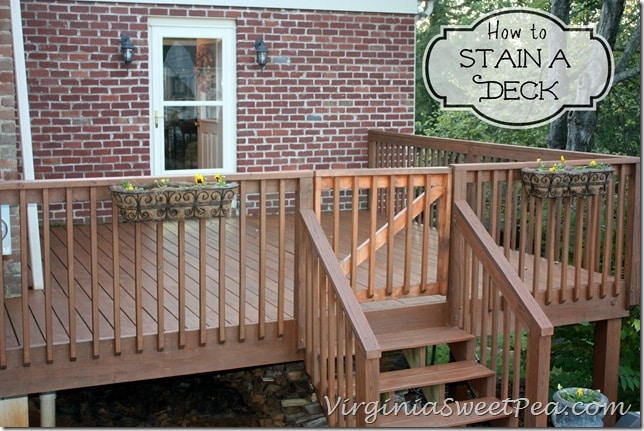
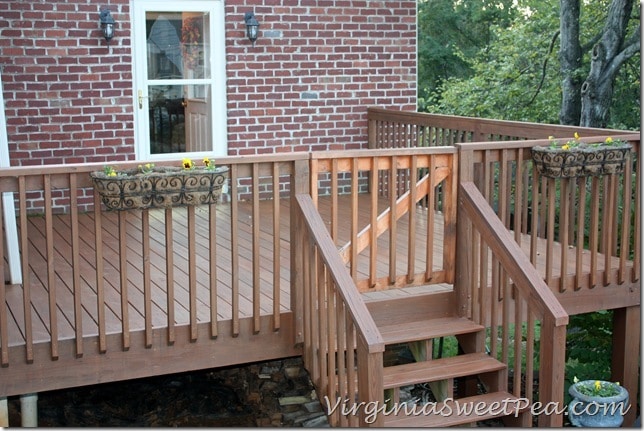
Staining the deck has been on our “to do” for many months. Last weekend we prepped our deck for staining by giving it a thorough cleaning. This weekend we were able to apply stain to the deck and we couldn’t be happier with the end result.
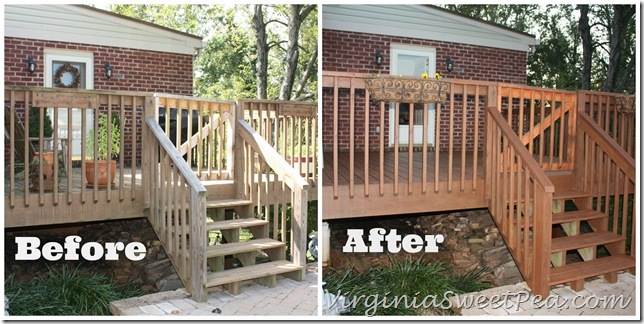
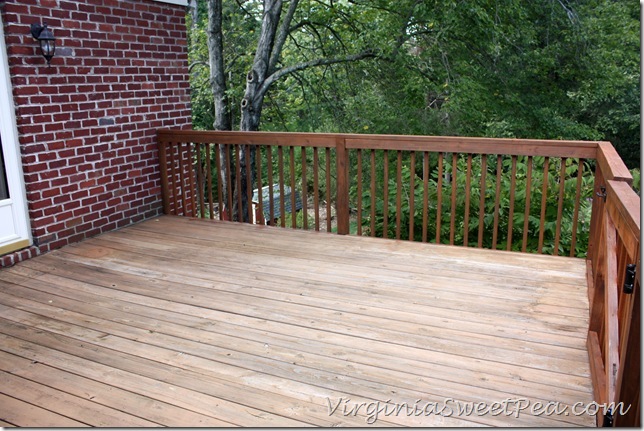
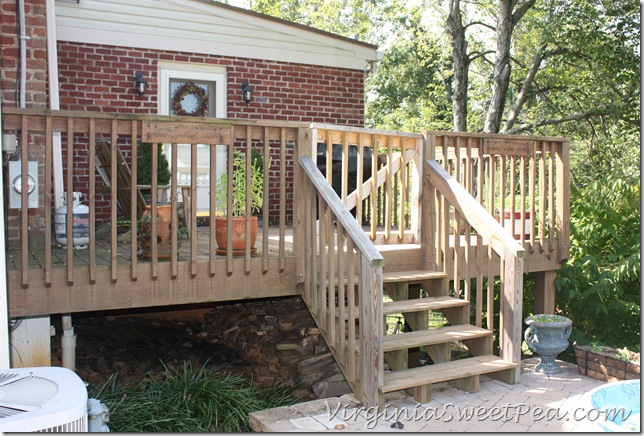
The before picture shows that the stain on our deck was just about non-existent. Part of the deck takes a beating from the sun and the other part grows algae from being constantly shaded.
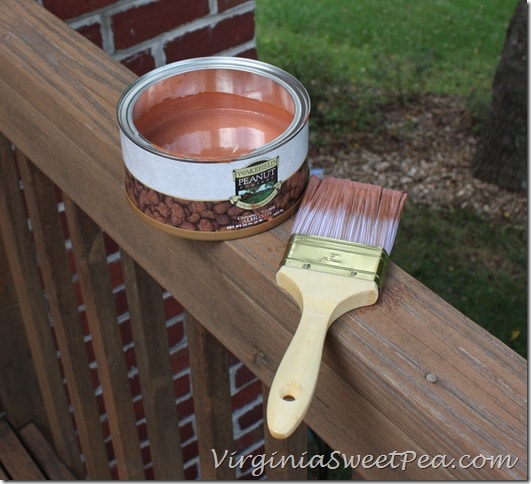
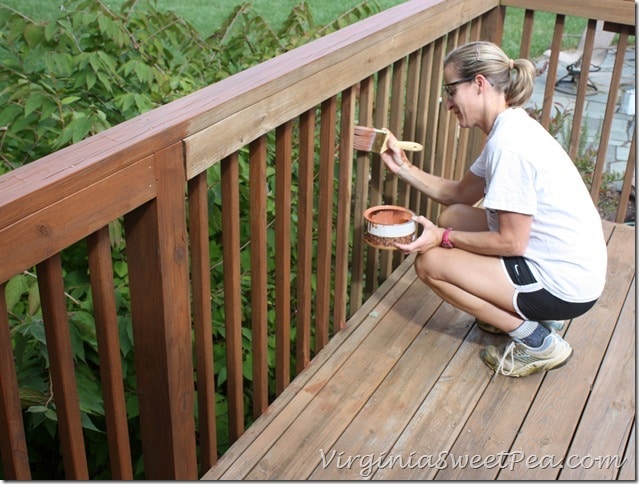
We tackled the rails of the deck first. It’s helpful to pour manageable amounts of stain into a container that can easily be held in one hand.
I worked on the rails on one side of the deck and Mr. SP tackled the other side.
After seeing how good the rails looked after staining, both of us were excited to move on to staining the floor.
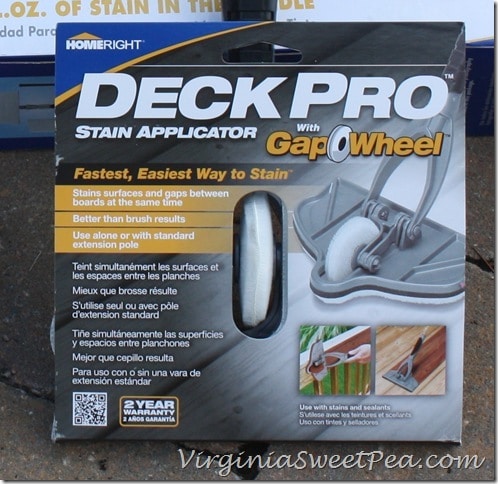
Homeright kindly provided us with a Deck Pro Stain Applicator with Gap Wheel for this project.
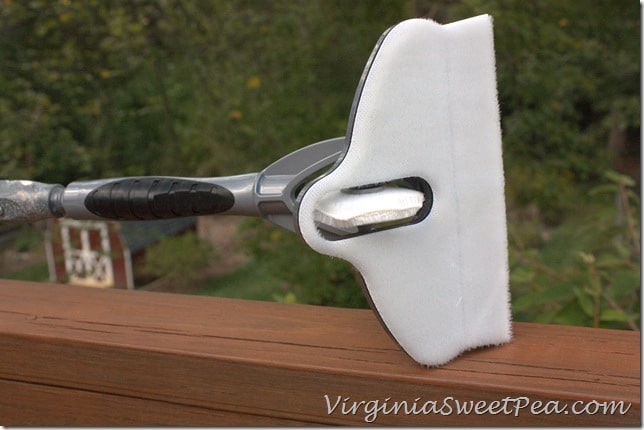
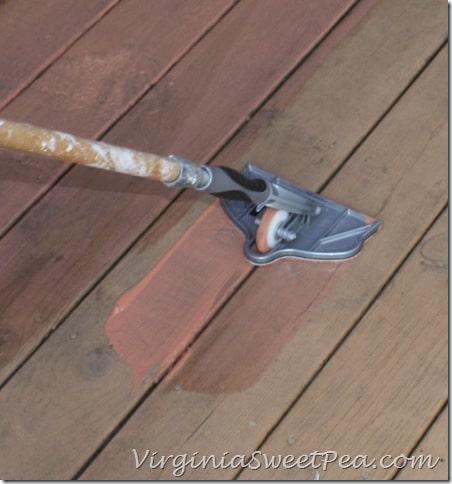
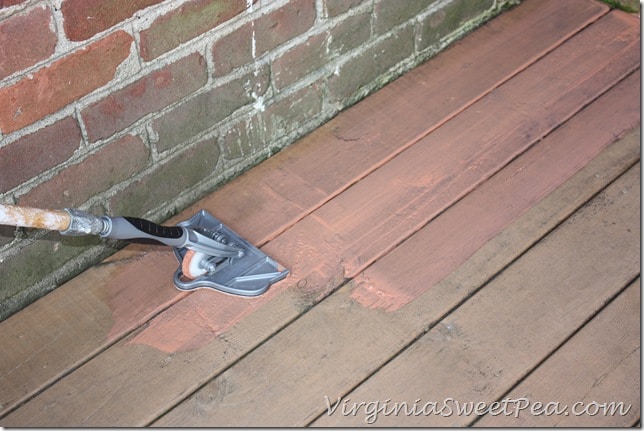
The applicator pad makes applying the stain quite easy and it allows stain to be applied and spread out evenly. What is most attractive to me about this product is the deck wheel. The wheel stains in between the deck boards while the applicator applies stain to the board tops.
The wheel drops down to apply the stain in between the boards. I’m used to brushing every inch of a deck staining job and enjoyed how quickly the Deck Pro Stain Applicator allowed me to complete this job.
When the wheel isn’t in between the boards, it pivots up to roll on top of the board.
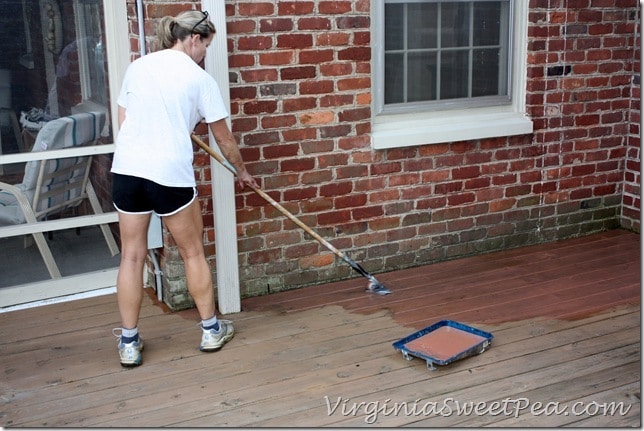
Applying the stain felt much like mopping a floor but without having to do any scrubbing. It truly was easy work.
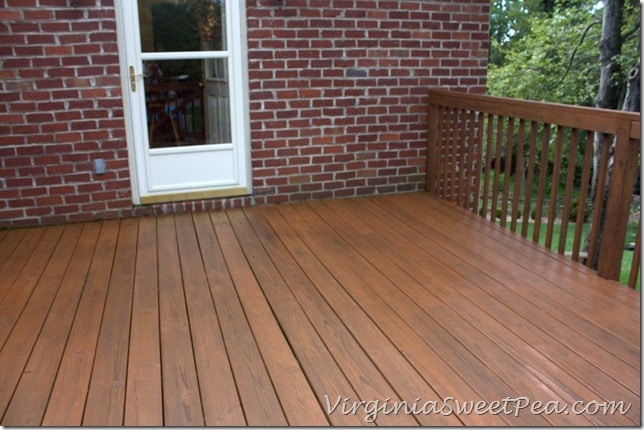
A project like staining is so rewarding. I’m almost finished and it looks so good.
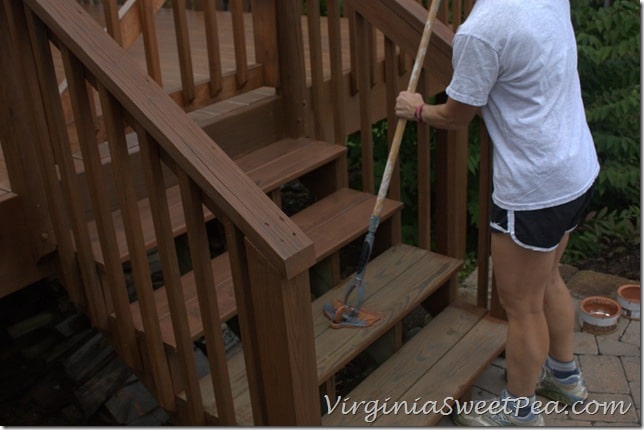
The Deck Pro Stain Applicator also worked well on the steps. I used the applicator with a paint pole that screws into the handle but the applicator can also be used without the pole. It might have been easier on a tight space like our steps to remove the pole.
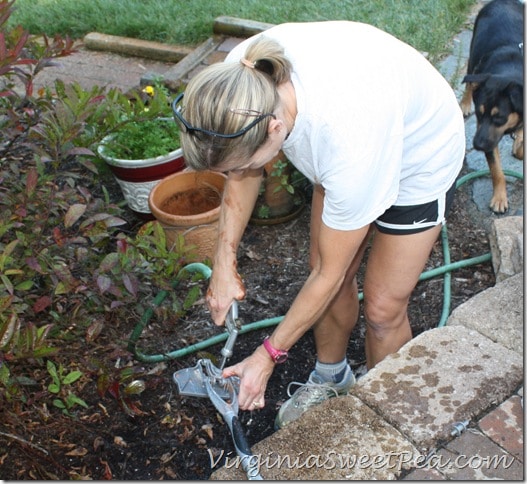
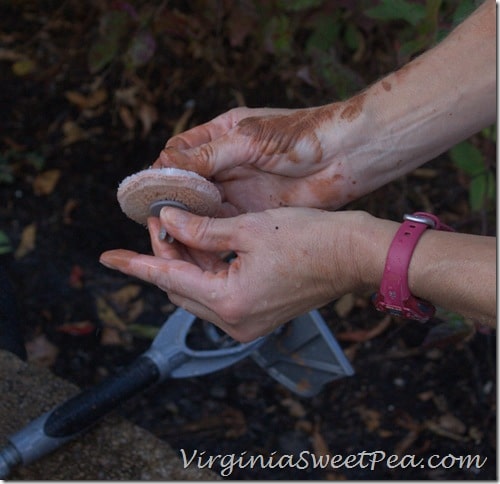
Clean up is easy. The stain pad peels off the applicator and can be thrown away. I used a hose to remove stain splatters from the applicator.
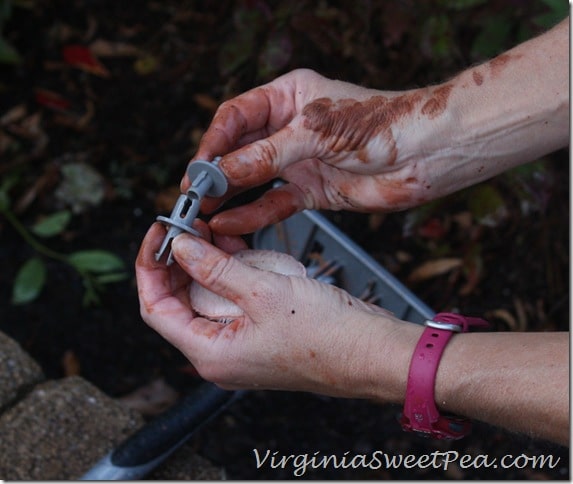
The wheel and axle pops off for cleaning. The wheel and pad are thrown away as a new one is included with each new stain pad. To remove it, pull on both sides of the axle until it pops apart.
I’m usually one of those painters who emerges from a room without a speck of paint on their body. This wasn’t the case with staining the deck. I’m still sporting remnants of the stain a few days later!
Speaking of stain, we used just over a gallon of Thompson’s WaterSeal Waterproofing Stain in Natural Cedar for our 256 square foot deck. I received the stain from Thompson’s as a perk for attending Haven Conference in August. Since I opened a second gallon of stain, I’m hoping that my friend will be motivated to use it to stain her deck. I don’t want it to go to waste! Thompson’s just happened to send the exact color that I would have chosen had I gone to the store to buy product to use. We were very happy with the ease of application of this product and with the end result. Our deck looks great!
It feels so good to be able to check this project off of the “to do” list. After we move our grill, Adirondack chairs, and herbs back on the deck, this area will be ready to be enjoyed.
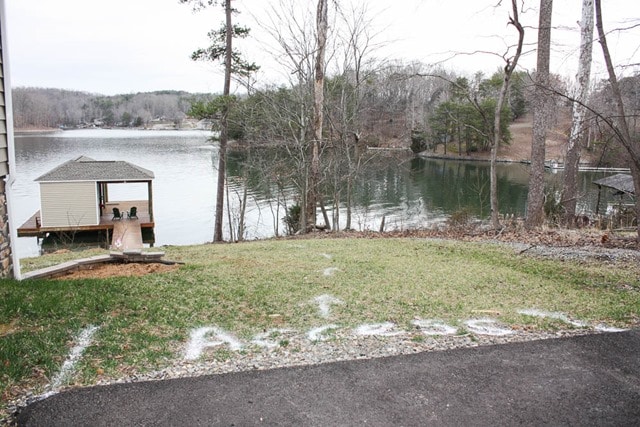
One deck down, one dock to go. Yes, there’s more staining in my future; Our dock at the lake needs to be stained and we are hoping to complete the project this fall. How about you? Have you tackled a staining project around your home?
Disclaimer: I was not paid to write this post. Homeright provided a Deck Pro Stain Applicator for me to use for this project and Thompson’s WaterSeal provided the stain. All opinions on both of these products and truthful and my own.
If you haven’t entered the $300 gift card giveaway to either Target, Visa, or Amazon that I’m helping to sponsor to celebrate Fall, click on over to enter!




The deck looks great! That wheel is such a great idea. I’m definitely going to use one of those next time we stain the deck (probably next year).
Looks great! Plus you can safely walk around barefoot with no fear of splinters!
You did a great job. I love the way it turned out. I hope you will post a picture with all of the stuff put back on when it is finished drying or curing or whatever it has to do!
Looks great and I KNOW it feels great to have that job scratched off the list.
The deck looks professionally stained, you did an amazing job. How long did it take to do?